Cozy Corners is a quick and beginner-friendly quilt meant to make the most of a layer cake. This large throw finishes at 54 x 63 with no background fabric needed.
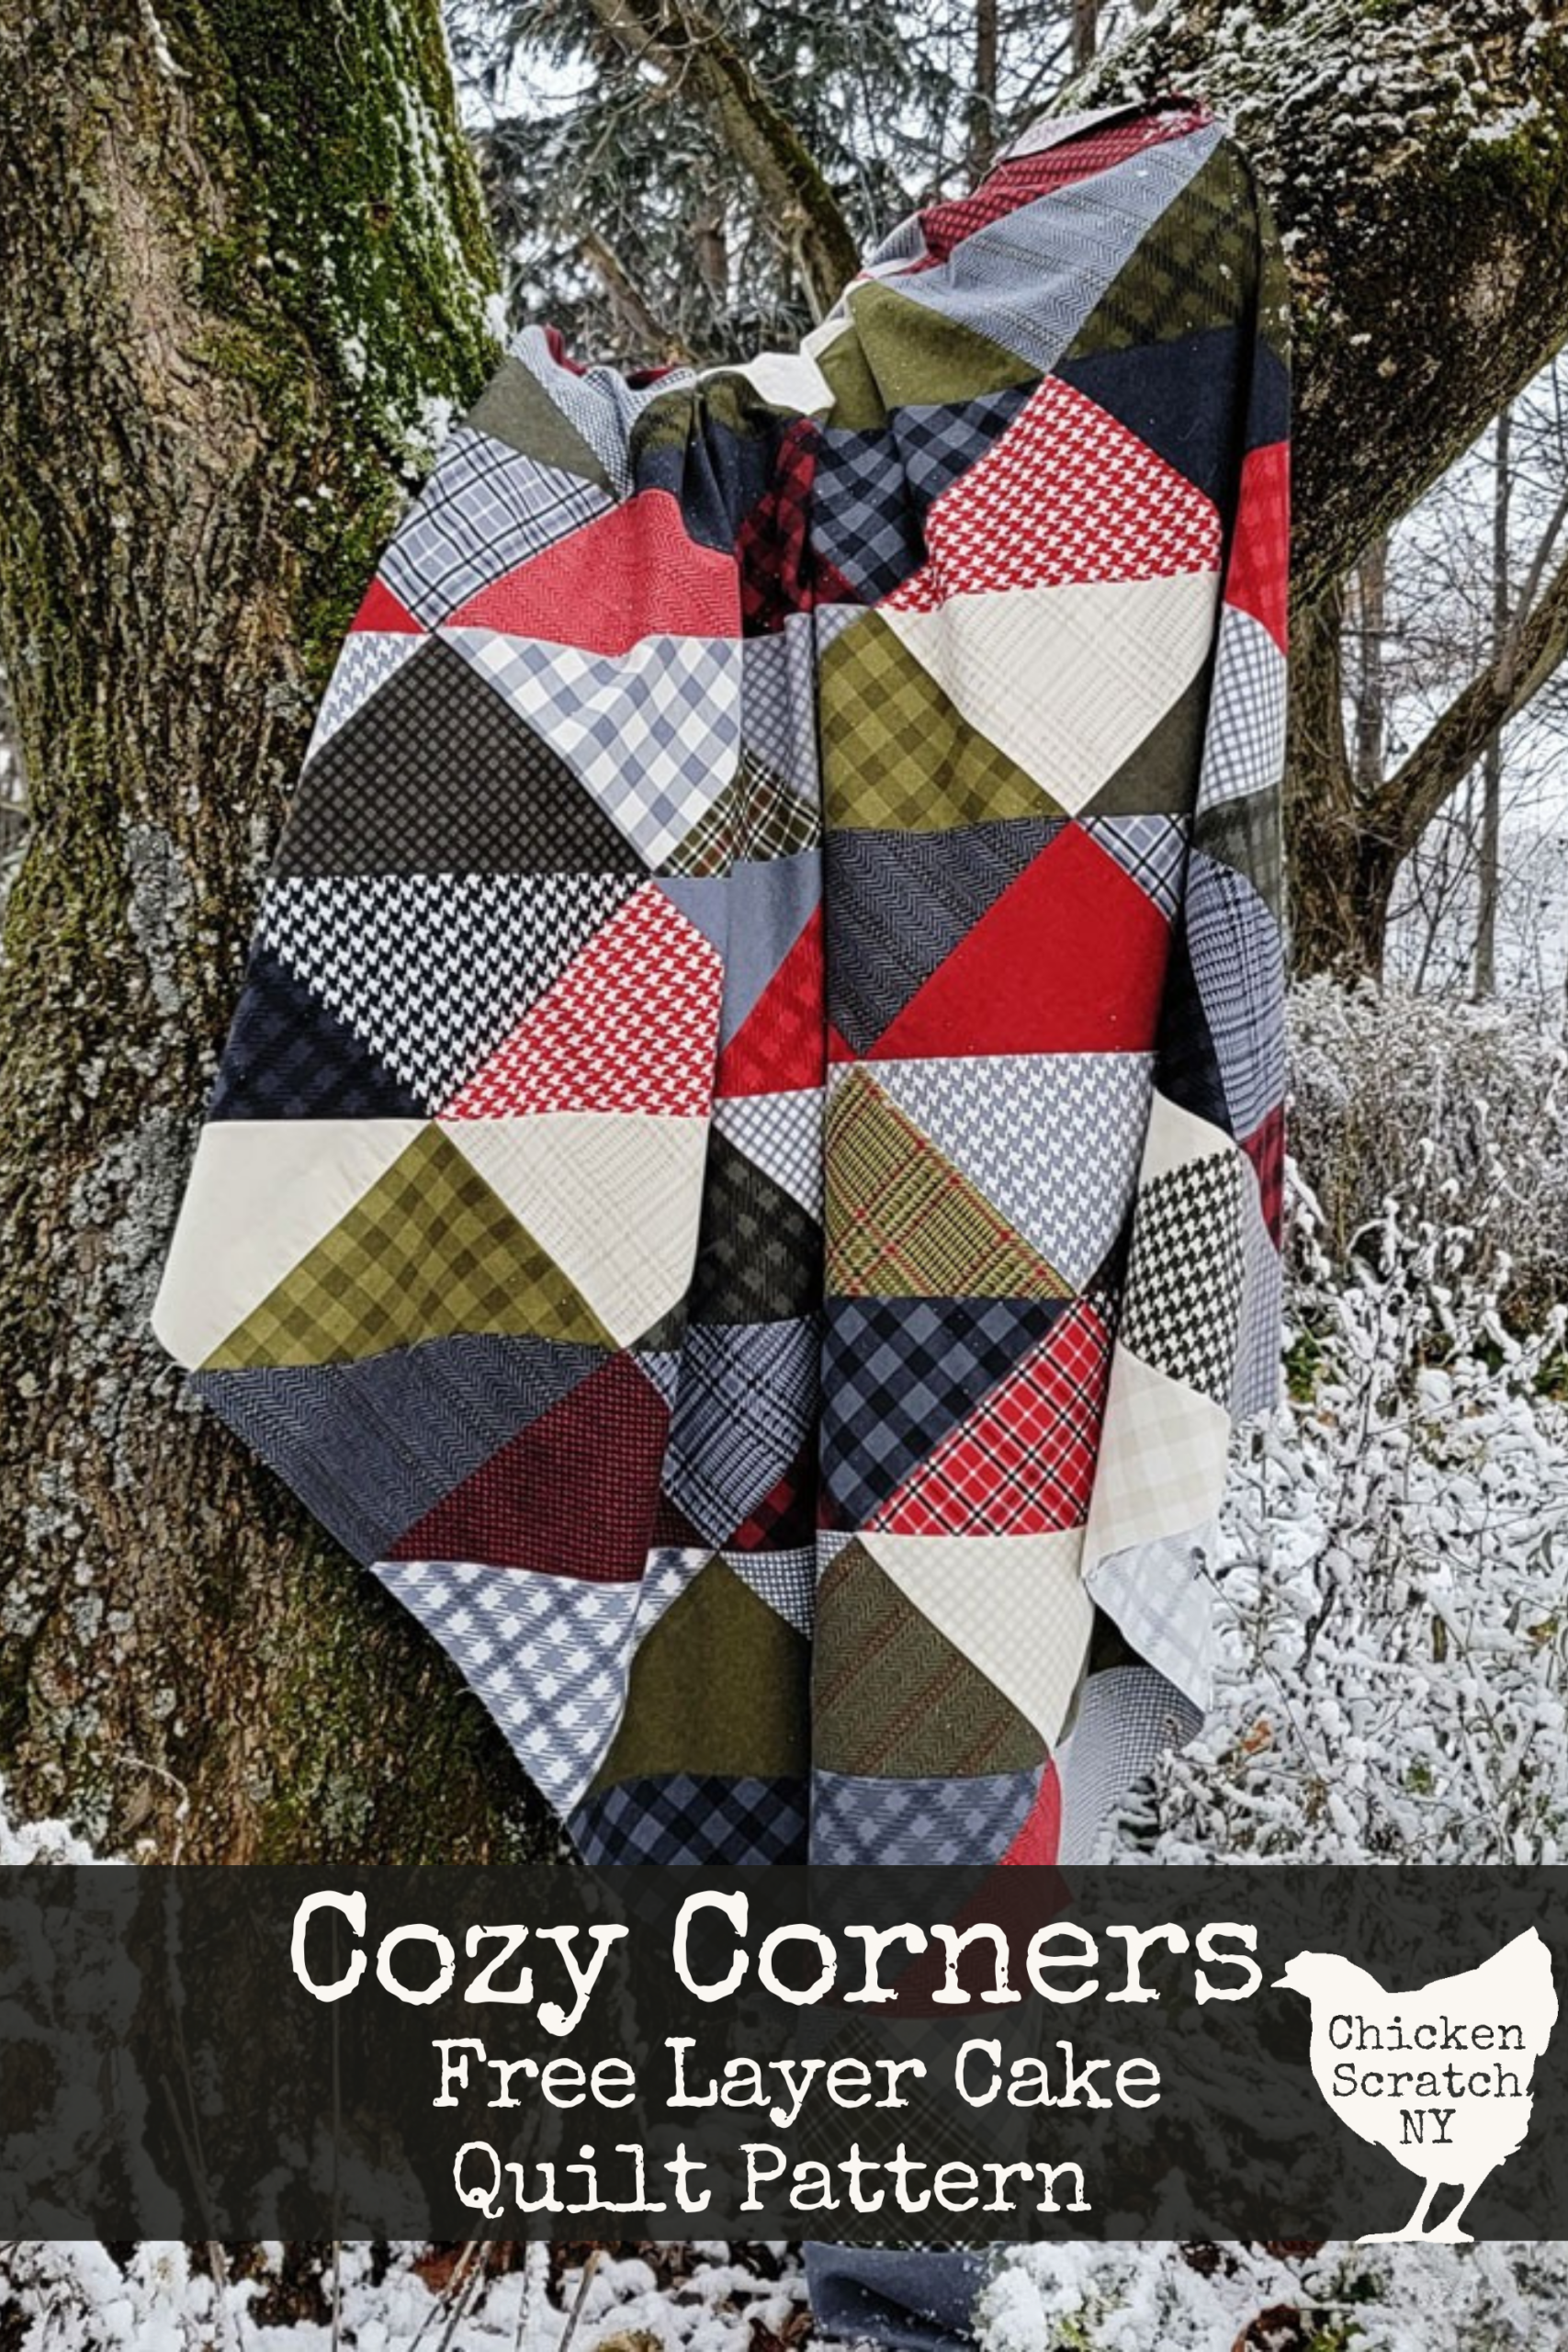
This is a great quilt for beginners but it’s also a really great gift quilt because it goes together so quickly. This is the largest quilt you can make from a single-layer cake, other than just sewing the squares together and it’s a great cuddle quilt for watching movies or taking on a picnic.
Get the Free Printable Cozy Corners Pattern in my Shop
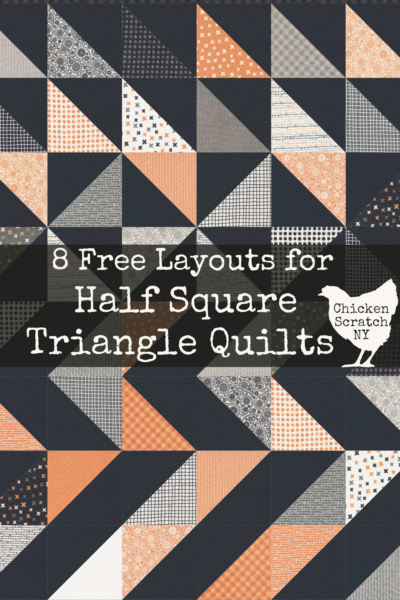
This quilt is made using the two-at-a-time Half Square Triangle (HST) method. This is one of my favorite ways to make HST blocks.
The thing that makes HST blocks tricky is you have to sew on the bias or the diagonal grain of the fabric. The bias is naturally stretchy and it’s really easy to pull your blocks out of shape as you sew.
Making your half square triangles with the 2 or 8 at a time method helps avoid this because you have extra fabric on either side of the seam to stabilize it and cut back on that stretching.
The best way to learn a skill is to repeat it and quilting naturally has a lot of repetition built into it. It makes it even easier if you can practice on a larger scale, as fun as tiny piecing can be, larger is more forgiving!
Cozy Corner Layer Cake Quilt Fabric Requirements:
- 1 Layer Cakes (42 – 10″ squares)
- 3.5 yards for Backing
- .5 yard for Binding (7 – 2.5″ strips)
Cozy Corners is the latest in my series of free beginner quilt patterns and the first large project. For more free patterns check out:
How to Make 2 at a Time Half Square Triangle Blocks
The first step in making the Cozy Corners Quilt is to crack into your layer cake and separate it out into pairs of two. Full Layer Cakes have 42 squares so you’ll have 21 piles.
I made my quilt with a Layer Cake of Yuletide Gatherings, a holiday collection of flannel in reds, greens, creams, and grays. I tried to match up a cream or a grey with either a red or a green but the numbers were off a tiny bit and I ended up with one set of cream/grey.
If your layer cake doesn’t have an easy to separate color scheme you can mix it up by pairing a large scale print with a small scale print or just go crazy and make it super scrappy. As long as you have some contrast in each block you’ll end up with a lovely quilt.


Two at a Time Half Square Triangles
After you’ve paired up your fabrics it’s time to start drawing lines. I like to use Frixion pens, you can find them with regular pens (I bought a giant pack at Target), the ink disappears with heat.
The ink can leave a faint line behind or a “ghost” and the marks will come back if the quilt gets cold so I don’t recommend using them on the right side (or pretty side) of a quilt but I love them for “behind the scenes” marking.
One of my favorite tools for making HSTs is a 1/2 in ruler, you just lay it across the square, lining up the middle of the ruler with opposite corners, then you draw a line on either side. These are the lines you will be sewing on.
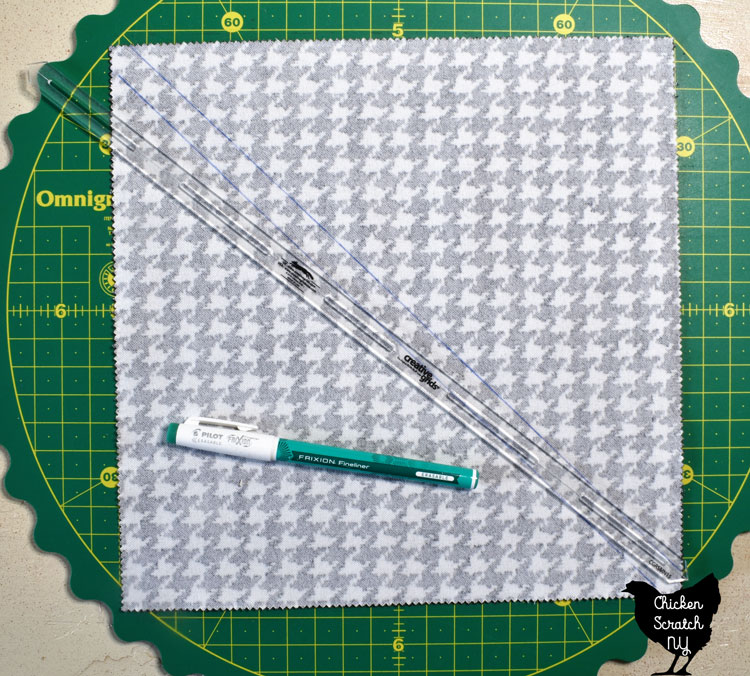
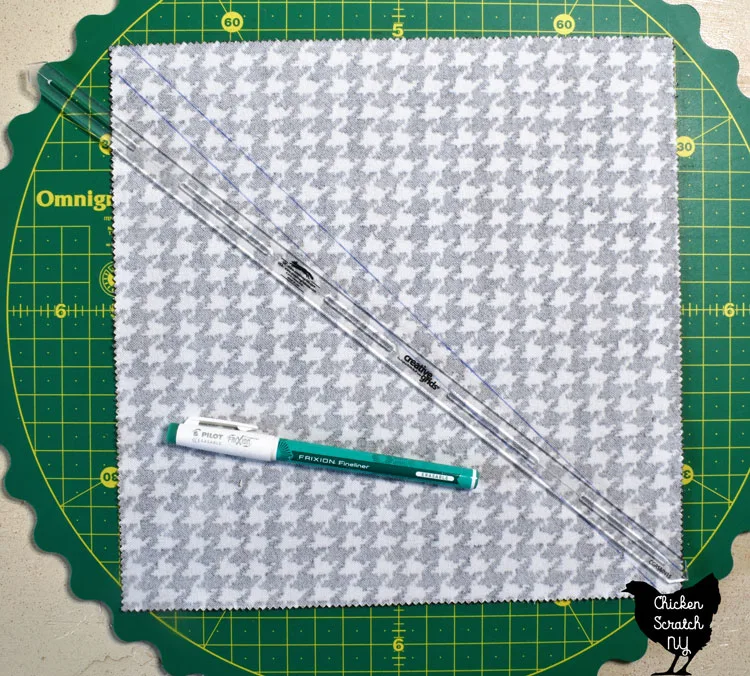
If you don’t have a half-inch ruler you can use a regular ruler to draw a line across the diagonal, then, instead of sewing on the line, sew 1/4 inch away on either side.

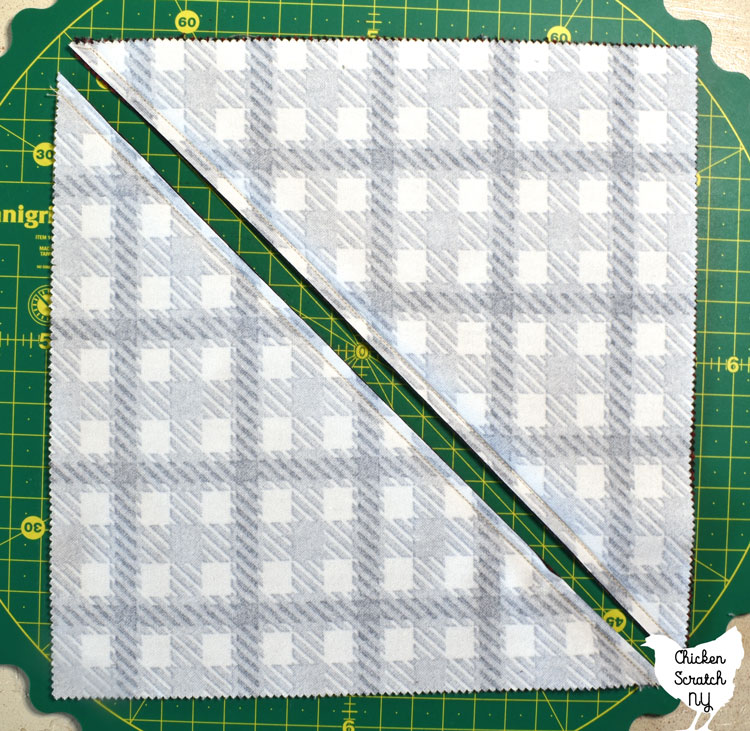
This next step is optional but I think it helps keep the blocks from getting pressed out of shape. Before you cut the two squares apart take them over to the iron and press each side back.
When you press them open this way you have all the fabric opposite the seam to help hold the shape of the square. All of these seams are on the bias (which is stretchy) and it’s really easy to warp your blocks by aggressively pressing, especially when you only have a 1/4 inch seam allowance!

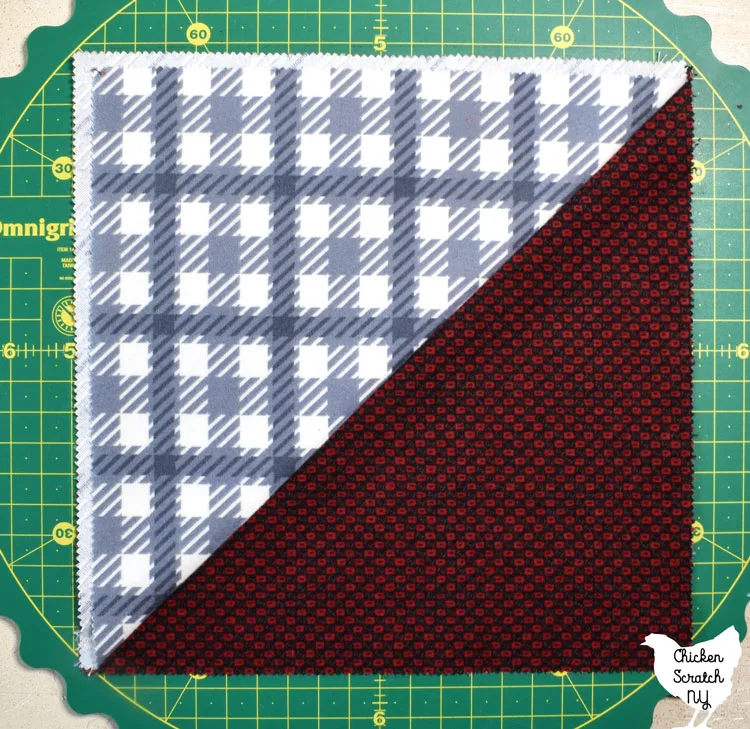
Whether you decide to “pre-press” or not, the next step is to cut the blocks apart and press them open. At this point, your blocks will look like they’re done. But they aren’t.
I know it’s tedious and it doesn’t seem like you’re really cutting off enough to make a difference but trust me here, you need to square up your blocks. Even 1/8 of an inch can really throw you off over an entire quilt top!
If you just can’t get enough half-square triangle action be sure to check out:
How to Square Up Large Blocks
No matter how precise or accurately you piece it is inevitable that some of your blocks will end up slightly skewed. The simplest way to correct this is to use a ruler to trim them back to the correct size.
Since we started with 10″ squares out HST blocks will be squared up to 9.5″. I swear by my blocloc rulers for squaring up my smaller HSTs but for blocks this big I turned to my regular 10.5″ square ruler and washi tape.
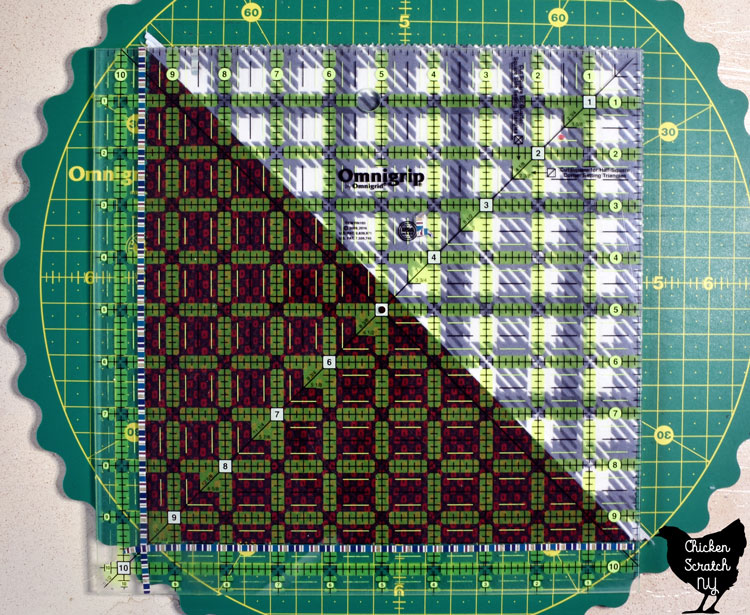
Washi tape is a low-tack tape often used for crafting and journaling. It’s also great for quilting, I use it on my machine to mark 1/4 inch seams and on my rulers when I want to fussy cut or square up blocks.
I marked off the 9.5″ square with the tape. It’s not necessary but it makes things faster and it’s helpful when you’re using a ruler with a ton of markings on it.
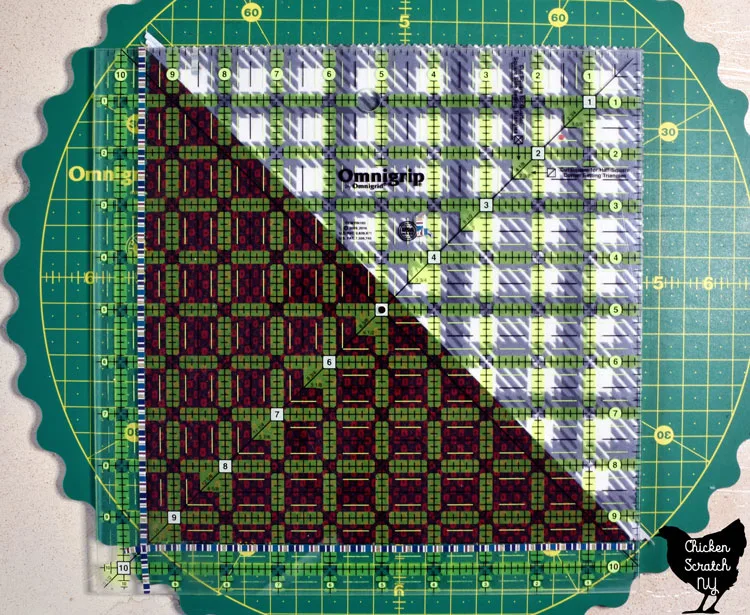
The blocks for this particular quilt need to be squared up to 9.5″ by 9.5″ so you want to look at the diagonal seam and line it up on the top and the side at the 9.5″ mark.

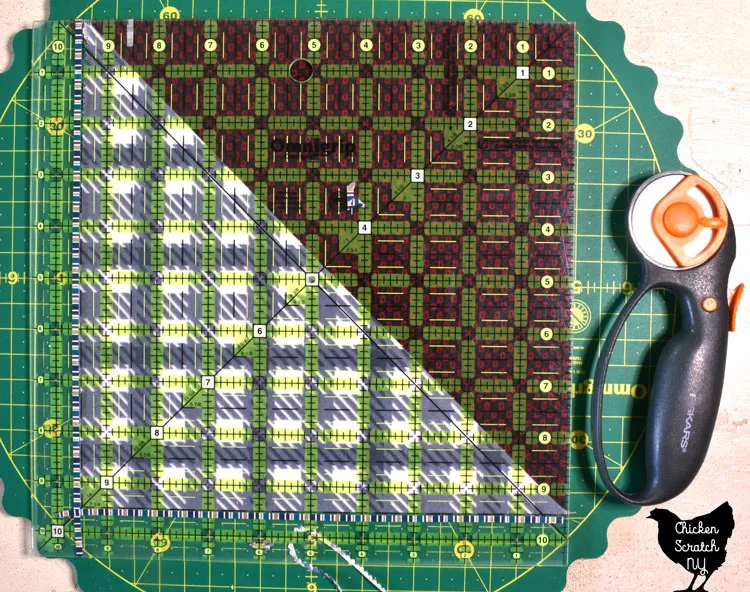
You’ll need to cut the top and side, then spin the block and cut the other two sides, this is where I line them up with my washi tape lines. A rotating mat is your best friend here!
For some of the blocks I basically cut off the tops of the zigzags, others had about 1/8 of an inch that needed to come off.
Once you’ve got your blocks squared up it’s time to sew them together. The blocks are pretty big so I had to use my living room floor to lay them out (the cats were big fans).
I’m very extra when it comes to making sure my fabrics are equally distributed so when I cut my blocks apart I separated them into two piles and used one pile for the top half of the quilt and one for the bottom half.

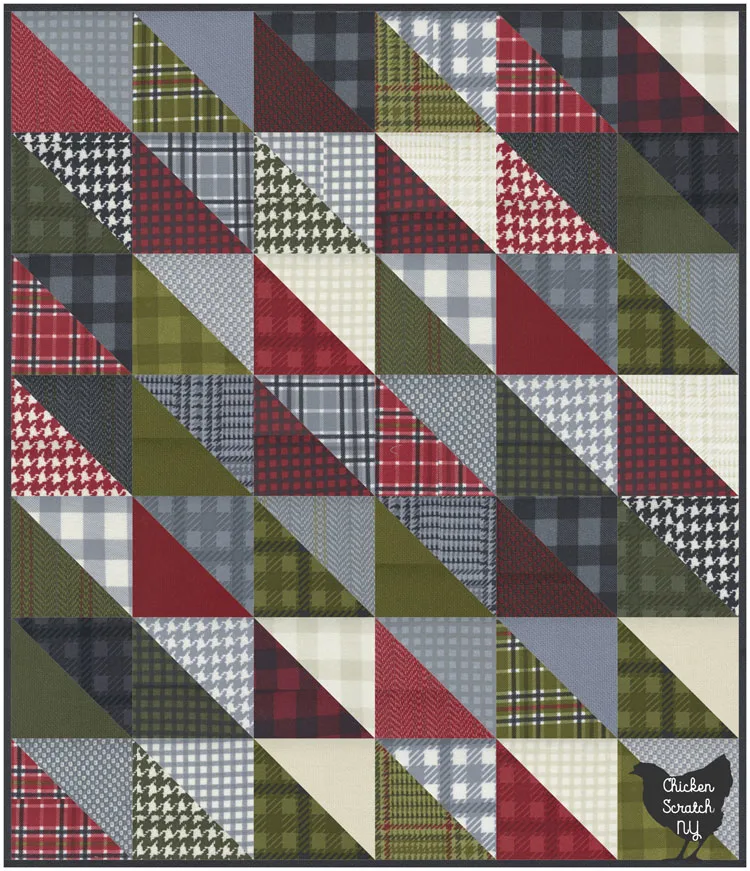
Then when I laid them out I kept the red/green sides facing the bottom and the cream/grey facing the top. I sewed my blocks together in rows and sewed the rows together after pinning at the intersections between the blocks.
I pressed these seams open, they were very thick and I saw a lot of broken needles in my future when I was quilting. In the end, it didn’t matter because I hand-quilted it (it was a process and took a long time).
She’s a monster, with flannel on the front and back and a layer of cotton batting in the center this quilt is ready for a winter sleigh ride or maybe even a visit to my mother’s.
Check out my Quilting page for more info or start here: