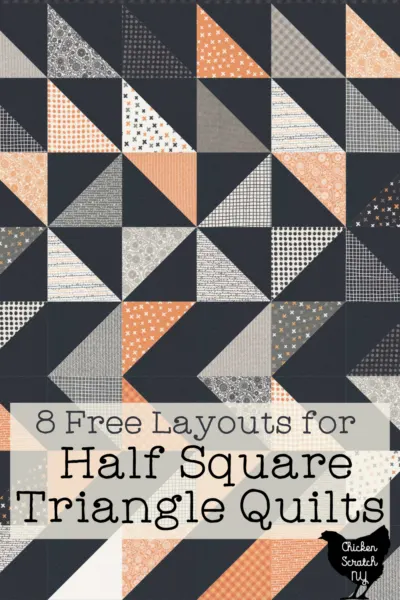
Half square triangles are the backbone of the quilt world. Having a good method for sewing HSTs will make your quilting experience easier and more enjoyable.
I’ve made enough HSTs to be pretty confident in my methods so I’m going to share them with you because that’s kinda my job.
There are several ways to make Half SquareTriangles, ranging from one at a time to 2, 4 or 8 at a time. I prefer the 2 and 8-at-a-time methods for reasons I’ll get into later but if you’re new to quilting I recommend giving them all a try to see what works best for your brain.
No matter what method you use you’ll have to trim and “square up” your blocks before you use them in your quilt. I highly recommend making them a little bit larger than you need to give you some room for operator error or uneven sewing.
One at a Time
Making HSTs one at a time is the oldest and most traditional method. It’s the best method if you’re particular about your fabric placement or you’re working with scraps but it’s also going to take you a lot longer to make all 240+ HSTs you’ll need for that pattern you love!
Aside from being slow, you’re also sewing on a narrow bias edge. Bias is the diagonal grain of the fabric, it’s stretchy and really easy to pull out of shape.
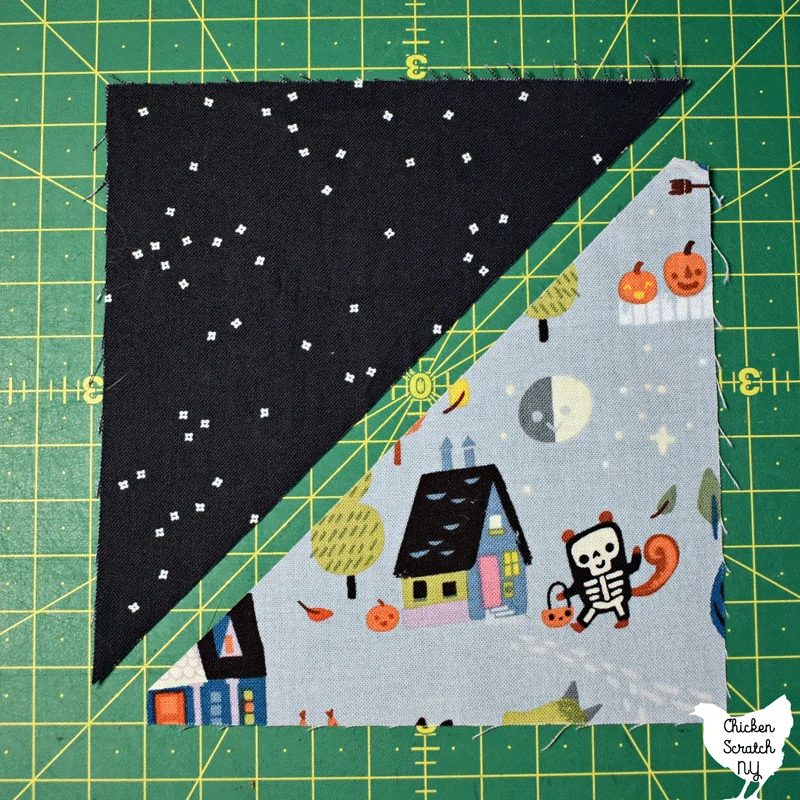
To make a single HST you need to cut two triangles 1/2 inch longer and wider than your desired finished block. Sew along the diagonal and carefully press open and square.
If you’ve got your heart set on this method and you’re a stickler for precision you should look into starching your fabric before cutting. The extra stiffness will help the bias edge hold its shape.
I don’t starch my fabric, I don’t sew precisely and I never make HSTs one at a time so it’s time to move on!
2 at a Time
The two-at-a-time HST method is one of my favorites, you get 2 blocks at the end and even though you’re sewing on the bias you have extra fabric along the seams to help the fabric hold its shape.
The 2-at-a-time method also has some of the easiest math which is really helpful for me and my fellow number-challenged quilters! All you need to do is add one inch to your desired finished size.
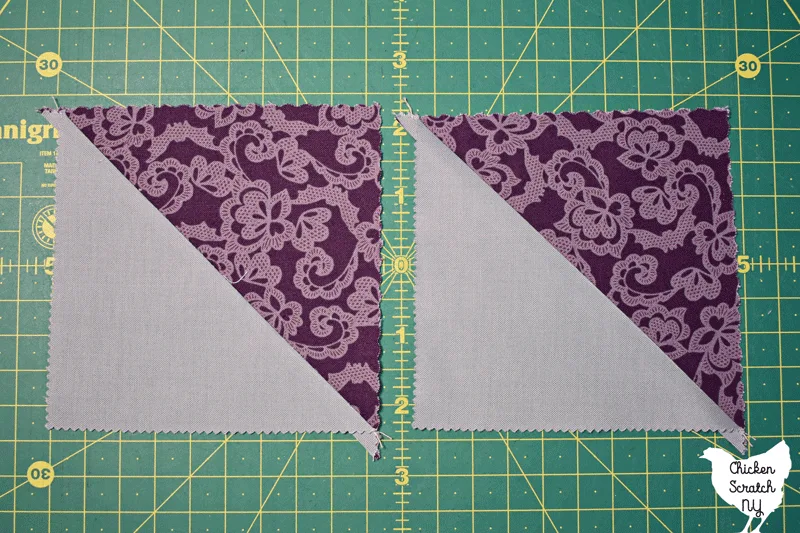
By the way, “finished” means the size of the block after it’s been sewn into the quilt. Every seam you make takes off a 1/4 inch, for example, if you start with plain 5-inch squares and sew them together your finished blocks will be 4.5″.
This method works really well with precut charm packs and layer cakes. Two 5″ charm pack squares will make two 4.5″ HSTs (finish at 4″) and two 10″ squares will make two 9.5″ HSTs (finish at 9″).
It’s also perfect for chain piecing, where you just keep sewing block after block together without breaking your thread. Chain piecing is faster and you’ll waste less thread.
How to Make 2-at-a-Time Half-Square Triangles
To make 2-at-a-time half-square triangles start with two equal-sized squares, 1-inch larger than your desired finished block. You’ll need a pencil or frixion pen for the next step.
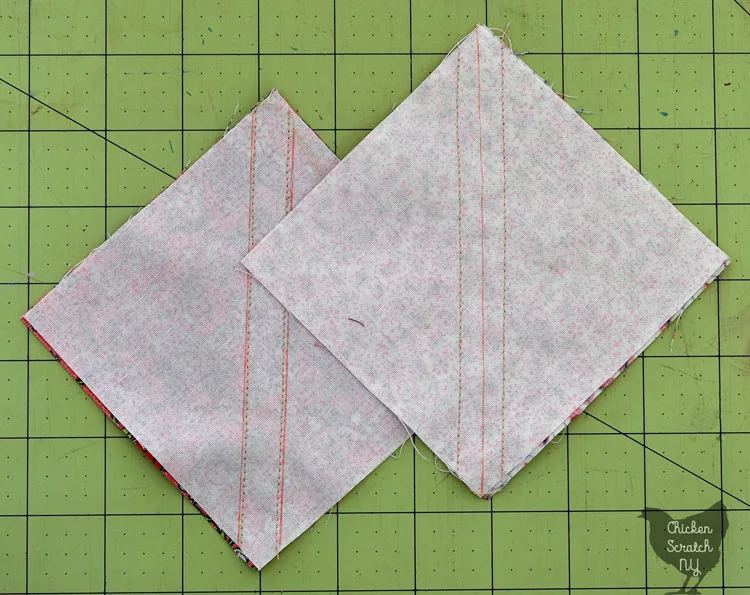
Lightly draw a line across the diagonal. This is on the bias so don’t go too hard or you’ll stretch out your fabric.
Sew along either side of the line, 1/4 inch away
OR
Draw 2 lines, this is when the 1/2″ Seam Marker Ruler comes in handy, 1/4 inch away from the center (the lines will be 1/2 inch apart), and sew just inside them. It takes a bit longer but this is the method I use. I’m not good at sewing straight lines unless I have a guide.
The next step (for both line styles) is to cut the blocks apart down the middle so you can press them open and square up.
If you’re struggling to get your blocks pressed without stretching them try pressing them open before you cut. The extra fabric will help the blocks hold their shape. Then carefully cut them apart and square them up.
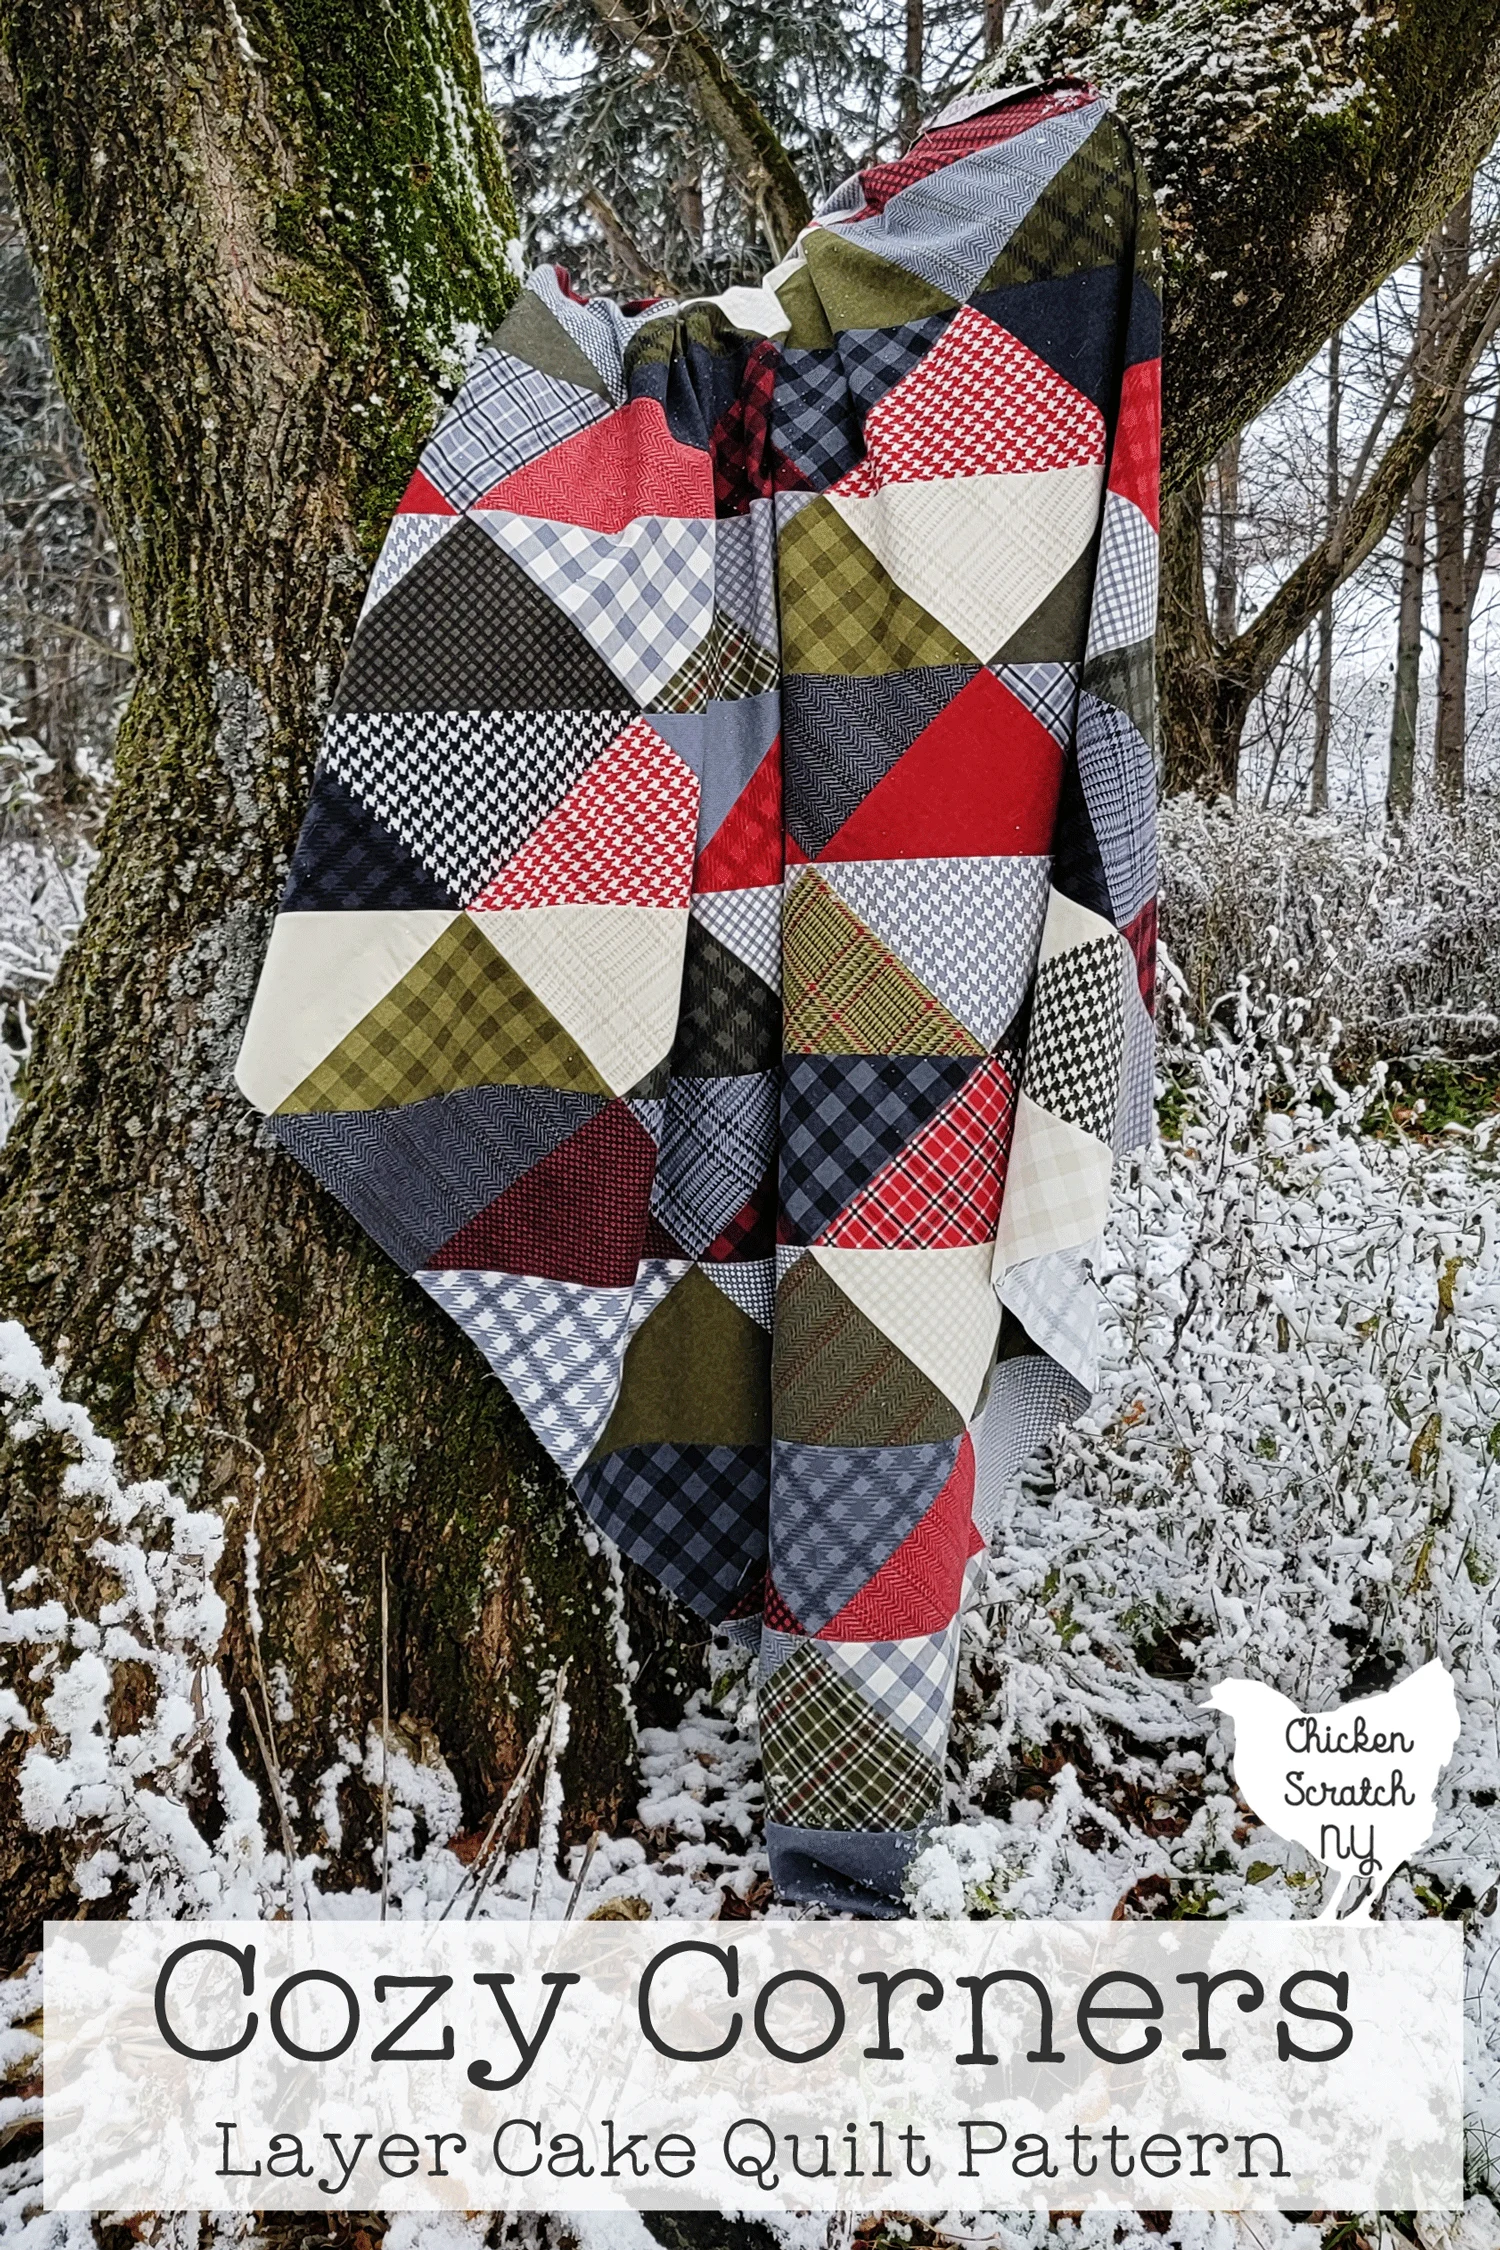
Check out my Free Cozy Corners Layer Cake Pattern for a quick and beginner-friendly half-square triangle quilt pattern!
4 at a Time
The four-at-a-time HST method is the easiest to sew, you’re just following the edges of the fabric and you’re not sewing on the bias. But once you cut your blocks apart all four sides are bias.
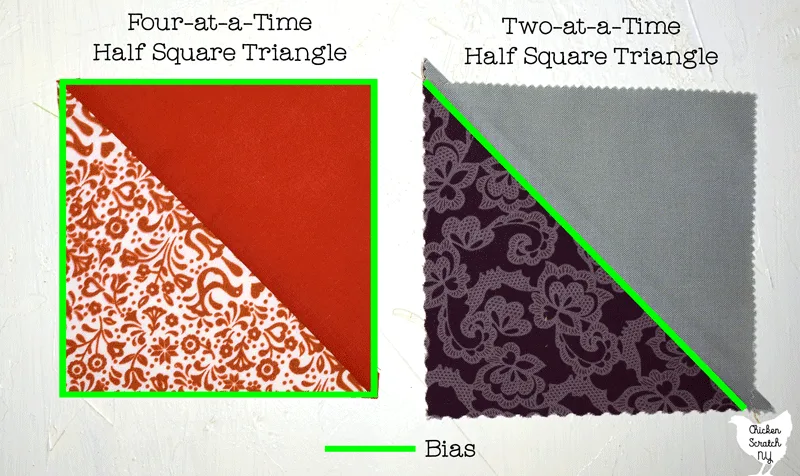
I know myself and I know my bad habits, I’m always giving the fabric a little pull or tug to match things up and there is no way I could have an entire with bias seams that didn’t resemble a crinkle-cut potato chip.
On the very likely chance that you don’t sew like a wild animal, I will walk you through this one. You start with 2 equal squares and sew with a 1/4 inch seam all around the edges.
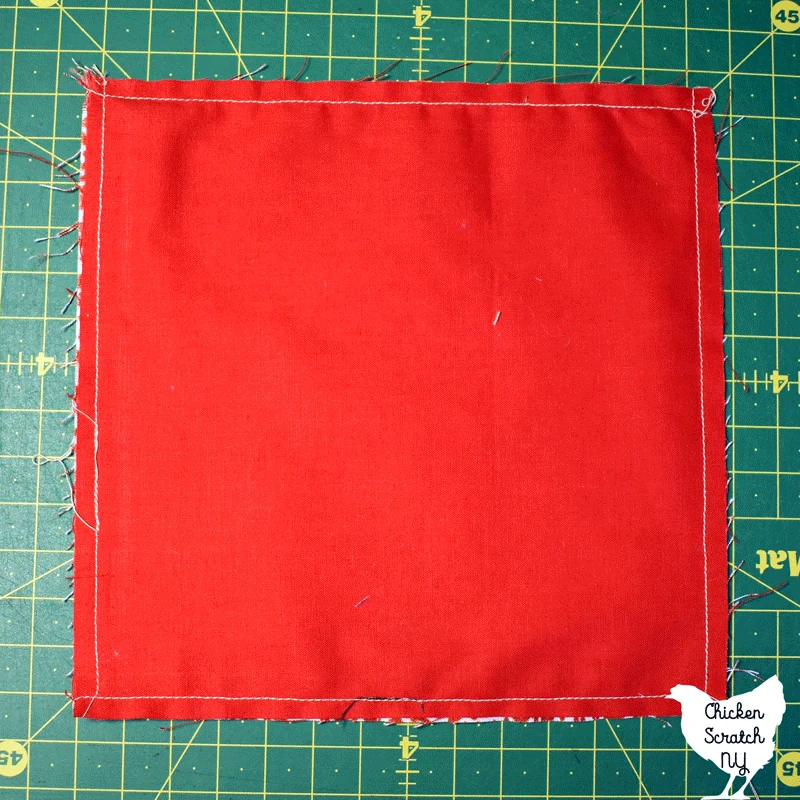
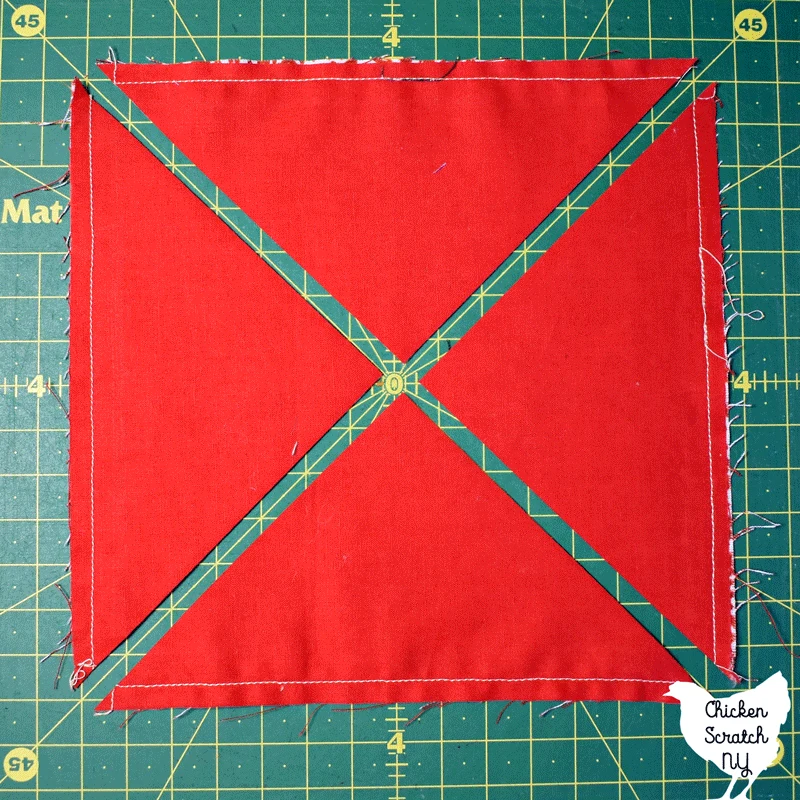
In the end, you’ll have a double-layered square and no way to get into it. Pull out your ruler, cutting mat, and rotary knife and give it two slices, one on each diagonal.
That’s all it takes and you’ll have 4 equal-sized half-square triangles and a whole lot of bias to deal with.
Just like the method, the math on this one is too much for me to willingly participate in. To get the size of your starting square you need to take the unfinished size (before you sew it into whatever you’re sewing it into) of your HST and divide it by .64
Then you get to revisit your decimal-to-fraction knowledge from 4th grade and do some rounding, I always recommend rounding up so you have more wiggle room for squaring your blocks.
Just to get you started: if you want a 3″ unfinished HST you should start with a 4.75″ square and if you want a 5″ unfinished HST you should start with an 8″ square.
8 at a Time
If I’m not making my HST blocks two at a time, I’m going all out with the 8-at-a-time method. This method is basically 4 sets of two-at-a-time half-square triangles sewn all at once.
This method gives you the most bang for your buck so to say, it has all the benefits of the 2-at-a-time method but you end up with 8 finished blocks at the end. I really like it when I need small HSTs, I hate fiddly sewing and if I can sew on a 5″ square instead of 2.5″ square I’m all for it!
If you start with 5″ squares you’ll end up with 8 – 2″ HST (1.5″ finished) and if you start with a 10″ square you’ll have 8 – 4.5″ HST (finish at 4″).
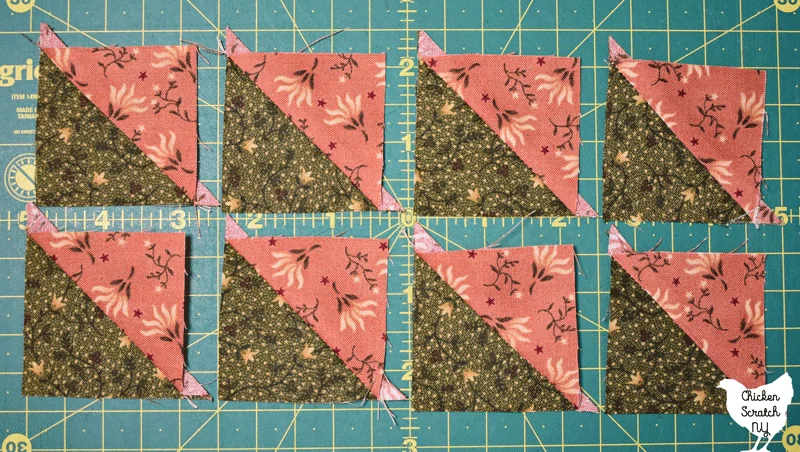
Just like with the 2-at-a-time HTS you’ll be drawing diagonal lines and sewing long them. But this time you need to make a big x across the fabric.
Then you’ll sew them the same way. Things get a little different when it’s time to cut them apart, but it’s nothing you can’t handle!
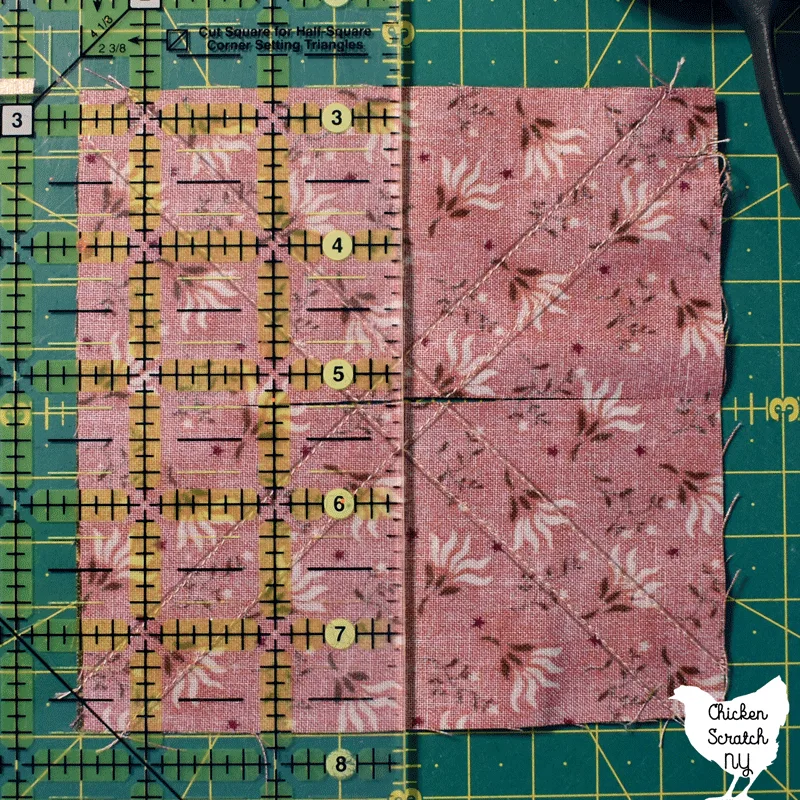
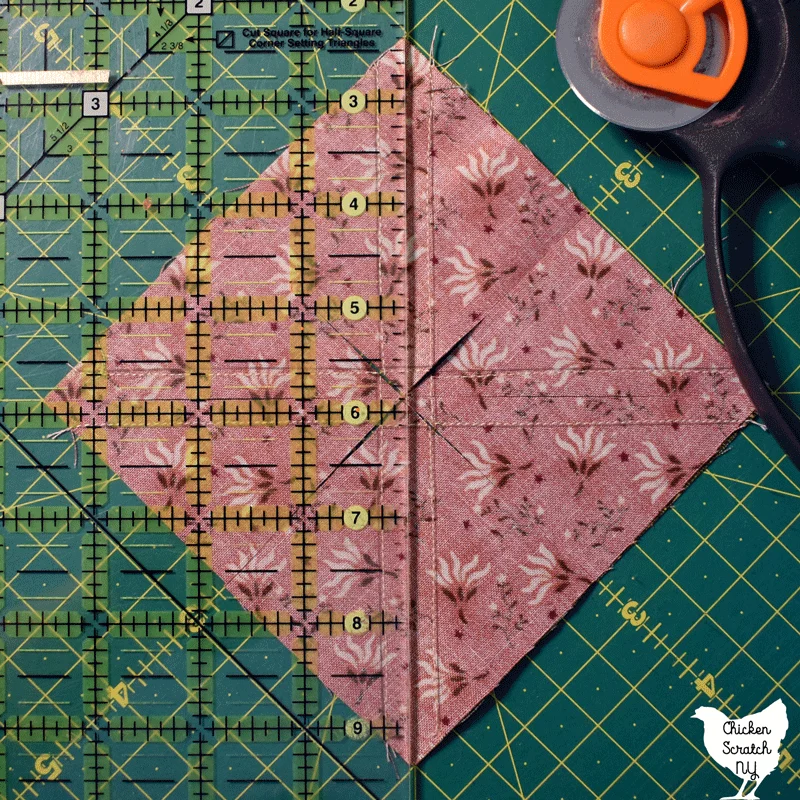
The first two cuts you want to make are along the center in both directions, dividing your square into 4 equal smaller squares. Then you go back through and cut your triangles apart.
Press open and square up and you’re well on your way to a lovely quilt!
If you just can’t get enough half-square triangle action be sure to check out:
- 5 Tools for Easier Half-Square Triangles
- Basic Half Square Triangle Quilts
- Free Cozy Corners Layer Cake Quilt Pattern
- Free Simple Stars Table Runner Pattern
- Charm Pack Crispies Quilt from Fat Quarter Shop
Check out my Quilting page for more info or start here:


