
The world of quilting can be overwhelming and confusing. “Quilt As You Go” is a great way to dip your toe into the sewing craft and get a feel for working with quilting fabric, batting and your sewing machine.

I designed this table runner pattern to make it easy for a total beginner to pull off without needing to invest a lot of money into tools you may never need again like a rotary blade, ruler and mat.
Quilt As You Go Table Runner Supplies
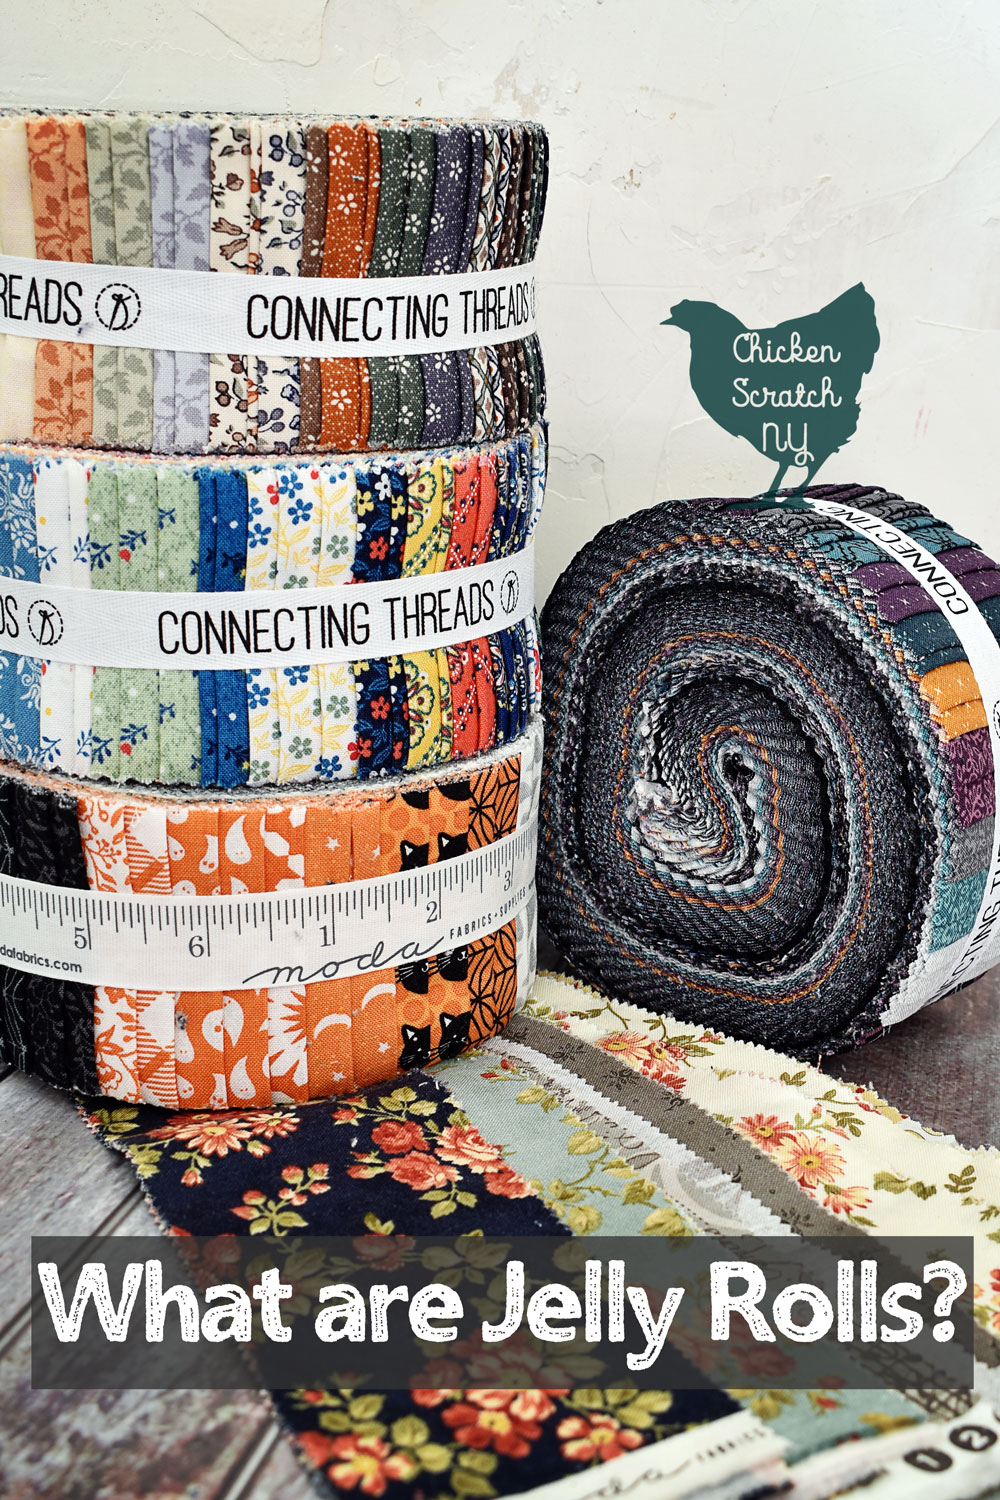
The secret to this pattern is using a jelly roll for the patchwork. A Jelly Roll is a bundle of pre-cut 2.5 inch strips of fabric.
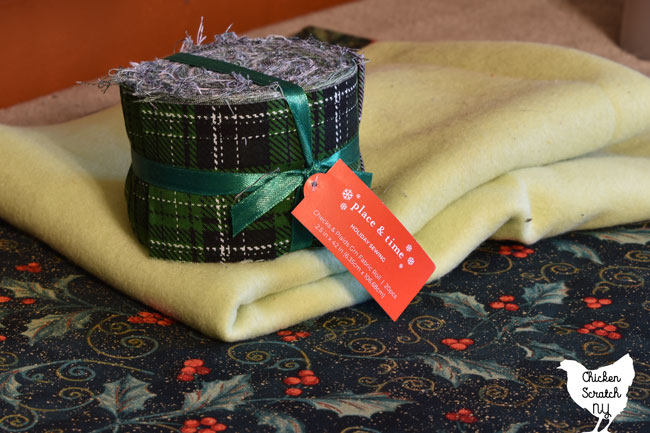

I bought this green plaid jelly roll at Joann’s, it was on sale for about $10 and one roll is enough to make two table runners (depending on the size, you could make even more).
Read more about Jelly Rolls & Jelly Roll Quilts
You will also need backing fabric, I used a pretty Christmas print but you are only limited by the selection at your store. I like to avoid directional prints for my backings, that way no matter what side you’re looking at it from nothing is upside down.
I purchased a yard and cut a 16-inch wide strip for my runner and was left a lot left over. I’m a low-key fabric hoarder but if you’re not just buy 4 or so inches more than you need, that way if it’s cut badly at the store you have room to square up the fabric.
There are a few options for the inner layer, you can use quilt batting or you can do what I did and use a piece of fleece fabric.
Fleece is a great choice because it’s always available on the remnant rack for practically nothing and it’s not going to show up so the print doesn’t matter. That said if you’re using white or light-colored cotton fabric look for a light-colored fleece so the pattern doesn’t show through the patchwork.
You will also need a sewing machine, it doesn’t have to be anything fancy, we’re just using a straight stitch, a good pair of scissors, a few pins or clips and an iron to get any creases out of your fabric strips.
Before we get started with the actual tutorial on the quilt-as-you-go method, I want to give you a bit of a background on traditional quilting.
What is a Quilt?
There are two parts to making a traditional quilt, first, you have the patchwork and then the actual quilting. I know it’s a bit complicated and the terminology can get confusing so I’m going to try and break it down for you.
The patchwork or piecing is what makes that awesome quilt top. Usually, a quilt top is made by cutting up fabric and then sewing it back together to create one large, decorative piece of fabric.
There are literally millions of patterns and techniques from a basic four-patch all the way up to mind-numbingly intricate paper piecing.
After you finish the patchwork you get to the actual quilting. To make a quilt you make a sandwich by layering a backing fabric, some sort of batting or “filling” and then the patchwork or quilt top.
Those three layers are then sewn together or quilted. You can do the quilting by hand or with a machine. The quilting is what turns all three layers into one.
Quilts are then finished off with a fabric binding that covers the raw edges of the fabric. It doesn’t matter if you’re making a single block wall hanging or a king-sized quilt, the steps are pretty much the same.
What is Quilt As You Go?
The quilt as you go method combines both the piecing and the quilting steps into one. Now that you have a basic understanding of what makes a quilt it should be easier to see why quilting as you go is such a time saver.
The set up largely the same, you start out with your backing and batting and then you add the patchwork to both layers, quilting it as you go.
On to the tutorial!
How to Make a Quilt As You Go Table Runner
Grab your backing fabric and give it a quick press to take out the center seam from where it was folded on the bolt. Cut the backing down to size, it can be any sized rectangle.
Do you best to make this as straight and square as possible, we’ll be trimming the excess fabric off at the end following this shape.
My runner is 16 inches by 40ish inches, I just cut a 16 inch strip that was the full width of the fabric. Using a rotary blade, ruler, and mat will give you the straightest lines but you can use scissors to do this.
Then cut a piece of your batting or fleece the same exact size and smooth the two pieces together with the “face” or pretty side of the fabric down. I didn’t have any issues with slipping or sliding but if you do you can use a few safety pins to hold the layers together.
Picking Thread
With the quilt as you go method the bobbin thread will show in the finished project. I used a black bobbin and black thread in the needle. Sticking with the same thread color helps cover up any tension issues you may have where the top thread shows on the bottom.

Crack open the jelly roll and separate your strips. The roll I used had 4 strips in 5 patterns. Jelly Rolls from fabric companies like Moda or Robert Kaufman usually have 40-42 strips and fewer repeats.
Lay out your strips until you find a patterns you like and then stack them up and set them to the side.
*I ended up using a separate fabric for the binding, I needed 3 strips to finish off my table runner and I only had two of each pattern left. If you want to use matching jelly roll strips for your binding set them aside before you make your table runner.

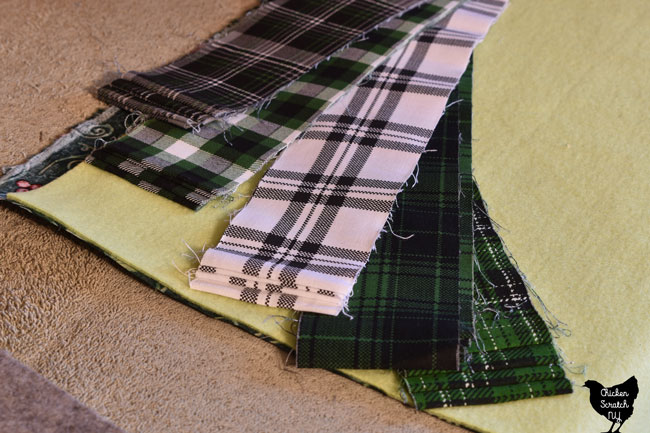
Grab your backing and batting and lay your first strip down face up, use scissors to cut the strip sightly wider than your backing. Cut the second strip in the same way.

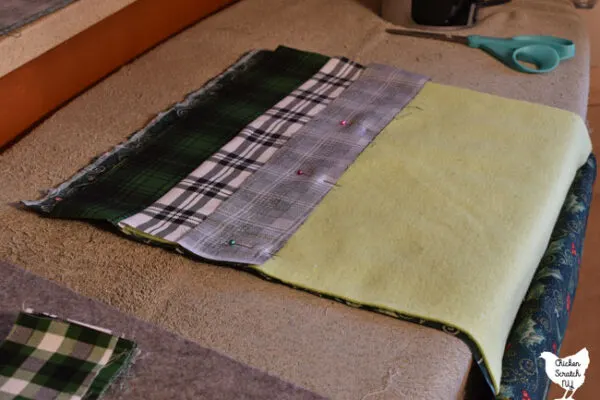
Lay the next strip face down and pin along in a few places. I skipped the pins the first time and I found the fleece stretched and made it harder to keep my line straight.

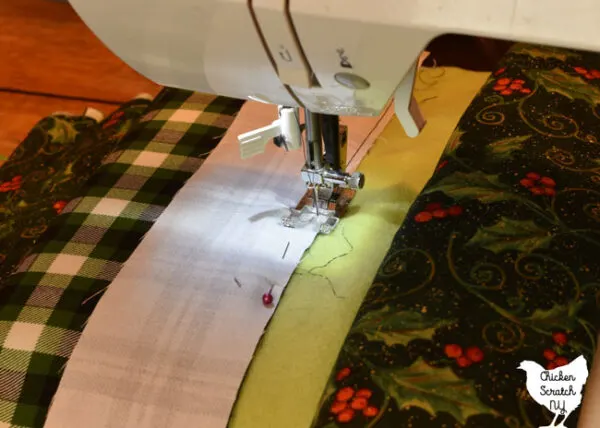
Sew along the edge of the strips, in quilting you typically aim for a 1/4 inch seam allowance. I am an inaccurate quilter but I’m usually in the right neighborhood.
I’ve added washi tape to mark my 1/4 inch seam allowance on my machine but obviously it’s all covered up with this project. Instead I just tried to follow the edge of the presser foot.
The good news is with this project you don’t really need accurate seam allowances so instead you can focus on straight-ish lines and making sure you get both pieces of fabric caught in the seam.

After you’ve finished your seam clip the threads and take it back to your ironing board or table and fold the fabric open. Use your fingers to smooth the fabric down and now you’re free to add the next strip.
Then you keep repeating this step until you reach the end of your runner. Simple right?
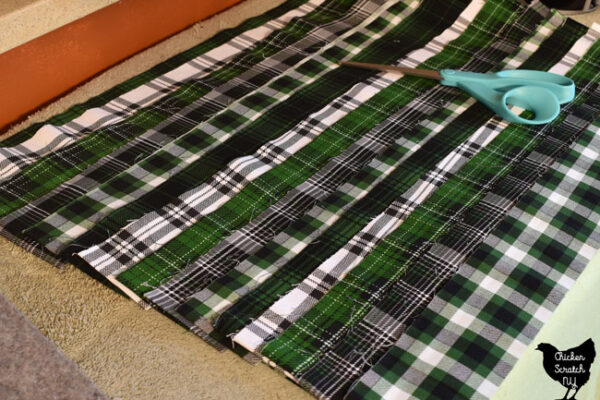
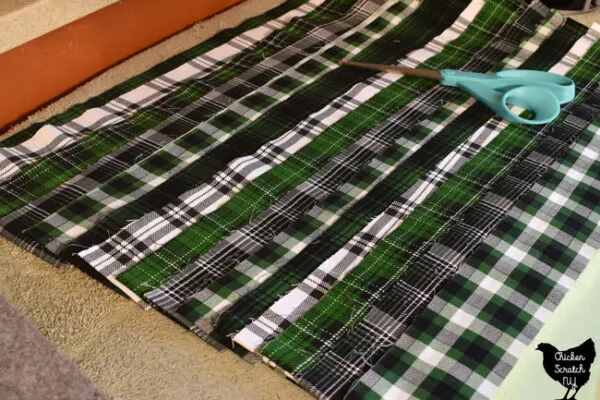
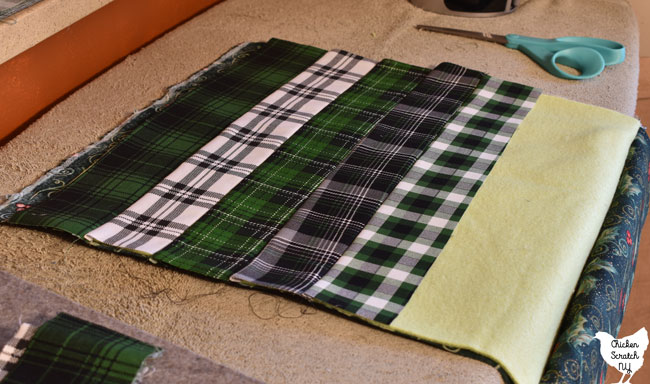
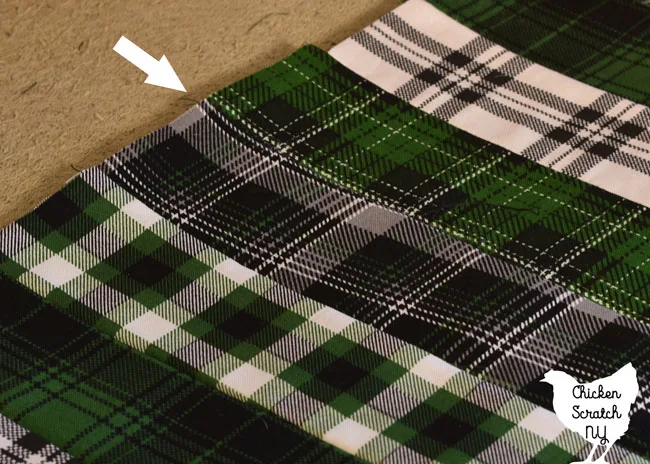
You might be looking at the picture up there and wondering how on earth I managed to get that one plaid print so wavy? Well, I didn’t, that’s the joy of jelly rolls, sometimes the precut fabric is just off.
I found a handful of strips in this set that were super wiggly. It sort of drove me nuts when I was sewing but once the whole thing was done I think it’s less noticeable.

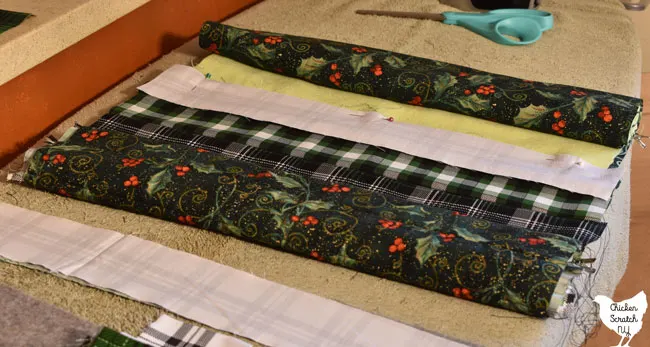
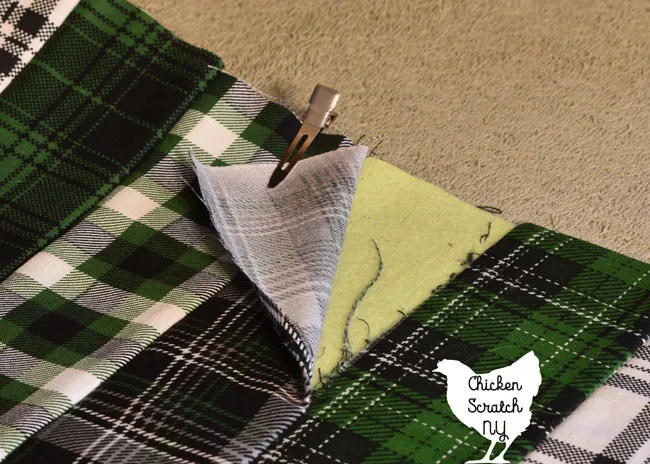
As you get further along on your runner it will start to get in the way when trying to stuff the whole thing under the sewing machine needle. I just roll mine up and secure it with a few flat clips.
The clips I use are from the hair aisle, they’re just flat metal clips with a spring that hold them closed. I like them more than pins because they don’t leave holes and I tend to move them around a lot.

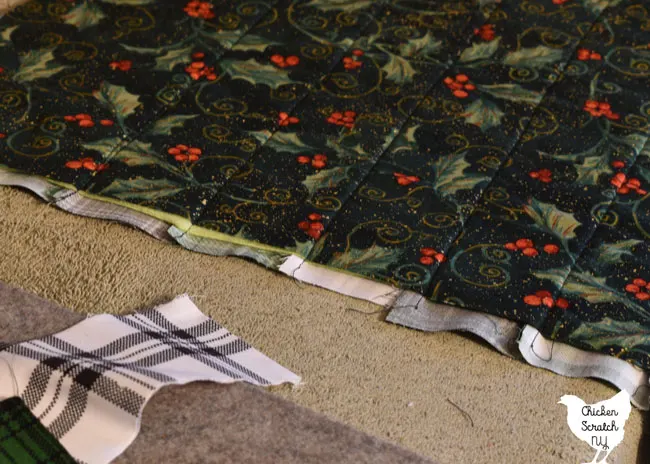
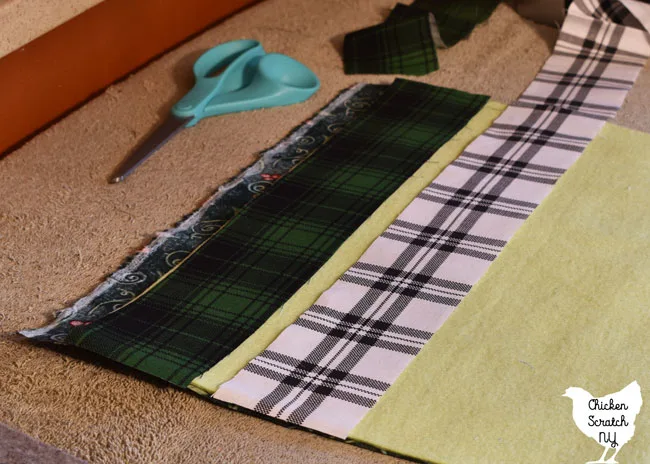
When you get all the way to the end flip your runner over and use your sharp fabric scissors to trim off the excess fabric. If you have a rotary blade set up go down the sides and slice off 1/8 of an inch or so for a nice straight line.
This image also shows those nice straight (ok, straight-ish) quilting lines. By the way, and I can not stress this enough, your lines do not have to be perfectly straight.
No one is going to whip out a straight edge to assess your table runner! If they do, kick them out, you don’t need that energy in your life.
The final step is to finish up with a binding. I’m going to hand this over to one of my favorite YouTube channels for this binding tutorial from Jordan Fabrics on YouTube.
Binding isn’t hard but it’s easier to learn from a video. I like to finish up my binding by hand, honestly I find it relaxing to kick back with a needle and stitch down miles of binding but you can also use your machine.
Fixing an Oops
I didn’t plan on sharing this but it turns out I’m not that good at sewing so I’m going to show you how to fix an area where you missed one of the pieces of fabric

The first thing you want to do is grab a seam ripper and pull out the stitches from the back. You don’t have to remove the entire row, just a little bit past where your issue starts.
Then grab an iron, holding the top piece of fabric out of the way press the bottom piece flat. Then use your finger to fold under the raw edge and hold it down, hopefully it will fully cover the bottom edge. Give it a quick press with the iron to hold it in place.

The final step is to add a line of topstitching right along the edge. I stitched the entire thing with black thread and it blended right in here.
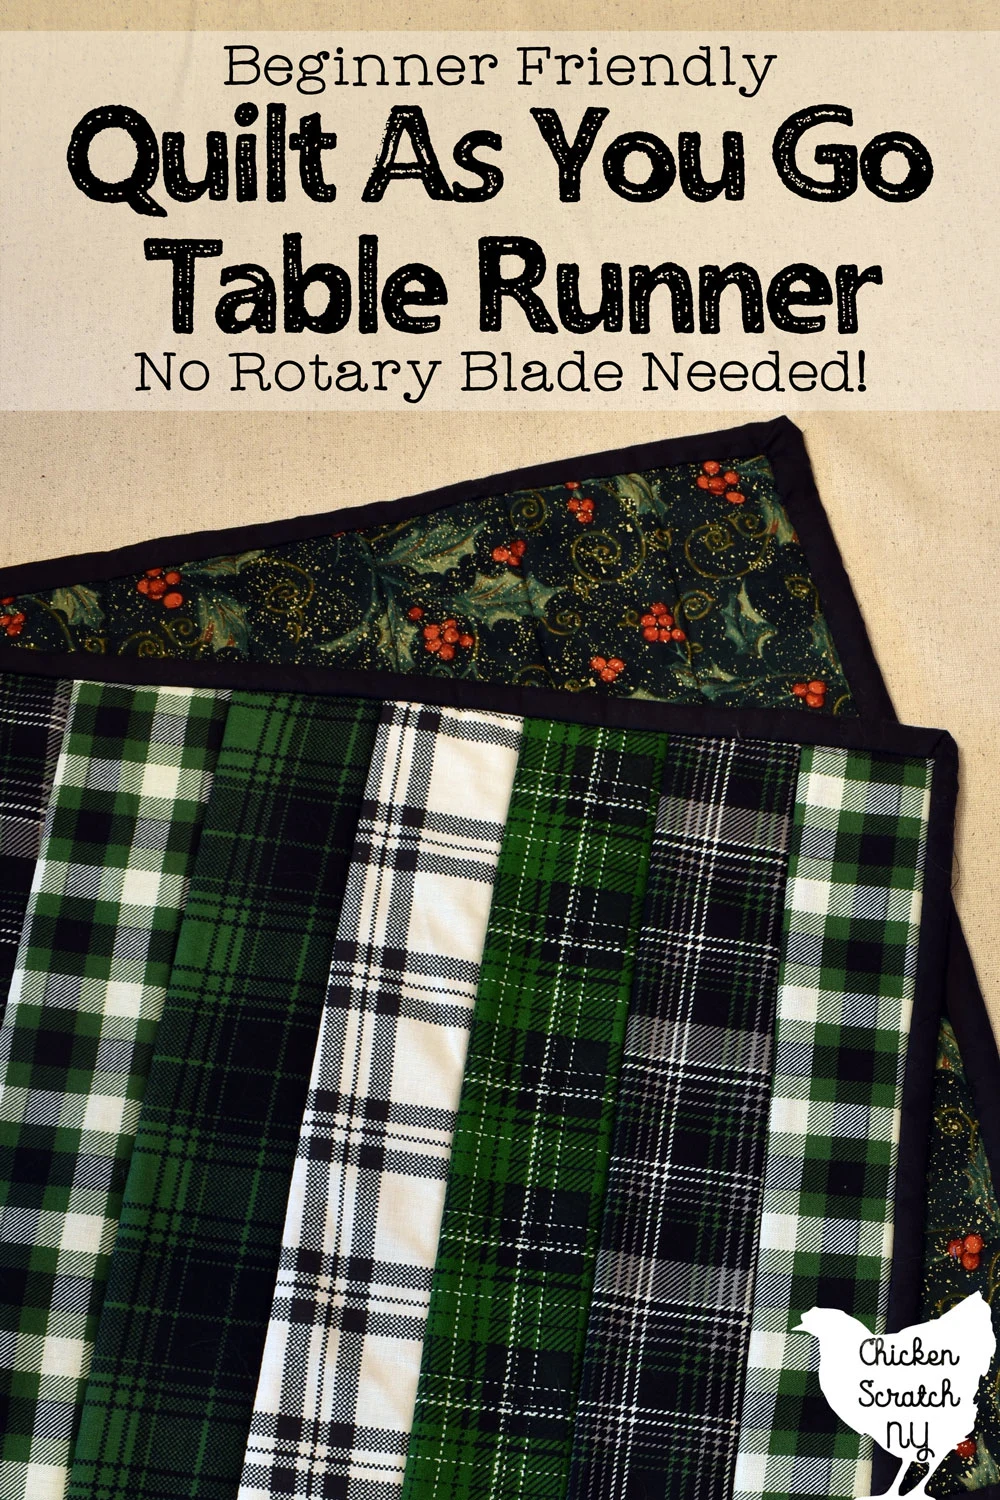
And there you have it! A completed quilt as you go table runner made with a jelly roll.
I love this runner because it really does double duty, the green plaids are perfect all year round and when I feel like getting festive I can flip it over to show off the green and gold Christmas holly.
If you make your own I would love to see it! Please share by tagging me on Instagram @AleciaCSNY or in my CSNY Sewing Facebook Group!
Check out my Sewing Page for more projects and ideas or start here: