In the hierarchy of old time forgotten skills you can’t get more useful than knowing how to sew on a button.
Sure it’s not as flashy as hand milking a herd of cows or building a house out of mud. But it’s probably going to come in handy more often.
Chances are petty good you’ve got at least one item of clothing that requires buttons. If you live in flannel shirts like me, it’s half your wardrobe.
Sometimes those buttons pop off or break and need to be replaced. Now you can leave your Grandmother alone and do it yourself, it’s not hard I promise! I’ll even walk you through the process.
My day job is at a sewing company, I usually do embroidery but occasionally get pulled into to help with the actual garment sewing. I’ve sewn on many, many buttons in my day. Over a thousand this year.
When you’re doing that many buttons it pays to be fast, I actually timed my self and I can sew on a regular 2 hole button in less than a minute. That’s not even rushing. It’s a bit fiddly so it might take a few buttons for you to hit that pace but you can do it.
They also have to be strong, or I’ll get fired. I can’t remember the last time we had a complaint about buttons falling off, usually if there is an issue it’s from a shell button getting shattered in an industrial laundry press.
Today I’m going to show you the fast and strong way to sew on a button. You will need a needle, strong thread, scissors and your button.
Speaking of buttons, there are two main types of buttons on clothing.
Flat Buttons
These are the standard, every day button. Flat buttons come in all different sizes, materials and with either 2 or 4 holes. Some of my favorite buttons are natural shell, they have beautiful colors and they’re all unique.
How to Sew on a Flat Button
Start with a needle threaded with two strands of thread. Check out my post on how to thread a needle like the pros for some tips. Tie a knot a the bottom.
Bring the needle up from the bottom and through one hole of the button.
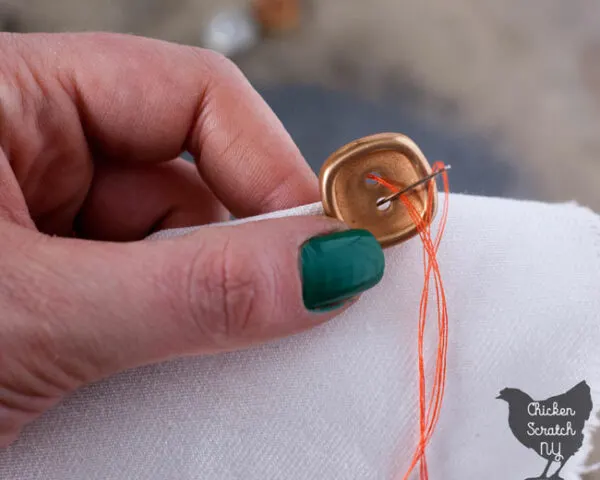
Fold the fabric and hold the button with your left thumb so one hole is over the fabric and one is above.
From now on you’ll only be working from top of the fabric, you don’t go to the back until it’s time to tie the knot, that’s what makes this much faster than the old up down up down method. Don’t stitch the button down tightly, you need a little give so we can make a shank.
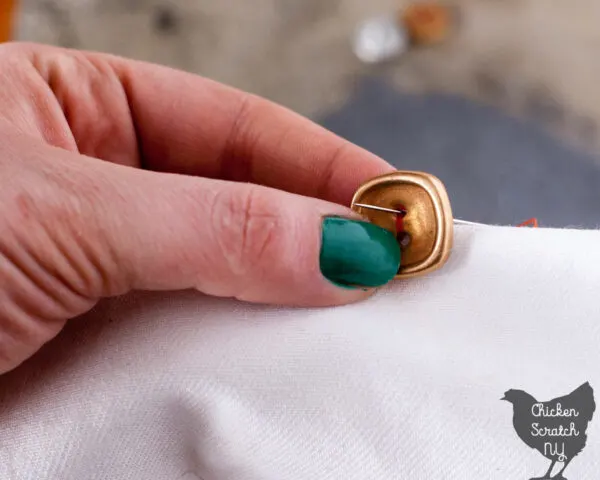
Push the needle away from you through the button hole and the fabric. When it comes out the back turn the needle and bring it through the top hole towards you.
Repeat a few times and stop with the needle to the back.
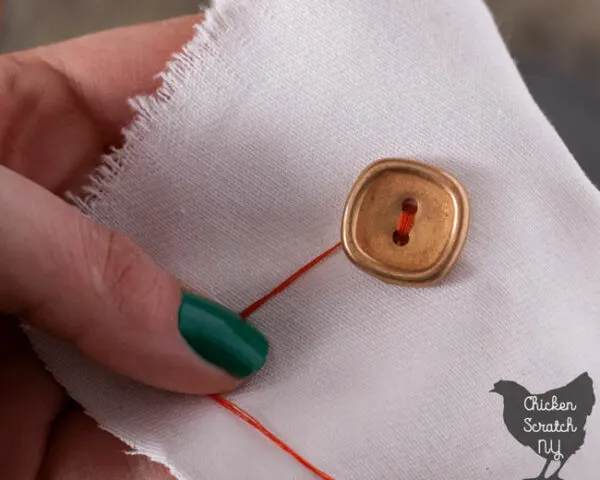 Wrap the thread around the stitches to make a leg. Push the needle through the fabric to the back and tie a knot.
It’s a bit fiddly until you get the motions down but once you do you’ll never go back.
Four Hole Buttons
At work we mostly use 2 hole buttons, I can’t tell you the last time I used a four whole button. When I have to sew on a four hole button I start out just like a two hole button. Make two loops of stitches.
Then fold the fabric the other way so the stitches you just made are right in the fold. Do two more loops of stitches and make your shank.
Shank Buttons
These buttons have a little leg that holds them up off the fabric, they kind of look like a mushroom. When you don’t look at the buttons from the top you don’t see any holes.
Shank buttons are less common on clothing than the traditional flat buttons but they are much easier to sew on.
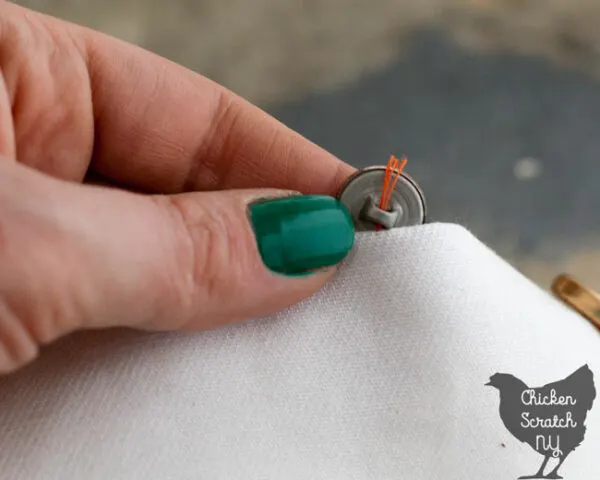
You start the same way, bringing the thread up from the bottom and going through the button once. Fold the fabric over and hold the button so the hole is lined up with the top of the fabric.
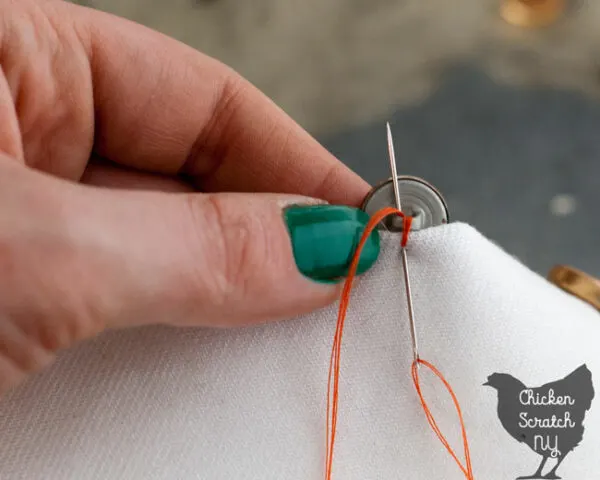
Go around a few times and then take the needle to the back and tie off.
I hope I’ve helped you pick up a new skill, or at least given you a faster way to get your buttons on.
Check out my fabric page for more ideas or start here:

Susan
Sunday 30th of May 2021
Showed this to Mom. Can’t believe we never thought of this! Lol
Thursday 24th of January 2019
L.ove your method for sewing on buttons. Can’t wait to try it