
Get ready to get spooky with this tutorial for easy Halloween Yard signs that will thrill and chill your neighborhood!

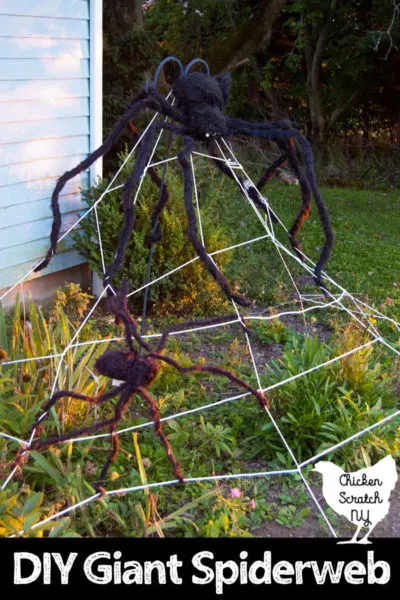
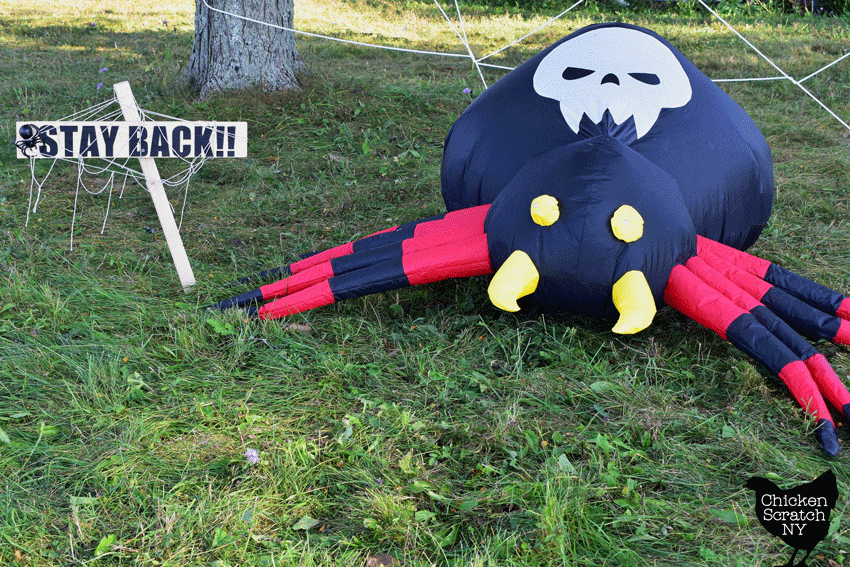
Every year the highlight of my outdoor Halloween decorations is the giant spider web. Occasionally I’ll change the orientation or location but it’s always big and it’s always covered in spiders!
Learn How to Make a GIANT Spiderweb for less than $10
This year my kids are a little older and a little creepier and they insisted on adding an entire bag of human bones to the display.
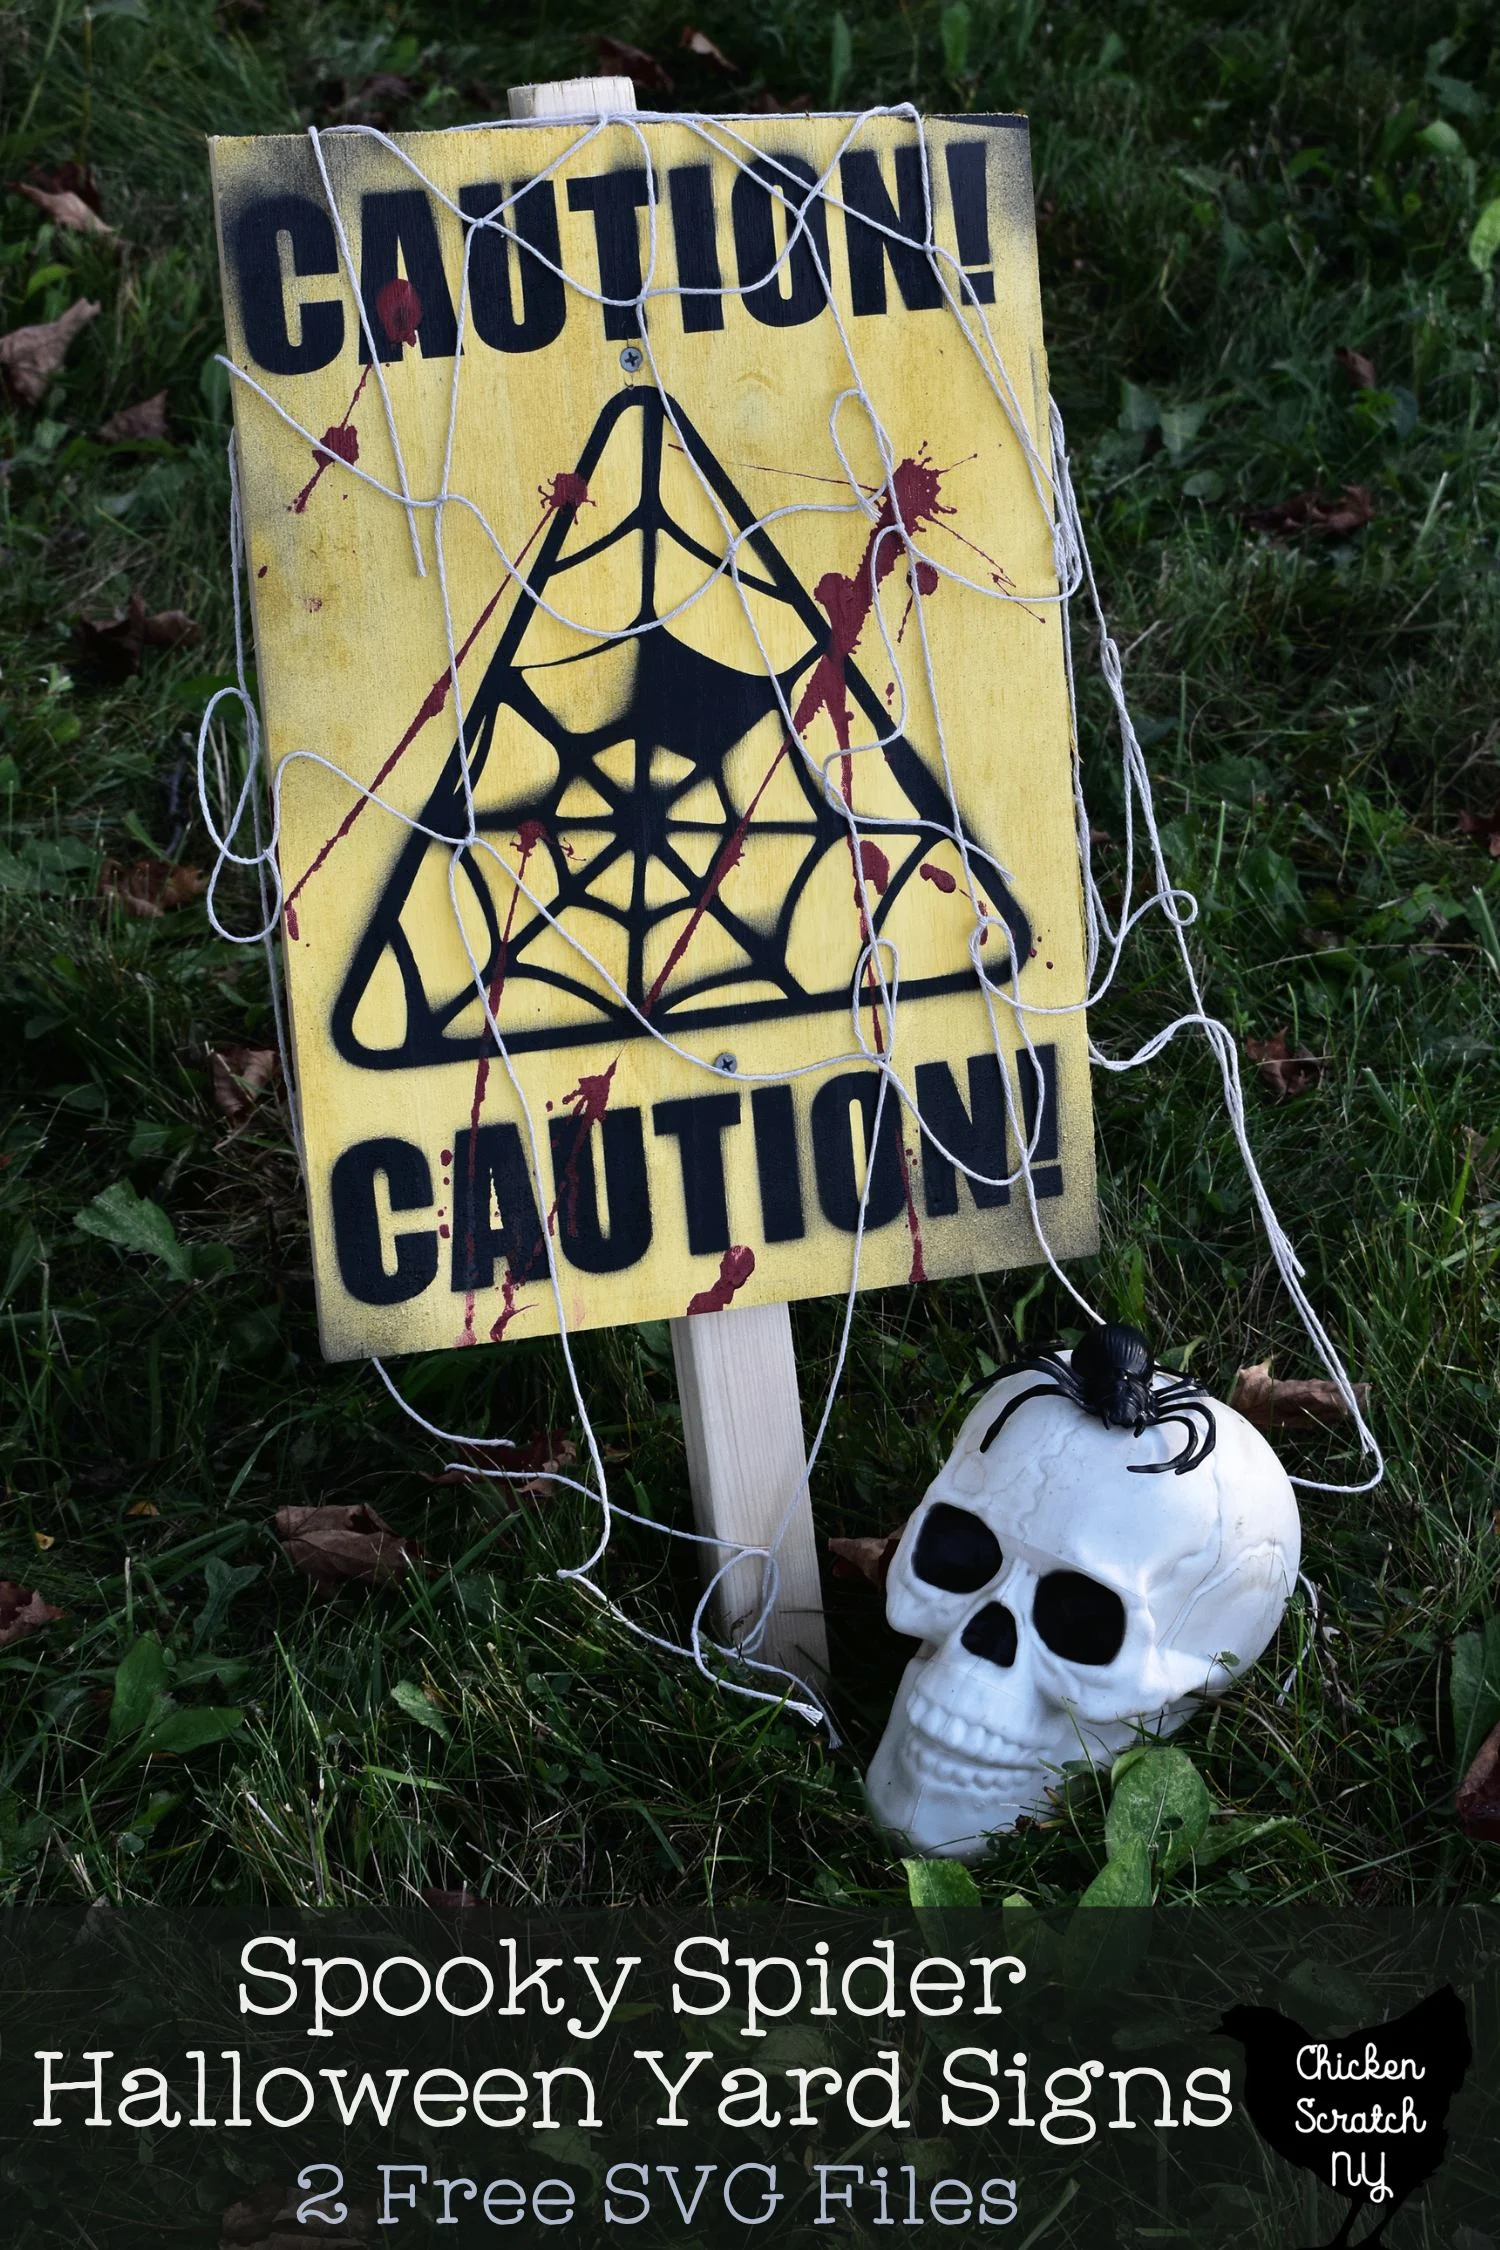
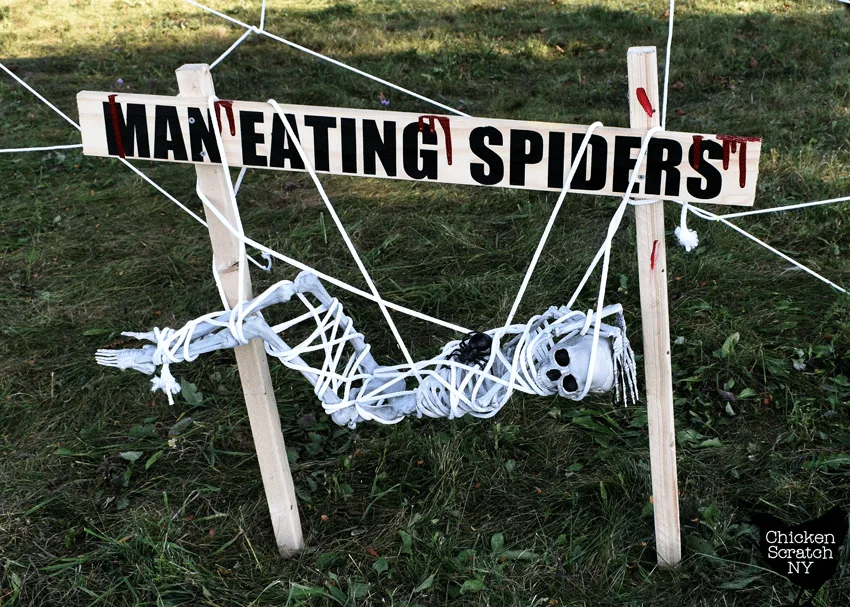
It turned out great and inspired me to make a set of signs warning everyone about the man-eating spiders on the loose (my daughters assured me they’re safe to play in the spider webs because they only eat adult men).
If you want to make your own I’ve included two free SVGs, feel free to resize to suit your space! I kept it simple using the Impact font which is free and should be just about anywhere if you want to switch up the words from spiders to bats, zombies or rabid narwhals.
MAN EATING SPIDERS STAY BACK cut file
How to Make Your Own Halloween Yard Signs
When it comes to my decorations I try really hard to avoid making single-use things so I turned to my scrap wood stash for this project.
Halloween is the perfect time to embrace chaos and use up the less-than-perfect stuff you couldn’t bring yourself to throw away but really didn’t have a use for.
I used a 6-foot 1×4 for the Man-Eating Spider Sign (cut into two pieces after I added the stencils) and an 11 x 16 x 1 board for the caution sign.
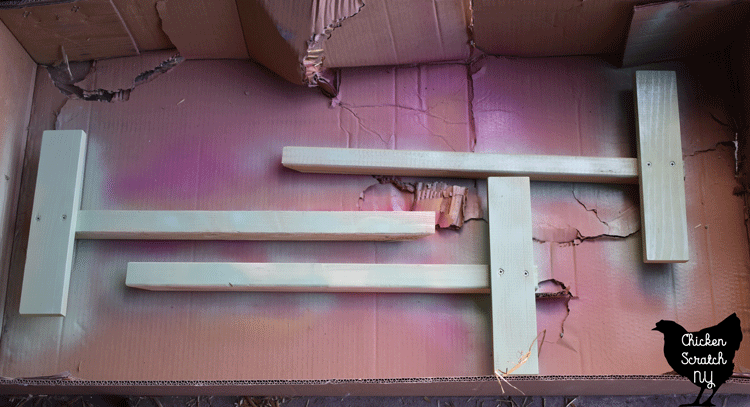
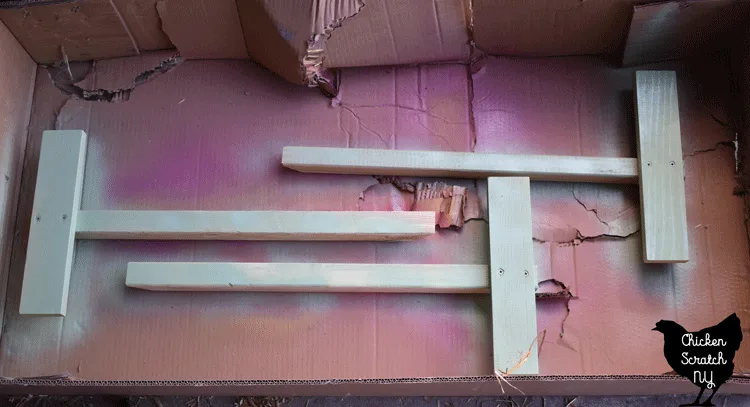
For the posts, I used a 2×2 cut at a diagonal to make it easier to pound into the ground. From a structural standpoint, these signs are almost identical to the Wooden Plant Markers I made for my garden last year.
They’re just bigger and a bit more haphazard.
I left most of the wood raw, it’s a nice fresh color now but after a few weeks in the sun and rain it should weather quite nicely.
I painted the front of the caution sign yellow (it’s “Squash Blossom” spray paint that I had leftover from my garden signs) just to mix things up a bit.
After painting it I realized how fuzzy the wood was and I should have sanded it but we both know I didn’t do that.
If you’re working with scrap wood I recommend opening up the SVGs and resizing them to fit the wood you have on hand.
If you have to buy wood, I highly recommend going with 1×4 lumber for the man-eating sign, the letters end up big enough to read from the road.
Once you’ve got the wood figured out it’s time to get to the real fun, cutting the stencils. I used Dollar Tree vinyl and I was able to get everything cut from one roll.
I’ve seen people talking trash about it but in my opinion, it’s perfect for making stencils! I did have to play around with settings when I first started using it but since I dialed that in it’s been smooth sailing.


After you’ve cut your stencils weed out the letters, keeping any of the centers in place, then transfer with transfer tape.
The flat board I used was a lot rougher than it looked and I couldn’t get the stencil to stick for anything, however, in the name of all things Halloween, I just went with it and blasted the board with black spray paint ignoring the potential for bleeding under the stencil.
After peeling off the stencil I even went back in with some more blasts of black spray paint just to drive home that ‘not perfect’ aesthetic.
Once all the paint is dry it’s time for assembly. The easiest and most accessible way to do this is with a drill and two screws.

If you want your signs to stay put you’ll need at least two screws per board, if you only use one they’ll eventually loosen and swivel around.
There is absolutely no reason to stress yourself out over getting the signs straight on the posts, in fact, I’m a big fan of making them super off-kilter.
Kinda like they’d be if a giant spider was breathing down your neck while you pounded it into the ground.
Speaking of pounding into the ground, my preferred method is to use a rubber mallet. It doesn’t damage the wood like a metal hammer, it’s not super loud and it gets the job done.
The signposts will go in a lot easier if you’ve had some recent rain to loosen up the soil.
I think the signs are perfectly creepy on their own but I’m contractually obligated to take things too far in October so I used some cotton string from Dollar Tree to make webs and added a few fake spiders.
There wasn’t much of a plan with the string webs, I just knew I wanted lots of little strings hanging down to move in the breeze.
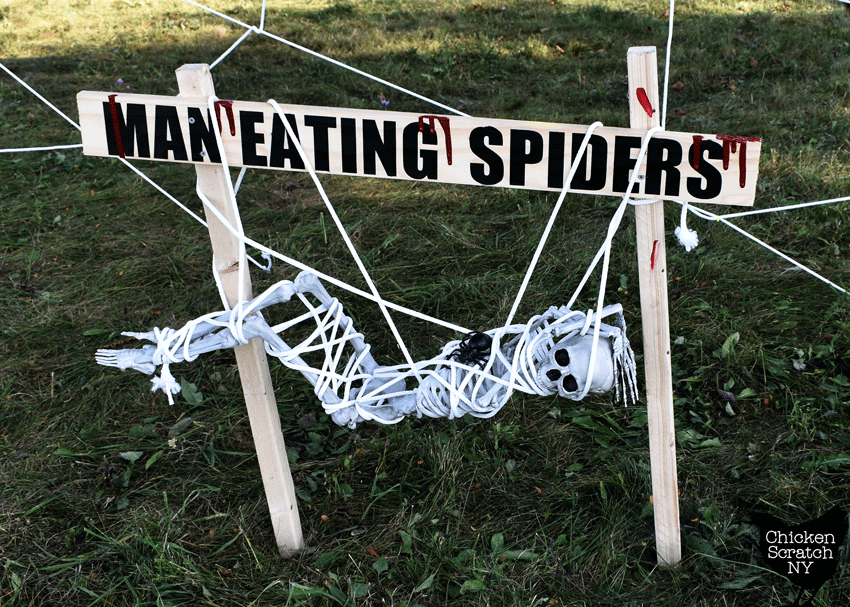
And took some high gloss craft paint out to add some much-needed blood splatter and drips.
In order to really drive home the ‘man eating’ element I grabbed a small skeleton that I picked up at Michael’s for $10, wrapped it up in the leftover clothesline from the main web, and tied him to the sign.
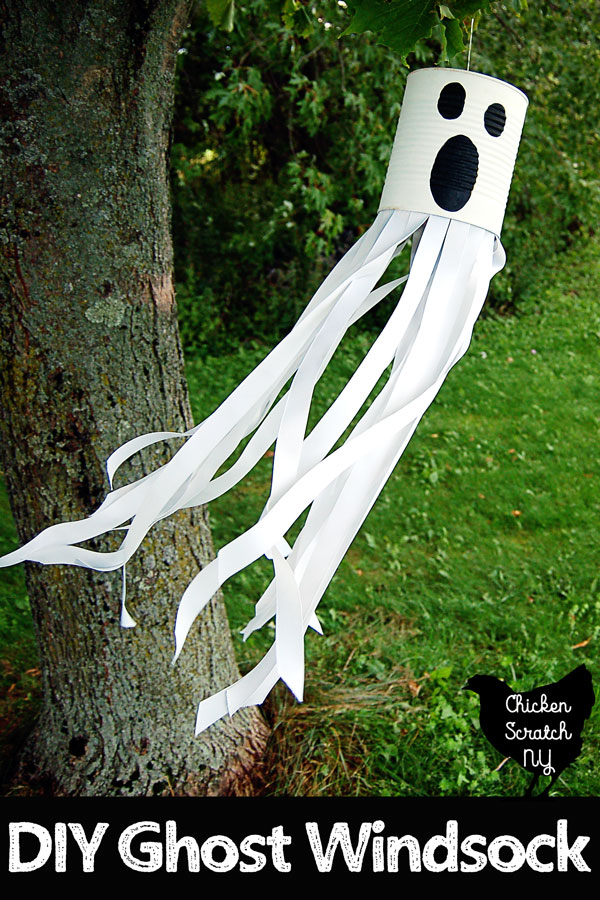
Looking for more bloody good fun? Check out these creepy tutorials:
Setting up the spiderwebs is one of our favorite parts of fall and it was fun to take it to a creepier level this year. It’s hard to predict where we’ll go with it next but I’m sure it will be just as fun and spooky!
Check out my Halloween Page for more spooky fun or start here: