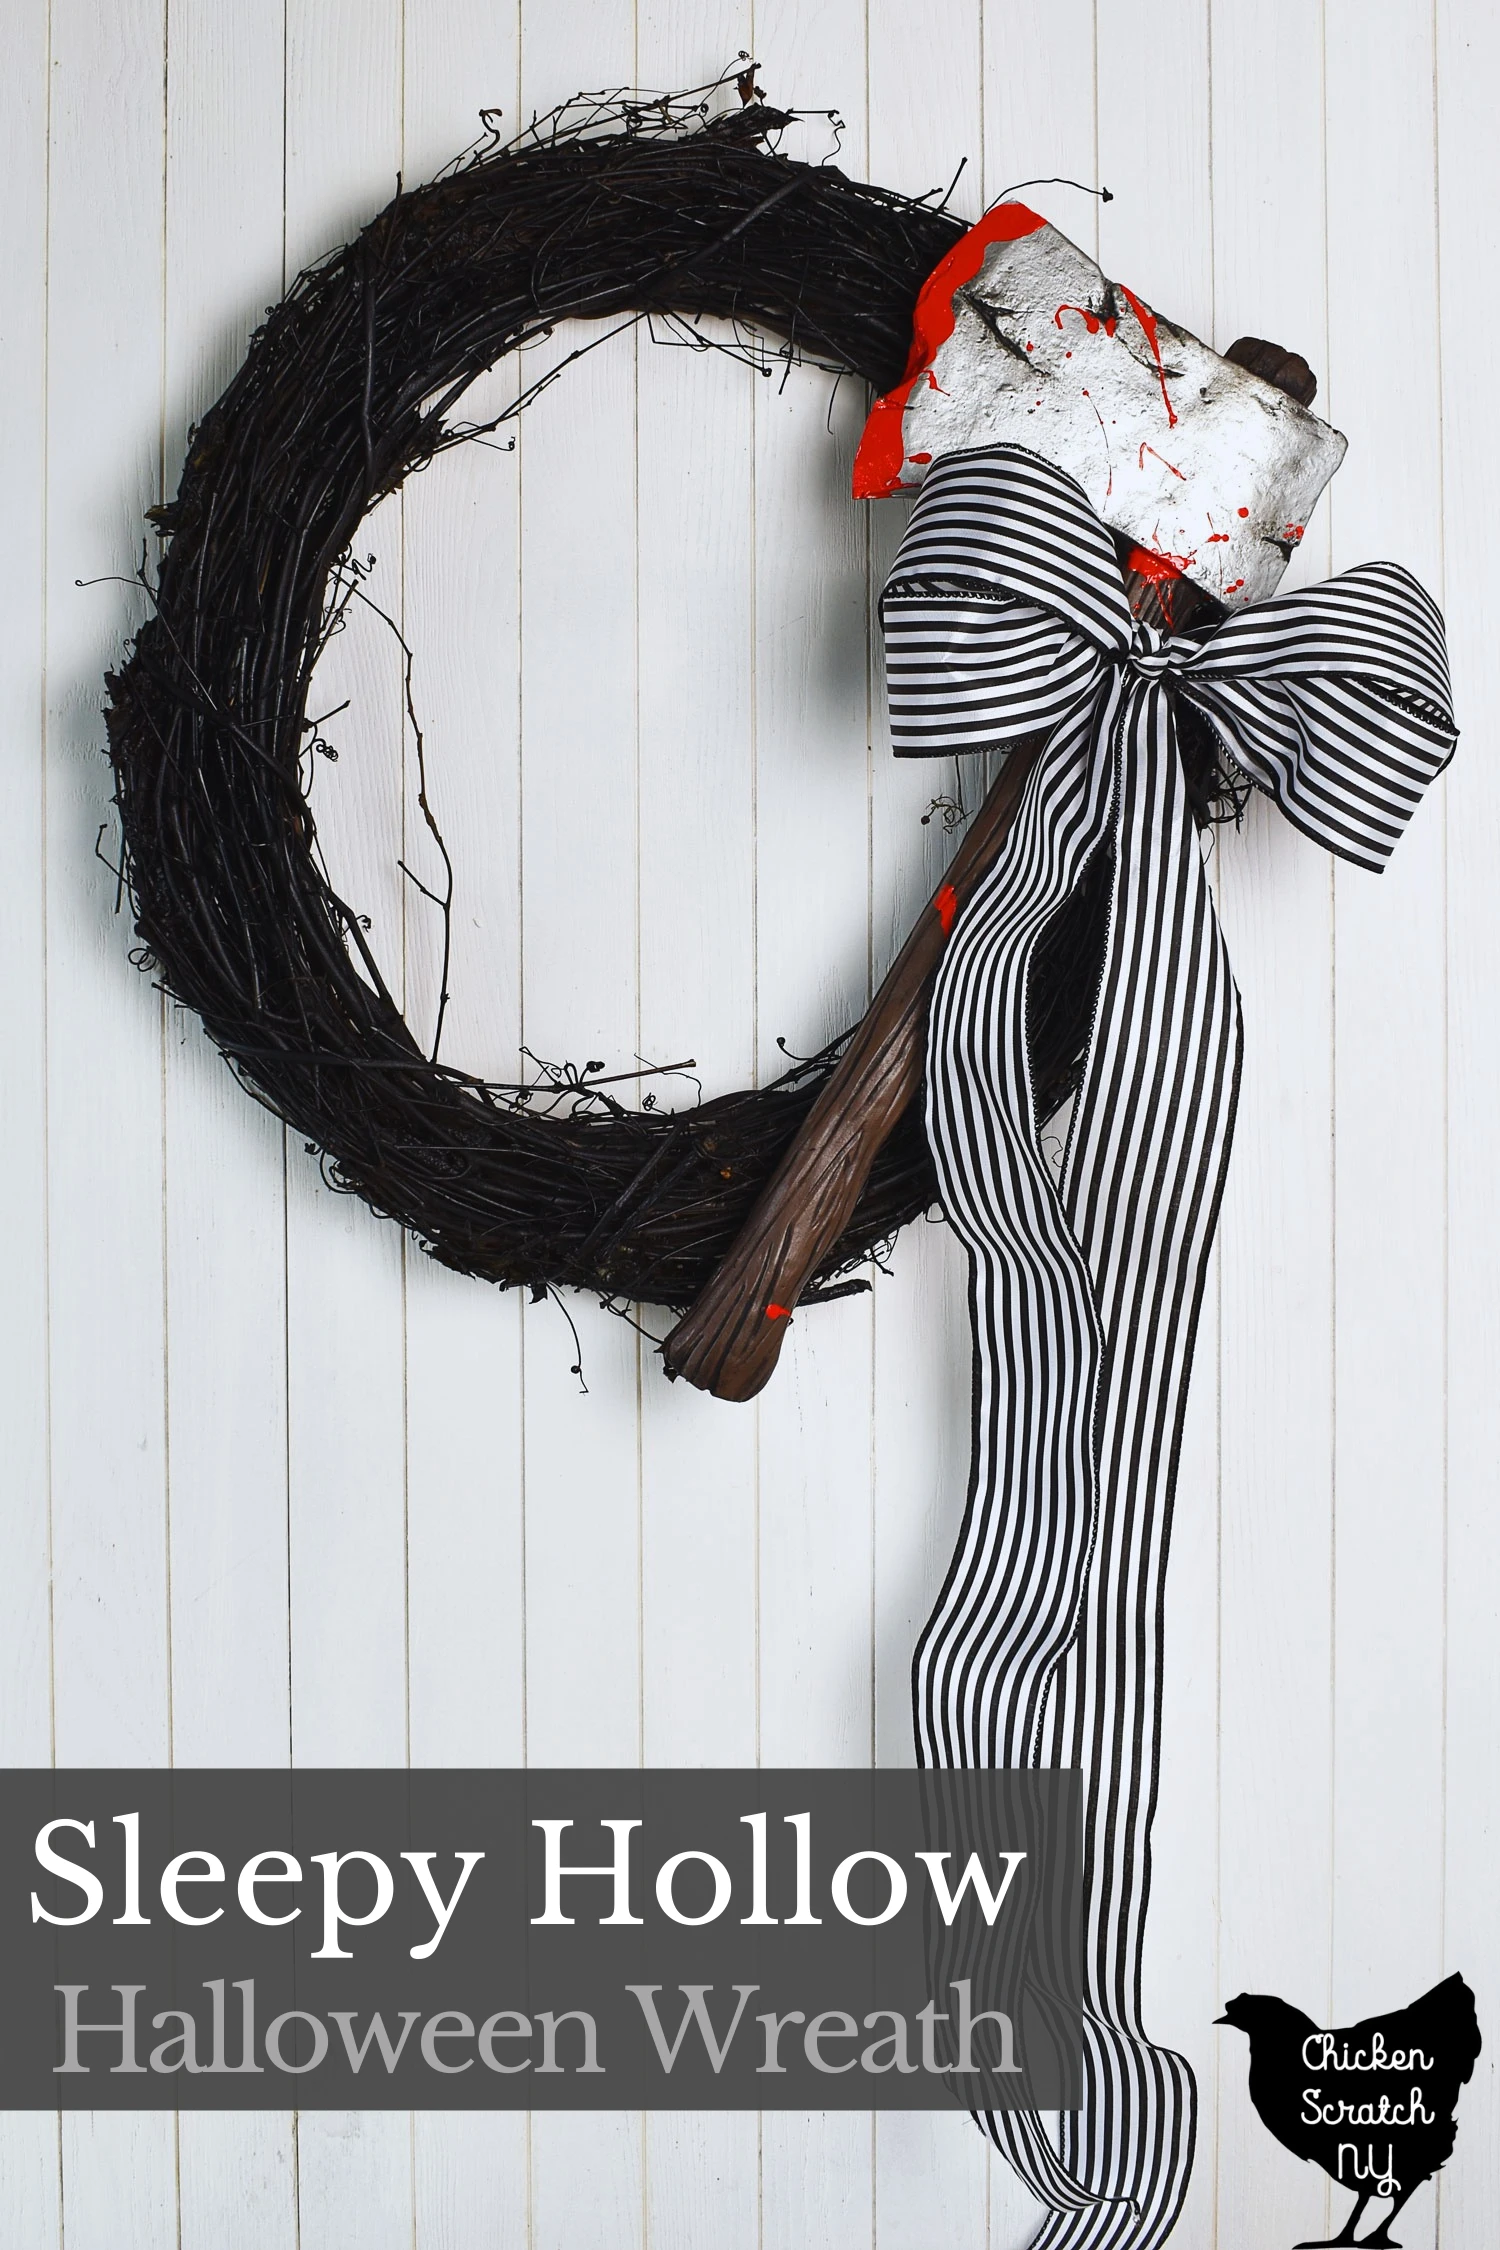
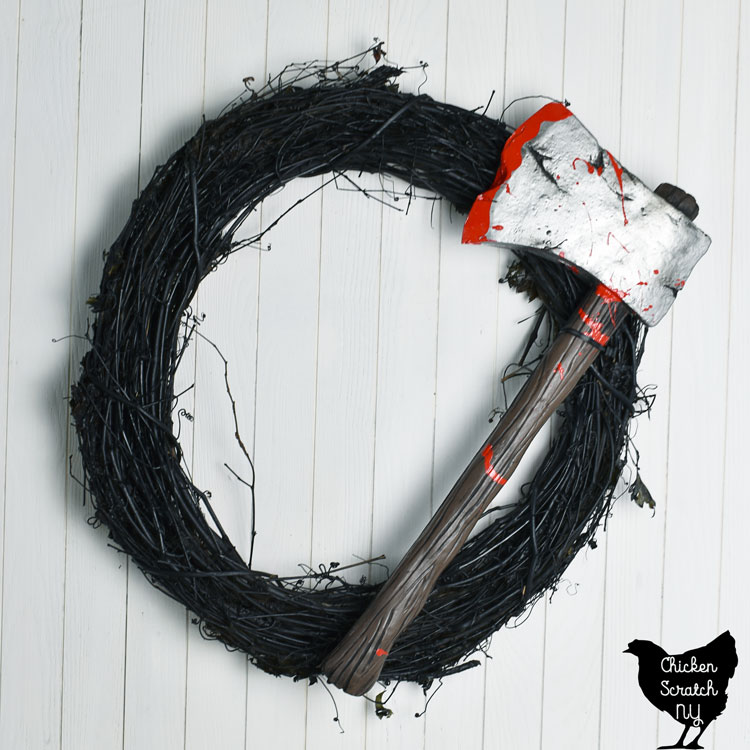
This Halloween wreath tutorial is sure to be a huge hit with fans of Tim Burton’s Sleepy Hollow. It’s made with simple supplies and I promise you’ll be warning all your guests to “watch your head” when they pass by your door!

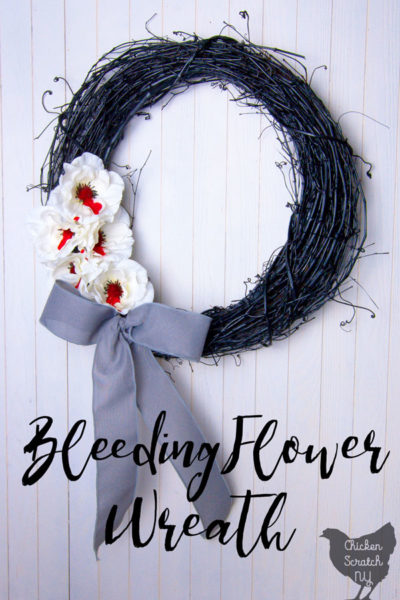
I’ve been a fan of subtly spooky wreaths for a while, one of my all-time favorites looked perfectly normal from the road but up close featured beautiful flowers dripping bright red blood. This wreath is a bit less subtle but just as simple to put together.
Sleepy Hollow Inspiration
In my mind, this wreath is obviously inspired by Sleepy Hollow. I was confident in that until I had to walk my sister through the entire plot of the movie before she could guess what movie it was.
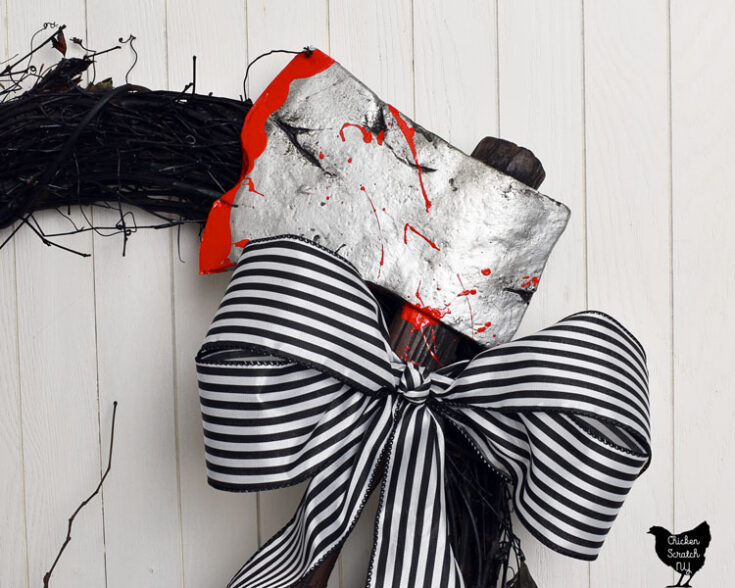
The Huntsman used an ax to chop of the heads, hence the ax with ‘blood’ on it. And the ribbon is a direct call back to the iconic black and white striped dress in the final scene of the movie.
Halloween Wreath Preparation
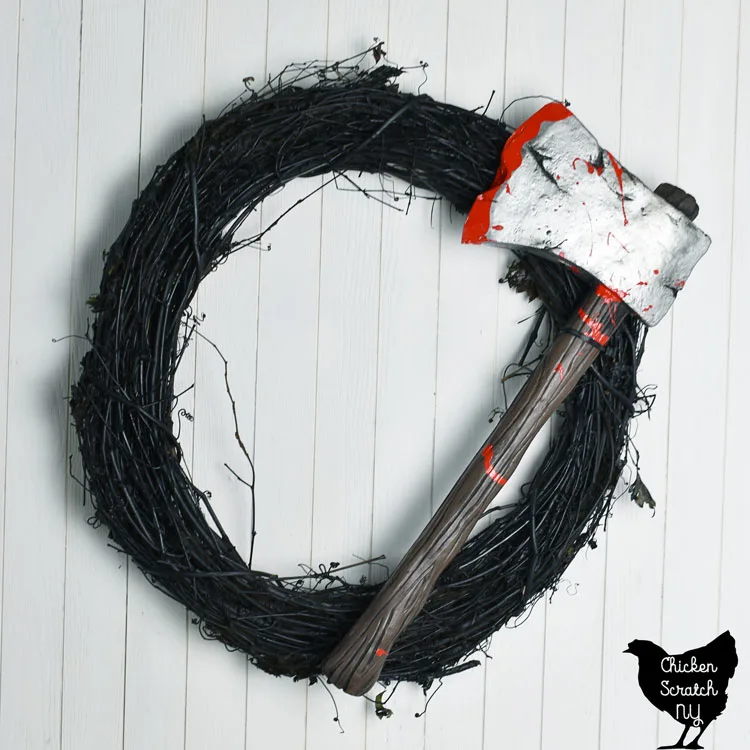
The base of this project is an 18-inch grapevine wreath. You can keep it natural but in keeping with the dark and spooky vibes I gave mine a quick blast of spray paint.
We’re not trying to make it 100% black, that would take forever and a billion cans of paint. Instead, we’re just making it darker.
The best way I’ve found to spray paint a wreath is by laying it flat on a sheet of cardboard. Give it several passes from all different angles and let it dry overnight somewhere it’s protected from the elements.
Then the real fun begins.
Bloody Halloween Ax
You will need a fake ax and some high gloss red acrylic paint for the main focal point of the wreath. Just a warning, this is a messy process and you’ll want to do it outside.
I ended up finding this axe at Spirit Halloween. They had a few different options including one that was only $7 but it was too big.
This axe is made from dense foam and both the ‘metal’ of the blade and the ‘wood’ of the handle look realistic. It was about $15 and I used a 20% off coupon.
The paint I used is a high gloss acrylic from DecoArt in the color True Red. I like the high gloss paint because it stays shiny and looks like fresh blood forever.
I used the Tuscan Red color for my Bloody Candle Holders, it’s a bit deeper and still looks like blood, I just wanted the brighter color for a more eye-catching contrast.
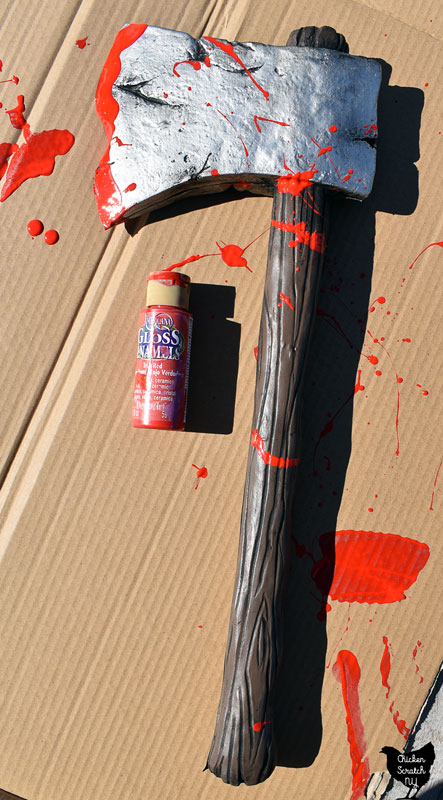
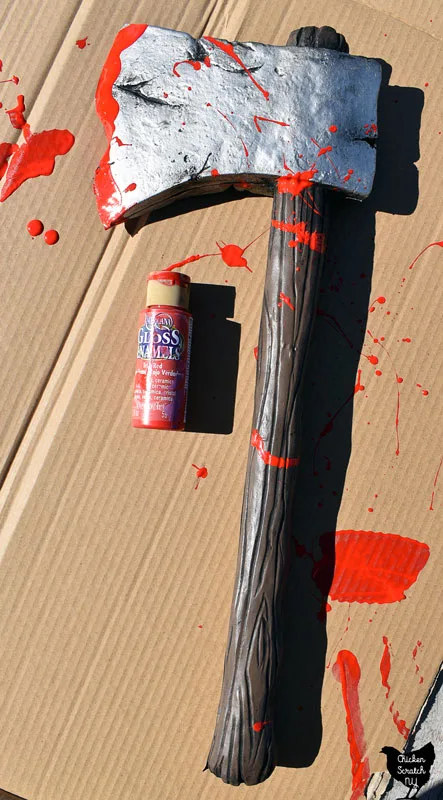
You won’t even need a brush for this, just take the paint right from the bottle and squeeze it along the “sharp” side of the blade. Gently bang the opposite side of the axe (where the handle is) on the ground to move the paint around.
If you want splatters, get some paint on a brush and flick it. You can also do this with your fingers, but it might take a day or two to get all the paint off…
Now you’ve got to give all the paint time to dry. The wreath will dry fairly quickly but the blood on the axe will take a while, especially if it’s thick.
Looking for more bloody Halloween DIY projects?
How to Make a Large Bow
Once the paint is dry it’s time to attach it to the wreath and make a nice bow. You can use hot glue to stick it on but I used zip ties to place my ax and my bow.
I find the wreath forms tend to outlast the decorations and using zip-ties or wire makes it easy to reuse the grapevine wreath again next year.
You can use any wire-edged ribbon for this style of bow. I went with the black and white stripe as a nod to Katrina’s dress in the final scene.
I bought a spool of black and white striped ribbon from the Halloween section at Michael’s, it is 2.5 inches wide and 25 yards long. And I still have ribbon left after making my bow.
This is a simple wreath bow that might be a bit confusing the first time you try it but I promise it will all come together! Instead of actually tying a bow we’re going to build it in pieces.

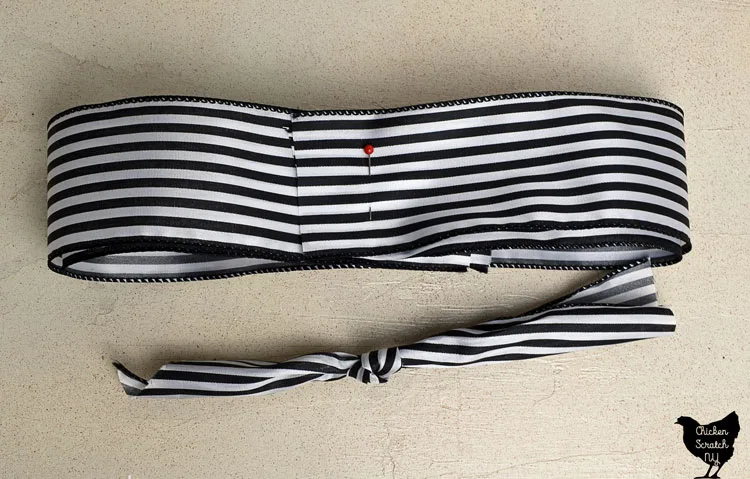
Cut another piece of ribbon, about a foot long, and tie a knot in the center of it. This is going to be the center of the bow.
My ribbon was pretty flimsy so I added another section of ribbon so I was knotting 2 thicknesses together.
Next, we’ll be making the bow loops. This is where that wired edging on the ribbon really comes in handy, it will give the bow some volume and keep it from drooping.
I wanted a double bow with two loops on each side so I used two pieces of ribbon, if you’re using a wider ribbon you might only want to use one.
Cut one piece of 24-inch long piece of ribbon for each set of loops. Fold them so the ends overlap in the center by a few inches. I stuck a pin in there to hold everything together for photos, that’s not necessary.
The final piece is the bow tails, I like a dramatic bow and I used about 6 feet. Cut both of the ends off at an angle and fold the ribbon roughly in half. I like it when one side is a little longer than the other.
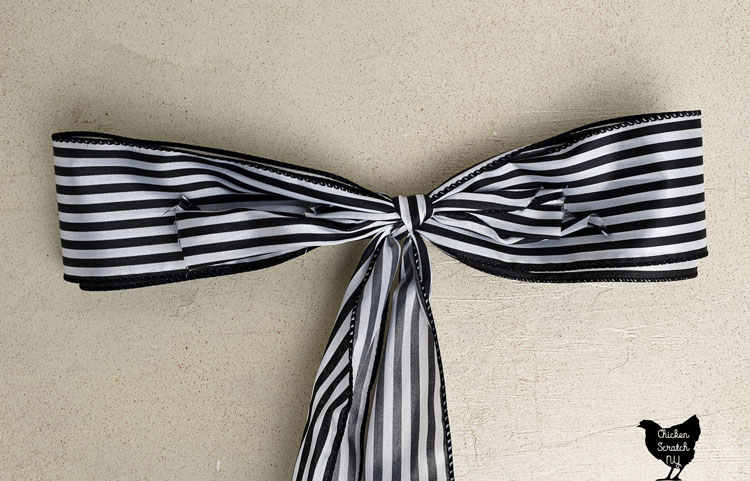
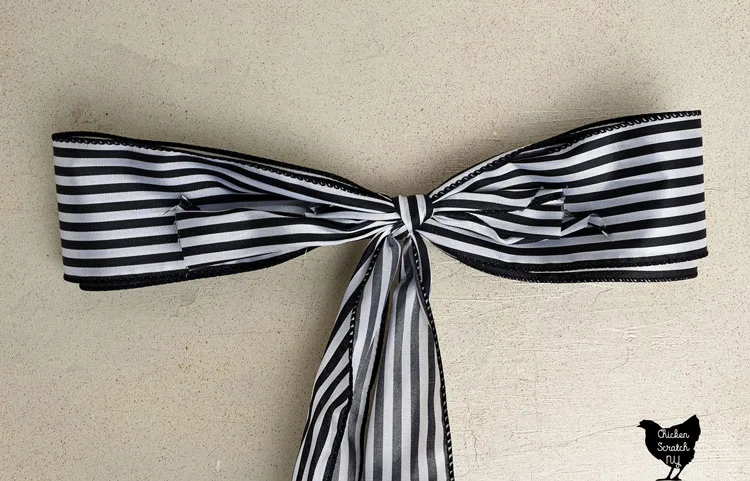
Now for the magic trick! lay the knotted piece with the twisted side down and place the loops and the center of the tail piece over the knot and tie it shut as tight as you can.
It’s going to look pretty bad at this point but trust me. Flip the bow over, separate the loops, and round them out.
Stick another zip tie through the knot and use that to attach the bow to the axe.


And now you’re done!
Sleepy Hollow Inspired Halloween Wreath

This Halloween wreath tutorial is sure to be a huge hit with fans of Tim Burton's Sleepy Hollow. It's made with simple supplies and I promise you'll be warning all your guests to "watch your head" when they pass by your door!
Materials
- Grapevine Wreath Form
- Black Spray Paint
- Fake Axe
- Red Gloss Paint
- Black and White Striped Ribbon
- 2 Zip Ties
Instructions
- Lightly coat the grapevine wreath with black spray paint, let dry
- Squeeze the red paint along the blade of the axe and tap to distribute the paint in a drippy fashion, add paint splatters for a fresh murder look, let dry
- Make a bow wit the striped ribbon
- Zip tie the axe and the bow to the wreath
Notes
See the full tutorial for a step by step bow tutorial & axe painting tips
Check out my Halloween Page for more ideas or start here: