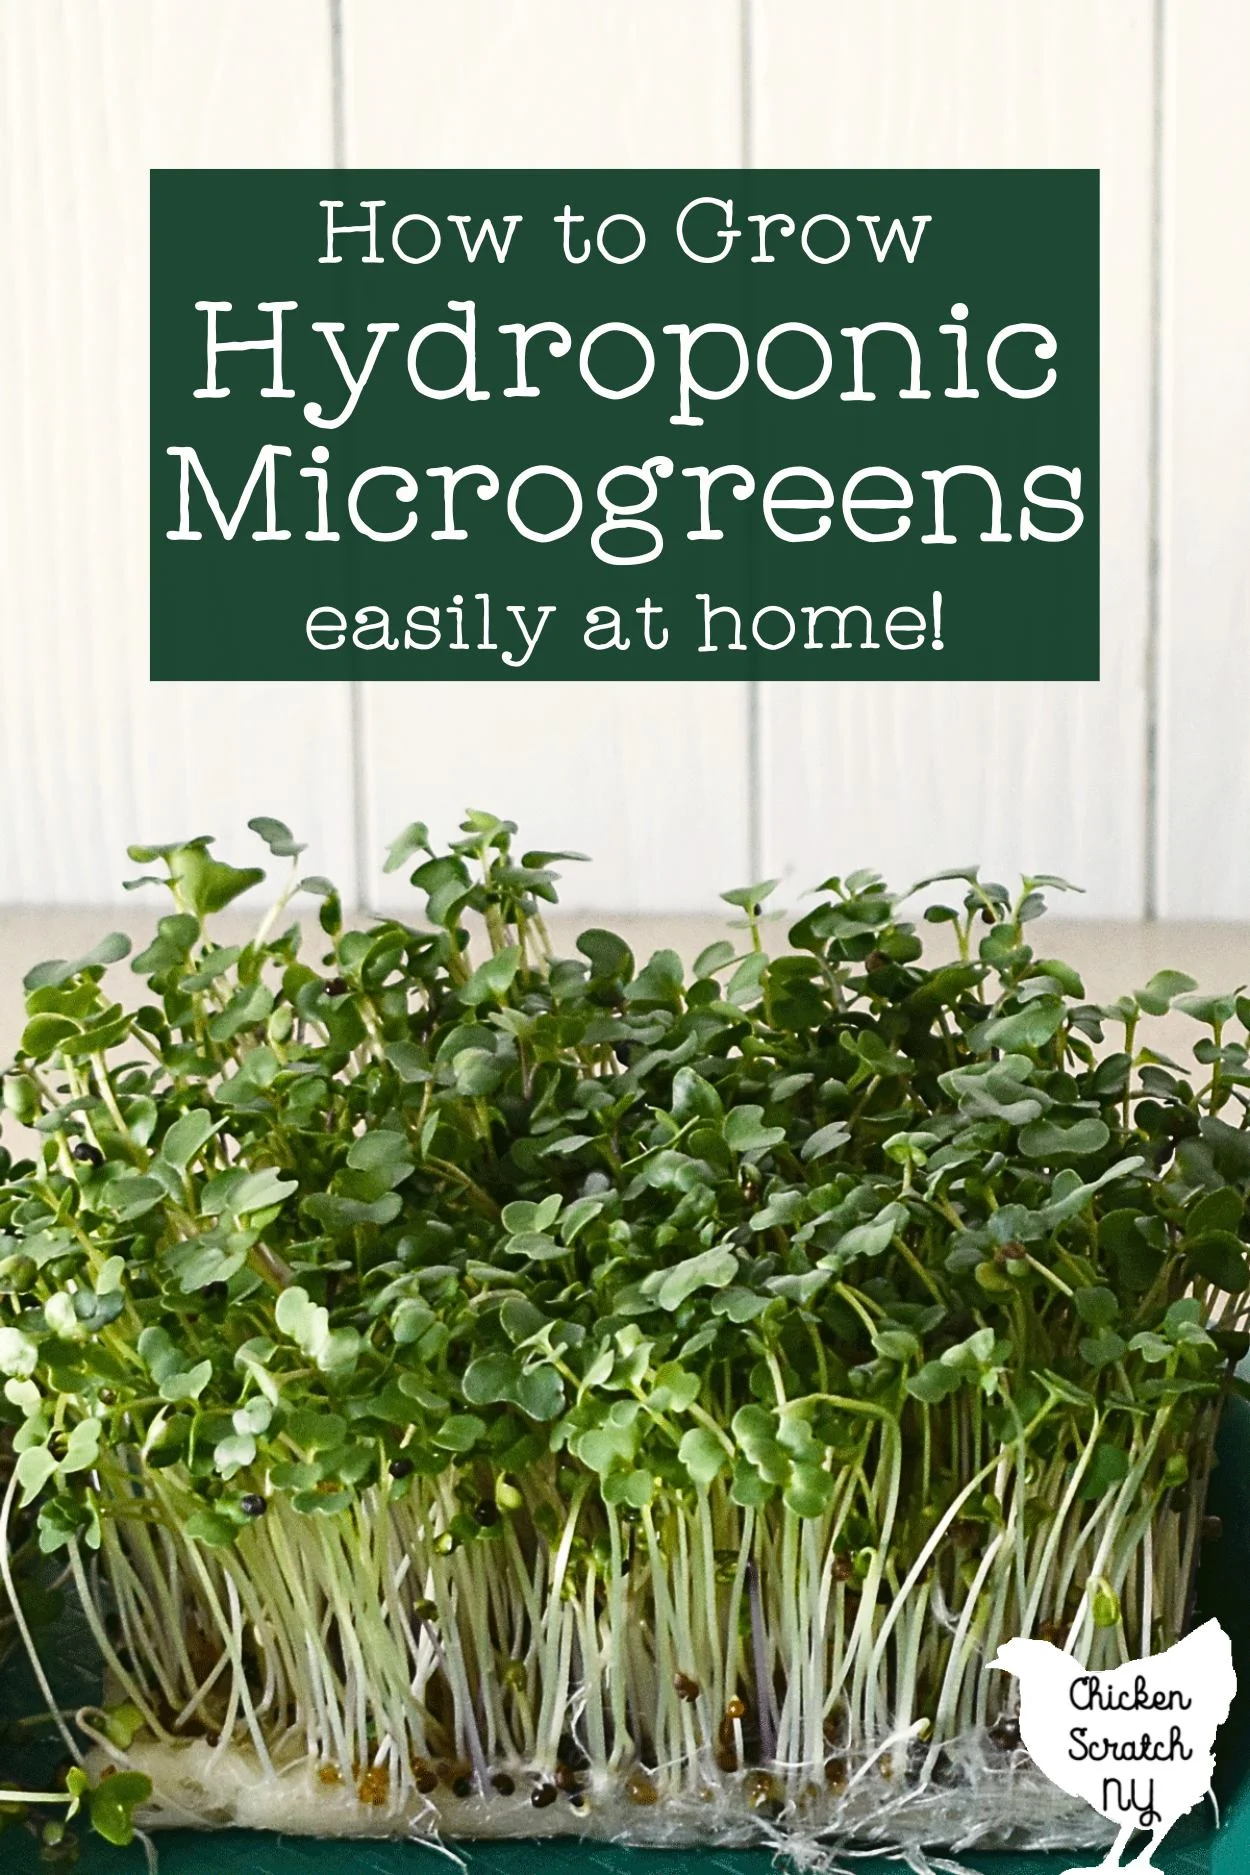
You don’t need 100 acres or even a backyard to grow your own food when microgreens are on the table! Microgreens are perfect to fill that empty space in your heart (and stomach) without going broke or sacrificing your entire kitchen table.

If you live somewhere with seasons it can seem impossible to grow your own fresh food year-round. At least without a greenhouse and an elaborate heating (or cooling) system.
I grew way too many at once for blog post research but once things have calmed down a bit I’ll be happy with a 1010 tray with two sections for sunflowers or peas, and two trays of succession planted brassica mixes.
Perfect for Small Spaces
If you live in an apartment and you’re desperate to eat something fresh that didn’t cost 3 arms and a leg you really should think about growing some microgreens (or sprouts)!
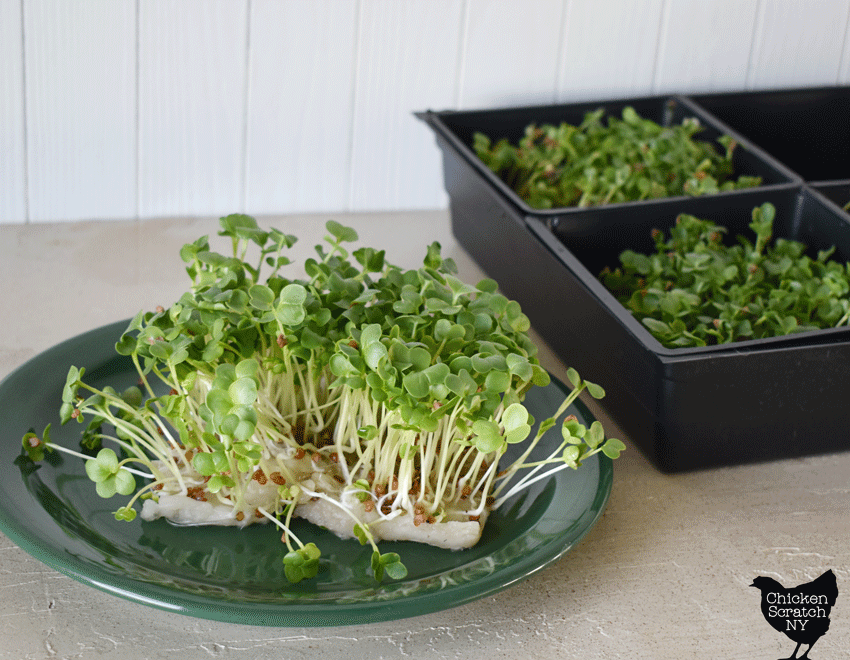
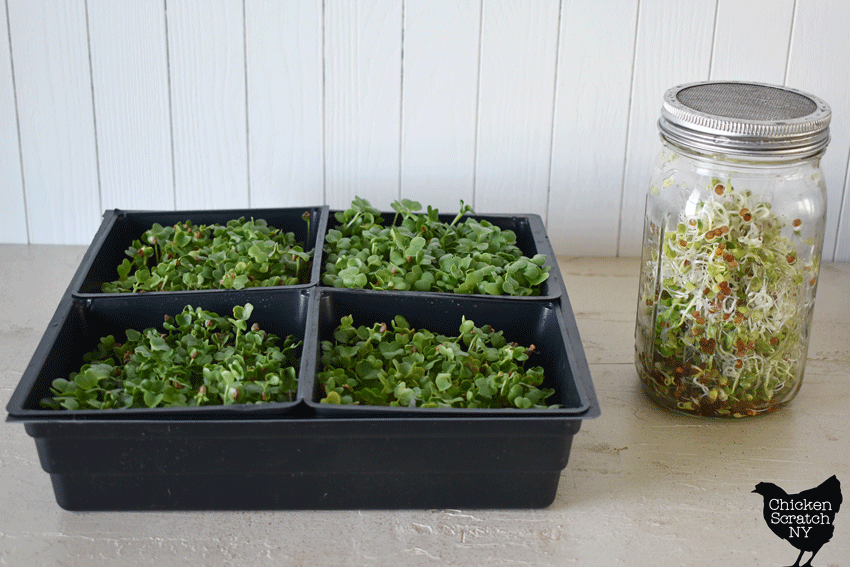
You can grow a full crop of microgreens in a 5×5-inch container and a set of four is perfect for getting a variety and doing a little succession planting.
I’ve dabbled with random takeout containers but these days, I use 5×5 trays with holes in the bottom to grow my microgreens.

When I’m not growing a ridiculous amount for research purchases I’m happy with 4 small trays that fit in a 10×10 tray on the counter.
That way I can get some variety and keep everything in or near the kitchen so I don’t forget it exists…
I’m a big fan of small batches because microgreens have a fairly small window when they’re at their best and you’re better off having a few plantings a couple of days apart instead of one big one.
Low Start-up Costs
As far as gardening goes, sprouts are the easiest, requiring the least amount of space and equipment but they’re followed closely by microgreens.
Read more about Growing Sprouts for Fresh Food Anytime
Unlike starting a full garden where you need tools, soil amendments, and potentially a $100+ bed all you need to grow your own microgreens is a tray, water, seeds, and either soil or a hydroponic growing medium.
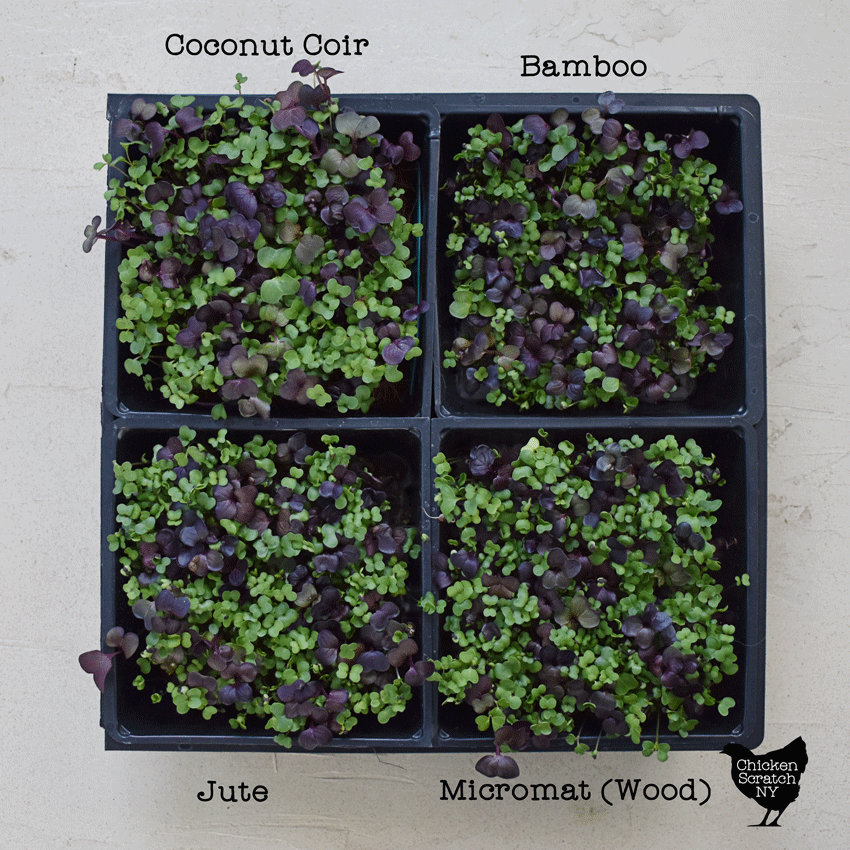
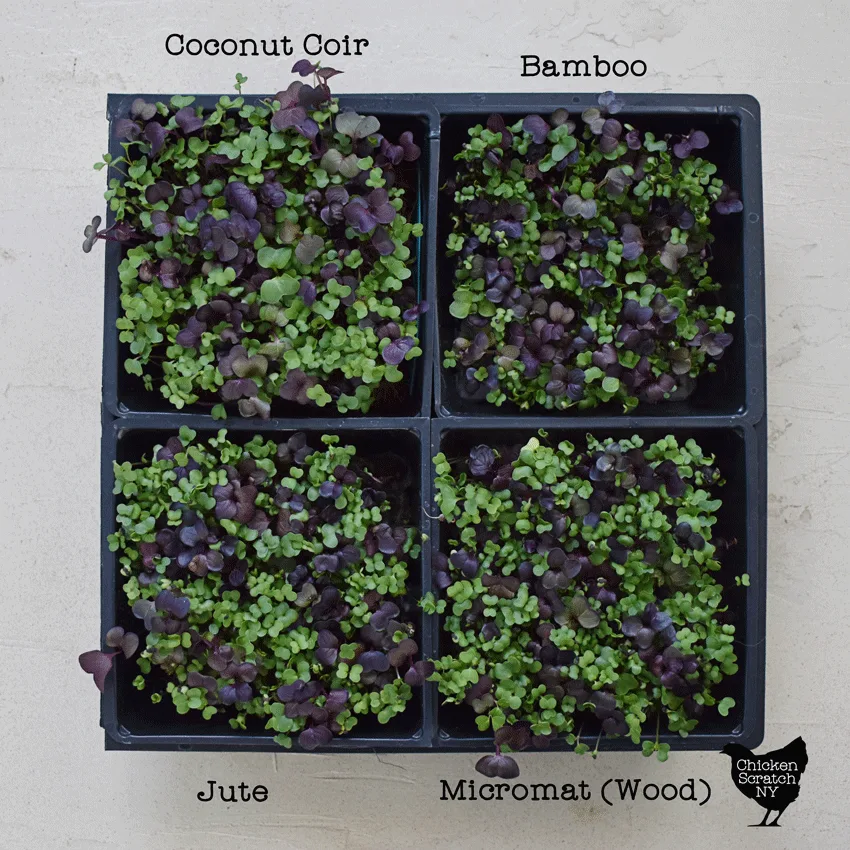
I’m a big fan of the hydroponic methods, the mats aren’t that expensive when you break it down to a per-tray basis (around 24-34 cents per 5×5 tray), and they’re much cleaner and a lot easier to store than soil or a soilless mix.

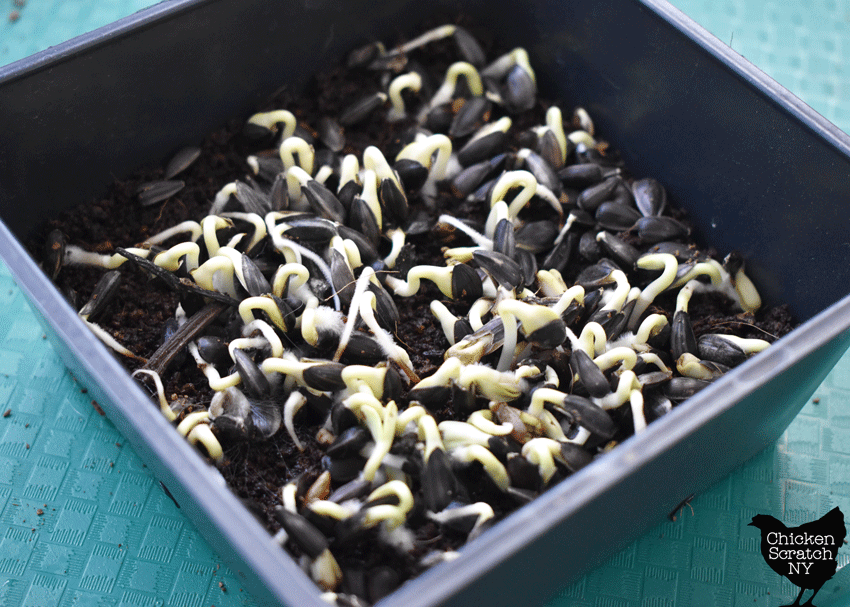
Some types of microgreens grow best in soil (peas & sunflowers are two of my favorites) and if you want to grow those I recommend keeping a few pucks of compressed coconut coir on sale like Minute Soil. It’s a lot easier to store than a big bag of potting soil or seed starting mix!
As far as containers go, I’ve successfully grown microgreens in old takeout containers in the windowsill but you’ll have more consistent results with a grow light and perforated trays that drain excess water.
The most important thing is your seeds, you really want to make sure you’re planting seeds meant for eating as microgreens (or sprouts).
The seeds will likely cost a bit more but they’ll be cleaner and you won’t have to worry about them being coated in anything nasty like fungicides or pesticides.
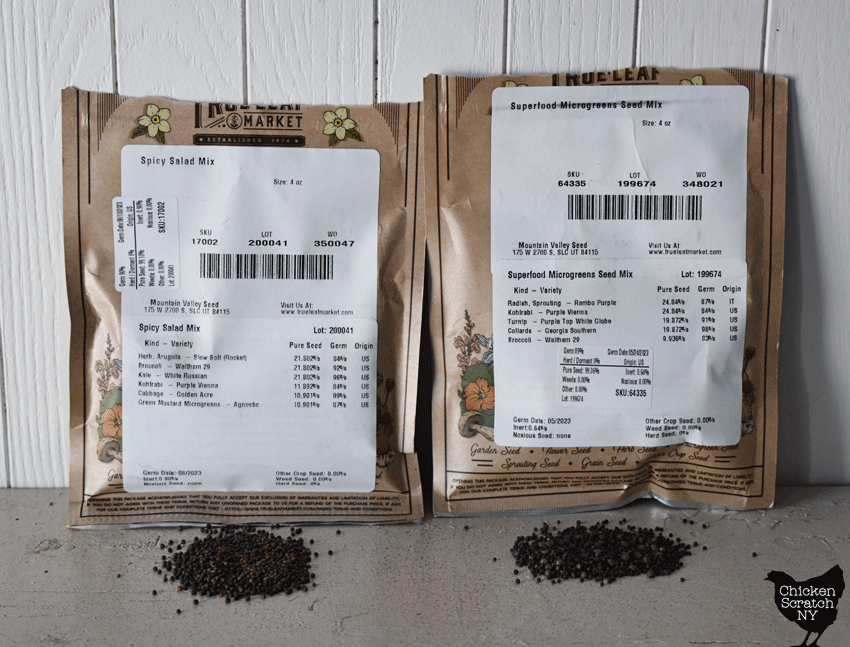

Seeds from microgreens tend to be sold in larger quantities than typical garden seeds, which makes sense if you think about the fact that you’ll be growing 100+ in the space you’d typically need for a single mature plant.
The four-ounce packages above will plant between about 37 5×5 trays if you use a scant teaspoon for each planting.
I like to buy premade mixes but you can also get a wide variety of individual seeds and grow them on their own or create your own mixes.
My current favorite mix is the Superfood Microgreen Seed Mix from True Leaf Market which includes Broccoli, Kohlrabi, Collards, Turnip, and Purple Radish. It’s tasty, pretty and grows really well without any babysitting
Quick Growing
For most crops, gardening is a marathon, not a sprint. The biggest exceptions are sprouts, microgreens, and radishes.

Radish sprouts and radish microgreens combine both for the garden version of a fast food drive-through! Radish microgreens are ready 6-10 days from planting, making them a faster option than some of the longer-growing sprouts like onions.
Learn more about Growing Radishes and 5 Reasons you Need them in your Garden
The turnaround time for a batch of microgreens is anywhere from 6 days to a month depending on the variety.
I like to stick to quick-growing varieties, less grow time means fewer opportunities you have to mess up!
Fast-growing microgreen options include all of the brassicas (broccoli, cabbage, kale etc), arugula and obviously radishes. They’ll go from seed to harvest in 10-15 days.
Year Round Harvest
Getting my hands dirty in the garden is the best way I’ve found to reset my mental health but when the weather isn’t cooperating I’m happy to get my garden-fix from growing food indoors.
I live in central New York where we technically have winter (not so much this year, we just have mud at the moment) and from October-May I’m pretty much out of luck.
While I try my best to embrace the break from the constant hustle and bustle of fighting weeds, rabbits, and my own chickens by February I’m always itching to get something growing.

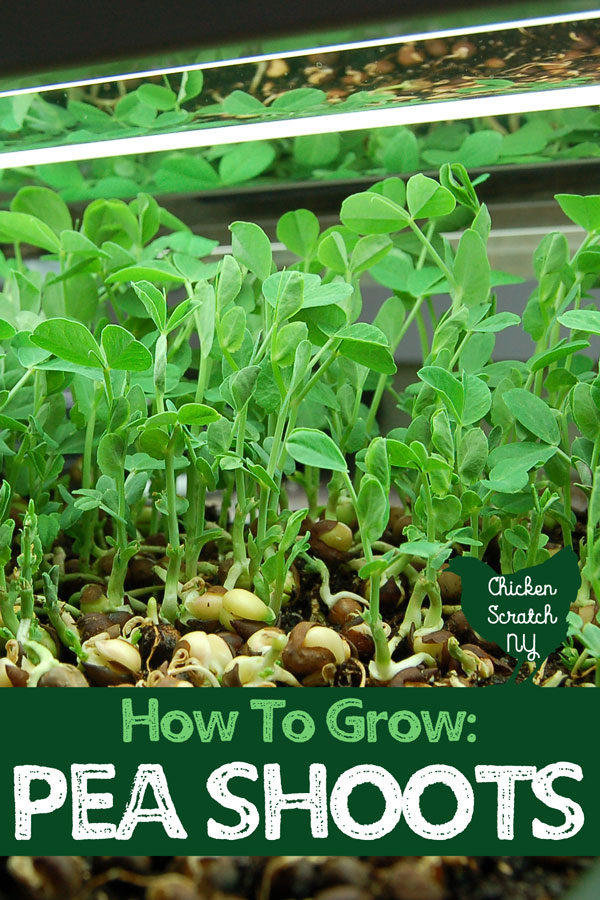
In the past, I’ve been satisfied with sprouts and the occasion batch of pea shoots but this year the warm weather teases are too much and I need a more substantial harvest.
Read more about How to Grow Pea Shoots
The obvious choice was growing microgreens, most of the supplies are things I already have for seed starting and since it’s the time to start my onion seeds anyway I might as well grow something tasty at the same time!
Even if you don’t have frigid winters you can still keep your indoor garden growing all year round either in a bright windowsill or under a cheap growlight.
Different Flavors
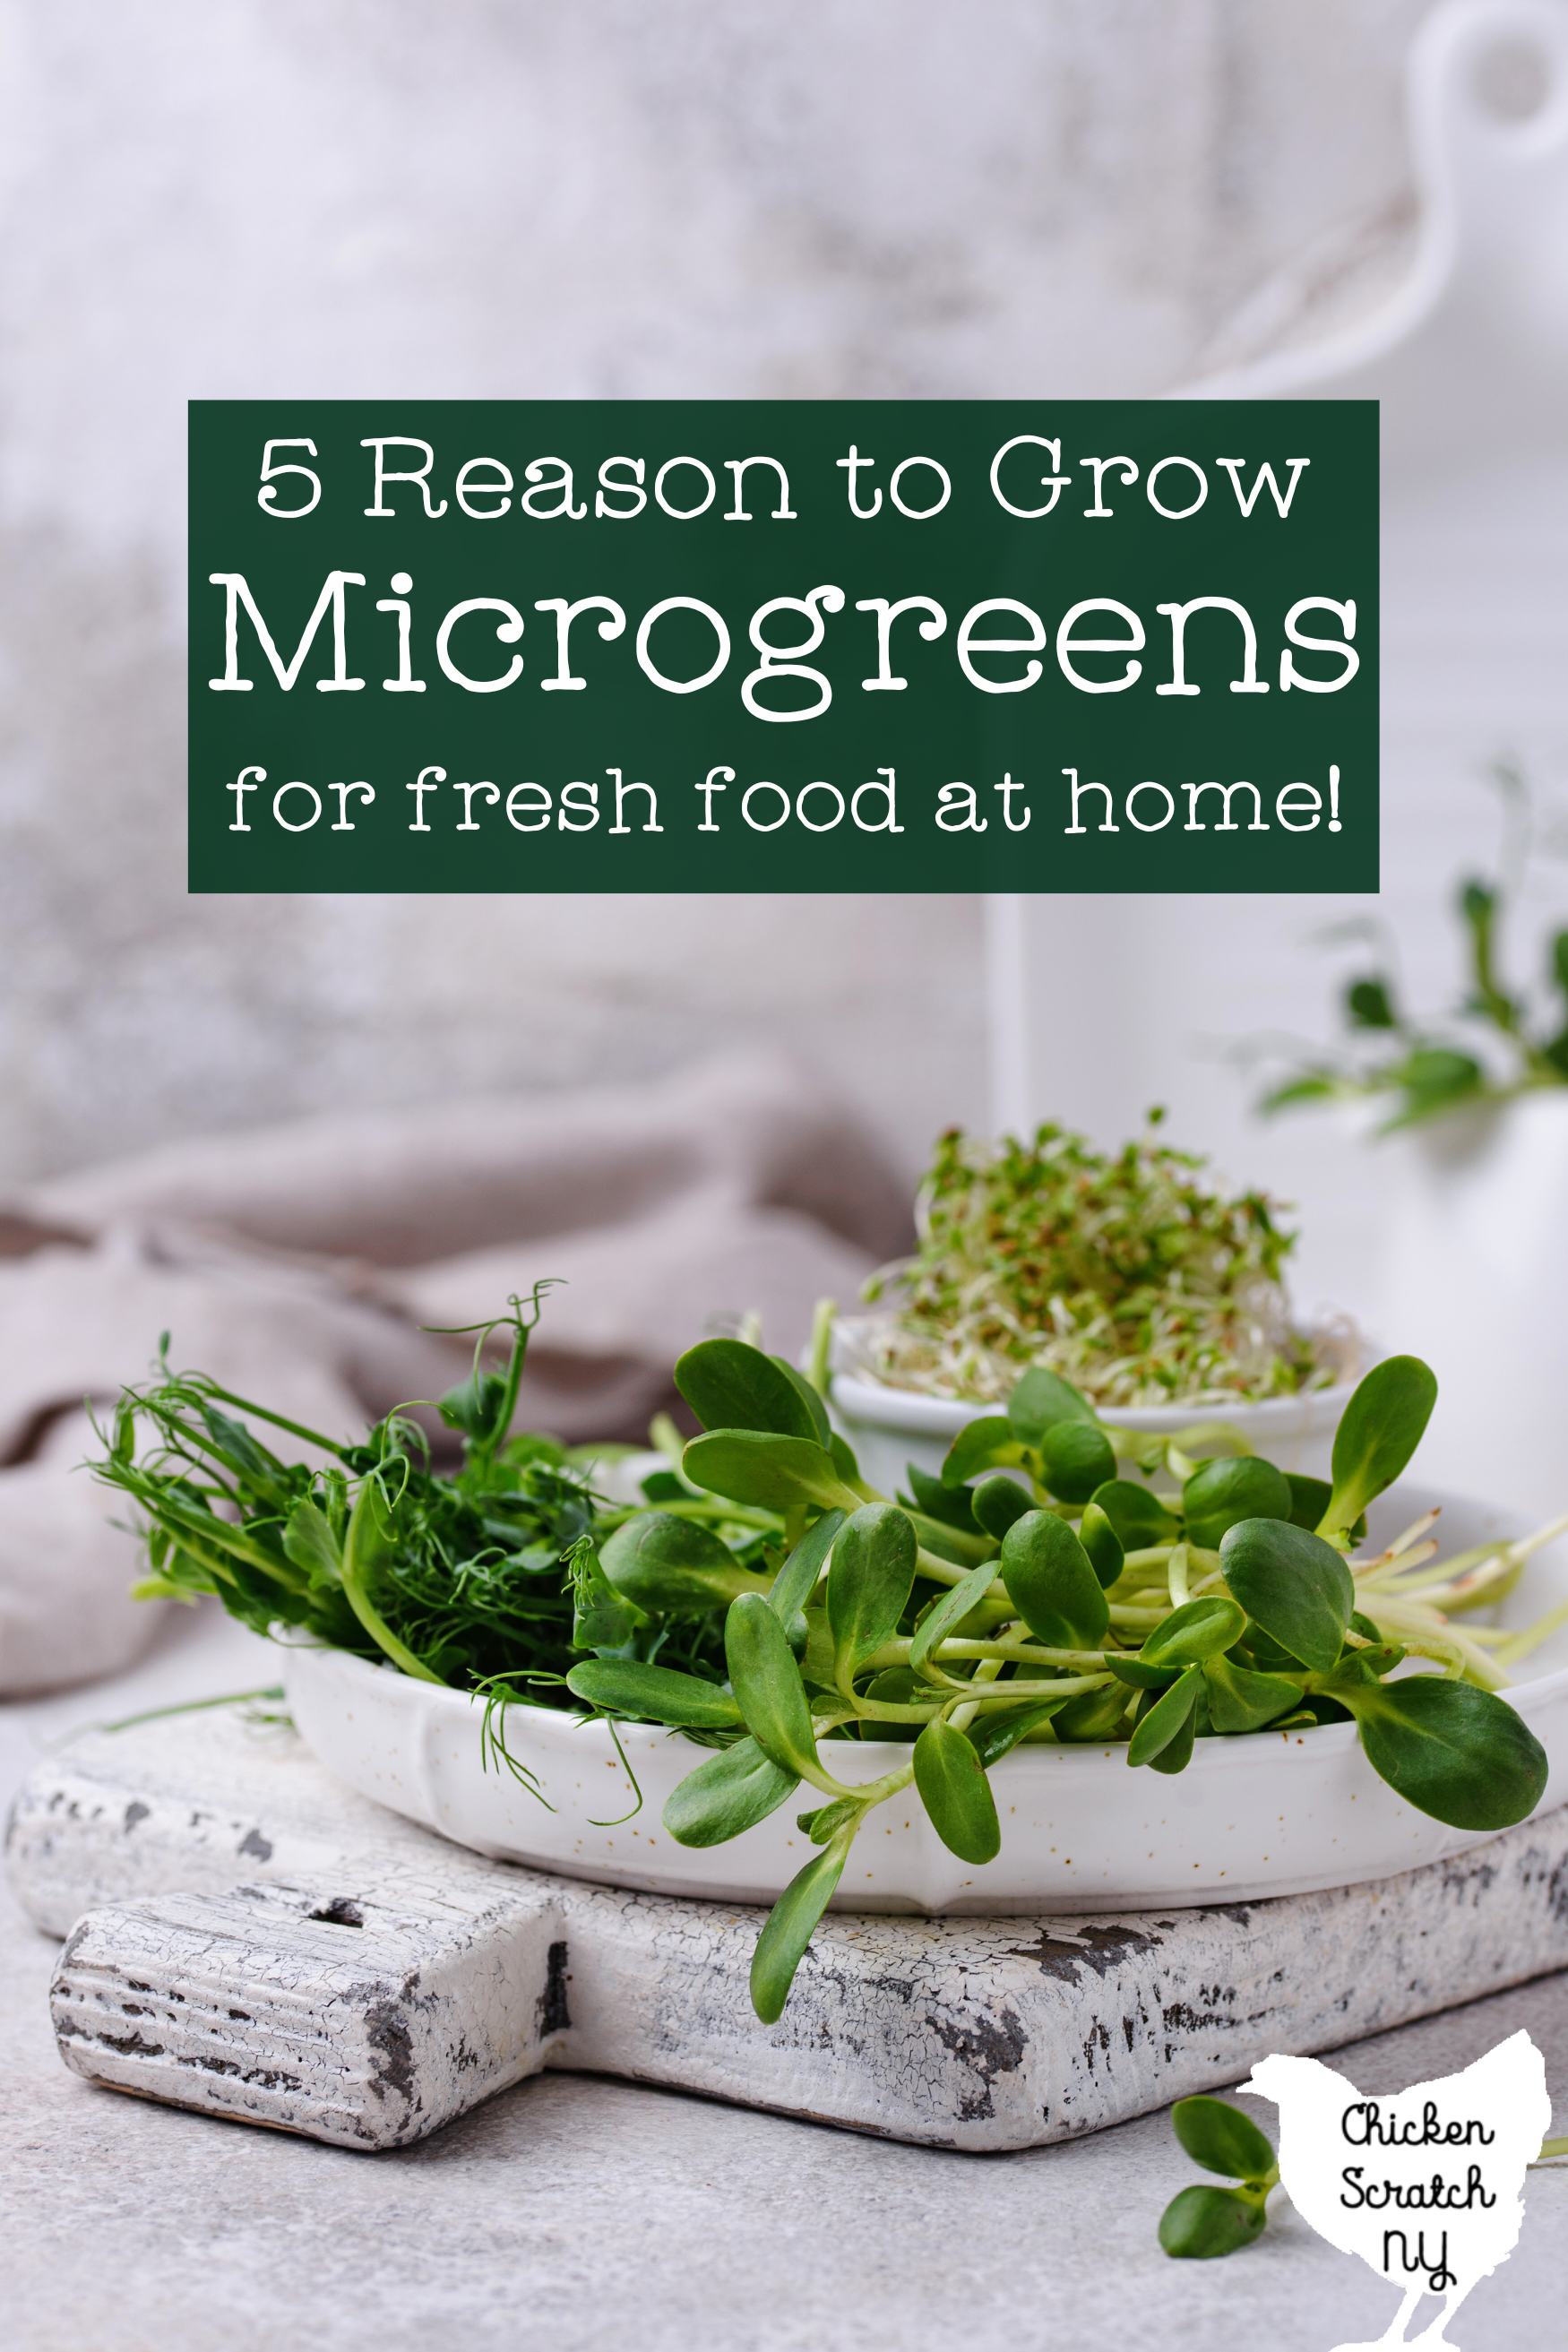
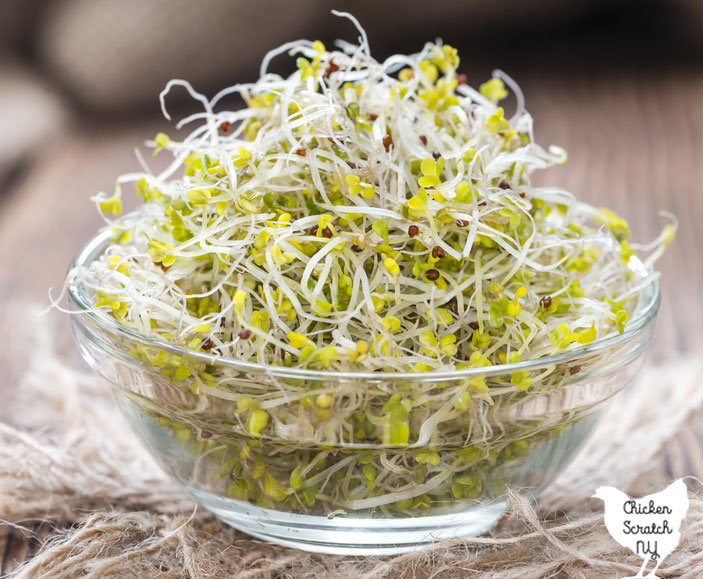
Despite the fairly limited color palette (green, more green and a tiny bit of red & purple) there is quite a variety in the flavors and even textures you can get from homegrown microgreens.
Flavors range from mild (cabbage, kale & broccoli) to peppery (cress) to spicy (most mustards, radish & arugula). Sunflower shoots have a nutty flavor and pea shoots taste like the freshest peas you could ever imagine!
Unless you’re shopping at a bougie grocery store you probably won’t even have the opportunity to taste a quarter of the options you can grow at home on your kitchen counter (and you never have to leave the house which is a huge win in my book!).
Check out my Vegetable Garden page for more ideas or start here: