If you’ve fallen in love with a pattern that’s a bit too small, have no fear! Here are four ways to make quilts bigger to fit your needs.

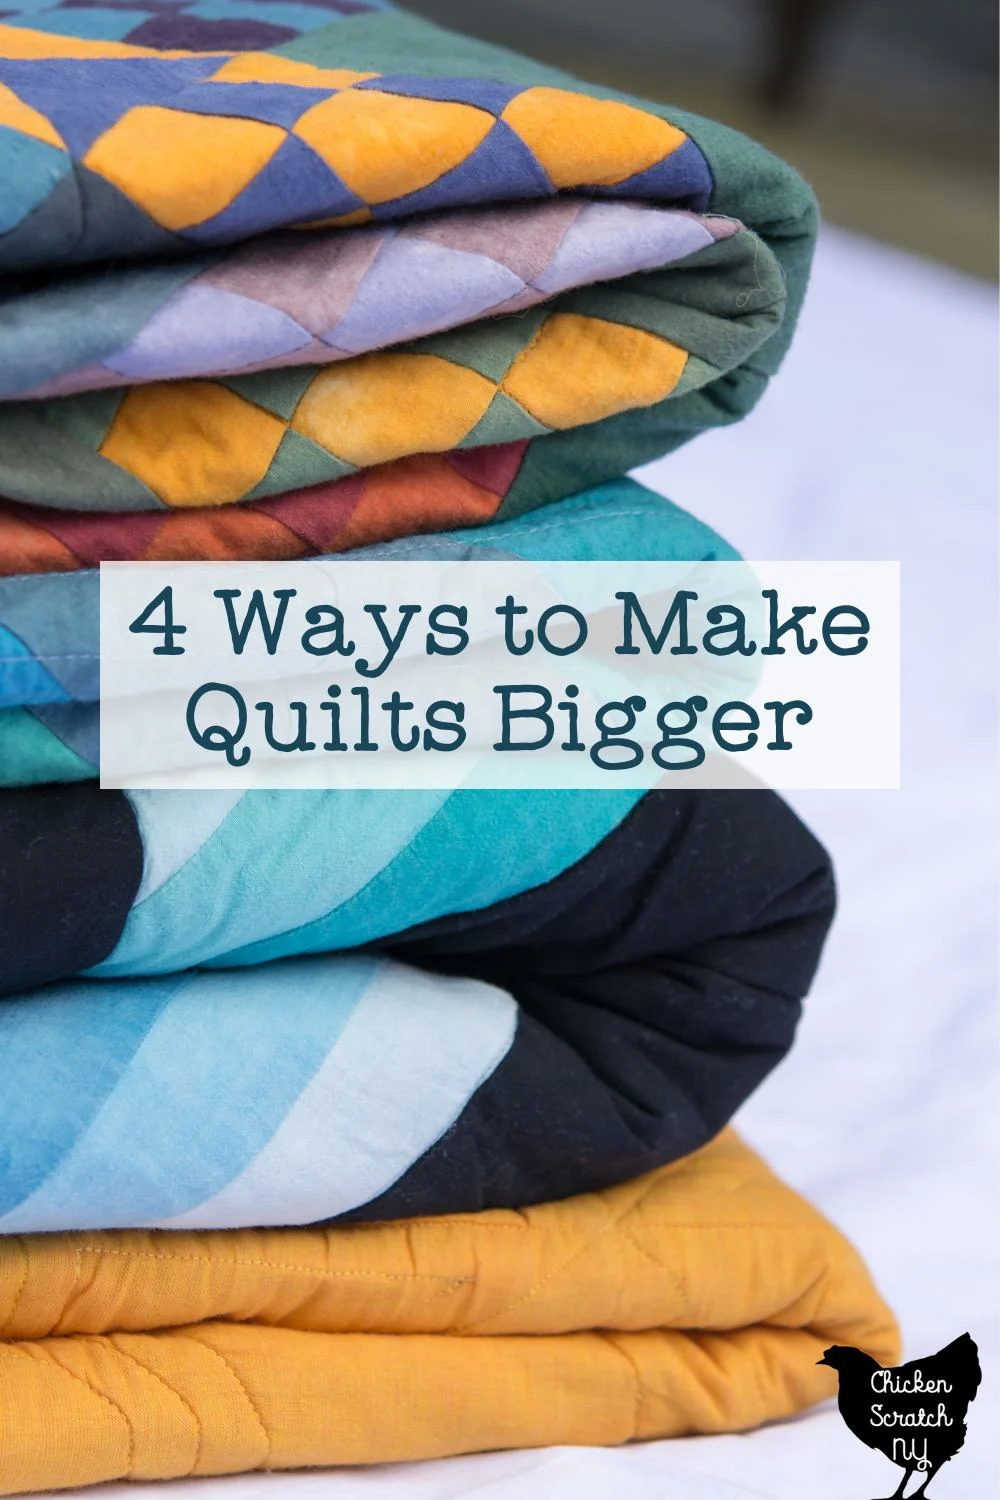
We’ve all been there, you find the perfect fabric and the perfect pattern but it’s just too small. Maybe you want to turn that wall hanging into a throw or take that square throw pattern and make it into a larger rectangle for a twin-sized bed.
Whatever the reason, you have a pattern and you want to make it bigger. None of these methods are particularly difficult but they all require a different strategy and they won’t all work in every situation.
They also need to be done before you do the finishing steps of quilting (or tying) and binding your quilt!
Add Borders
As someone who loathes sewing on borders, it hurts me to say this but adding borders is the easiest way to make a quilt larger. You can add borders to all four sides or just to the top and bottom or left and right.
This is a great method to expand a quilt at the very end when most of the sewing is done.

The secret to adding borders that looks intentional and not like an afterthought is the proportions.
There are no set rules but I like to base my borders on the piecing in the blocks. For example, for a jelly roll quilt with a lot of 2″ (finished) pieces I like to add an inner border that finishes at 2″ and a wider outer border outside that at 4-6 inches.
If you have a quilt with tiny piecing, you probably don’t want to throw a 12″ border on it, and likewise, if you have a quilt with huge 16″ blocks a 1″ border is going to look out of place.
Borders will make your quilt grow really quickly, adding a 2″ and 4″ border on each side will add 12″ to your total quilt dimensions.

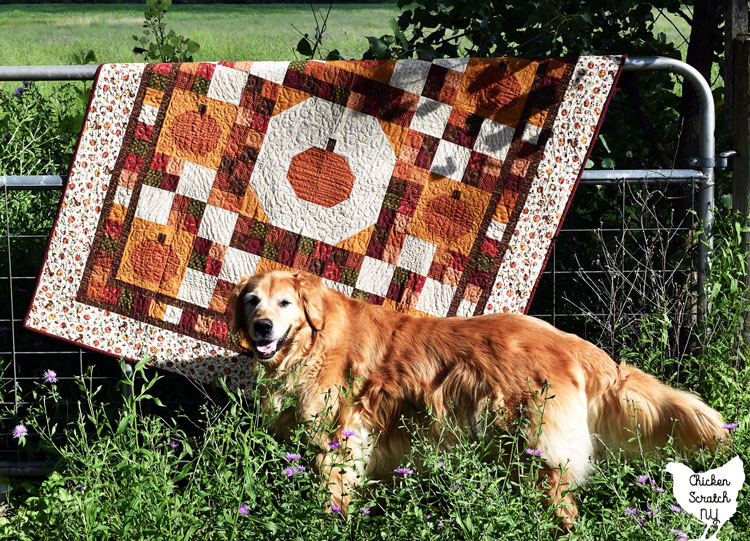
You can also add multiple borders, my Pumpkin Lattice quilt has 4 borders, including two very narrow 1″ finished borders, a 2″ pieced border, and a wide outer border.
I made 3 versions of the Pumpkin Lattice quilt and did the outer borders differently on each of them. On the original quilt I followed the pattern, I did a mitered corner on my second version (shown above) and I made the border a few inches wider to accommodate the giant floral print I used.
I use the Quilter’s Paradise Border Calculator to figure out the fabric I need for my borders. You just enter the finished size of the quilt center and the finished size of your borders and it gives you the yardage you’ll need and how many strips you need to cut.
Add Sashing
Sashing is the strips of fabric that go between your blocks. You can have solid sashing or add “cornerstones” at the intersections of the blocks.
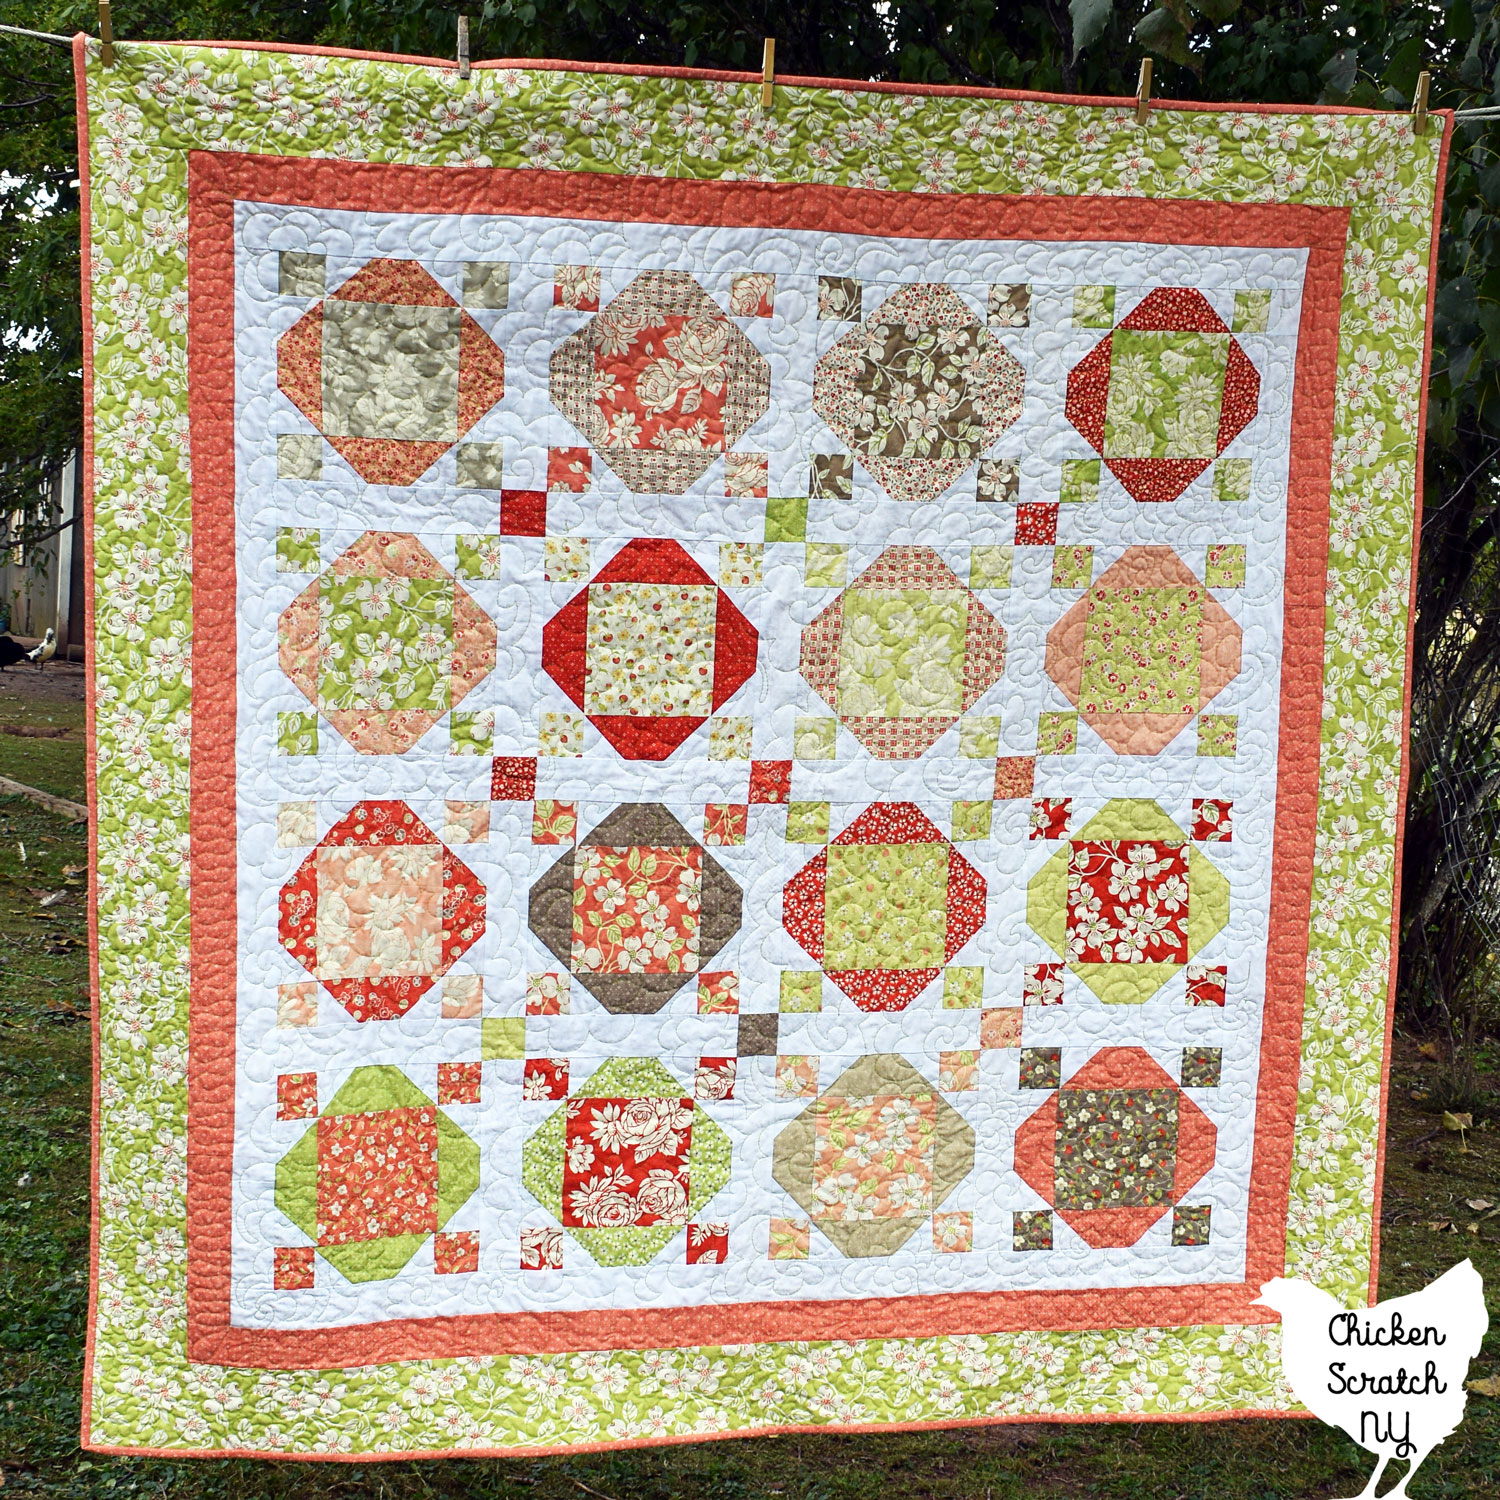

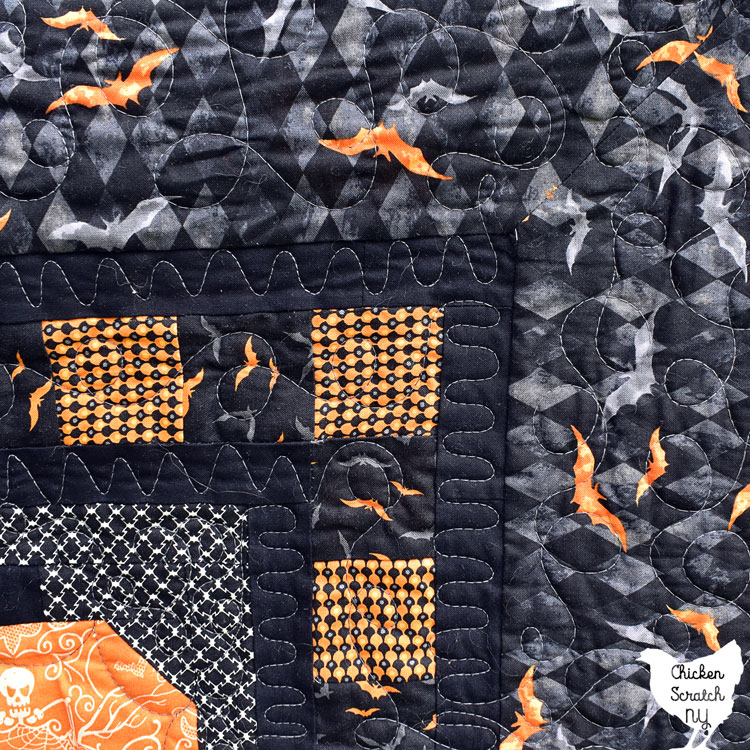
My Cake Show quilt pattern has 2″ (finished) sashing with cornerstones as well as 3 borders. Sashing is usually used to create space between blocks, in this pattern the addition of the cornerstones creates a secondary 9 patch where the blocks come together.
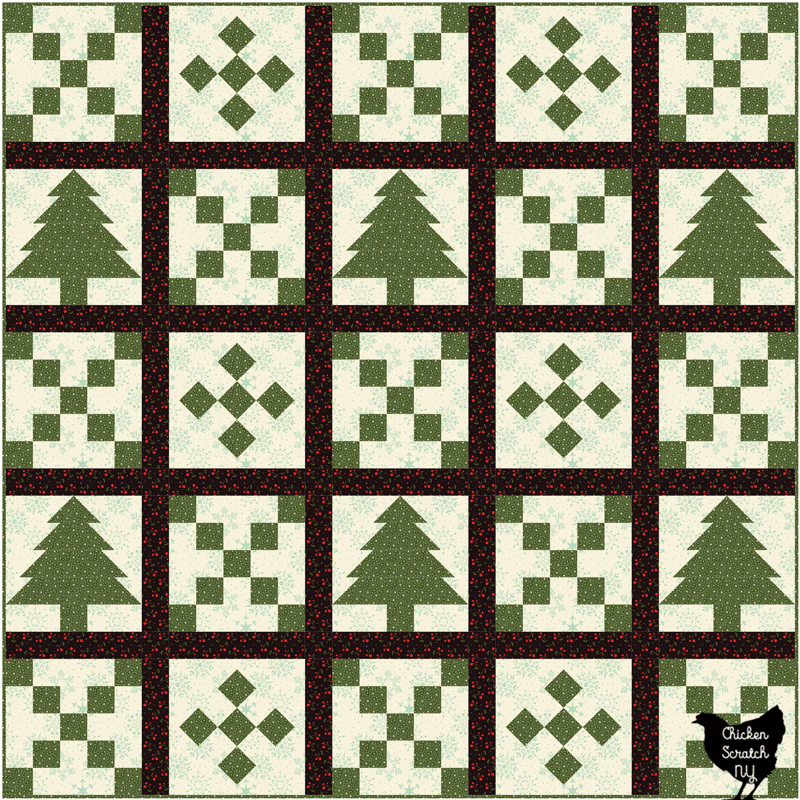
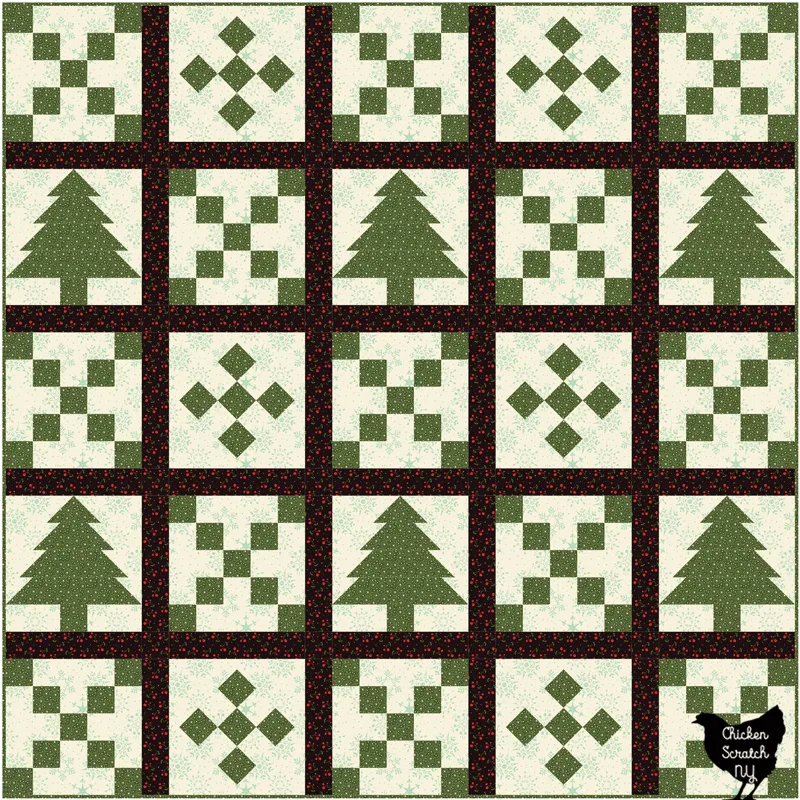
Sashing won’t work with all quilts, if you have a pattern where the blocks interact to create a specific shape adding sashing will ruin that illusion. You can test out sashing by laying your blocks out with a gap between them.
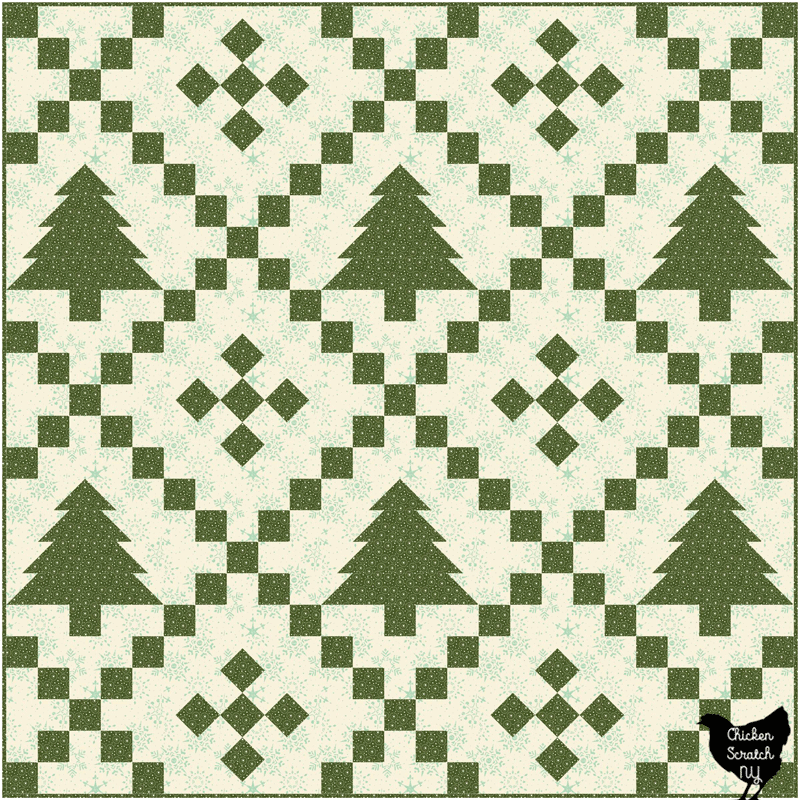
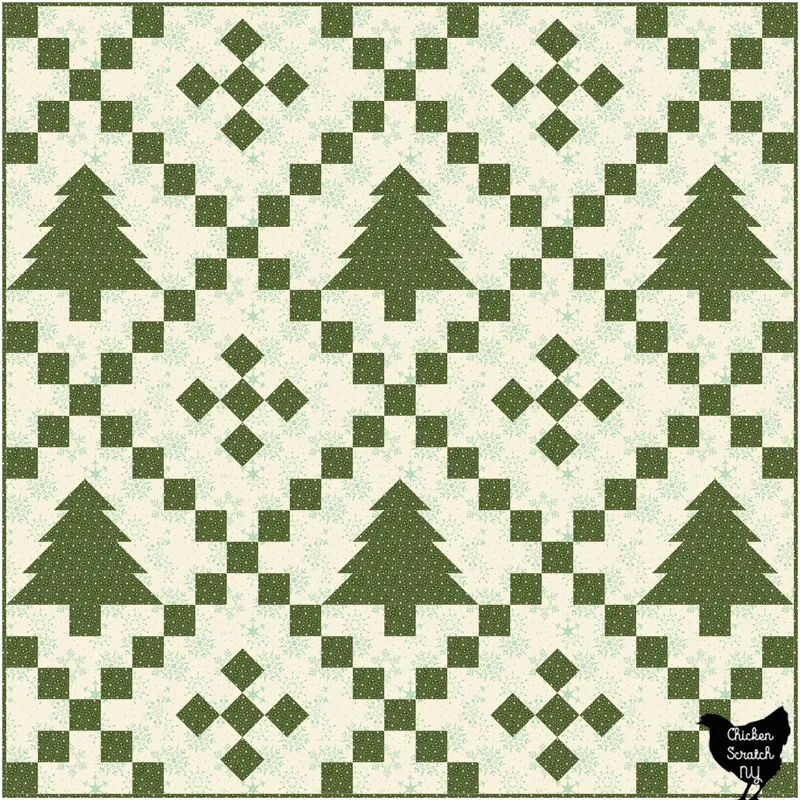
The examples above are of my Winter Lattice Quilt, adding sashing ruins the effect of the diagonal lines and the diamonds around the trees and 9 patches.
When it comes to adding sashing I tend to stick to the same guidelines I do for my borders. If the blocks are made with a jelly roll (finish at 2″) I’ll use 2″ sashing.
The narrowest I’ll go is 1.5″ which will finish at 1 inch. Anything smaller and I run into issues with my seams hitting each other when I press them together.
Add More Blocks
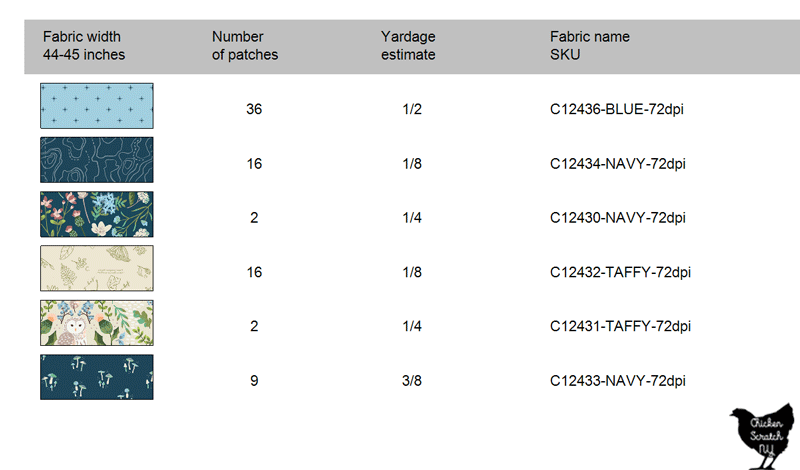
If borders and sashing aren’t your thing, or they just aren’t right for the quilt you’re working on, you can always add more blocks. The hardest part here is figuring out how much more fabric you’ll need.
The more complicated your blocks are, the harder this process will be. I like to start by figuring out what I need to cut for one block, then do the math to figure out what I need to cut for the entire quilt, and finally figure out the yardage I need to buy.
Actually, that’s a lie, I use Electric Quilt 8 and let it figure out my yardage. It usually overestimates but I’m happier having much fabric than running out if I cut something badly.
Once you know how much fabric you need you just make your blocks like normal and you can make your quilt whatever size you need!
Make Blocks Larger
Depending on the block, this can be super easy or the hardest thing you’ll do all year.
Basic blocks like Disappearing Nine Patches or Half Square Triangles can be made from any starting size. Even Log Cabin or Courthouse Steps blocks can be made bigger by just adding more rows or cutting strips wider.
Learn more about Disappearing 9 Patch Blocks & how to use them in a quilt
On the other hand, blocks with a lot of pieces, especially oddly shaped pieces, can be a struggle to upsize. I’m sounding a bit like a broken record but again this is a great time to dig into Electric Quilt and let it do the hard work for you.
When you set up a block in Electric Quilt you’re looking at the finished version but when you click over to the Rotary Cutting preview it will show you the size you need to cut your fabrics.
If you find a block you really love at a small size, one way to make it bigger is to set it up in the Block Worktable as it’s written and add it to the sketchbook.
Then back in the Quilt Worktable adjust the quilt layout for your desired size blocks and add the block you made. Then go back into the rotary cutting menu and check out your results.
If I end up with weird numbers, I’ll go back and adjust the size of the blocks until I end up with something easy to cut (or that will work with a precut I have on hand!).
If you don’t have EQ8 or you just don’t want to sit in front of a computer I recommend digging out some graph paper and colored pencils. Figure out a scale, start from the easiest part of the block and draw it out until you’ve got the whole thing on paper.
Don’t forget to add your seam allowance to each piece before cutting them!
Check out my Quilting page for more info or start here: