

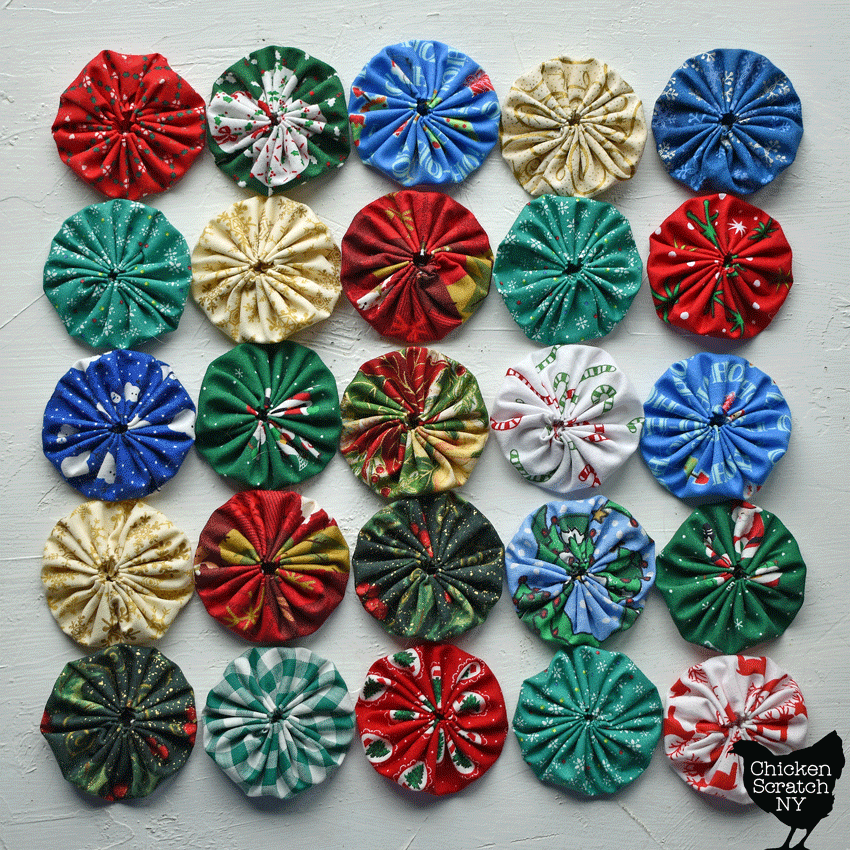
If you’re looking for a new portable, hand-sewing project, Fabric YoYos might be the craft of your dreams! You can make them by the dozens with a Clover YoYo maker and your scrap bin and use them as decorative accents or turn them into blankets.

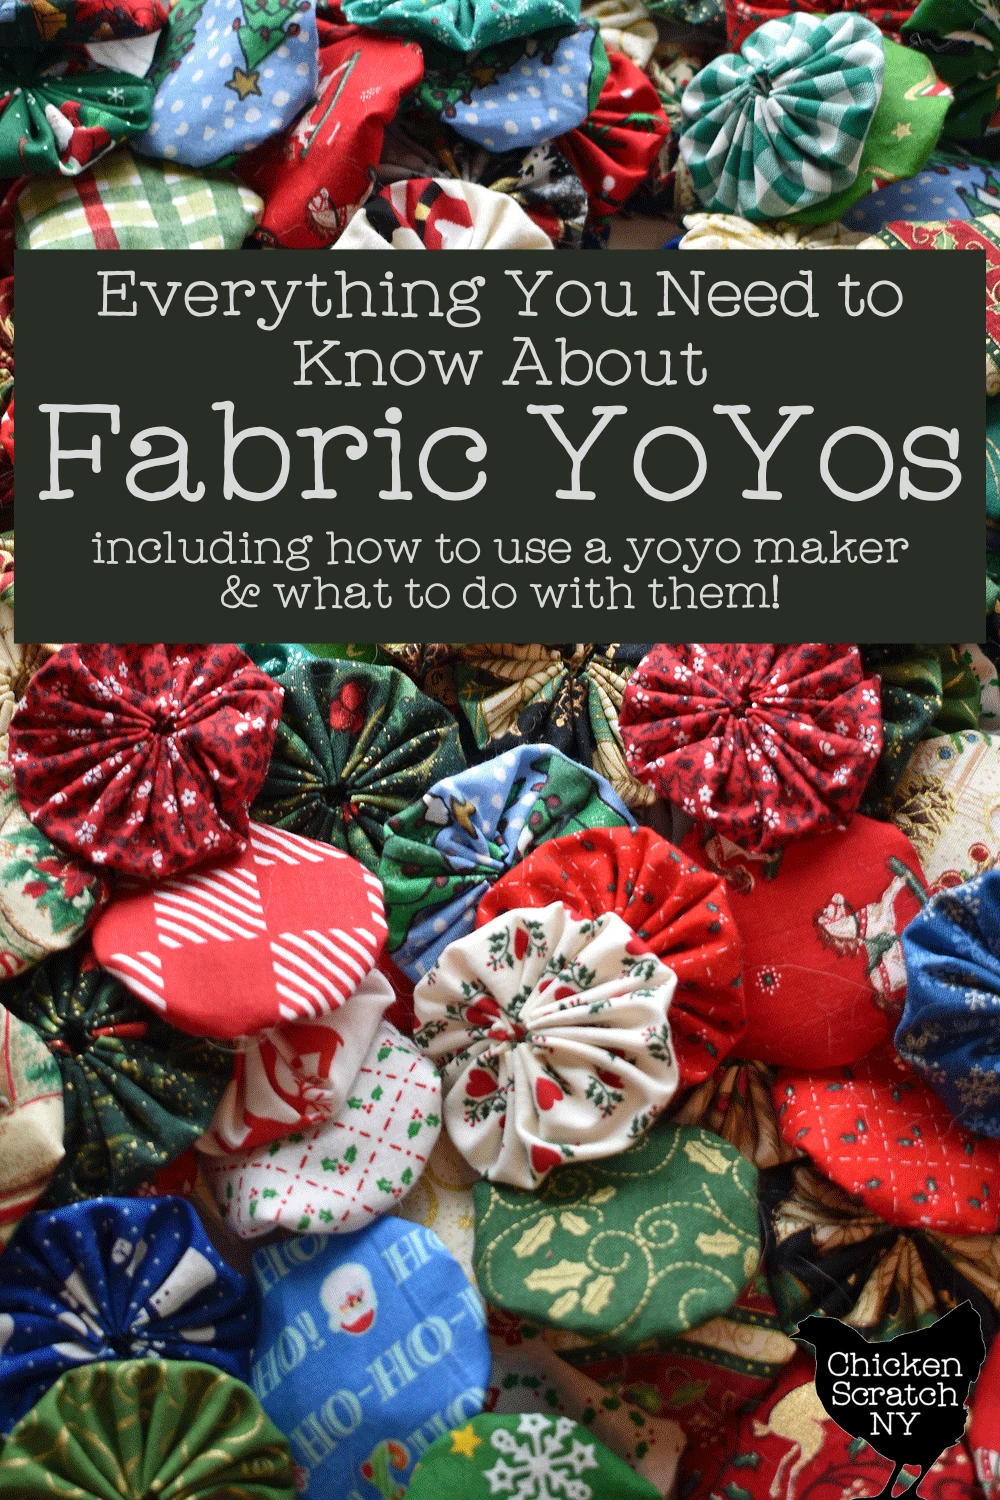
Fabric yoyos are circles of fabric with the edge flipped in, sewn down, and cinched shut. They have a long history, becoming popular additions to quilts in the 1920s.
You can use them on their own or as accents in other projects. Fabric yoyos are a great way to use up scraps of fabric and, in my opinion, are a great way to turn ugly fabric into something you can love.
How to Make Fabric Yo-Yos
The only way I’ll make yoyos is with the help of a yoyo maker, Clover makes several sizes and they’re available for about $5.

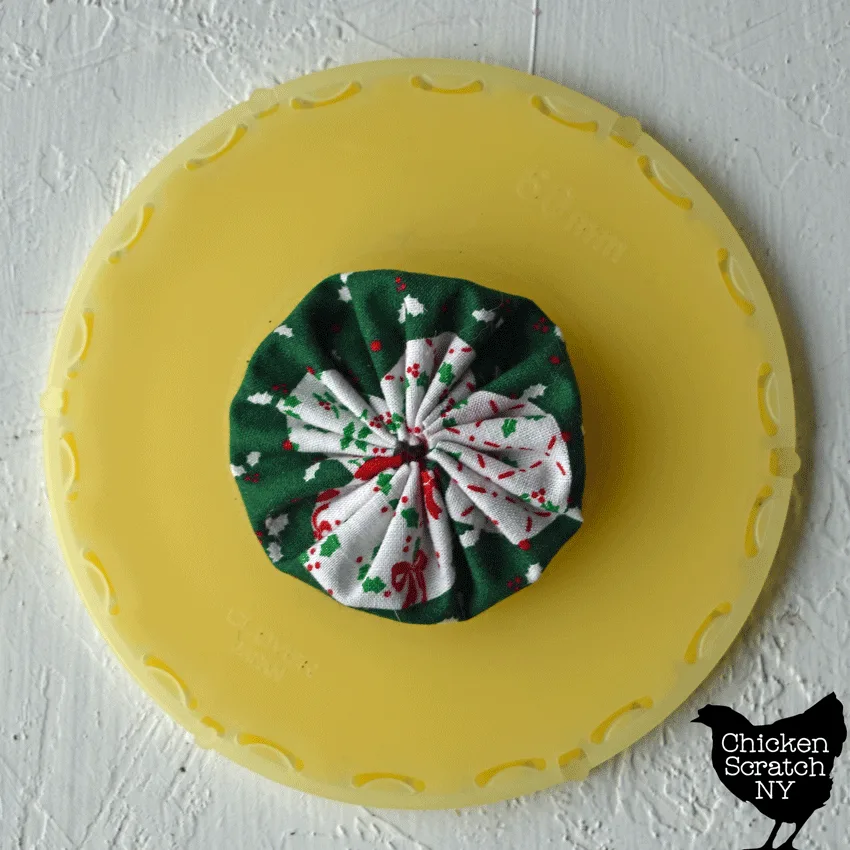
A yoyo maker is two pieces of plastic, one clicks into the other and you sandwich the fabric in between. Each yoyo maker only makes one size but you can use it over and over and over.
The final yoyo will be about 1/2 the size of the maker, on the Clover YoYo makers there is a raised circle on the plastic disk, that shows you the size of your finished fabric yo-yo.
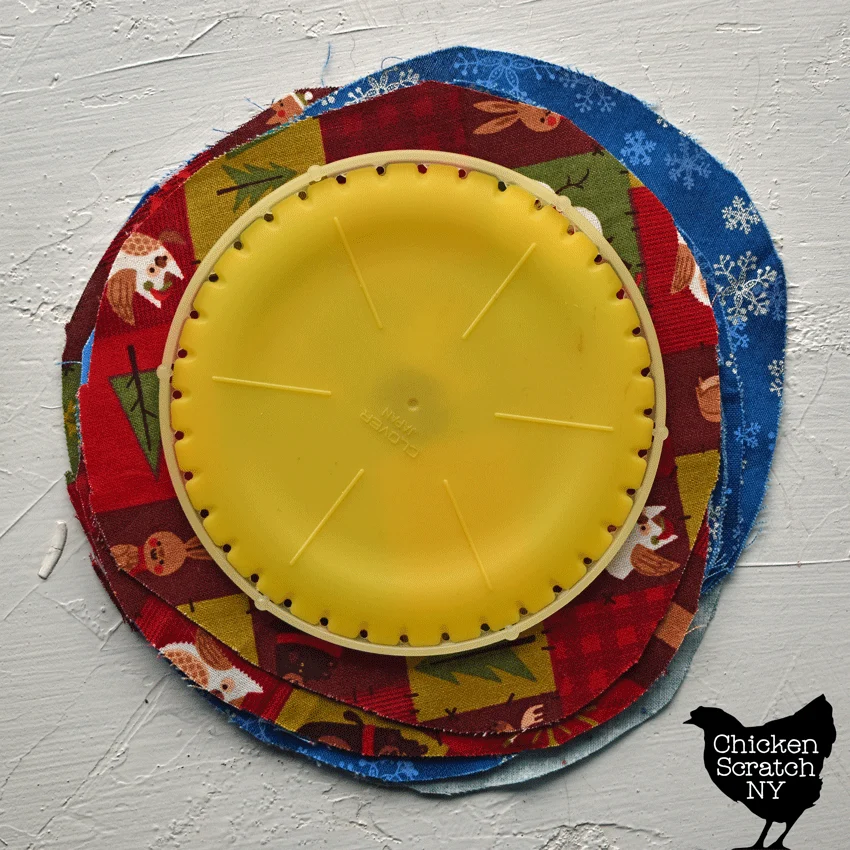
My favorite thing about using a yoyo maker is not having to cut a perfect circle. Instead, you sandwich your fabric in (with the face or pretty side down) and cut around the outside.
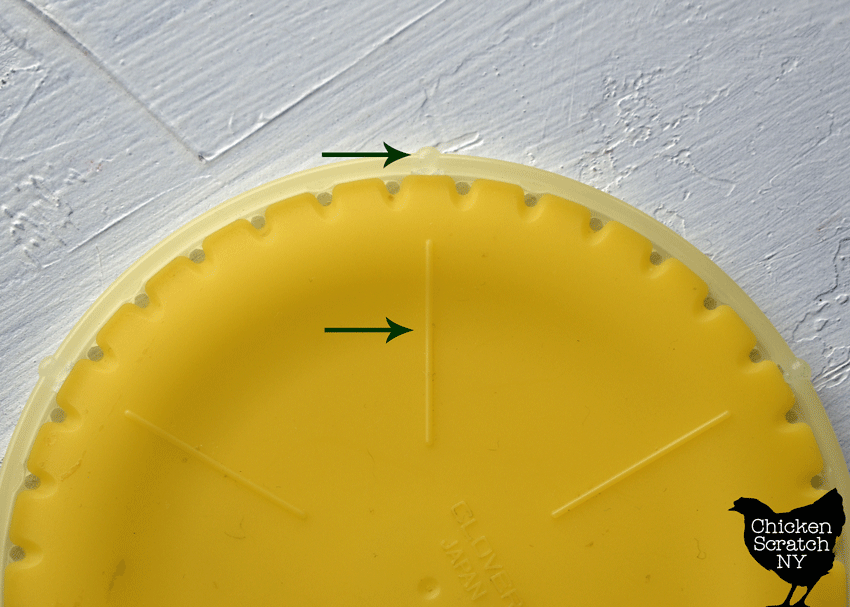
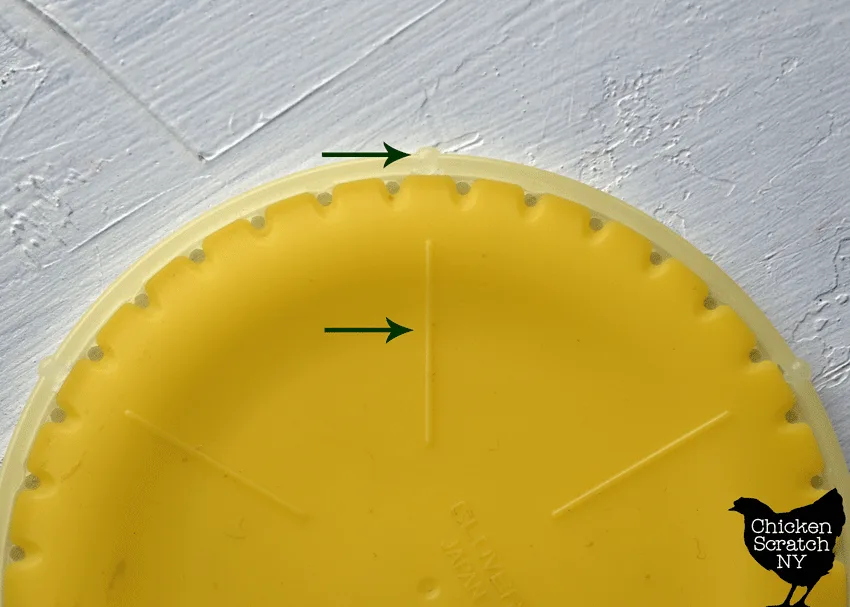
Make sure the little raised dots on the back of the yoyo maker line up with the raised line on the top piece. If you’re having trouble getting the two pieces to click together it’s probably because they aren’t lined up well enough.
Then take a long piece of thread, double it over and knot both ends together.
The thread needs to be able to go all the way around the yoyo gadget plus at least a few inches more or you’ll need to rethread your needle after every yoyo and you’ll waste a lot of thread.
Make sure you’re using a strong thread, you’ll need to do a bit of pulling at the end and if your thread snaps you have to start over.
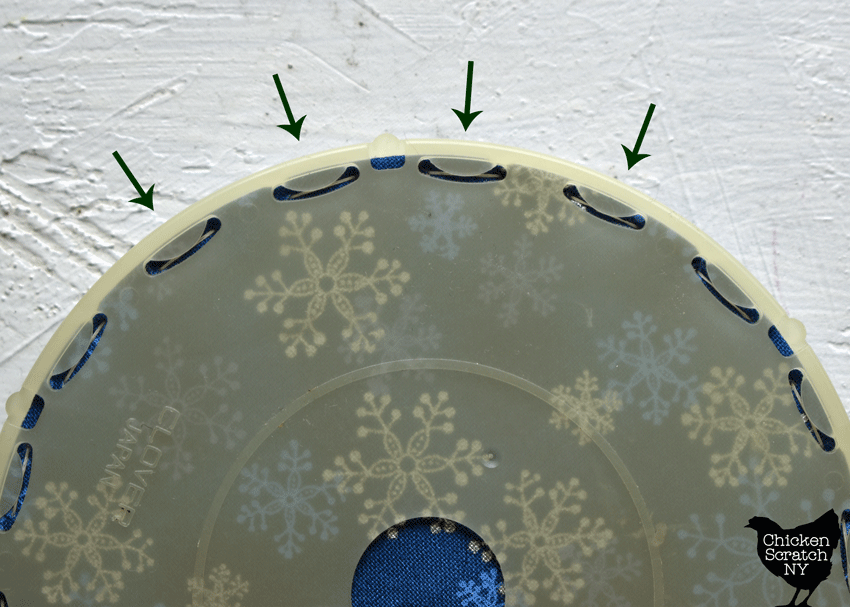
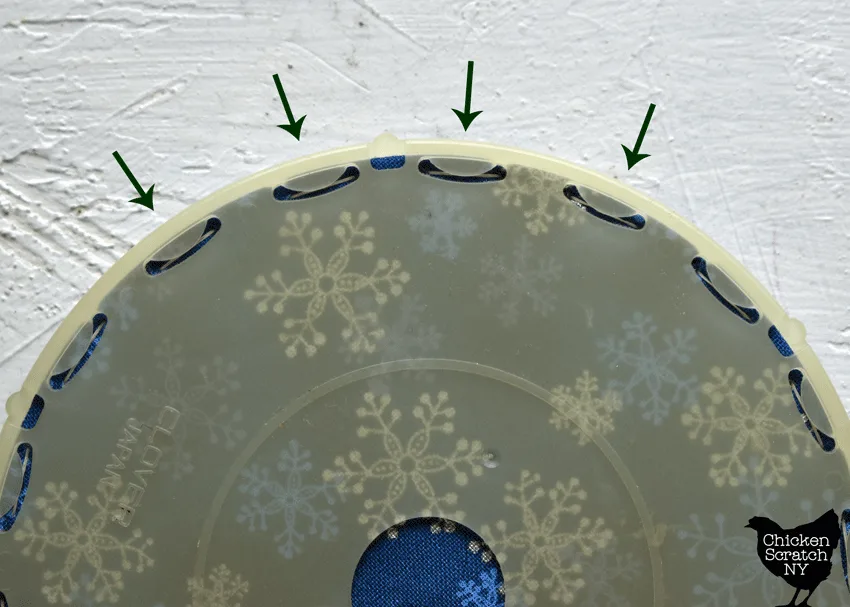
Sew all the way around the yo-yo maker. Make sure your stitches are going in the little groves on the back side or you won’t be able to get your fabric yoyo out.

Stitch all the way around the yoyo and then re-stitch in the first space, be careful not to go through the threads from the first stitch or you’ll have trouble pulling it tight.
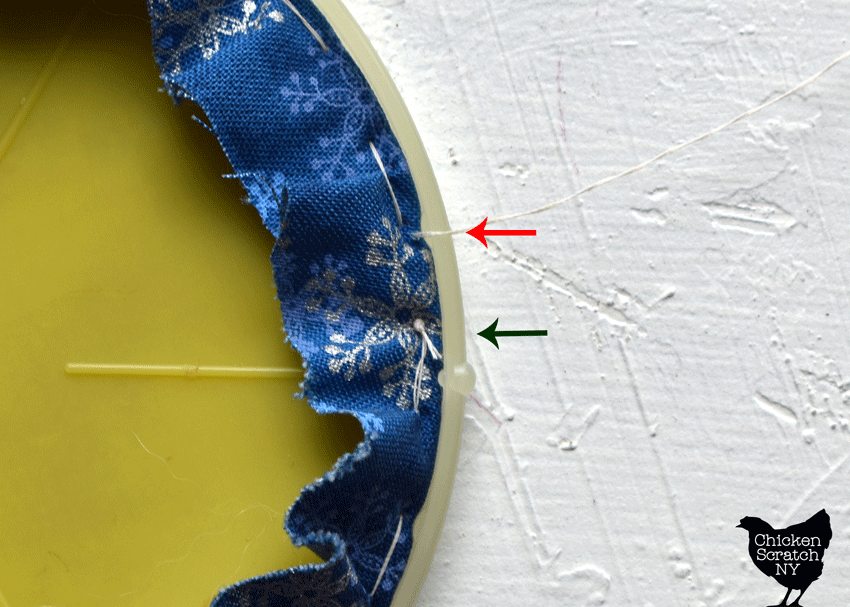
Push through the hole in the back piece to pop out the top. Pull the fabric off and pull on the thread to gather the stitches.

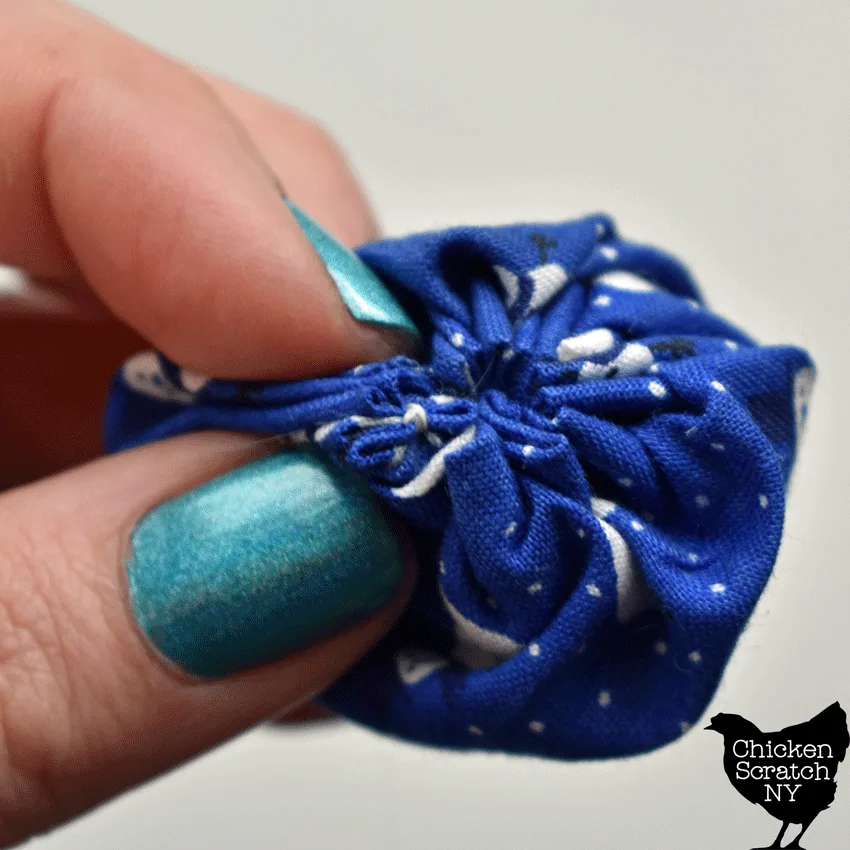
Use your fingers to tuck the extra fabric inside the yoyo. Make a few stitches holding the pleats together and tie a knot.
Your thread doesn’t have to match the fabric perfectly, as long as you hide your knot on the edge of the pleats it won’t show when you flatten the yoyo out.
Take the needle through a few pleats before cutting the thread to bury the end.
Flatten out the yoyo with your fingers, adjusting until the pleated center is in the middle of the yo-yo.
Tips for Better Fabric YoYo’s
After making roughly 9 billion fabric yoyos I’ve learned a thing or two about making the process more enjoyable, efficient, and effective. Maybe effective is the wrong word but I struggle to pass up on an opportunity for alliteration.
I’m a bit of a fabric hoarder, after all that stuff is expensive! Usually, by the time I’m willing to use something for yoyos, we’ve reached the end of our journey together.

As a result, the fabric has usually been jammed in a box or drawer and has the general topography of the Rocky Mountains. You can’t easily iron a yoyo once it’s made so it’s important to get them tornado alley flat before you begin.
I have an ironing board set up with a wool pad and my go-to method is to steam the wrinkles out on high heat. My iron is only used for quilting so it’s always on the cotton setting.

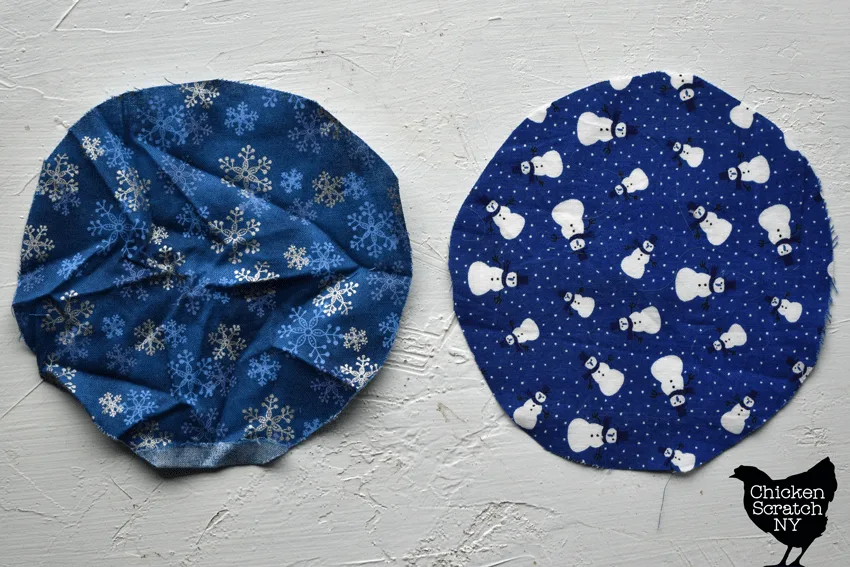
Once the fabric is flat I loosely sandwich a few layers of fabric between the two pieces of the yoyo maker (without trying to actually close it) and cut out a bunch of circles at once. Then I hit the stack with the iron again.
When it comes to making yoyos I leave a healthy border around the maker, usually about an inch.
Not only is it way more forgiving when it’s time to do the actual sandwiching but I find the yoyo ruffles are neater when they have the extra body from the fabric that’s folded in.
One of the hardest things to handle when making yoyos is the long piece of thread. If you are struggling with it tangling run it over a block of beeswax or a thread conditioner.
It sounds like a waste of time but it does add some body to the thread and keeps it from tangling up on itself. I use an old beeswax candle.
For the most part, I’m pretty random with my placements, I just fold up a bunch of fabric and hack it into a vaguely circular shape, but from time to time I’ll slow down and fussy cut a few.
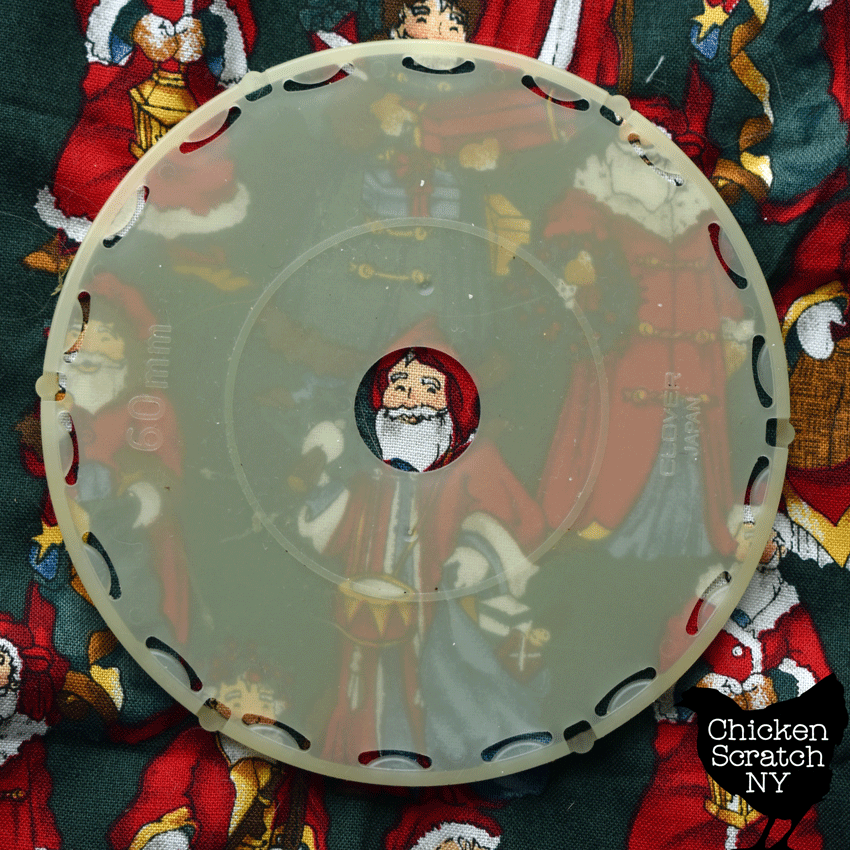
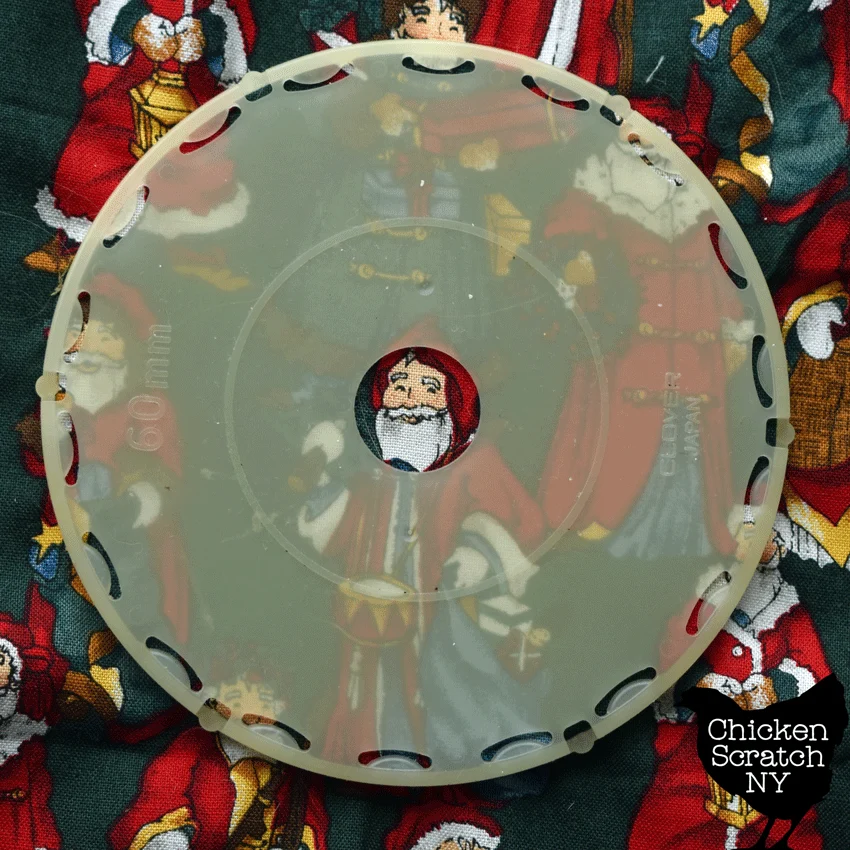
Remember that raised circle on the back of the yoyo maker? The fabric in that circle will be the flat back of the yoyo.
It’s a fun touch for a garland or an ornament where both sides of the yoyo will be visible.
How to Make YoYos without a Gadget
If you want to make one yoyo and never do again save your money and just cut a circle of fabric. This is the hardest part of the process.
Cutting a perfect circle is kind of like doing winged eyeliner where you just keep going to even things out, only instead of ending up looking like a member of KISS you run out of fabric.
If you’re trying this method I recommend tracing around a circular object (anything from a drinking glass to a plate) and then cutting about 1/4-1/2 inch away from the circle and treating the drawn line as your fold.
Once you’ve got your circle, fold the edge in (so the wrong side/ugly side is touching itself) and use a running stitch to gather the edges together.
Your stitches shouldn’t be super close together, aim for a generous 1/4 inch spacing so you get the nice deep ruffles in the center.
Cinch up the stitches, tie them off with a knot, and press it flat with your fingers.
How to Use Fabric YoYos
One of the most traditional ways to use yoyos is in a very lightweight blanket. You’ll need a lot of yoyos to pull this off!
Once you’ve made a mountain of them you can sew them together by hand or machine in 4 opposite corners. There is a lot of open space and in my opinion, it’s going to be more decorative than practical.

If you have a lot more yo-yos and you aren’t into the lacey look you can also sew them together in offset rows. Each yoyo will need to be sewn to 6 others.
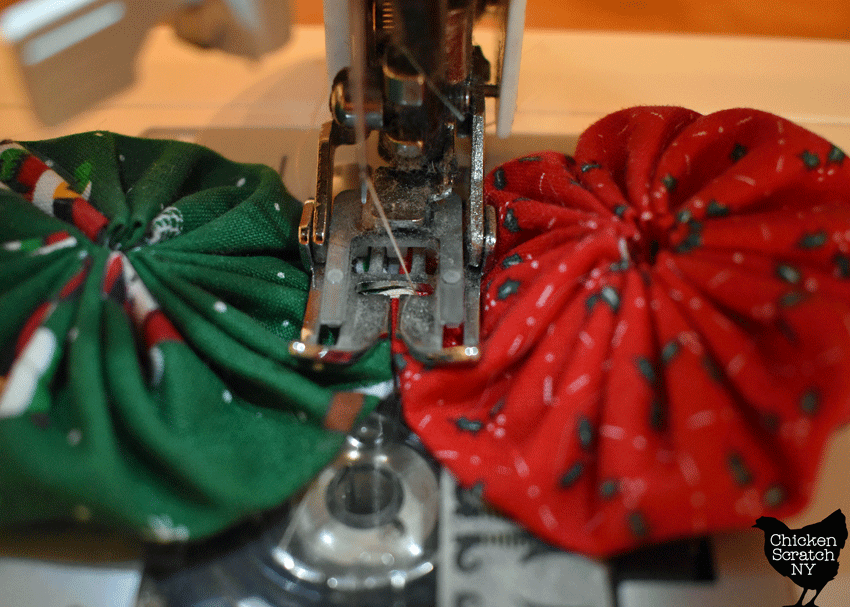
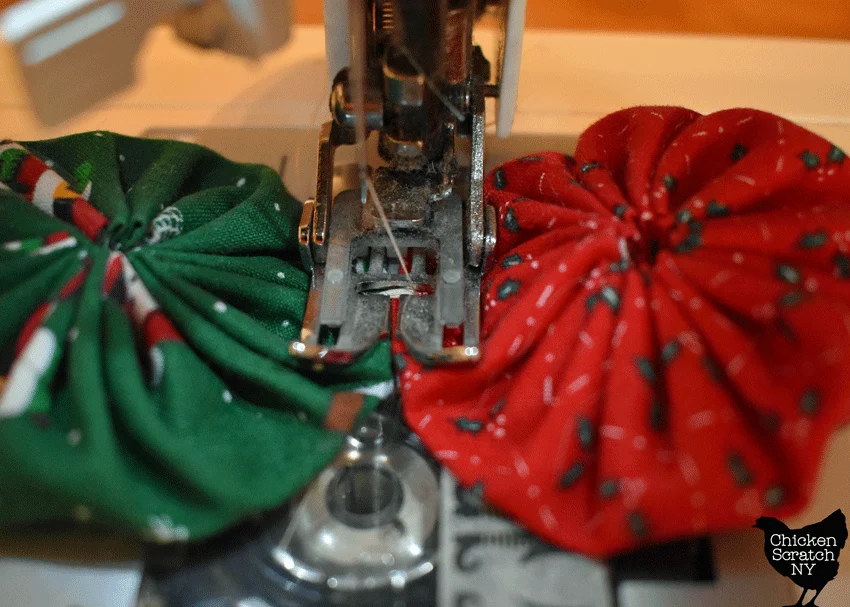
If you decide to sew your yoyos together by machine, select a wide-ish zigzag (wide enough to hit both yoyos), set the stitch length to zero, butt the yoyos up next to each other and make a bunch of stitches.


If you wanted to make a warmer blanket that still has some old-school yoyo charm, try adding them in as accents when you hand-tie a quilt. They’d be a really nice way to fancy up a simple 4 patch or a quilt made from all half-square triangles.
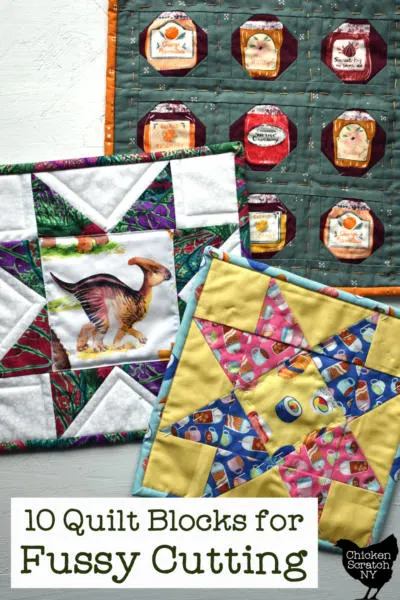
Learn Four Methods for Making Half Square Triangles and Sewing Tools for Faster & Easier Half Square Triangles
Fabric YoYos can also be used as decorative appliques. You can use them with the cinched center on the top or on the bottom for a flatter-looking top.

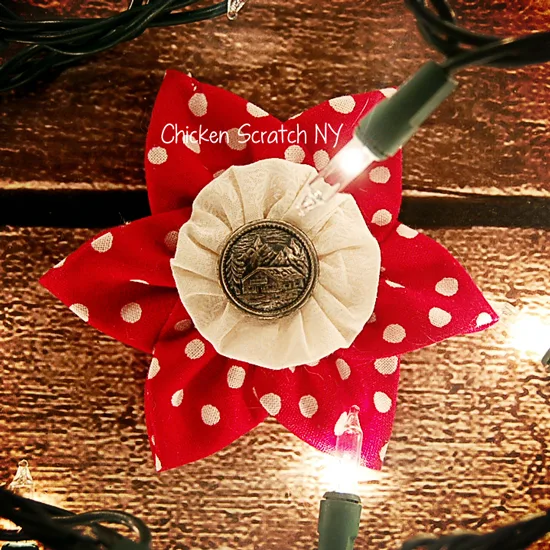
I like to use them as accents on other projects, like my Prairie Point Fabric Christmas Ornaments, you can use the same idea to create fabric flowers with prairie point petals and yoyo centers. .
You can even turn them into simple garlands by sewing them together the same way you’d make a blanket but only on opposite sides instead of on all four.
It’s a great way to make the most of your fussy-cut yoyos!
Check out my Quilting page for more info or start here:


Rebecca Rhodes
Saturday 2nd of September 2023
I did not know about yo-yo maker tool. Thanks. I use quilting thread to make yo-yos. Also find that lt gray thread best with all colors.
Alecia
Thursday 7th of September 2023
Thanks for the tip! Do you use the thick hand quilting thread or thinner machine quilting thread?
Thursday 17th of August 2023
Thank you for such great and easy pprojects.