

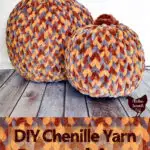
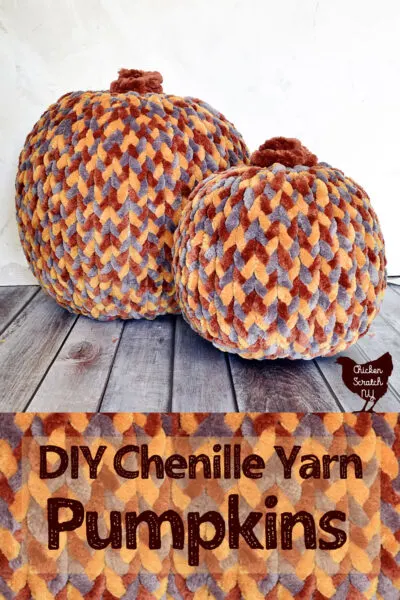
Give a set of fake pumpkins a makeover with braids of chunky chenille yarn. The yarn covered pumpkins are sweet in a neutral color palette but you can mix it up to match your fall home decor.

This isn’t the fastest project in the world but it’s not hard. It’s a great project to work on while you’re watching a show that doesn’t require constant attention.
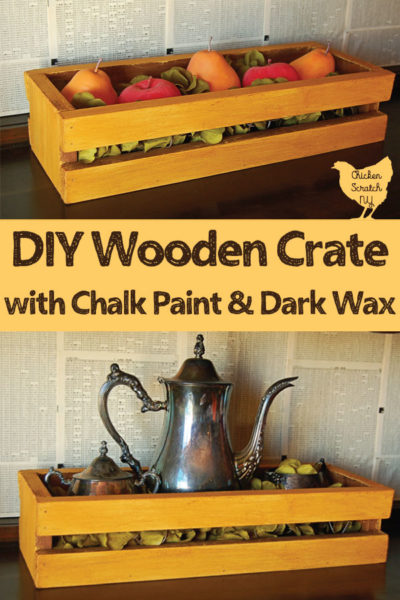
I went for an autumn color palette using Mustard, Terracotta, and Taupe yarn but I think this would also look amazing in black and orange.
Picking Yarn
You can use any kind of yarn to cover a fake pumpkin but it’s going to go a lot faster if you use a thick yarn. I used Chenille Home yarn from the Michaels store brand Loops & Threads.
I’m a big fan of Loops & Threads yarns, they have a lot of different lines and they have a yarn variety for just about everything. They’re also usually running a sale or promotion making crafting much more affordable.
Read more about Michael’s Yarn and get my go-to Easy Crochet Scarf Pattern
The Chenille Home yarn is very soft and plush. It’s similar to the Bernat Blanket yarn but it feels much better. I bought a few giant balls of the Bernat stuff but I hated touching it so much that I never got anywhere on my project.
Chenille yarn is a ton of short, soft fibers with a central thread core. Think of it like a pipe-cleaner where the wire in the center holds all the fuzzy bits together.
That means it’s going to be a huge mess when you cut it, keep that in mind of you do your crafting in a carpeted room.
Chenille Home yarn is a #7 or a “Jumbo” and you should have similar results if you swap it out for another jumbo yarn.
Helpful Tips for Covering your Pumpkins with Yarn
If you break it down you’re really just braiding some yarn and sticking it to a pumpkin. But after making two of these bad boys I have a few tips to pass on the make making your own yarn-covered pumpkins even easier.
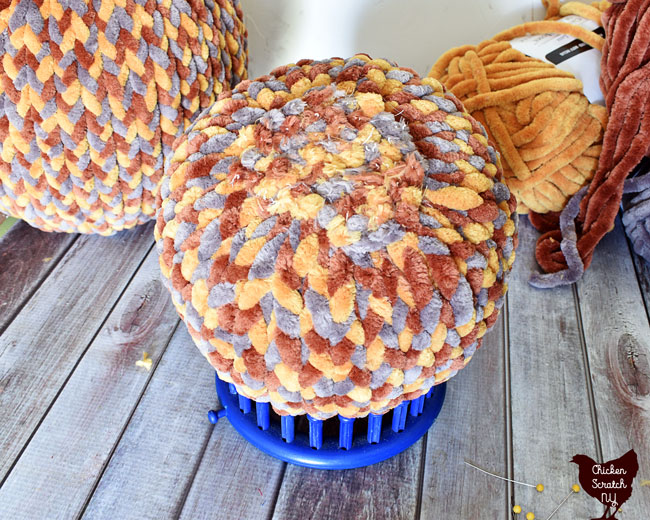
First things first, I promise this fall home decor project will be a hundred times easier if you have something to hold the pumpkin while you work.
I grabbed a knitting loom but you can use just about anything that keeps the pumpkin from rolling away, a cereal bowl would be perfect!
Use Rounded Headed Pins
I used straight pins to attach my braids to the pumpkins. I’m a big fan of projects that can be undone and redone when the mood strikes.
If you’re not a fan of straight pins you can try to use hot glue but due to the fuzzy nature of the yarn, you’ll probably end up with a mess on your hands.
The heads of the pins will probably show a little so pick ones that blend in, I went through all my straight pins and picked out the yellow, white, and gold-headed pins.
Measuring The Yarn
I learned the hard way that it’s much easier to make the braids too long and then cut them than it is to try and braid all the way to the end to tie off the braids.
Measure the yarn by loosely wrapping a piece of yarn from the bottom of the pumpkin to the top, adding about 3 inches, and doubling it before cutting. You can use that piece to cut the other 2 colors.

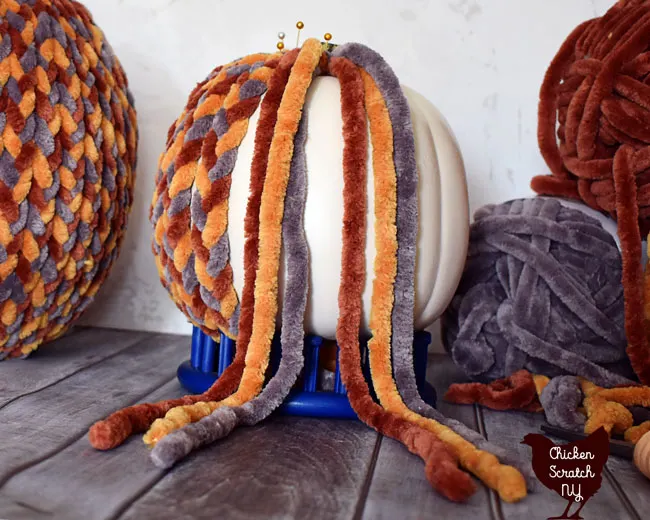
After you’ve cut all three colors tie a knot in the center of the yarn. Stick a pin through the knot and stick it into the pumpkin at the base of the stem.
Don’t push the pin all the way in, it makes it much easier if you have to move the braids around later (you’ll most likely have to squish them together).
I think it’s faster to make a whole pile of knotted yarn trios before you start braiding, batch work tends to make everything go faster.

When you have enough braided to reach the bottom of the pumpkin tie or secure the two braids together using strong thread or small rubber bands (like the ones you use in little kids’ hair).
Secure the double braid to the bottom of the pumpkin with another straight pin. This one will get covered up so the color doesn’t matter.
The braids don’t have to go all the way to the bottom center of the pumpkin. I stopped about 2 inches away so I didn’t have a bunch of knots all coming together in one little area.
Adding More Braids
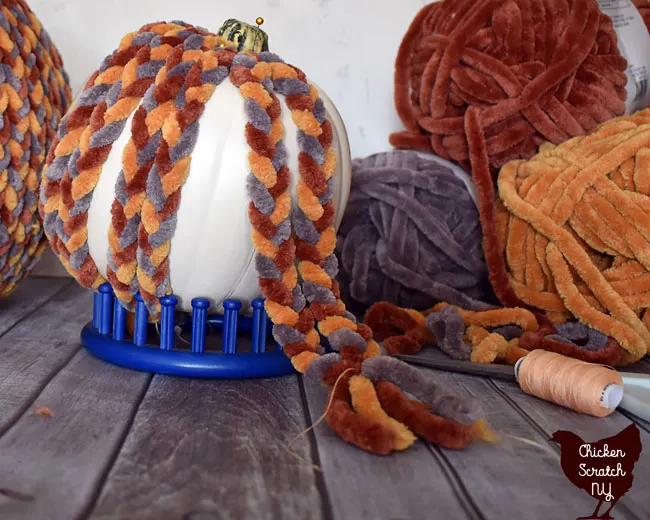
The key to a well-covered pumpkin is to keep your braids flat and loose. The tighter you make your braids the more you’ll have to add.
I found it easiest to add all the braids around the top of the pumpkin and then add in extras that started about 1.5 inches down from the top. The yarn braids are slightly stretchy and very forgiving so it’s not hard to nestle them into place.
Finishing the Yarn Covered Pumpkin
Once you’ve added all the braids and you’re entire fake pumpkin is covered it’s time to finish her off. A little bit of a warning here, this is the messiest part!

Flip your pumpkin upside down and go nuts with your scissors trimming off all the excess yarn. Take cake not to cut the thread or rubber bands holding the braids together.
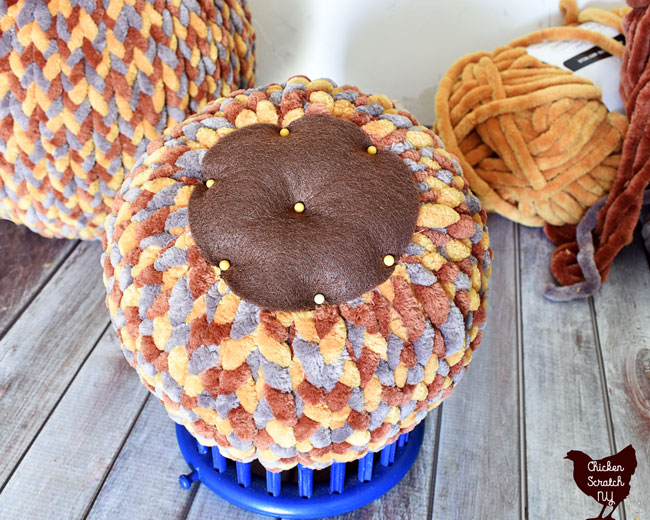

When everything is trimmed up cut a small circle of felt big enough to cover all the ends. Secure it to the pumpkin with more straight pins.
You can skip this step but your pumpkins will shed like a Golden Retriever and you’ll have fluff everywhere.
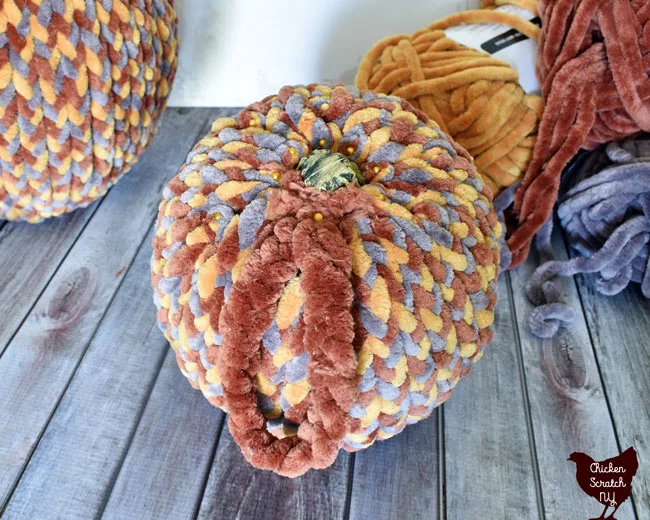
The last step is to cover the stem with even more yarn and (you guessed it) straight pins. Make a braid out of one solid color, about 12 inches long for the large pumpkin and 8 inches for the small pumpkins.
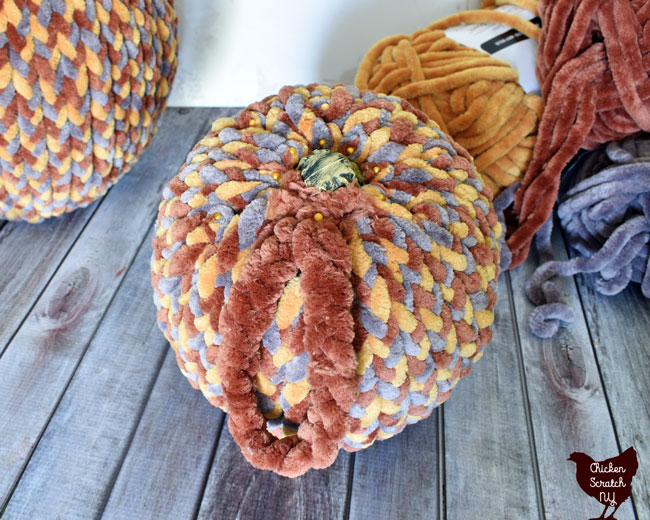
Make a loop by tying the ends together with your thread or rubber bands and use a pin to stick it to the top of the pumpkin with the ends facing the stem.
Hold one of the sides to the stem and wrap the other around until you run out of braid. Stick a pin in the top and two more around the side to hold the braid in place.
And you’re done! I had a lot of fun putting them together but I think the best part is petting them, the chenille yarn is so soft!
Yarn Covered Pumpkins


Give a set of fake pumpkins a makeover with braids of chunky chenille yarn. The yarn covered pumpkins are sweet in a neutral color palette but you can use whatever matches your home decor.
Materials
- Chenille Yarn in 3 colors (or another Jumbo yarn)
- Coordinating Felt
- Thread or Tiny Rubber Bands
Tools
- Straight Pins (matching or coordinating pin heads)
- Scissors
Instructions
- Cut pieces of yarn twice as long as the pumpkin plus about 6 inches
- Tie three strands together with a basic knot in the center
- Put a straight pin through the knot and press into the pumpkin
- Braid each side, wrap around the pumpkin and tie both braids together with doubled thread at the bottom of the pumpkin or secure with a small rubber band
- Cut off the excess yarn and secure to the bottom with another straight pin
- Continue around the top of the pumpkin, pinning the knots as close together as possible
- To fill in any empty areas add extra braids following the same method a few inches down from the top
- Cut a circle of felt to cover the bottom of the pumpkin, secure around the edges with several pins and stick another through the center
- Make a single braid in one color for the top of the pumpkin
- Pin it to the base of the stem, wrap the braid around the stem and tuck the ends under, secure with more pins
Notes
Don't stick the pins all the way in until you're finished, it makes it easier to move things around if you have to
You can try to use hot glue but I live to make things that I can unmake when I get bored
This yarn sheds when it's cut, it will make a mess
Check out my Autumn page for more craft and decorating ideas or start here:


Denise/My Home of All Seasons
Thursday 1st of October 2020
These are adorable Alecia! Great instructions and I'm so glad you shared the colors you used. They are just perfect! Thanks so much for sharing.
LINDA
Wednesday 30th of September 2020
Thank you for showing us just how to make these beautiful Fall pumpkins. I love the softness of chenille, don't you? Pinned to my Fall Fun Board! Thanks for sharing at the Everything Fall 2020 party. Please come back and link up again as often as you like, Fall foods also. Best wishes, Linda at Crafts a la mode