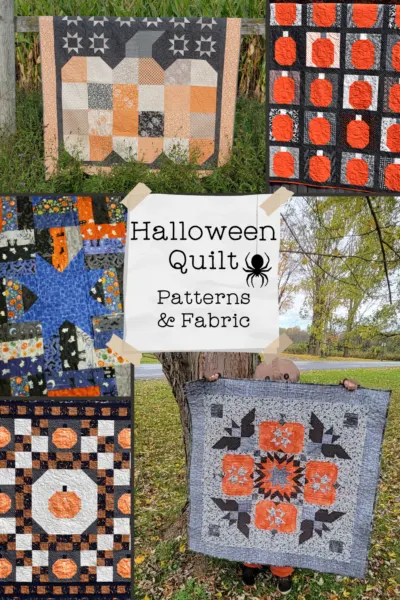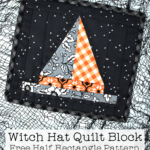

It’s hard to imagine a witch without a pointy hat and harder to imagine Halloween without both. Turn your favorite fabrics into a sweet Witch Hat Quilt Block with this free tutorial!

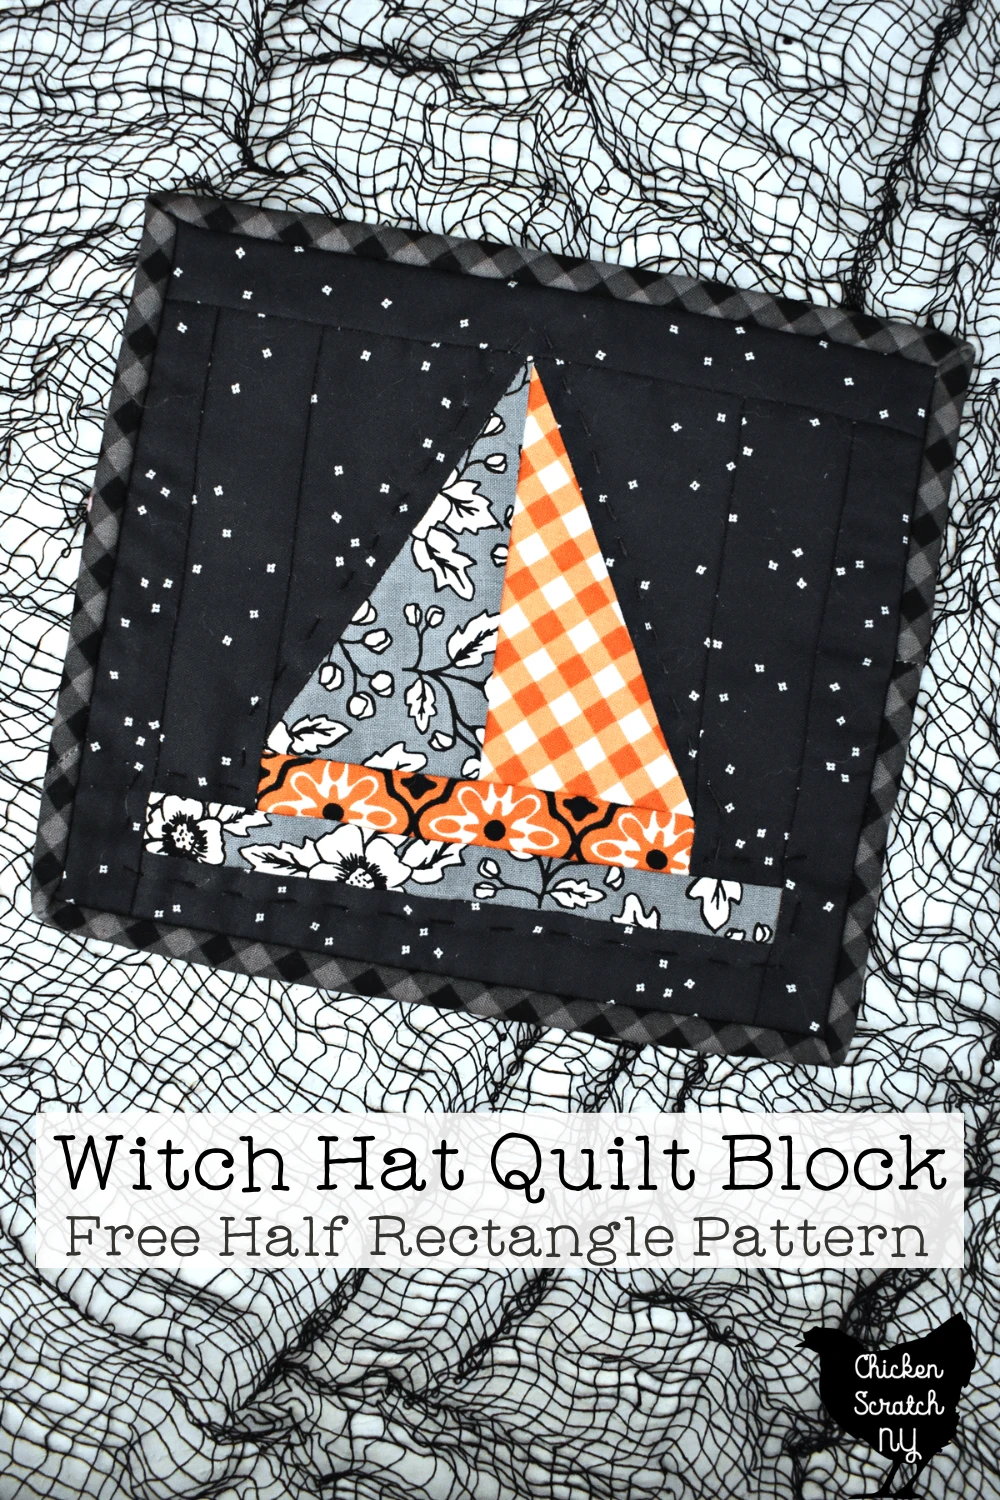
This block requires a little help from a Half Rectangle template. The template I used is available from Fat Quarter Shop for a few bucks and will make HRTs that finish at 2″ by 4″.
My first introduction to Half Rectangle Triangles was with the Black Diamonds quilt where I made over 300 of them. By the end, I almost had it down to a science but they do have a few quirks that will always make them harder than basic half-square triangles.
The trickiest thing about half square rectangles is making sure you create both sides, unlike half square triangles the blocks have very specific orientations, and spinning them around won’t change anything.
The best way around this is to set everything up before you start sewing and draw all your sewing lines in before you sew a single seam. That way you can be sure you have both angles covered.
You’ll need to make two sets of half rectangles for each hat which means you might as well make two hats. And since you’re making 2, you might as well make a whole bunch!
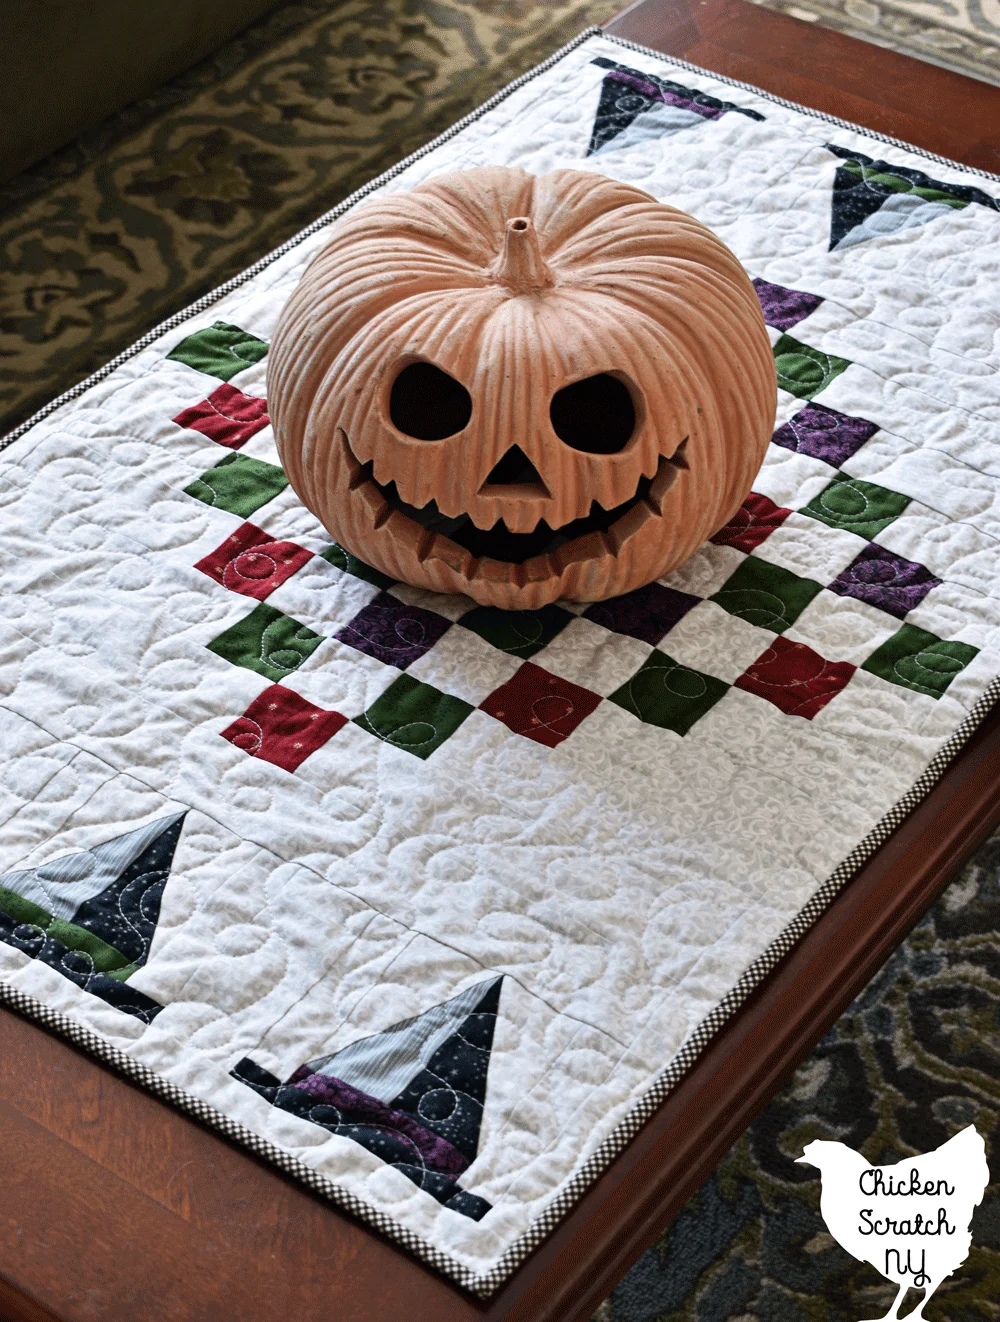
Can’t get enough? Check out the Winifred Table Runner in my pattern shop!
Fabric Cutting
For each block, you will need to pick one fabric for the background, one for the hat band, and two for the hat itself. The pieces are all fairly small so this isn’t the best place to pull out your favorite big prints.
All of these numbers are for a single block, with the exception of the half rectangles.
From the background cut:
- 2 – 4 x 6 rectangles
- 2 – 1.5 x 5 rectangles
From the main hat color cut:
- 1 – 4 x 6 rectangle
- 1 – 1 x 6.5 rectangle
From the contrast hat color cut:
- 1 – 4 x 6 rectangle
From the hat band fabric cut:
- 1 – 1 x 4.5 rectangle
Sewing the Witch Hat Quilt Block
The hardest part of this block is making sure you make both sides of the hat. Remember, you can’t just flip these blocks around like HSTs (trust me, I tried).

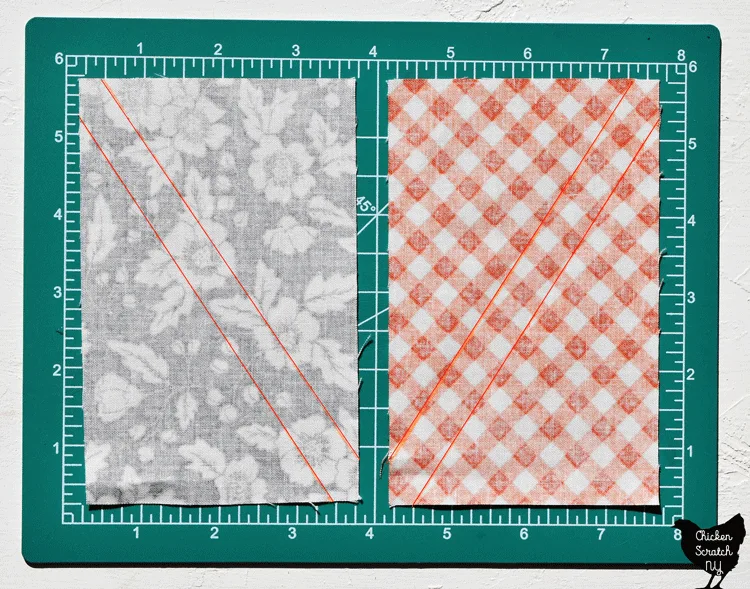
Using a regular ruler or the handy dandy 1/2 inch ruler mark lines going across the diagonal of the 4×6 rectangles. Draw one set from the top left to the bottom right and the other from the top right to the bottom left.

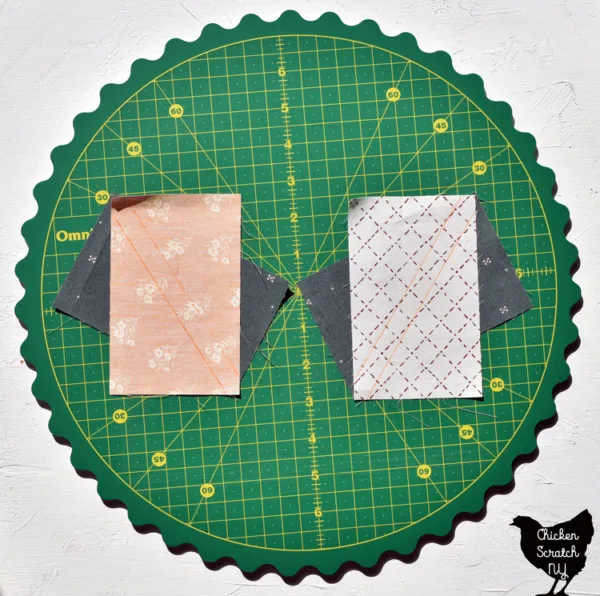
Pair up your print rectangles with background rectangles. They will be offset, not lined up like with half-square triangles.
Sew 1/4 inch away from the center (on your lines if you used the 1/2 inch seam ruler) on both sides. Cut apart and press open.
If you want your hats to nest press one side to the print and press the other side to the background.

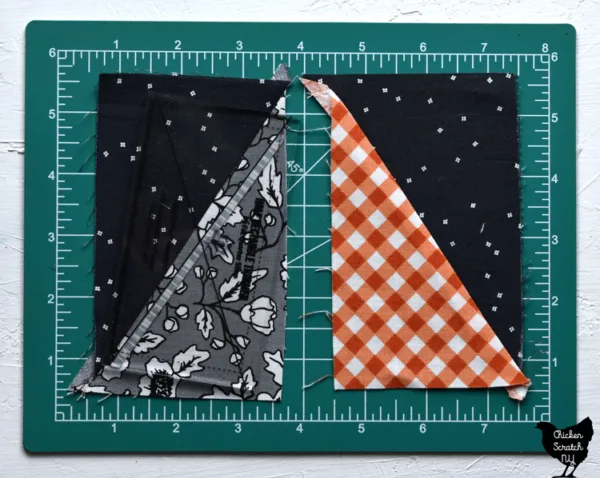
Use the Half Rectangle trimmer to cut your blocks to size.

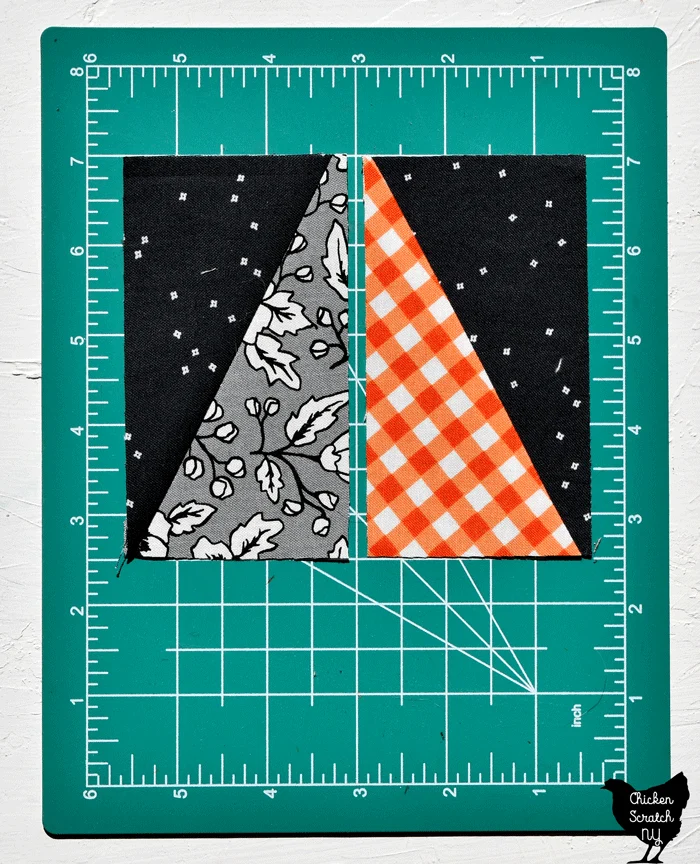
Match up one left hat and one right hat and sew together, press to one side.
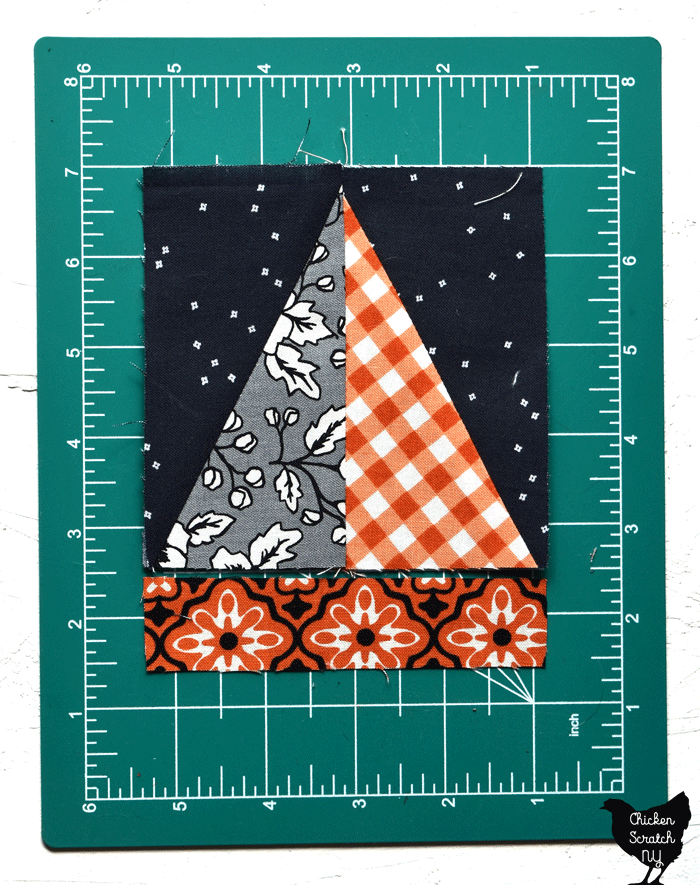
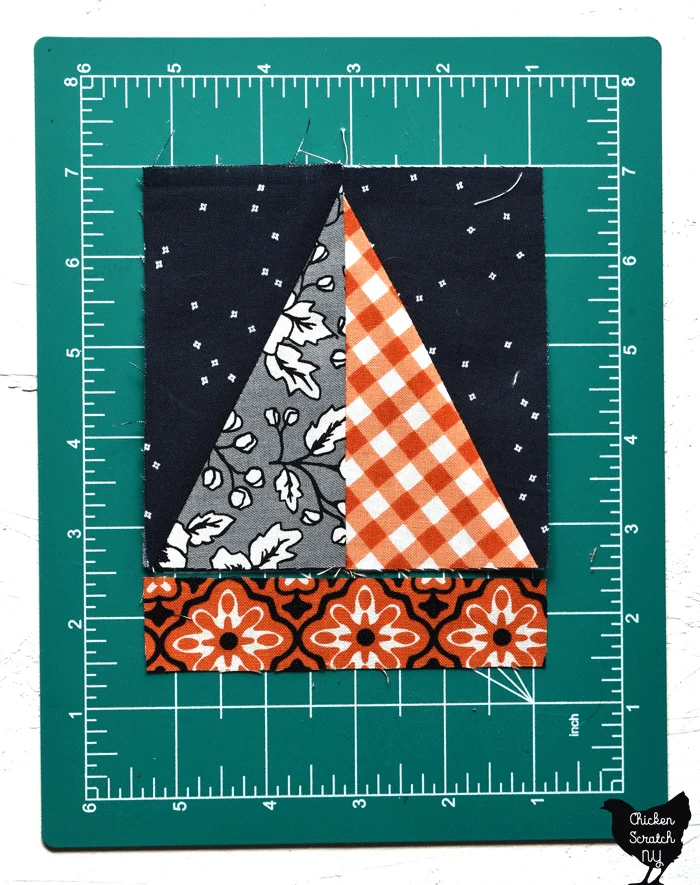
Sew a hat band to the bottom of the hat and press toward the hat. Normally I’d recommend pressing towards the hat band but the seam gets in the way when you try to add the brim of the hat.
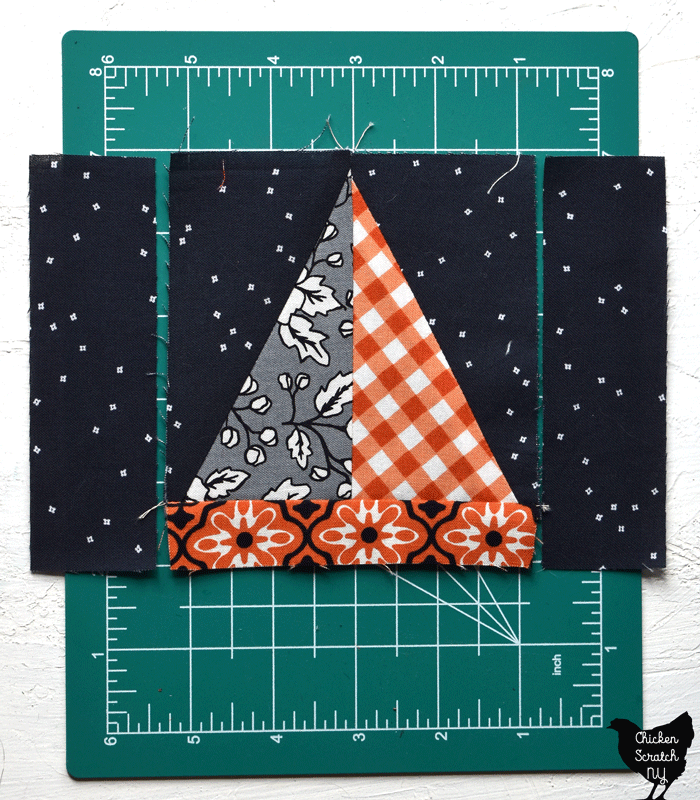

Sew a background strip to both sides of the hat, press towards the background.
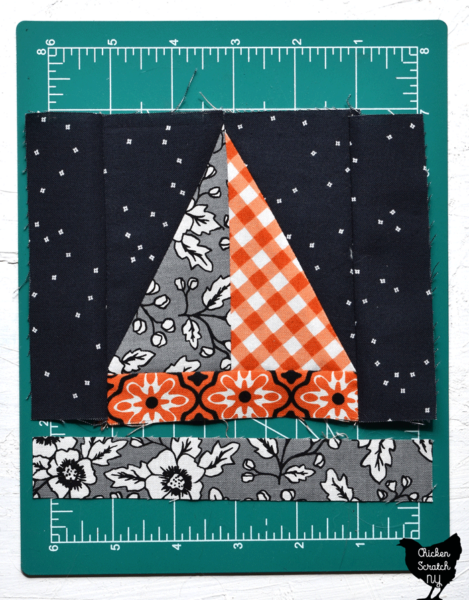

Sew the brim of the hat to the bottom and press towards to brim

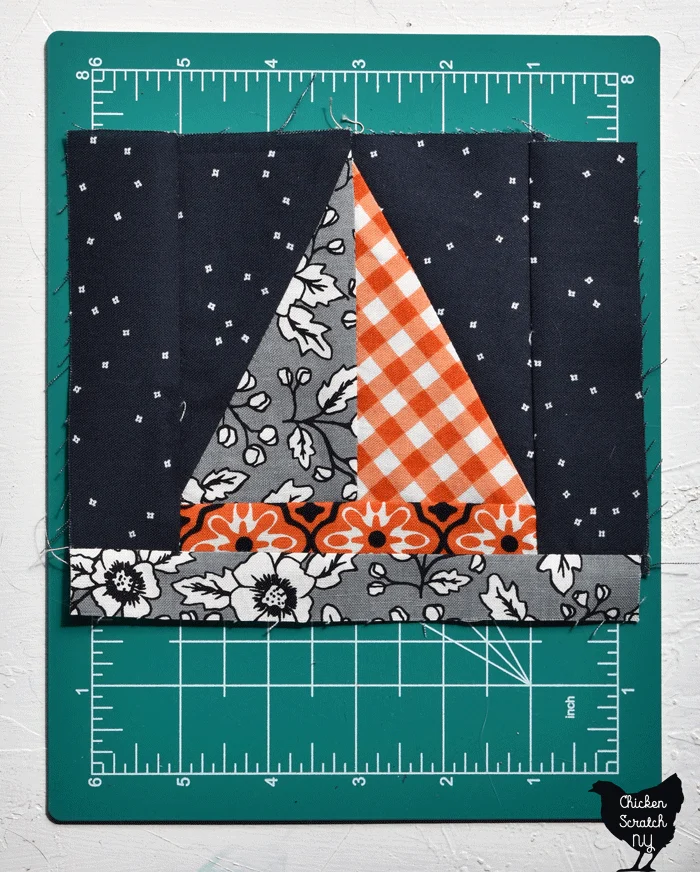
And just like that you’ve got a witch hat on your hands! Make a whole bunch for a quilt, turn a few into a table runner or make a single block into an adorable mug rug.

It’s a great block for a scrappy project, imagine a whole mess of witch hats with unique hat bands! Once you get the half rectangle skill down you won’t want to stop making these witch hat quilt blocks.
Check out my Quilting page for more info or start here: