I have a lot of red and white in my holiday decorations but not very much representing Santa himself. Instead of the standard Santa portrait I decided to make a a multi-dimensional holiday sign featuring his signature phrase cut from velvety soft suede paper that begs to be touched.
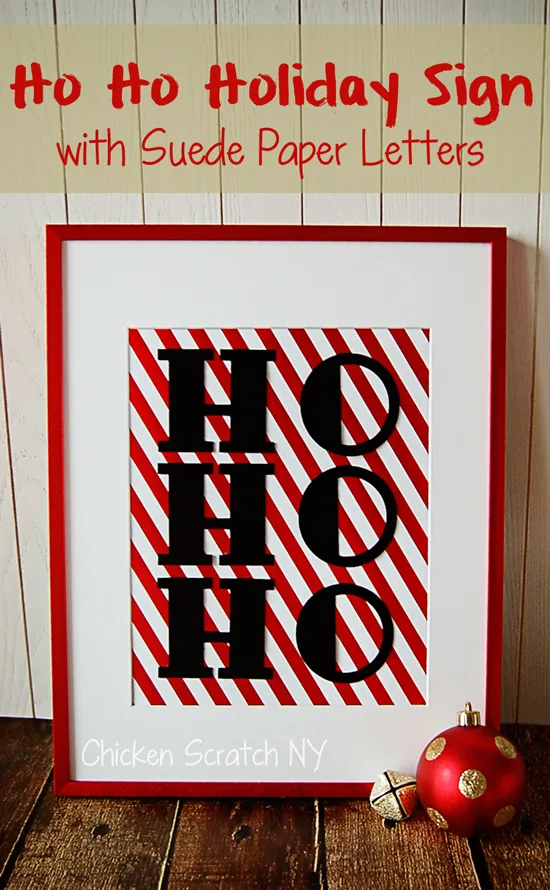
This project was inspired by a trip to the frame aisle in Michael’s, I was checking out the sales when I found this metallic red frame. There were a few other colors and some with glitter but I stay away from that because I’m trying to avoid another Disco Baby incident like the one that happened after making a very glittery Halloween Witch Wreath for my sister.
Everything else I needed (except my trusty Cameo) came from the scrapbook aisle. There is a whole world of open stock scrap book paper available! I usually go for the cheapest paper possible but this year I decided to go all out and spend two dollars on a sheet of paper.
I love using glue dots for paper projects because there isn’t any risk of dripping. I’m a really sloppy crafter and anytime I can mess up at a critical moment I will. As a bonus there’s no drying time so when it’s done it’s done.
HO HO HO Sign Supplies:
? 11×14 Metal red picture frame with a white mat for an 8×10 photo
? Red and white foil striped scrapbook paper
? Black suede paper (feels like velvet)
Instructions:
1. Open the cut file in studio and place the black suede paper on the mat. I ended up using the presets for thick fabric but I have a very old blade so if your blade is newer you might use a lower blade setting
2. Load the mat into the machine and cut out the letters
3. Carefully remove the letters and excess paper from the mat
4. Take apart the frame, remove the back, insert, photo mat and glass. Replace in this order: Frame, photo mat, striped paper, glass, back
5. Eyeball (or measure) the center. Using the Mini Glue Dots® attach the letters to the scrapbook paper. I tried my best to get the middle ‘HO’ centered and lined up the rest of the letters with those
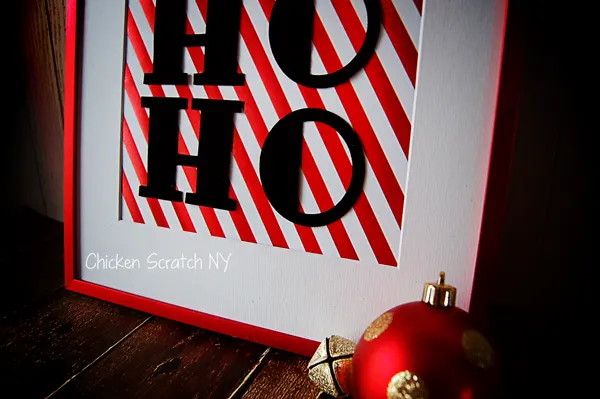
I love the look of the suede paper on the shiny foil, it’s strange but the nap of the paper makes it look blacker than regular black paper. It’s soft like velvet and I find my felt touching the letters each time I pass it (which is a lot since it’s on the shelf I pass when I go to the bedrooms, craft room and bathroom.
I really like the frame too, it has spring style closures on the back so everything is held in really tight (I appreciate it after framing a bunch of pictures of Mary and two days later walking by to find the pictures had slid down behind the mats)
Check out my Christmas Page for more ideas or start here:

Karen Marie Kedzuch
Wednesday 17th of December 2014
Alecia, Your project turned out beautiful and you can see the suede added depth to the beautiful results. Happy Creating, Karen Marie
chandra@The Plaid & Paisley Kitchen
Tuesday 16th of December 2014
I love my Cameo Silhouette! This is a really cute sign