

A few weeks ago I was given an old lampshade. I immediately went on pinterest for ideas and I saw a gorgeous lampshade covered in doilies.

I’m pretty sure the first word out of my mouth were “Wow! That’s gorgeous! I’m totally not doing that” Odd combo right? I do love it, I’m just not sure where a vintage doily covered lampshade was going to fit my house.
Then I ended up with some unexpected free time when my parrot decided he wanted a vacation. And flew out the door, I did end up getting him back by the way.
Anyway thanks to that free time and a pile of doilies I decided to try my hand at a doily covered lampshade. I also did it all on my back deck so that’s why the pictures are all shown on an aged wooden surface.
Doily Covered Lamp Shade Supplies

- Old Metal Framed Lamp Shade
- Doilies
- Upholstery Thread
- Blunt Needle
- Scissors
- Clothes Pins
How to Make a Doily Covered Lampshade
For the record this is almost the exact opposite of the way the inspiration tutorial did it. To be honest her way was probably easier, but I like the layered look I got with my method
1. Remove the old lampshade, mine sort of crumbled off because it was ancient and completely dry rotted.


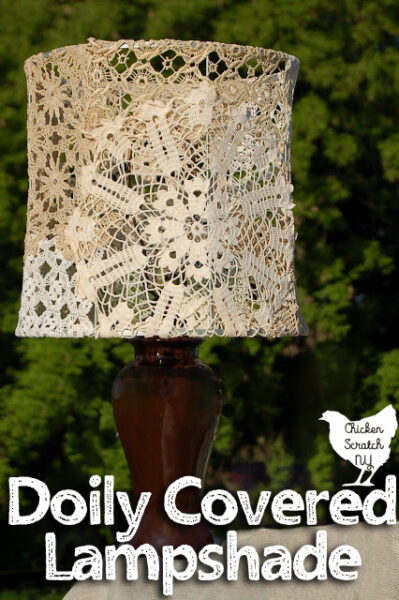
I used vintage doilies so there was quite a variation in sizes and colors, I tried to keep some contrast by mixing it up. My other goal was to avoid cutting anything, I wasn’t sure if they would straight up unravel.

3. When your happy with your placement it’s time to start stitching them down. I started by tying knots around the ‘braces’ and stitching the doilies to the top part of the frame.
I worked my way around in sections. It’s a bit tricky to keep the tension right. You want the doilies taught but not squished. Use thread that blends in with the doilies and then you don’t have to worry about trying to hide the stitches.

I’ll be honest, this took quite a while. At least 5 hours split over two days. If you aren’t such a perfectionist you should be better off.

I’m still in love with the final product 4 years later. I ended up putting in my bedroom where it does absolutely nothing to shade the lamp but does create beautiful shadows on the wall.
My bedroom is always in a state of disrepair but I really think this is the year I get my shit together and that means in my bedroom too. The lampshade is staying but I’m on the lookout for a new base.
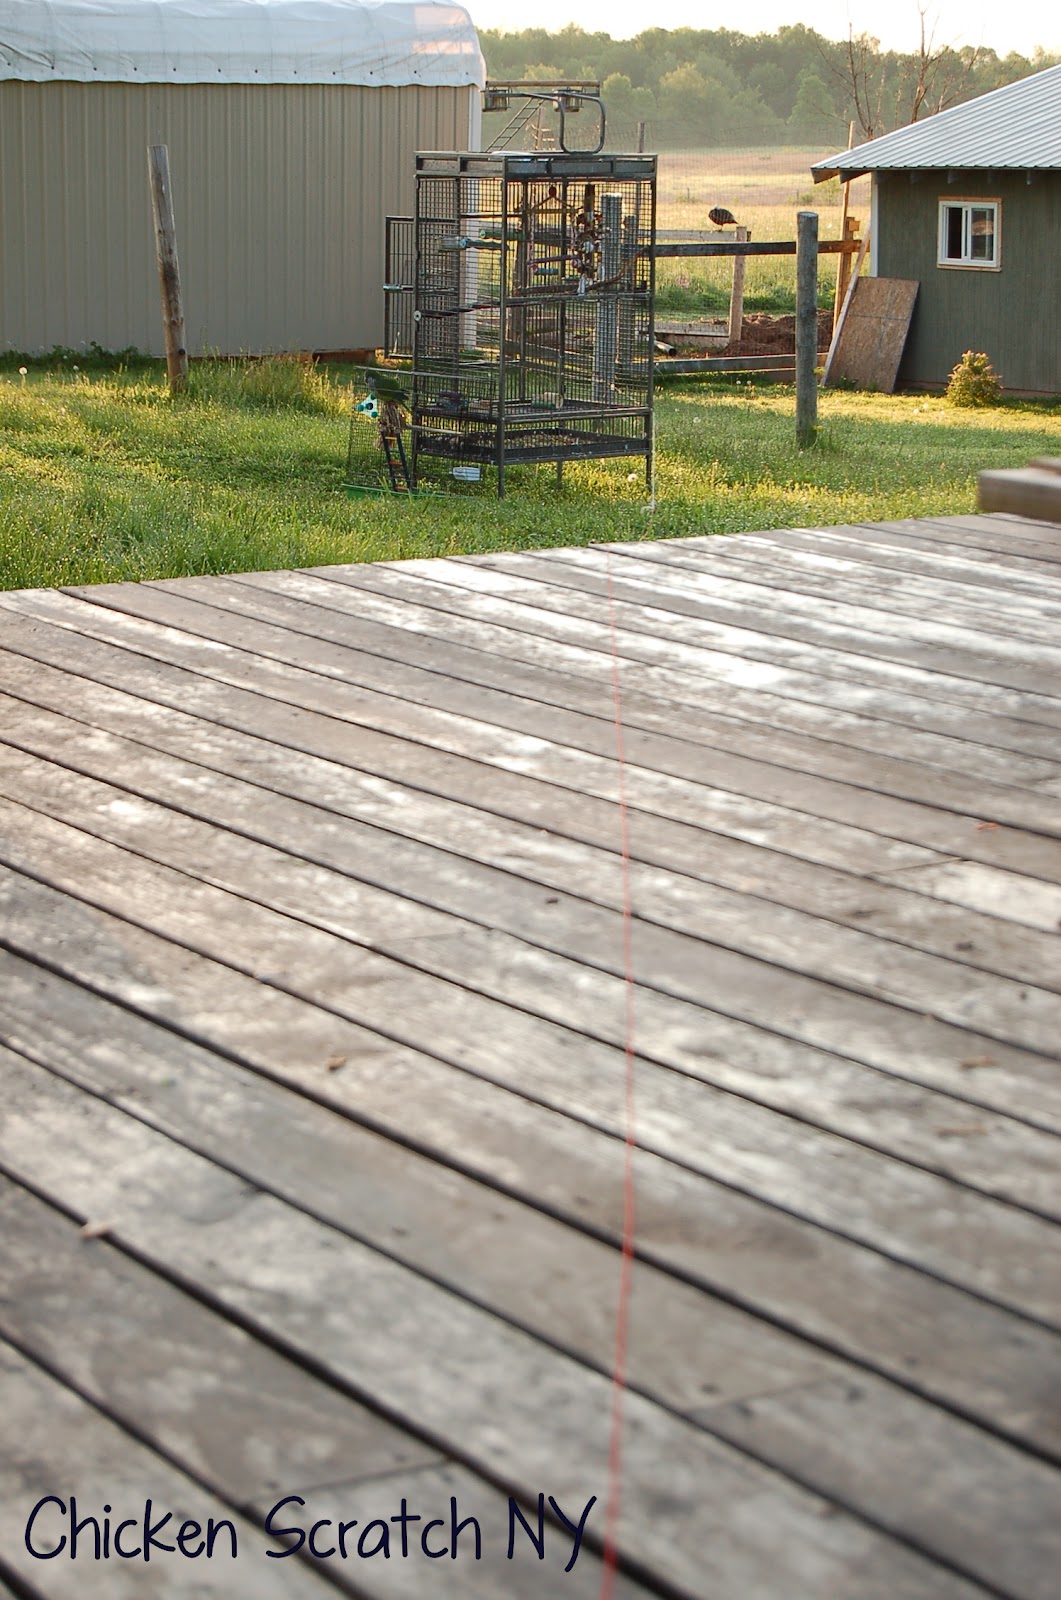
As for the parrot? This is how I ended up luring him home. I was going to pull on the red string to close the door when he went into the cage. He landed on my head instead.
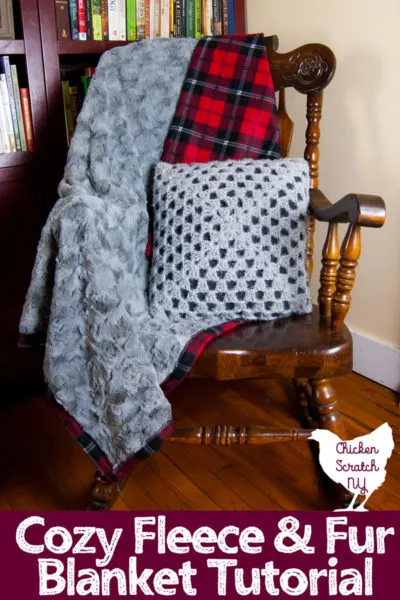
Check out my Sewing page for more DIY Home Dec projects or start here:


Lesley
Monday 27th of May 2024
I have a tablecloth like a giant doily,with too many holes for a fancy top, this is a great idea!
Jolene
Wednesday 3rd of January 2024
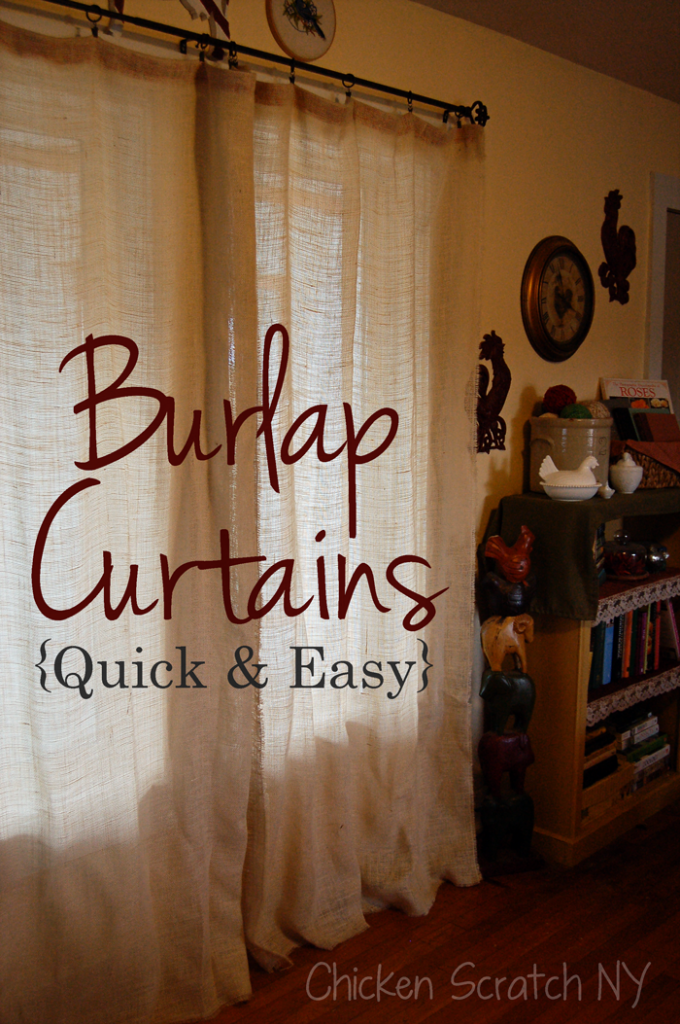
Love all of your ideas. I’m going to try a lampshade with dollies. And burlap curtains!! I never would have thought of that one. They are lovely. Thanks for sharing❤️
Marie
Saturday 18th of March 2023
Fishing line is great for sewing when you want to not haves thread showing. Love your shade. An old iron base lamp would look great with it.
Teresa Trettin
Saturday 7th of January 2023
WOW as a nonrepentant hoarder I have 2 shade frames from my husband's ugly lamps. I am going to look for pretty bases and use them in a bedroom that has not seen a bed in 14 years. However, once we get that room cleared and the electrical needs done, it will!
Janet
Monday 5th of December 2022
I love this idea! Thanks for sharing. I have many crochet doilies that were my mother's, but I had no idea how to use them. And, I have two old lamp shades that need an update. Your idea has solved two of my problems.