

Cold weather is blanket weather. And with as miserable, cold and wet as this year has already been I know I’ll be needing quite a few. So why not make one?

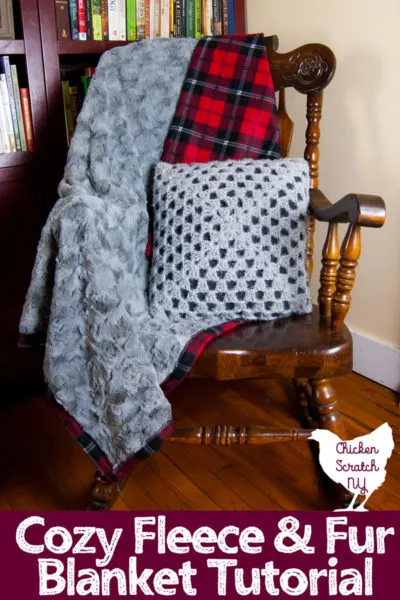
This is the warmest, coziest blanket you’ll ever see. It has a soft layer of fake fur backed with extra cozy blizzard fleece in a wintery pattern.
It’s perfect for sitting back with a cup of hot cocoa and reading a book or snuggling up with the kids to watch a movie. You’ll need a few basic supplies to pull this one off but most of the work is done before you hit the sewing machine so it’s a perfect sewing project for beginners.
The Fabric
There are two layers to this blanket, the fleece and the fur.
If you’ve never sewn with fake fur you’re in for a real treat. When you cut it, it sheds worse than any animal I’ve ever seen.
For the record I have a 111 pound golden retriever. When they cut mine at the store they pulled off the majority of the loose hairs but it’s never really done shedding at the edges.
The longer the fur is the more of a mess you’ll have on your hands, and table, and floor… I used a very silky feeling short fur called “Large Paloma Swirl” from Joann Fabrics.
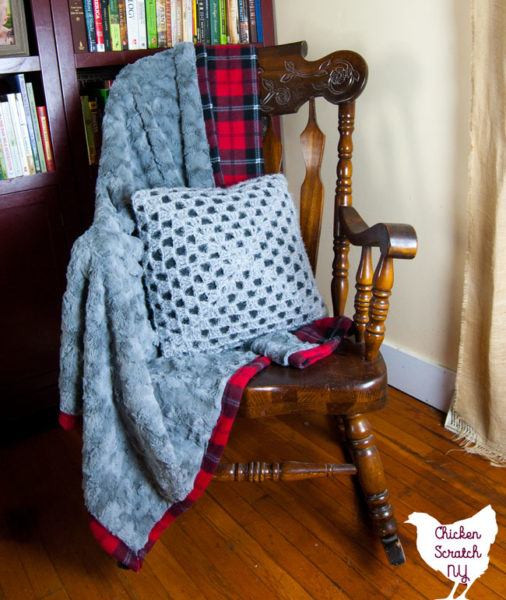
The real fun comes when you get to pick out the fleece. Luckily plaid is very popular right now and there are tons of options. I settled on a red, grey and black plaid for myself.
If you want to make this easy on yourself avoid the plaid that runs on the diagonal. Stick with something that goes straight across and down and you’ll have an easier time cutting and sewing.
I picked up both pieces of fabric at Joann’s do not buy them for full price. They constantly run sales or have % off coupons you can use.
I ended up paying $6/yd for the fleece and ~10$/yd for the fur.I could probably have done better but I needed to get this post done 😉 They usually have a huge Thanksgiving/Black Friday sale so keep that in mind.
The trickiest part about getting the fabric is that the fleece is 58 inches wide and the fur is 59. This construction method relies on having wider fleece than fur.
I bought 2 yards of fleece, you’ll have about a foot left over but it’s nice to have the wiggle room and when it’s $6/yard it’s not too much money. It’s way better the have extra than not enough!
For the fur I bought 1.5 yards. They did a really good job cutting mine straight so I didn’t need to square it up at all.
Setting up the Fleece and Fur Blanket
You’ll need a large surface to get the blanket put together. I used a large table but the floor or even a bed will work.

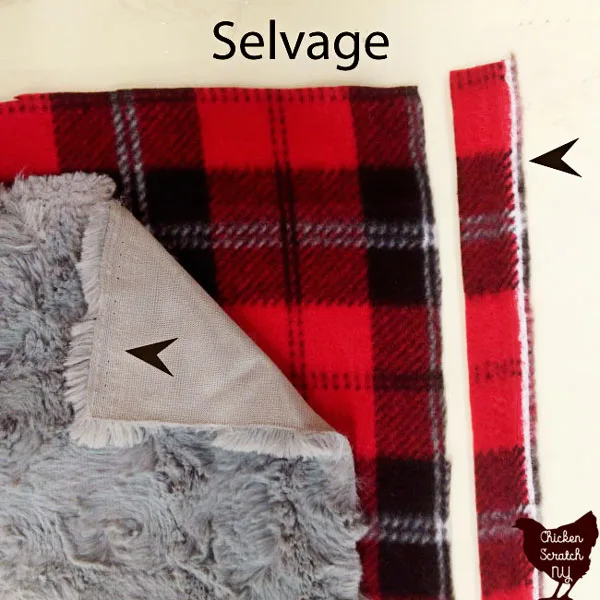
Lay out the fleece and lay out the fur on top of it, furry side up. In order for everything to fit you need to put the selvages of the fur opposite the selvages of the fleece. The selvages are the sides of the fabric that were not cut at the store, they’ll have small holes along the edges.
Trim the fleece, removing the rough selvages and leaving an inch or so on either side of the blanket. This is where the real beauty of the plaid print comes in, you have straight lines to follow!
Don’t stress over an exact measurement, I ended up with about 1.25-1.5 on the sides of my blanket. You really don’t need to whip out a ruler for this, just go with your gut.
After you’ve stacked and trimmed your fabric get out the pins. Lots and lots of pins.
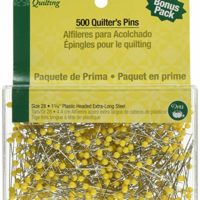
Use pins with a large glass head, you do not want to loose a straight pin in the fleece and find it when you’re snuggling with the kids! Be very generous with your pins, I put one every 6 inches or so along the straight edges.
The hardest part of this fleece blanket (after picking the fabric) is the corners. And they aren’t even that hard.
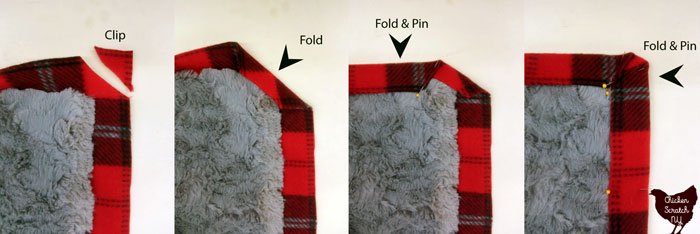

Clip off the tip of the fleece corner. Fold it down and then fold up one side, secure it with a pin and repeat on the other side.
Set up your sewing machine with coordinating thread, I used a dark red and you can’t really see it at all. Use a large straight stitch and work your way around the blanket removing the pins as you get to them
Don’t crank it up to 100, this is a pretty thick sandwich of fabric and things will slide around if you aren’t careful. Pay attention at the corners to catch the little pieces you folded under.
When you get back to the beginning you’re all done! No turning it inside out or hand finishing.
It really is a super warm and cozy blanket, my daughter has started calling it the “Super Snuggle Blanket” and I’ve already had to promise to make them their own so I can actually use it once in a while!
DIY Fleece & Fur Blanket


Don't be afraid to embrace the cold with this ultra cozy DIY Fleece and Fur Throw Blanket
Materials
- 2 yds Flannel Printed Fleece
- 1.5 yds Fake fur
Tools
- Scissors
- Lots of pins with a ball head
- Sewing Machine & thread
Instructions
- Even out any wobbly spots on the fur to make an even square
- Center the fur onto the fleece with the selvage edges facing opposite directions
- Trim up the fleece to 1-1.5 inches wider than the fur on each side
- Start at one corner, clip the tip off and fold the corner fleece down, fold one side over and secure with a pin, repeat on the other side.
- Liberally pin the fleece around the fur making a fleece-fur-fleece sandwich, I put pins every 6 inches to keep things from sliding around.
- Repeat for all 4 sides and corners
- Sew around the blanket, removing the pins as you go taking care the secure each corner
Notes
This would be a great time to whip out the walking foot but I don't have one. As long as you go slowly and take care to readjust the fleece if it starts to bunch up you will end up with a beautiful blanket.
Remember, no one else will ever look as closely as you!
Recommended Products
As an Amazon Associate and member of other affiliate programs, I earn from qualifying purchases.


Lorraine
Monday 6th of September 2021
This was useless. No idea of stitch length. Or needle size. Or how you kept the middle together.
Megan
Thursday 11th of November 2021
@Lorraine, Geez Lorraine, no need to be so rude about it.
Alecia
Tuesday 7th of September 2021
I'm sorry you didn't find my tutorial helpful. I used a regular stitch length (the auto setting that comes up when I turn on my machine) and a regular sewing needle.
There is no need to hold the fabrics together in the middle, as long as they're flat together when you sew the sides the blanket will hold its shape. You would certainly add lines of stitching across the body of the blanket if you wanted to, I don't like the way stitches look in fake fur so I left them out.
Shelly
Friday 8th of February 2019
Thank you! It seems simple and I can't wait to make one. Now I just have to figure out how to use my machine.
Alecia
Sunday 10th of February 2019
Good luck! It's a fun project, if you're a beginner I'd recommend using tons and tons of pins to keep things lined up. It makes it a bit slow going but it's worth it over ripping out stitches