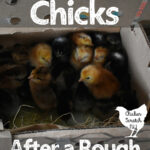
The worst thing I’ve ever received in the mail was a box of dead chicks. It wasn’t a cruel prank or hate mail, it was an online chick order that went very wrong.

This post is sponsored by Cackle Hatchery, I’m really excited to be working with them this year. I have been buying birds from them for years and I’ve always had great experiences. The dead chicks in question did not come from them.
It was 2010 and I still remember picking up a very silent box at the post office. Even the woman working knew something was wrong with it.
After we confirmed that all of the chicks were dead she told me that sometimes the workers in the shipping centers stack boxes around the chicks in an effort to keep them warm, and end up killing them with kindness.
That obviously wasn’t the last time I ordered chicks through the post office, I’ve placed 1-2 ordered every year since. That’s how I got my geese, turkeys, guineas and of course most of the chickens.
It was however the last time I placed an order with that particular hatchery. I knew it wasn’t the hatcheries fault, I had ordered from them in the past and has always received healthy birds.
But when I called to tell them what happened I ended up on the phone with a really rude woman. Her whole attitude was basically, what do you want me to do about it? Even an insincere “I’m sorry you opened a box of death” would have been better than her reaction.
Since then I’ve always been lucky with both the hatchery and the post office. Honestly if shit’s going south it’s probably going to happen on the delivery end of the equation.

Like my posts on heat stress, broken blood feathers and meningeal worm I’m putting this info out there hoping you never need it.
But someday you might so keep reading and I’ll walk you through what you should do if your chick order comes in in bad shape.
Most of this advice is based on personal experience but I was lucky enough to get to chat with Jeff from Cackle on the phone for a bit about chickens and raising chicks. He had a lot of really good advice and experience that I wanted to pass on to you.
No one wants your chicks to arrive happy and healthy more than you and the hatchery.
Warm Them Up
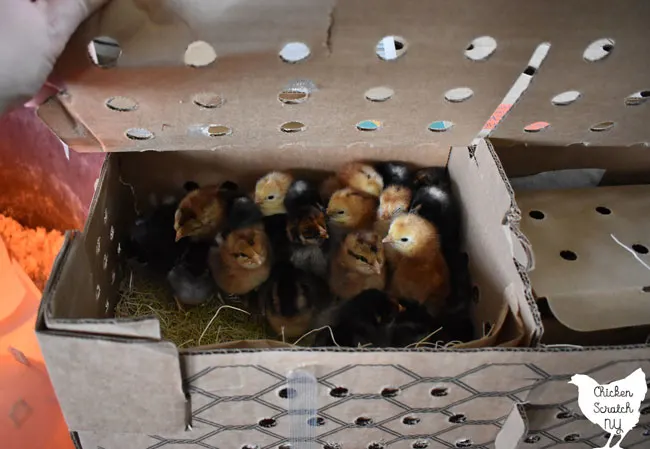
This is the most important thing you can do. When you open a box of chicks shipped in the winter or early spring they’re usually pretty packed in the box. It helps keep them warmer and from getting shuffled all over when moving.
But sometimes things don’t go the way we all plan and if you get an unexpected cold snap or they get stuck some where you might have some chilled chicks on your hands.
If you open the box and the chicks are lethargic and quiet get them under the heat lamp ASAP. You should always have your brooder set up and tested before you get the chicks home. You don’t want to find out your light bulbs don’t work when you have a box of chilled chicks on your hands.
![]()
![]()
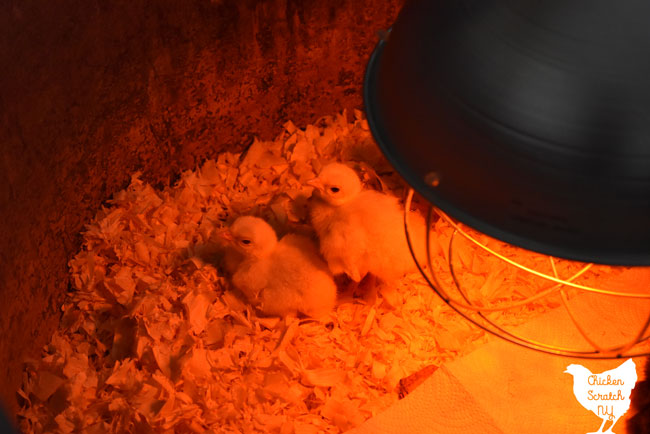
It’s always important to make sure your brooder is draft free. I use large 110 gallon stock tanks, they have tall sides that keep the heat in and protect the chicks from cold drafts.
If you’re picking up your chicks on a cold day get the brooder set up at 100 degrees instead of 95. The higher temp will help the chicks perk up by raising their body temperature faster.
Over the next 24 hours you can gradually lower the temp (by raising the light) to 95. An RN friend of mine always says they have to me warm and dead to really be dead.
That’s not to say a heat lamp will bring back a truly dead animal but it’s amazing what some heat can do. Many years ago I was hanging out at that same friends house (ok, she is my ex-mother-in-law but that seems unnecessarily cold, she is still a friend) when we found an abandoned baby goat.
He was very cold and limp. I stuck him in my shirt an took him in the house, after some brisk rubbing and warming him up he pretty much came back to life. I named him Lucky, I took him to Dunkin Donuts once and he still lives with my Uncle, 10 years later
I’m experimenting with a plate brooder for the first time this year but after speaking with Jeff from Cackle, I’ll still be setting up all my brooders with heat bulbs to start. The light bulbs get hotter and they’ll warm up the chicks faster. When your babies are chilled, faster is better.
Make Them Drink
After they’re warm and they start to perk up you need to get some liquid into them. NEVER give them cold water.
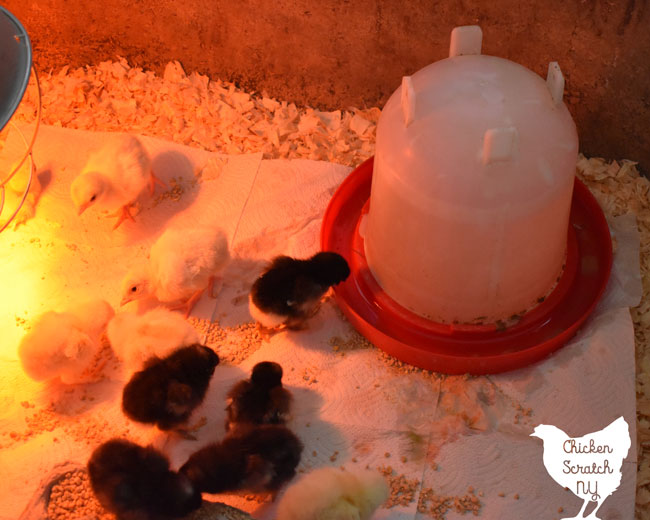

If the chicks seem active and peepy gently hold them and dip their beak into the water. You’ll see them swallow then you can let them go under the light. If they seem floppy warm them up first and then do the dip trick.
A chick (or poult or duckling or especially a keet) is tiny and giving them cold water is going to drop their body temperature. Give them warm water to start, unless you’re using a huge waterer it’s not going to stay warm for long but it should make it through the first round of drinks.

You can add a few teaspoons of apple cider vinegar to the water for the first week to help ward of pasty butt, an apt but oddly named problem where poop sticks to the chicks butt and can lead to death.
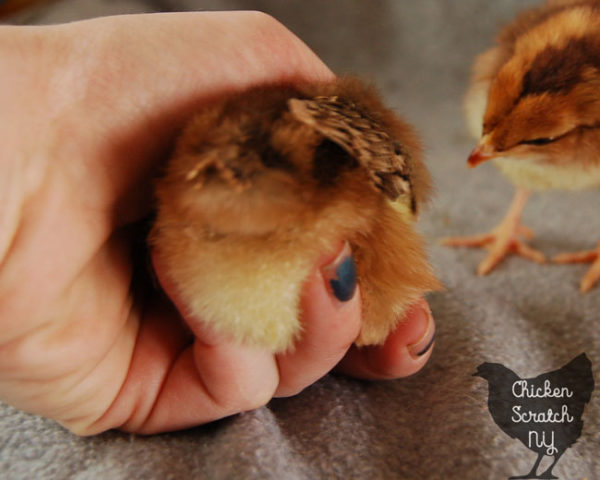
Read more about that in my Getting Ready for Chicks post, I’ll add a healthy chick butt below just for fun:

After that the water will only cool to the temperature of the brooder so it won’t get cold enough to chill them. That said, don’t put the water or the food directly under the heat.
Your brooder should be set up with a heat gradient, warmest under the light or plate heater, and then cooler as you move away. It allows the chicks to find a comfortable place temperature wise.
I like to have my heat source on one end (I use large black livestock water tubs) and set the food and water up in the middle where it’s warm but not peak temperature.
If you’re raising bantams, keets or turkeys you can toss some glass marbles in the waterer, it keeps them out of it and stops them from drowning themselves. It’s not as needed with chicks but it won’t hurt anything.
Offer Food
Food is last on your list of priorities but it is there. I’m usually raising ducks or geese along with my chicks and to keep things easy I buy un-medicated crumbles and add brewers yeast for the ducklings.

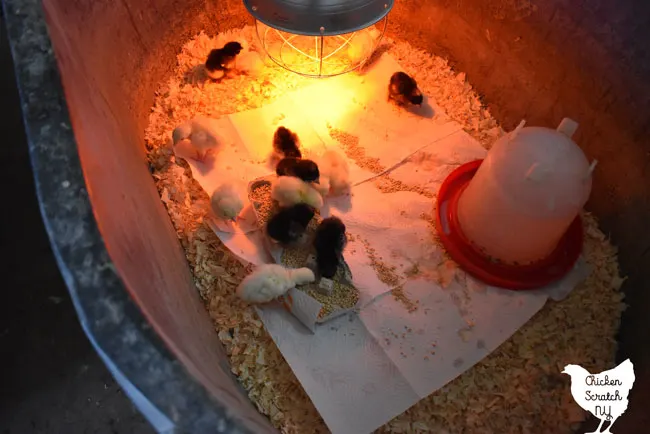
I use wood shavings as bedding in my brooders and for the first few days I like to put paper towels under the feeder. It keeps the food above the shaving and I usually give a little sprinkle of crumbles on the paper towels themselves, I think it helps the chicks find the food.
Normally you’d have a hen teaching them to eat and drink but when you get your chicks in the mail it’s all on you. I like to use paper towels and paper pulp egg cartons because they’re disposable and I can toss them in the compost when they get wet or pooped on.
Don’t use terry cloth towels, they can get their tiny toes wrapped up in the fabric loops. No one wants toe-less turkeys or chickens.
Watch Them Carefully
This is the end, kind of but not really. After you’ve got them warmed up and drinking with food out, take a step back.

Shipping is already stressful so you don’t want to be up in their tiny faces hugging and cuddling right away. Watch the chicks, if the temperature is good in the brooder they shouldn’t be clumped together or peeping like crazy.
If the chicks are huddled under the light, lower it a bit to raise the temperature. If they’re as far away as possible, pressed up against the edges of the tub you need to raise it up and lower the heat.
You’ll have to employ your best ninja skills to see the chicks behaving naturally. If they see you coming, even your shadow, they’ll all start to panic and run away.
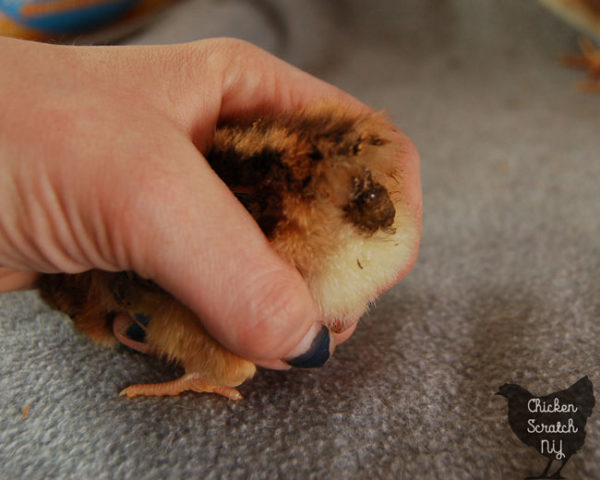
After giving them about 24 hours to settle in you can start to handle them a bit more. It’s a good idea to do another check for pasty butt, it’s easy to see on light colored chicks but it can be hard to spot on dark or black chicks.
It’s also a great time to figure out what you have, I always order a mix and one of my favorite things to do is identify all my chicks.
Call The Hatchery
If you have any questions or concerns about your chicks you can always contact the hatchery. You can contact Cackle via phone (they have the best hold music I’ve ever encountered, I was kind of sad when someone answered) or email.
Step By Step
- Heat
- Water
- Food
- Watch
- Contact the Hatchery
A Little Planning Goes a Long Way
That said, I always order my chicks in April, it’s usually not that cold here in NY and it gives me a good window to get the chicks outside before the summer heat sets in. This advice I’ve given in this post aimed at an early spring delivery date.
If you’re ordering chicks later in the summer or if it’s hot and they seem listless when they arrive DO NOT shove them under a 100 degree bulb. Get some room temp water in them and give the chicks some room to breath and cool off.
If you’re looking to add some chickens to your life I can’t recommend Cackle Hatchery enough, I’ve been ordering from them for years and I’ve never been disappointed. Even if this wasn’t a sponsored post I’d still be recommending them.
Please don’t forget to PIN this to your Chicken Keeping Board and check out my Livestock Page for more information on everything from how to order chicks online to building your own free chicken roosts that fold up for easy coop cleaning.
You may also enjoy: