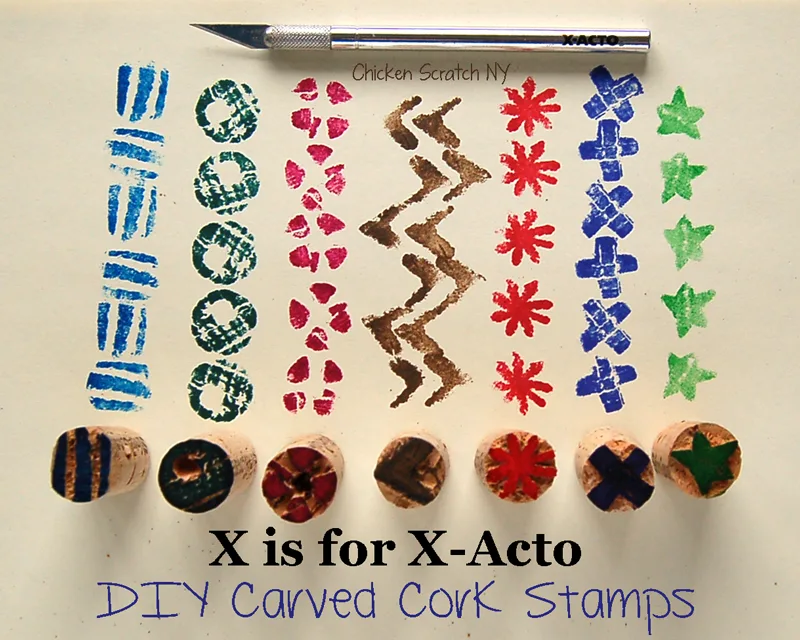
I was pretty late signing up for the A-Z craft month so pickings were slim when it came to letter options. I happened to have an x-acto knife on my desk at the time so I snapped up the ‘X’ spot with little to no idea of a project. I discovered a huge bag of wine corks in my craft room and that’s when this idea was born.
Side note: a few weeks ago I sliced my finger open with a dull x-acto knife and ended up in the ER for some fancy super glue. Let me be your cautionary tale, don’t be stupid with these things! They can be dangerous!
Always:
- Use a sharp blade. If you use a dull knife you use too much force and can hurt your self. Trust me, a new blade is much cheaper than an ER visit.
- PAY ATTENTION this isn’t something to do while watching TV. 100% focus
- Go slow. Rushing means accidents (did I mention I was really hungry and trying to finish what I was doing when I cut myself?)
NEVER:
- Cut towards yourself
- Cut something in the air
- Use excess force.
Enough soap boxing! On to the stamps:
Supplies
- X-acto knife with nice new blade
- Wine corks
- Sharpie or marker
- Something blunt and hard (I used an awl)
- Sandpaper
- Paper
- Ink
Instructions:
- Start by drawing your stamp shape on the cork with the marker. Keep it simple, straight lines are easiest
- Using the x-acto knife carefully trace around the design. You don’t need to go deeper than 1/8 in an inch. Lay the corn on it’s side and cut down toward the the table or preferably cutting mat.

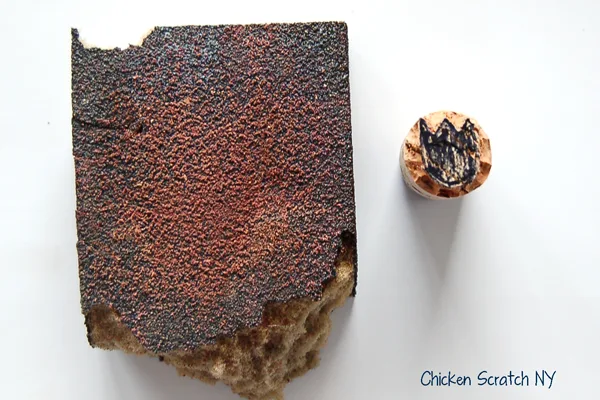
- Using your fingernails or a blunt object carefully pick away the cork. Cork is flaky and breaks funny but it should stay smooth along your score line. Keep cutting away until all that’s left is the marker pattern.
- Get out you sandpaper and sand the cork until all of the marker is gone. It won’t leave you with a completely flat stamp but it will give you a better surface for stamping (you’ll still get the texture from all wrinkles and nooks)
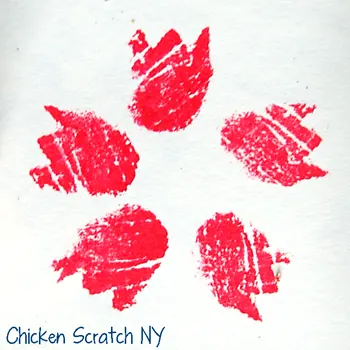
Don’t be put off by making simple stamps, the real fun comes in when you combine them into more complex designs. I made the red flower by stamping 5 ‘tulips’ in a circle.
T is for Table runner || The Happy Scraps
U is for Upcycled skirt || The Potter’s Place
V is for View finder || Crafting in the Rain
W is for Wagon shelf || One Krieger Chick
X is for Xacto knife stamps || Chicken Scratch NY
Y is for Yo-yo headband || Britches n Boots
Z is for Zig Zag tray || Up to Date Interiors


Staci
Wednesday 26th of March 2014
I love this idea. I am going to try this. Thanks
Steph @ Crafting in the Rain
Tuesday 25th of March 2014
Great instructions--those are so cute!