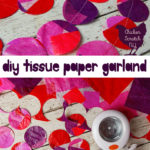
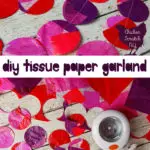
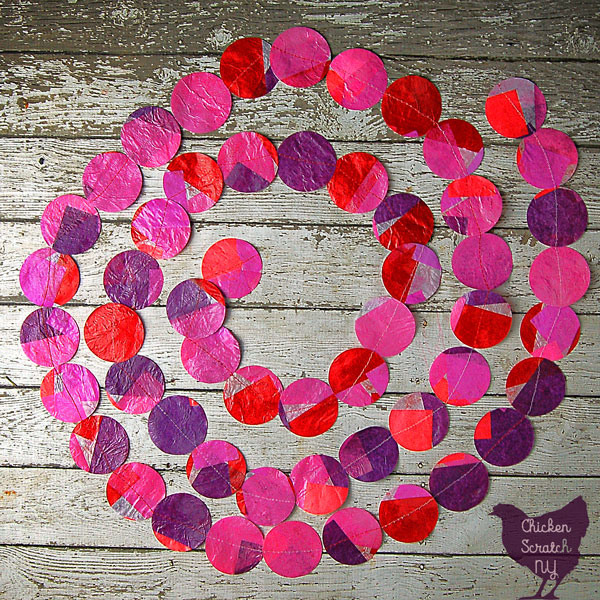
I was inspired to make a Tissue Paper Garland by a capiz shell garland I saw in Michael’s. I love the way the delicate shell circles look when the light hits them. I’ve seen where people make faux versions of those shells with waxed paper and they look really good. I wanted to make something similar but with the gloomy weather I’m desperately in need of come color.

This post is sponsored by Oriental Trading Company. All ideas & opinion are my own.
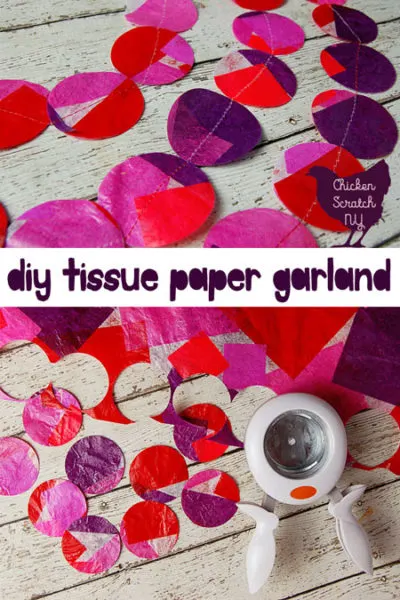
I used glossy Mod Podge for this project, it gave the circles a beautiful finish but it made them a nightmare to photograph! The secret to this project is not to work on one area for a long time. The tissue paper is pretty delicate at first when it’s just one layer and it’s not hard to tear when applying the Mod Podge but of you’re gentle and use a light touch you’ll be ok. Keep moving from area to area and go back if you need to.

It’s not necessary to have everything 100% stuck together. Just do your best. I used my sewing machine to put my tissue paper garland together because it was easy and it lets them twist and move when you hang up the garland. If you don’t have a sewing machine you could glue/staple/tape the circles to a thin ribbon or yarn for a similar effect. Metallic washi tape would look really nice.
Tissue Paper Garland Supplies: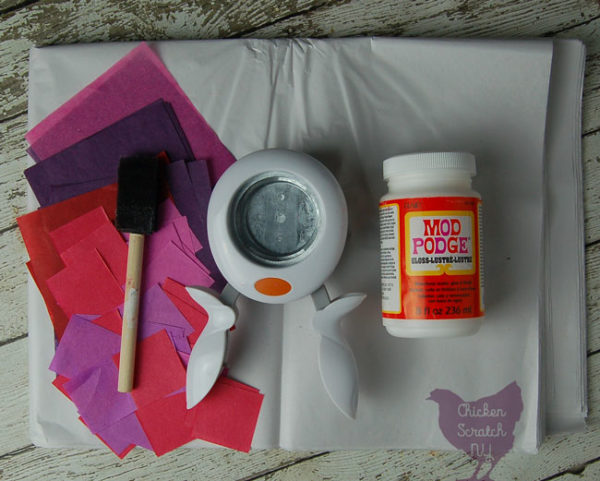

- Large sheet of tissue paper for the back ground
- Small sheets of tissue paper (I used red, pink and purple 4″ squares and red, pink & purple 1.5″ squares)
- Gloss finish Mod Podge
- Foam paint brush
- Large circle punch
- Sewing machine with matching thread (this will trash your needle)
Instructions:
- Lay out your background tissue paper flat
- Moving in small sections use the foam brush to put down a thin layer of mod podge. There’s a sweet spot between too dry (nothing sticks) and too wet (paper tears) that takes a but to figure out. If you do tear the paper let it dry and then cover the hole with another piece of tissue paper
- Stick down the smaller pieces of paper, overlapping in places and switching up the colors. After sticking the paper down rub gently with your finger to get any air out from under the paper
- Use the foam brush to coat the papers with more mod podge to seal everything together and allow to dry
- Fold in half with the colored papers on the outside. Stick together with more Mod Podge and let dry. Now you have a sandwich with two layer of white in the center and multiple layers of colors on the outside
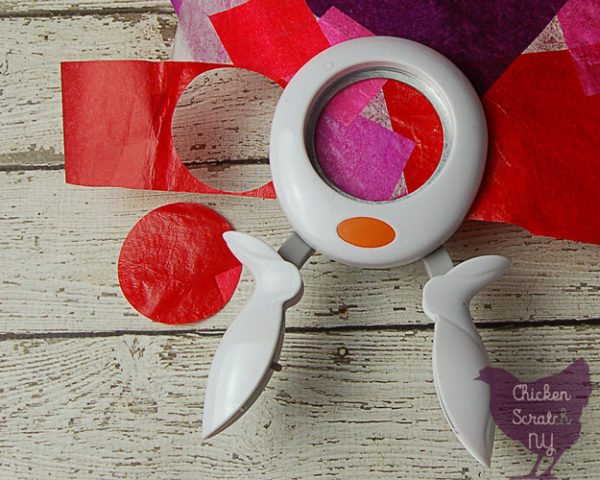

- After the paper is completely dry use the hole punch to make a bunch of circles
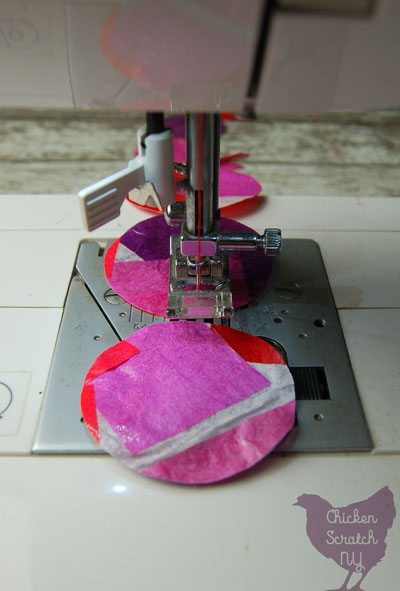

- Set the sewing machine to a long straight stitch and sew the circles into a long garland. If you can, set up the machine so the needle stays down when you stop. Lift the presser foot and butt the circles up against each other, they don’t need to overlap. I used one hand to lift the presser foot and the other to add new circles.
- Leave the thread tails long enough to tie knots. Trim threads
- Hang and enjoy!
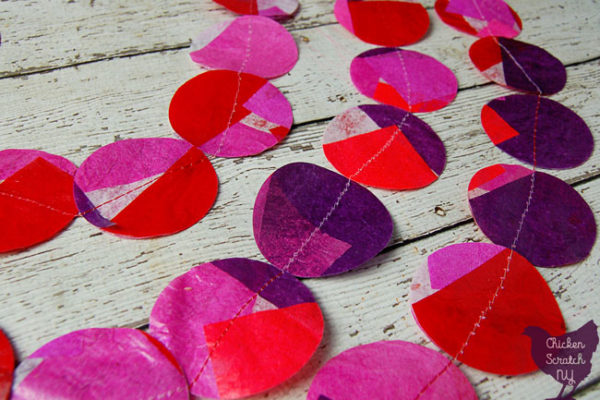

I used pink, purple and red on a white background to make our garland appropriate for Valentine’s Day but you can easily switch up the colors for any other holiday. Shades of green would look great for St. Patrick’s Day and a variety of pastel colors would be perfect for Easter.
Other craft projects to check out: