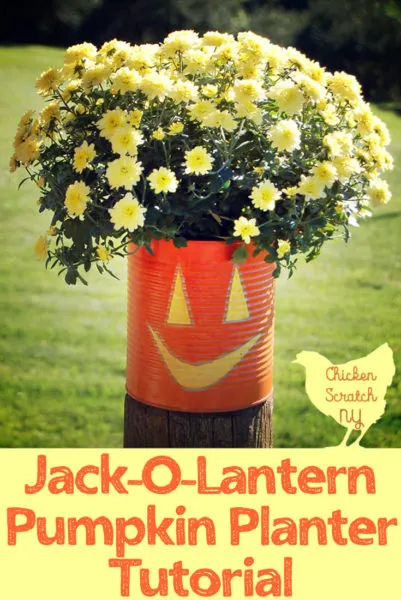
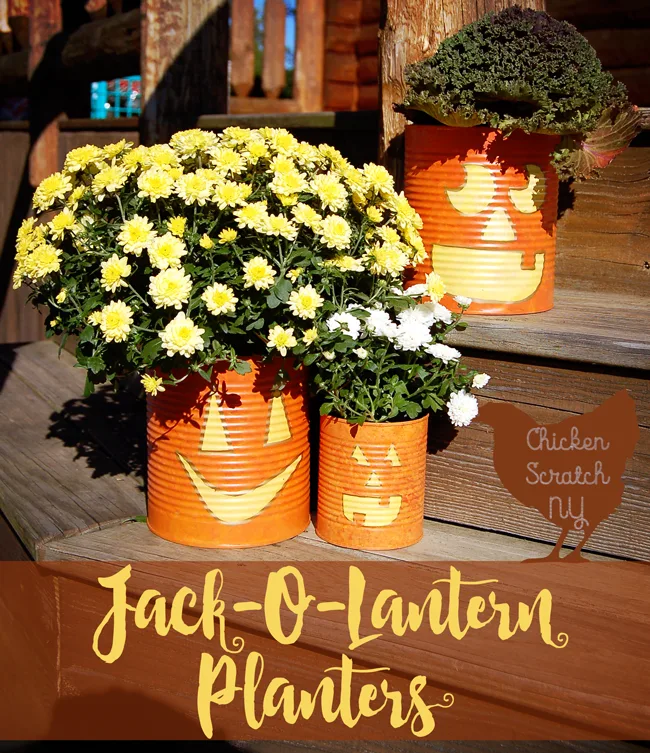
I love Halloween, mums and vintage stuff. I put them all together with this project to make a trio of Jack-O-Lantern Planters with vintage inspired pumpkin faces. This is a fun painting craft you can finish in a weekend.
Do yourself a favor and get good paint for this, it’ll cover faster and the DecoArt Multi-Surface is 68% magic. I’ve been ignoring these in snowbanks for years and they still look brand new!
I received the paint for free as part of the DecoArt Blogger Outreach Program.
If you follow me on Instagram this is the paint Mary dumped on the floor while I was canning tomatoes. Silence isn’t a good thing with a toddler!
Supplies:
? Tin cans (the large pumpkins are #10 cans, the small guy is from a can of crushed tomatoes) washed with the label removed
? DecoArt Americana Multi-Surface Satin Acrylic in Pumpkin Patch, Paprika, Orange Sherbet, Chick and Canary
? Metallic Paint Pen in an Old Gold or Coppery color
? Contact Paper
? Cosmetic sponge wedges (the white ones you can get at the dollar store)
? Nail + Hammer
? Mums or Flowering Cabbage
Instructions:
1. Use the foam brush to over the cans with one or two layers of Pumpkin Patch letting each dry. It’s ok if it looks a little streaking, we’re adding more color in a moment.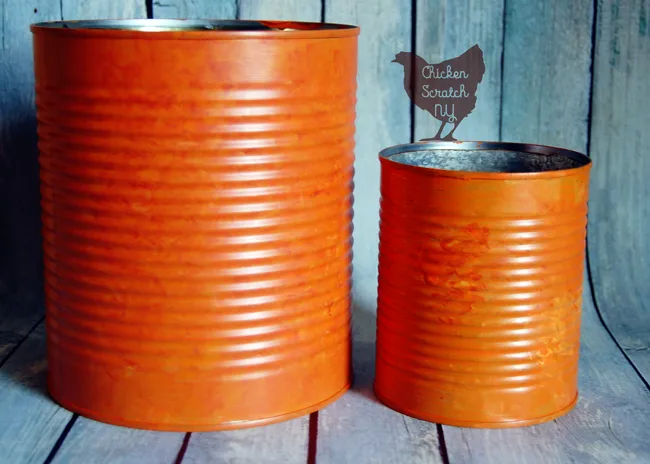
2. Pour a little of Pumpkin Patch, Orange Sherbet and Paprika on a plastic plate (coolwhip-style container lids are great for this). Use the cosmetic sponge and tiny bits of all three colors to build up a mottled orange.
You can make your pumpkin darker or lighter by dabbing on more Paprika or Orange Sherbet. I know I always say that my projects are easy, but really this is. I painted the one on the left and Mary took over the mottled top coat on the small can. She’s two. Have faith in your self, you can do this! I promise.
3. Draw a pumpkin face on a piece of contact paper and cut out the eyes, nose and mouth. You can use a vinyl cutter if you’re feeling ambitious but I went old school and scribbled until I was happy then cut with scissors.
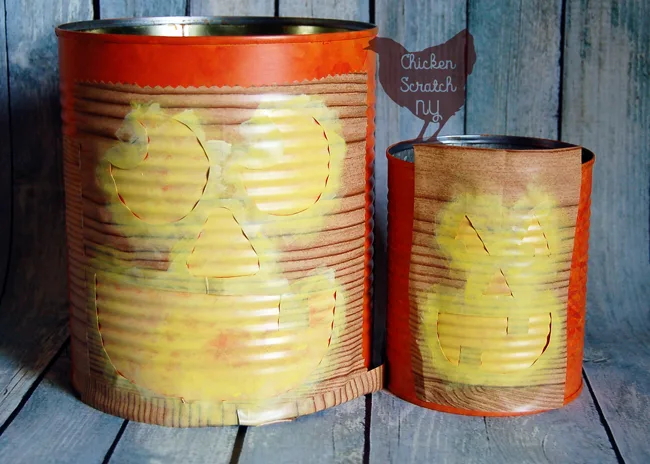
4. Slap the contact paper on the can and smooth out as best as possible, the ridges on the can make it a little tricky
5. Use another cosmetic wedge with Chick and Canary to fill in the face. You might need to build up a few coats so the orange doesn’t show through
6. Remove the stencil after the last coat. There will be a few areas where the paint bled, after it dries you can cover it up with a little orange if it’s really bad or leave it and it’ll get covered in the next step
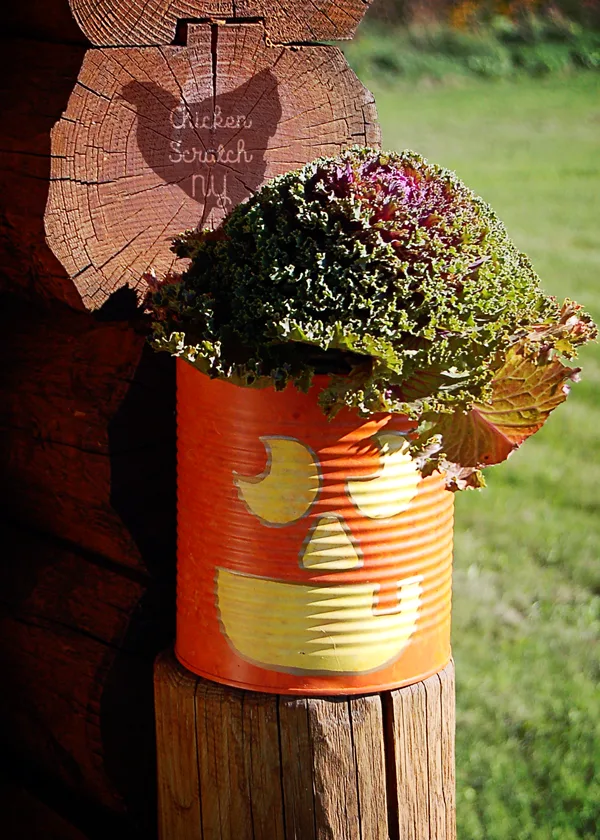
7. Trace around the the face with the paint pen. I was going to do this with paint but it’s nearly impossible to paint a straight line on a tin can. Don’t do it, get the paint pen and save your sanity.
8. Pop a few holes in the bottom of the can for drainage, you can skip this if you aren’t putting live flowers in your cans.
9. Drop in a mum or decorative cabbage to give your pumpkin a fancy hairdo
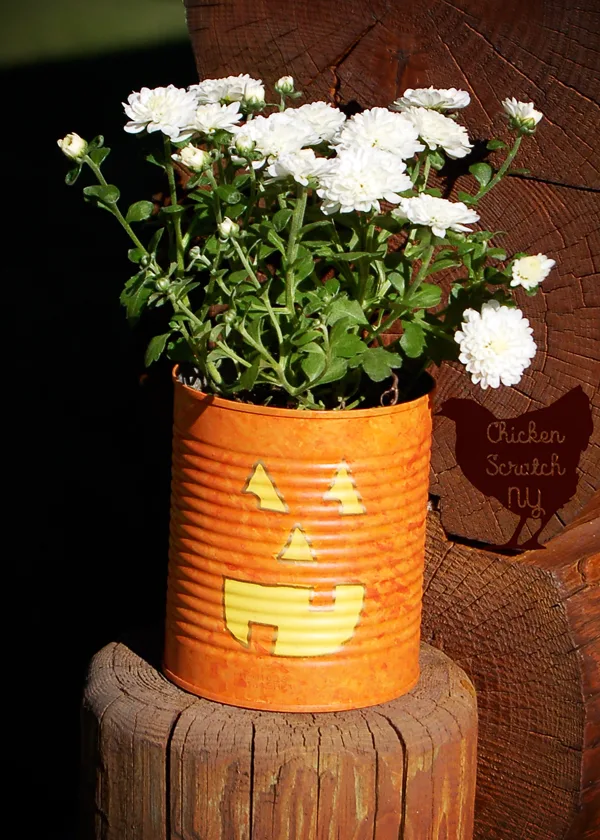
I’ve had these on my front porch for two weeks now and they haven’t shown even a hint of wear. I really, really like the subtle satin sheen on this paint. It adds dimension without leaving that odd plastic glare than some paint has.
It also blends like a dream, this is my new favorite craft paint hands down. My poor Ghost Windsocks are looking a tad bit rusty in spots thanks to the 98 cent spray paint.
If you love this project don’t forget to check out my Halloween page for more seasonal craft ideas or start with these:



TColeman
Tuesday 11th of October 2016
These are so ridiculously cute! They are easy enough that I could do these with the kids too.
Erin @ Stay at Home Yogi
Tuesday 11th of October 2016
This is such a cute project! I love that it is an upcycle/recycle and decoration all in one! :)
Emily
Monday 10th of October 2016
Ah this is such a cute idea! I love how simple it is!
Liz Mays
Monday 10th of October 2016
Thanks for the paint pen trick. I can see why that would be the way to go. These are so cute!
Louise
Monday 10th of October 2016
Oh wow, I love these! So simple to make, yet really effective :)
Louise