
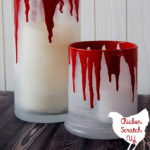

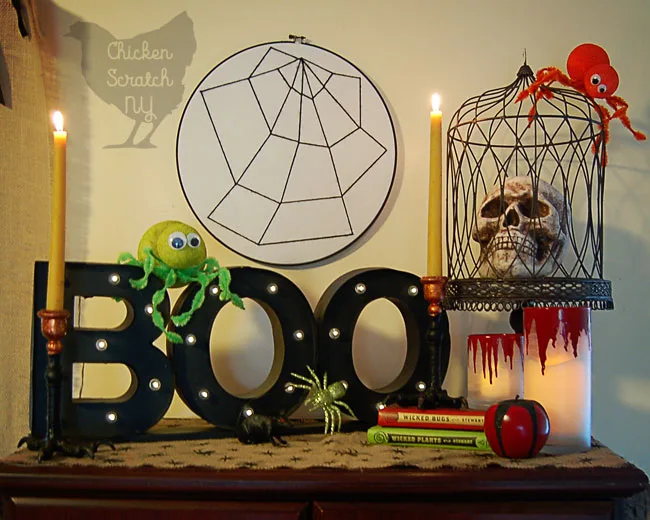
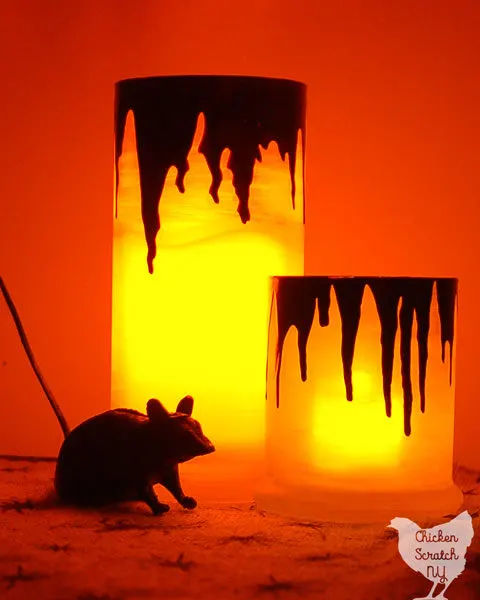
Illuminate the night with a set of DIY Bleeding Holders. Made from dollar store vases and craft store acrylic paint they’ll lend a spooky atmosphere to your home during the day and in the dark of night.
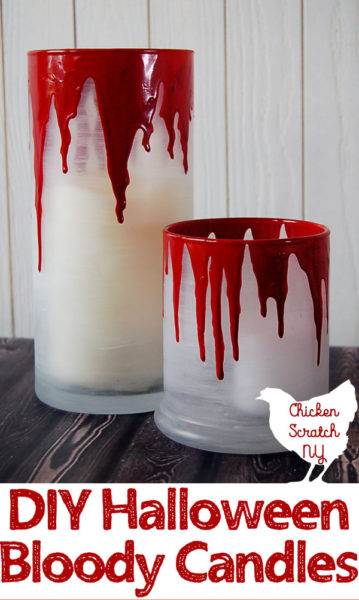
The frosted glass and shiny blood combine with the flickering candlelight to offer up a warm glow Morticia Addams would certainly approve of.
I received the paint used in this project as part of the DecoArt blogger outreach program.
You could add the “blood” to plain glass but I knew I was using battery-operated candles and wanted to obscure the fake candles a bit.
Frosted glass paint is easier to use than etching cream. I used glossy red paint for the blood, it stays shiny and wet looking.
The large candle is from a set of remote controlled battery operated candles I picked up on a whim. I had no idea how helpful they would be until the power went out and my night-light-dependent daughter had a meltdown.
Looking for more bloody projects? Check out:
- Bloody Flower Wreath
- Blood Splatter Coasters
- Bloody Halloween Apron
- Bleeding Eyeball Truffles
- Slasher Movie Party Ideas
Halloween Candle Holder Supplies:
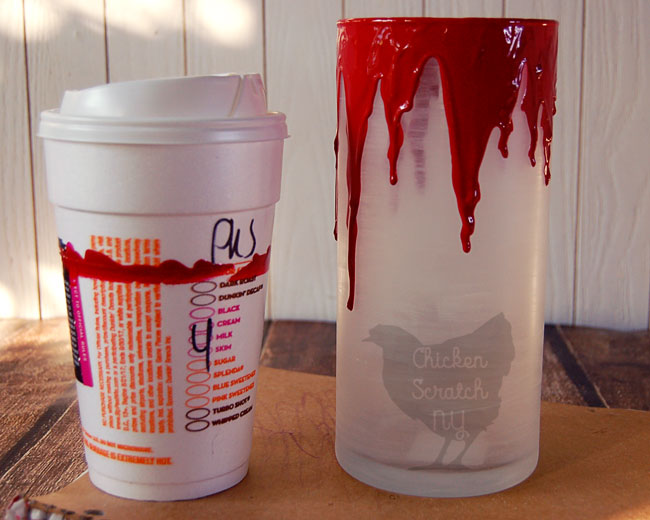
This DIY project definitely falls on the lower end of the budget. I picked up both glasses at the Dollar Tree.
Any time I’m looking for glass containers that’s my first stop. I’ve used them for everything from etched drinking glasses to containers for bath melts.
The paints are easy to find at the craft store and should only be a few bucks a bottle. The really important thing is that the red paint is glossy, that’s the best way to get the fresh blood look!

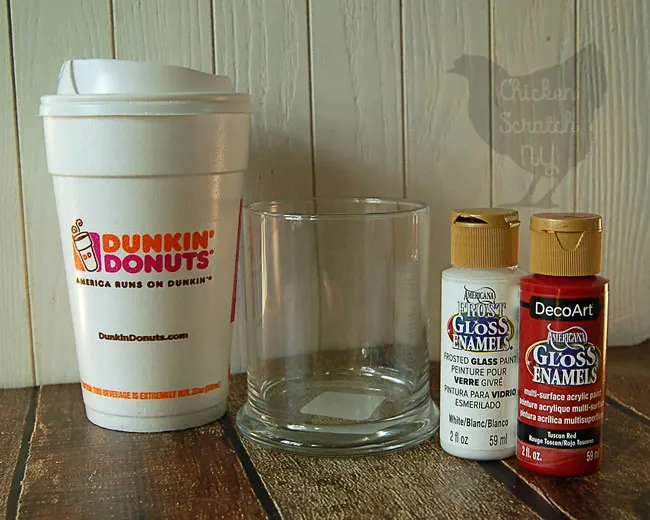
- Glass Candle Holders
- White Frosted Glass Enamels Paint
- Tuscan Red Gloss Enamels Paint
- Foam Brush
- Styrofoam Cup – It is Pumpkin Spice time after all!
- Battery Operated Candle
How to make Bleeding Candle Holders
The first step is to paint the entire outside of the glass candle holder with frosted glass paint. Two coats will give you a little more opacity.
Let the paint dry completely between coats or you’ll start to lift off the original coat.
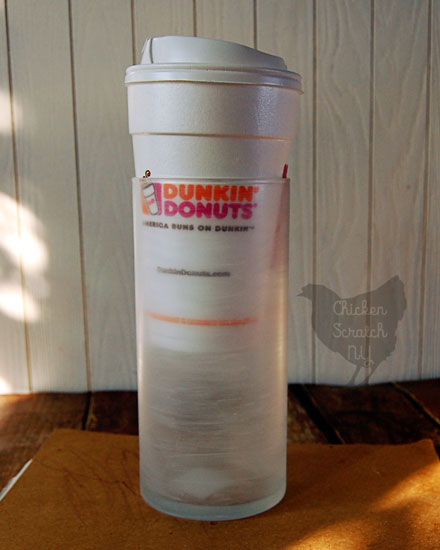

When you’re happy with the frosted paint grab that styrofoam cup and wedge it into the glass. You can also use painter’s tape around the inside rim of the glass.

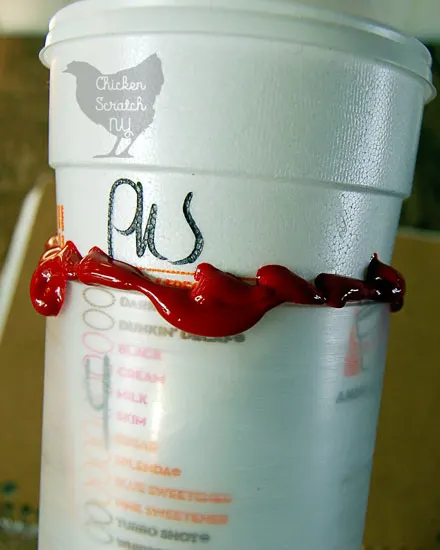
Make sure your red paint is shaken up and squeeze it directly from the bottle around the top of the glass. You want to cover the entire top and the more uneven the better.

For the next step you’ll want to find a firm but not super hard surface, I used the back of an old notebook. Grab the glass around the base of the cup and tap it. The sudden jolt will get the paint moving in a downward manner for that drippy blood look.
Keep adding paint and tapping the glass until you’re happy with the look. You can experiment here with how hard you’re tapping, what direction you’re holding the cup, and how much paint you’ve got piled up.

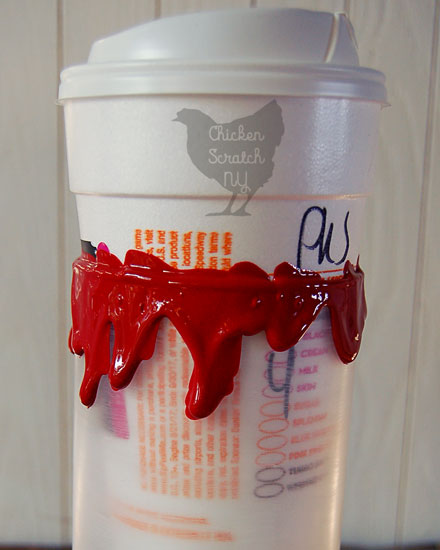
When you’re happy with your drips give the styrofoam cup a gentle squeeze and pull it out of the glass. Your paint might run a tiny but as it dries, it depends on how thick you layered it, but for the most part, it should dry in place.
Some areas might take a long time to fully set, again it depends on how thick the paint is. Just to be safe I recommend setting it somewhere it won’t get touched overnight.
One everything is dry, drop in a battery-operated candle and throw on a nice slasher flick.

You can stick a regular candle in but from experience I can tell you they’re really hard to get out if the wax drips down the side of the pillar.
Right now I’ve got them sitting with my only completed Halloween display in the house. I was too focused on the spider party and the skeletons on the front lawn to get much done in the house.
Besides, everyone knows the best way to enjoy Halloween decorations is by tripping over tubs in the living room right?

Check out my Halloween Page for more ideas or start here:


Gail
Sunday 30th of September 2018
My only problem is getting a fun can that big. Just me and my husband so we don't get that big a can and coffee doesn't come in metal cans anymore. But I think I could get a plastic pail at dollar tree that would work. I like the ghost wind socks. Happy Halloween.
Jamie
Monday 23rd of October 2017
Those are so cool and look so easy! I would love to make these for Halloween!
Ashley
Wednesday 18th of October 2017
These turned out really spooky and cool. I think they would be fun to set in our windows while we are out trick or treating!
Kristin
Wednesday 18th of October 2017
These are so cool!!!! We are definitely going to make them!
Cynthia
Wednesday 18th of October 2017
Looks so creepy and awesome! Love it! We don't usually decorate our house for Halloween but this looks so cool that I'm feeling like making a couple!