
If you love DIY and luxurious baths, Bath Melts are about to be your new obsession. Easier and less involved than bath bombs, they’re simple to make, hard to mess up and they’ll scratch that creative itch while leaving your skin soft and smooth.

Your options are endless with different oils, fragrances, color, and add-ins. You can make seasonal bath melts to enjoy throughout the year or give them as thoughtful DIY gifts for birthdays or holidays.
What are Bath Melts?
Bath melts are the less flamboyant cousin of the bath bomb. Instead of a chemical reaction that creates fizz and bubbles, they simply melt into the hot water releasing the oils, fragrance, and any special additives into the water.
You may not notice a difference in how your bath looks but you’ll definitely notice a difference in how it feels!
They’re much easier to make than bath bombs. You’re literally just melting things together, you don’t have to worry as much about getting the ratios right and the humidity (or lack of) won’t play games with your heart.
There are dozens of ways to mess up bath bombs but with bath melts, the worst-case scenario is your melts don’t harden. If that happens all you do is warm it back up and add a bit of beeswax.
Bath Melt Ingredients
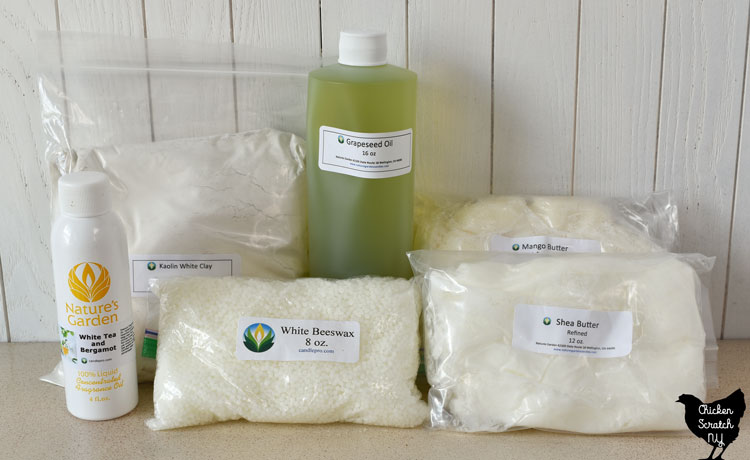
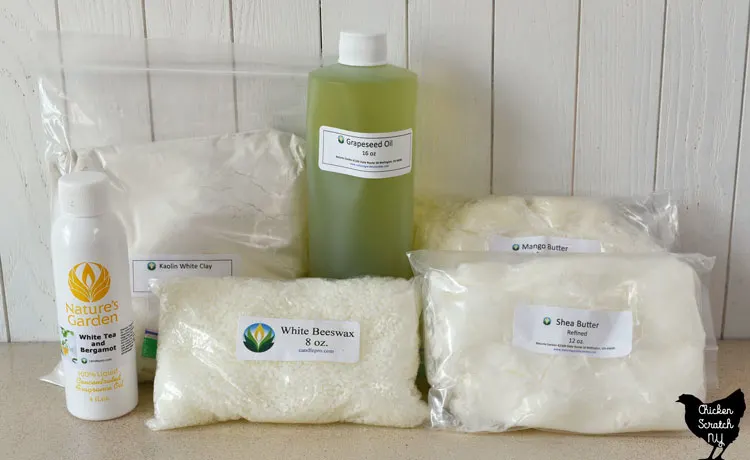
The ingredients that make up the bulk of the bath melts are an assortment of oils and butters like cocoa butter,shea butter, mango butter, coconut oil, pumpkin seed oil, grapeseed oil, and almond oil. These are the ingredients that give your bath a luxurious feel and leave your skin feeling amazing.
You can keep it simple with a single ingredient or go crazy and create a custom blend. The beauty of making your own DIY bath melts is you get to pick and choose based on what you like (or what you can easily get your hands on!).
The other ingredients include a hardener like beeswax to help the melts keep their shape and fragrances to make your bath smell amazing. It is really important to make sure any fragrance or essential oils you use are skin safe.
If you’re looking for something a bit fancier you can add:
- Kaolin, Rose or another cosmetic clay for skin nourishing benefits
- Mica pigments or liquid soap dye for color
- Herb and flower powders for color and skin nourishing benefits
- Dried flowers for decoration
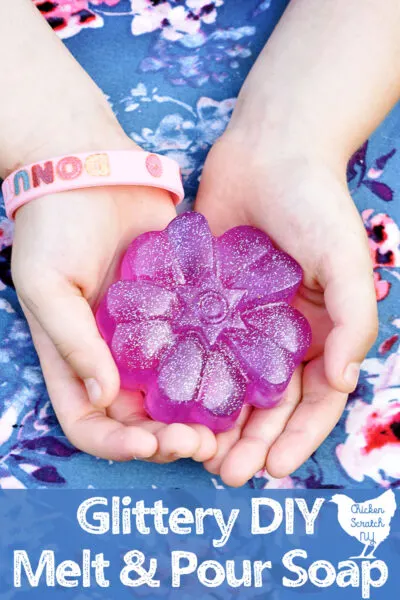
- Biodegradeable glitter for fun
I’ve bought the majority of my supplies from Nature’s Garden but you can get a lot of stuff from craft stores, health stores or even on Amazon.
If you take a step back to middle school science class you’ll remember that oil and water don’t mix. That means your melted bath melts are going to hover on the water.
You’ll still get the oils on your skin but it will leave your tub slippery. The best way around this is adding some Polysorbate 80, an emulsifier that allows the water and oils to blend.
Bath Melt Supplies
In order to make your own bath melts you’ll need a few special tools. It might be tempting to grab things from the kitchen but if you’ll be working with any kind of fragrance oils or colorants you’ll want to have separate tools you only use for bath and body DIY.
The first thing you’ll need to track down is a kitchen scale, weight is the most accurate way to measure your ingredients. I like to cover my sale with aluminum foil, it makes it much easier to keep things clean.
Solid butters and oils can be measured out on waxed paper placed on the scale or if you’re feeling brave, directly into the melting container (zero out the scale with the container on it before you add the butter/oil).
I keep a cheap glass shot glass on hand to weigh out small amounts of liquid oils and fragrance oils. Again, this shot glass is just used for crafting.
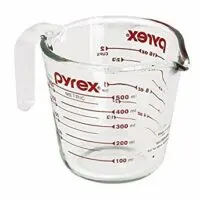
We’ll be melting our oils, butters and waxes in a water bath. I use a small pot filledabout 1/2 way with water, an old glass measuring cup, a canning ring to hold the measuring cup off the bottom of the pan, and an old spatula for stirring.
It’s really important that the water can’t get into the measuring cup even if it’s simmering.
You can also use a glass or stainless steel bowl placed over the water, I really like having a pour spout when I’m using any kind of molds so I stick with the measuring cup.
The final thing you’ll need is a mold. I really like using silicone baking molds for my bath and body crafts. And yes, I’m getting a little bit repetitive here, but once you use them for bath and body you can’t use them for baking or candy making!
You can find silicone molds in just about any shape and size, Joann’s always has a great selection of special holiday molds. The silicone mini muffin pan is my go-to for simple melts, one melt is the perfect size for a bath.
Basic Bath Melt Recipe

This basic Bath Melt recipe can be customized with your favorite fragrances and additives for luxurious soaks on a budget.
Materials
- 2 oz Shea Butter
- 2 oz Mango Butter
- 1/2 oz Grapeseed Oil
- 1/4 oz Beeswax
- 1 teaspoon White Kaolin Clay (for color & skin softening)
- 1 teaspoon Fragrance Oil (I used White Tea & Bergamont from Nature's Garden)
- Optional: 1/4 teaspoon mica colorant
- Optional: 2 teaspoons Polysorbate 80
Tools
- Scale
- Glass Measuring Cup
- Old Pot
- Spatula
- Silicone Mold
- Gloves
- Safety Goggles
Instructions
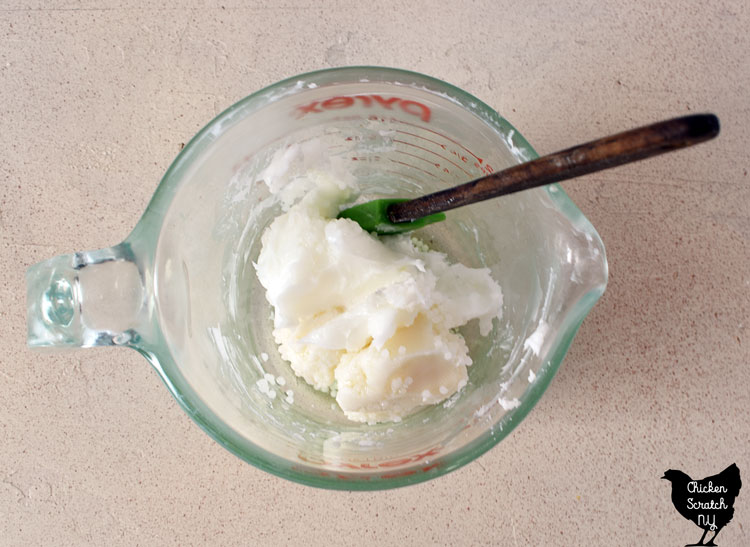
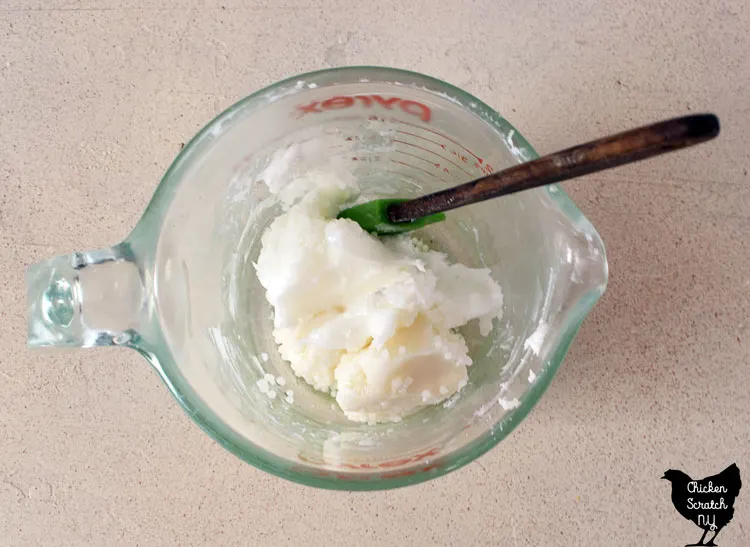 Measure shea butter, mango butter, grapeseed oil, and beeswax into a glass measuring cup
- Slowly melt in a hot water bath, stirring with the spatula and taking care not to get any water in the cup
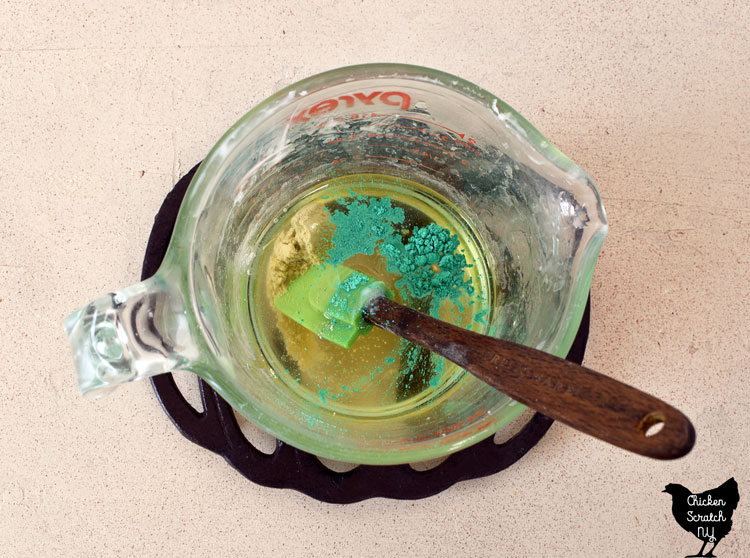
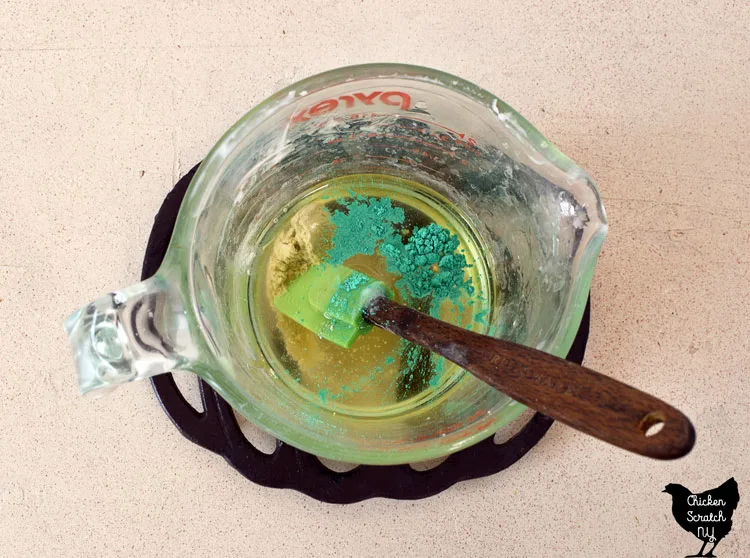 When everything is completely melted remove from heat and stir in the fragrance oil, kaolin clay, and optional coloring & Polysorbate 80
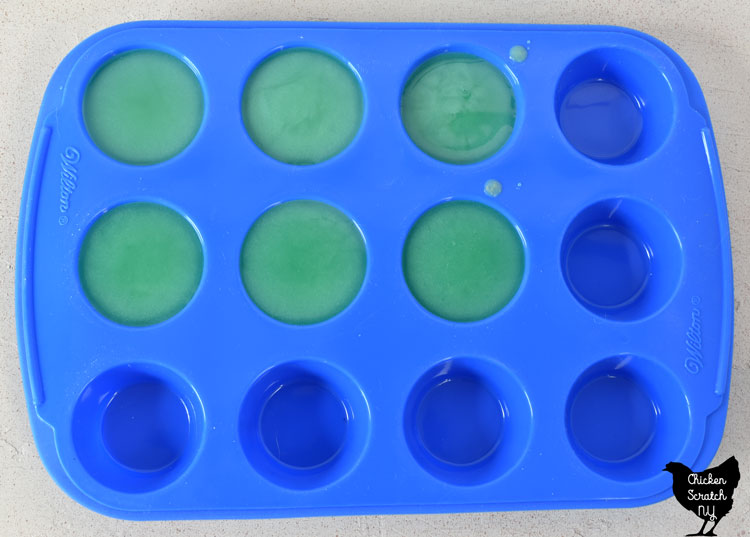
 Carefully pour into molds and allow to set until no longer sloshy (how long this takes will depend on the room temperature)
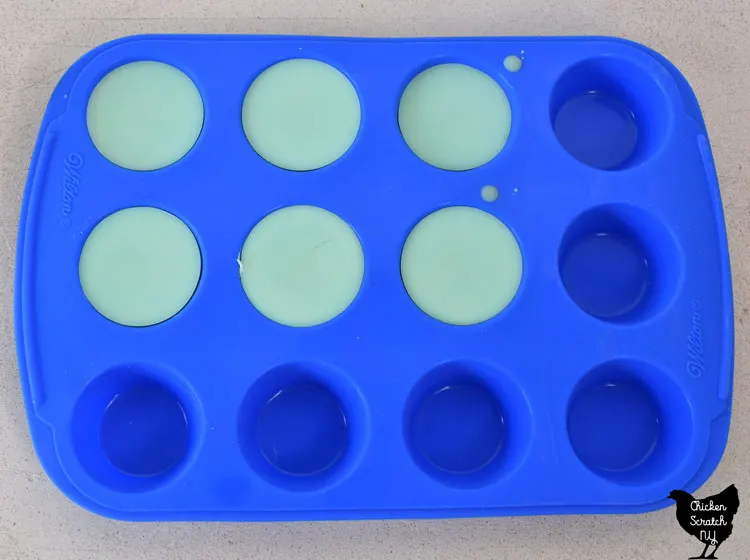 Transfer the mold to the freezer for half an hour to fully solidify, then carefully remove melts from the mold and store in a cool place
Notes
Bath melts can leave your tub very slippery from the oils. Be extra careful when entering and exiting the tub and wipe out any extra oils left after the water drains.
Recommended Products
As an Amazon Associate and member of other affiliate programs, I earn from qualifying purchases.


How do you Store Bath Melts?
The main downside to bath melts is their fragility. Many of the oils and butters used to make them are soft or even liquid at room temperature.
The melts shouldn’t be stored in the bathroom unless you’re willing to clean up a mess when that steamy heat takes them out. Even summer temps can be too much for them.
You can store them in the fridge or a cool cabinet out of the direct sun. I wouldn’t plan to store them for longer than a few months, especially if you’re adding in dried flowers.
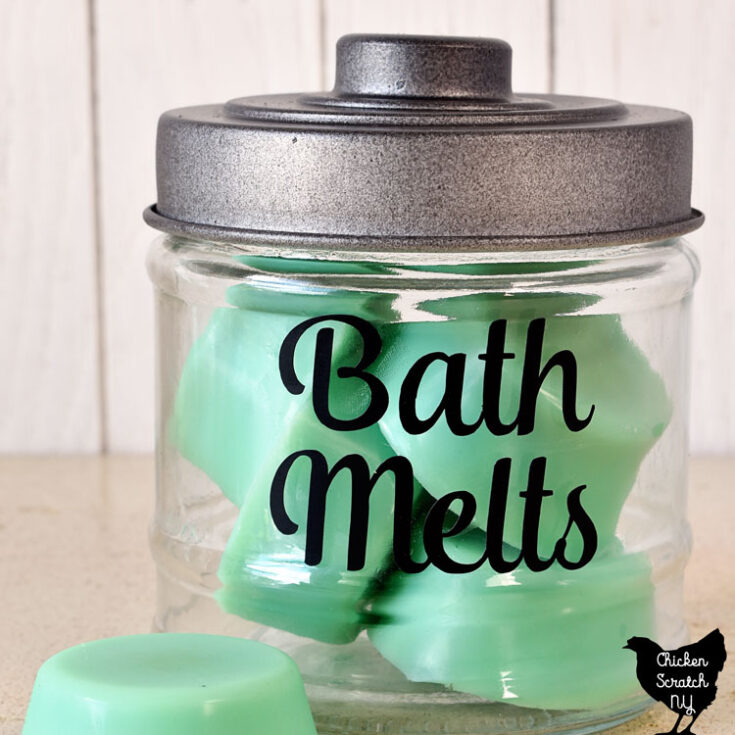
I keep mine in a lidded glass jar in the door of my refrigerator. When it’s time for a bath I grab one (or two) on my way to the tub and pop them in the water before they have a chance to get messy.
I prefer to make small batches of bath melts so I can mix them up with different fragrances or additives. They’re easy enough to make that whipping up a new batch every month or so won’t be a problem.
Honestly making them can get a bit addictive and you might find yourself needing to take 2 luxurious soaks a day just to use up your stash!
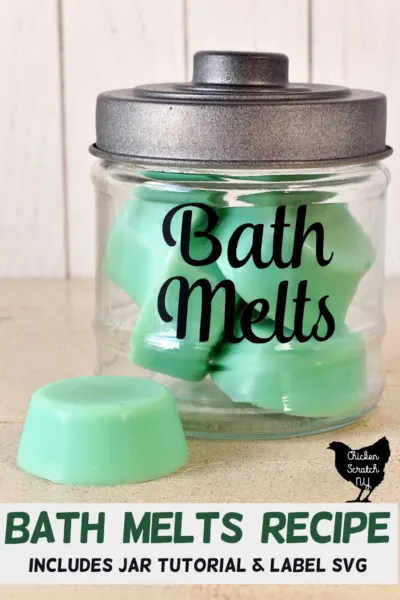
Dollar Tree Storage Jars
My favorite way to store my bath melts is in a glass jar from the Dollar Tree. The jar I used for these melts comes with a pull-off lid (that I spray painted with a Flat Iron spray paint), it’s called the “Glass Coffee Jar” and it’s the perfect size for 6 melts.

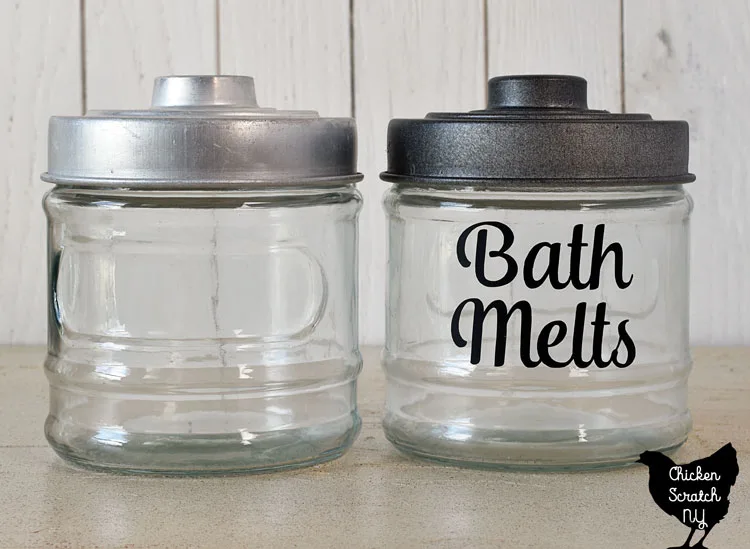
They had a spot for a label but it’s tiny so I actually put my label on the backside of the jar. I set up the text in Silhouette Studio and cut it from Matte Black Vinyl.
I used transfer tape to add my letters and it was ready for my melts. These little jars are only a dollar and really easy to customize, it makes them perfect for gifting.
Using Bath Melts
The best way to use a bath melt is to fill the tub, turn off the lights, burn a candle or two and let your bath melt take away your stress. The oils and butters that make your skin feel so silky can make your tub slippery so I recommend waiting until you’re in the water to add your melt.
Adding Polysorbate 80 will help with the slipperiness but it’s always good to err on the side of caution when it comes to slippery surfaces and large tubs of water.
The ingredients in your bath melts, including how hard your oils are (cocoa butter is harder than mango and shea butter) and how much beewax you use, will change how long they take to melt. I like to rub mine on my elbows for a little extra moisture and attention there.
Bath melts can leave your tub very slippery, be extra careful when getting in and out of the water and make sure to wipe down the tub after the water has drained. After a bath, I notice a slight fragrance on my skin and a softness that I’m generally lacking.
Check out my Bath and Body page for more DIY ideas or start here: