I’ve had this old bowling ball since BEFORE we moved into our house. My sister actually bought it for me (it was like 75 cents at a garage sale) and when we were moving in my mom asked my why I had a bowling ball engraved with RJS. I told her my plans to turn it into a ladybug for the garden so she rolled it into the flowerbed. And there it has remained; for almost 3 summers.This summer was all about turning the front bed around, I shared some of the plants in my Gurney’s Plants review. Now that the flowers are starting to look a little more intentional, I figured it was time to fix up the bowling ball.
Supplies:
- bowling ball (black or paint it black)
- contact paper and/or painters tape
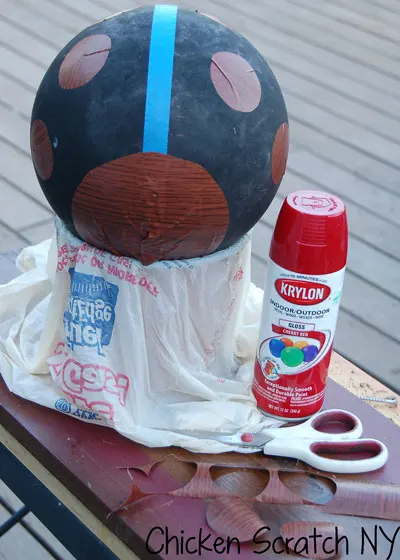
- scissors and red spray paint (I went with Krylon Cherry Red Gloss
).
This is only slightly trickier than the Ladybug Vs. Bumble Bee Tic-Tac-Toe game.
I set up my insectary outside to make spray painting easy. I covered an old flower pot with a plastic bag and carefully set the bowling ball on top.
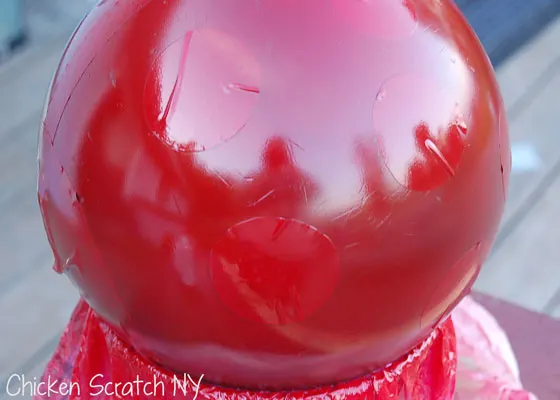
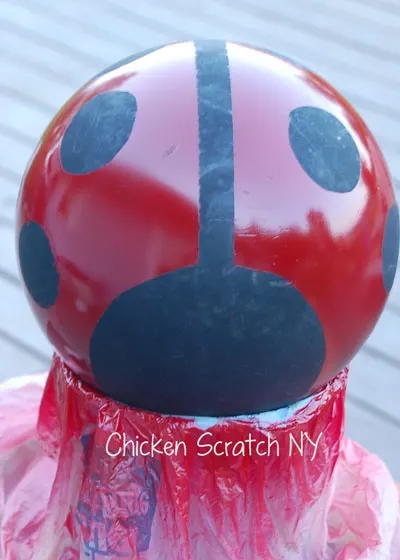
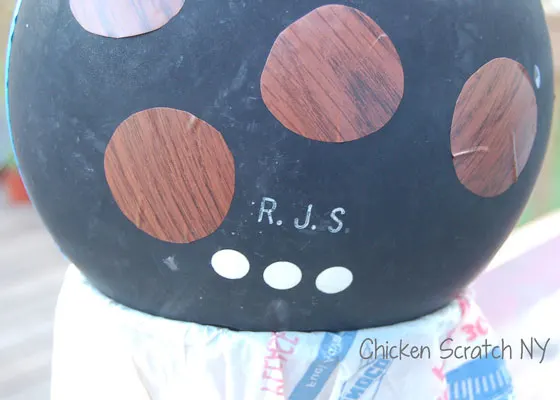 My bowling ball had a birthmark, you can still see the white spots if you look for them. I marked out a center line with the painters tape and added rough hand-cut circles for spots and a half circle for the face. You could use vinyl and a fancy cutter but I didn’t see the need.
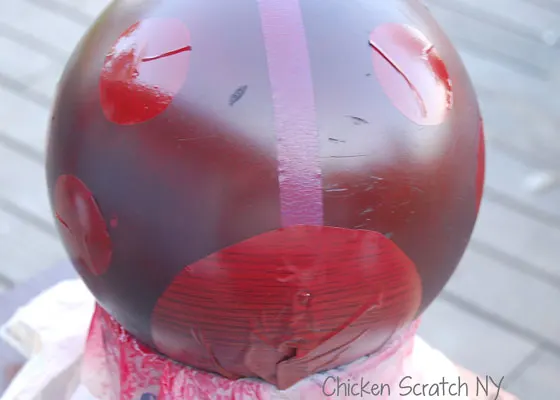
Then I got to spraying. And spraying.
And spraying. It took 5 coats of spray paint to cover the black to my liking. Let me just say, when they say high gloss they really mean it! You can even see my reflection in the center of the ball. I removed the stickers off while the paint was still slightly tacky.
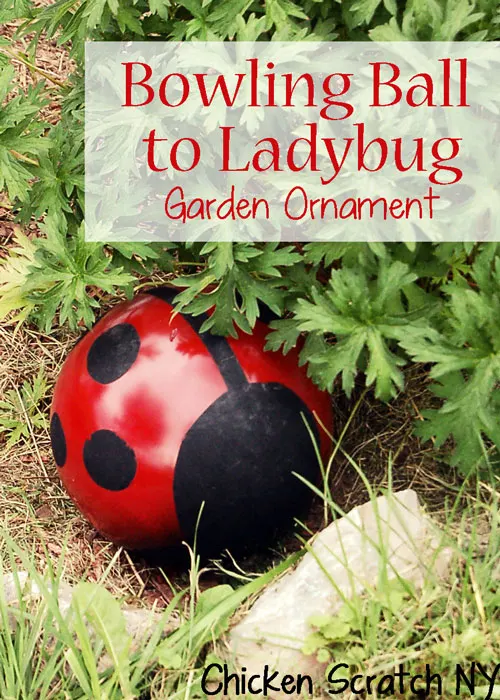
The part on the bottom remained black, I dug a little divot in the garden for the the ball to sit in so it doesn’t roll and you can’t see the bottom anyway. I left my lady simple and faceless but my husband thinks it’d be cute with black and white eyes and antennae.
Fun story, my brother-in-law came over to help Mike process deer and he thought it was a kick ball for the dog and tried to kick it. I was about 1/2 a second to late to stop him. luckily he wasn’t trying to kick it too hard because we were by the road. Everyone (including the bowling ball) survived the event and I learend to keep my Ladybug Bowling Ball secure in the garden.
Find more outdoor crafts and DIY projects on my Garden Accents page

Angela @ Setting My Intention
Thursday 25th of February 2016
This is SO Cute!
Annamaria @ Bakewell Junction
Saturday 17th of August 2013
Alecia, This lady bug is so cute. I'm visiting from Best of the Weekend and you were featured. Have a great day. Annamaria
Cindy Eikenberg
Thursday 15th of August 2013
Hi Alecia! Thank you so much for sharing this wonderful project at Best of the Weekend - I love ladybugs and adore this project. I wanted to stop by to let you know that your ladybug project will be one of my features at tomorrow's party. Thank you again for joining us and I hope you have a wonderful Friday!
Lisa@ Cooking with Curls
Thursday 15th of August 2013
That is so cute...I want one! :) Thank you so much for joining us and sharing at Best of the Weekend! Pinning to our party board. Have a wonderful week and please join us next Friday.
Linda K.
Thursday 8th of August 2013
Love your idea, I am looking for a bowling ball this weekend!!!! thanks for sharing!!!