
Wax melts are almost as popular as candles these days. Fortunately, they’re easy to make and if you’re looking to add some DIY fragrance to your house wax melts are a great place to start.

Wax melts took off in popularity several years ago and they don’t seem to be slowing down. I like to burn candles on my desk or when I’m in the bathtub but I prefer wax melters in my living room where we’re less likely to be paying strict attention to them.
You have almost limitless options for melters. Everything from generic options that blend into their surroundings to fancy and elaborate melters that demand attention.
I recommend getting an electric wax melter, if you go with the tea light warmers you might as well just light a candle and call it a day.
Moving on to the real reason you’re here, making wax melts!
Wax Melt Supplies
The supplies for making wax melts are fairly simple and most of them can be purchased for pretty cheap. There are two ways to go with supplies, you can repurpose kitchen supplies or buy tools intended for working with wax.
If you’re going the kitchen supply route check thrift stores or garage sales. Once you use something for wax and fragrance oils you shouldn’t use it in the kitchen again.
The consumable supplies you’ll need to make wax melts are wax, fragrance and a mold. You can also add coloring, candle dye comes in both liquid and block form.
Wax
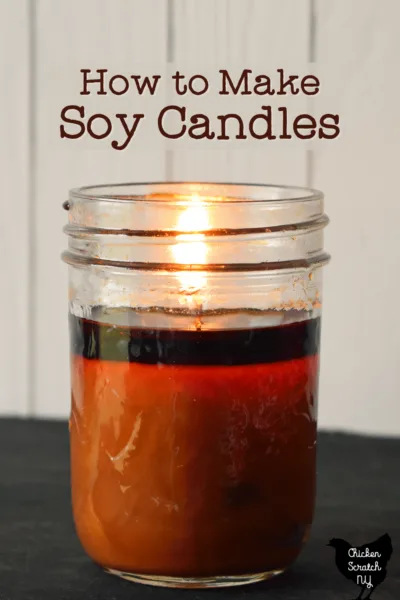
I use Golden Brands 464 soy wax for all of my wax melts and candles. It’s 100% soy wax with a few additives for appearance.
Technically it’s intended for container candles and it is on the softer side. This can make it harder to remove from the wax melter when it’s solid, it tends to flake away instead of popping out.
You can avoid this by putting the removable dish of the wax melter in the fridge to harden up the wax so it pops out in one piece. Just make sure you let the bowl return to room temp before you reheat it.
You could also pour the wax out when it’s still liquid but that can make a huge mess. Not that I’ve ever spilled wax all over my couch doing this.
Fragrance
Fragrance oils are available from many suppliers. I prefer to go online for my fragrance oils, I think you get better quality for a lower price and you have an almost infinite number of options.
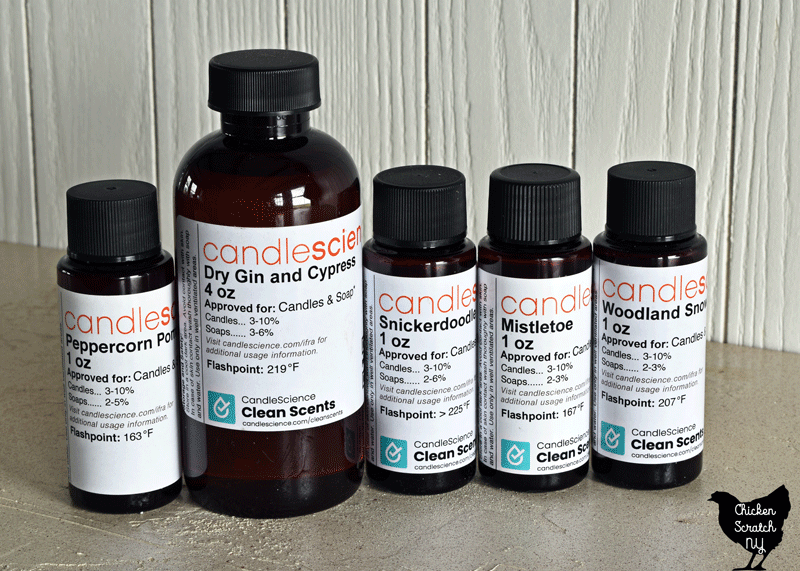
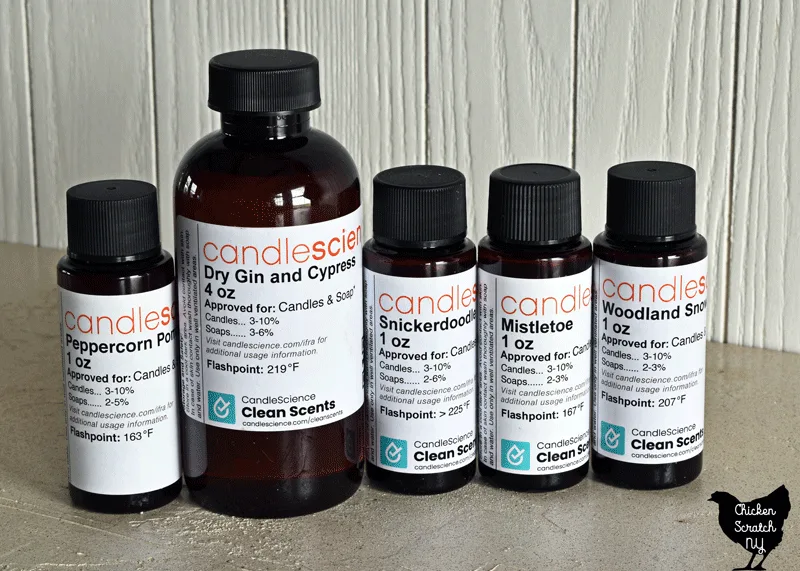
I’ve bought oils from a lot of suppliers over the years and two of my favorites are Candle Science and Nature’s Garden. Candle Science oils tend to be stronger but they have a smaller variety of fragrances.
Find out the Best Christmas Candle Fragrance for DIY Holiday Candles
Color
Soy wax is a lovely creamy white color all on its own. You can leave it alone or switch things up with candle dye. I like to add color, one reason is to visually differentiate between different scents. It’s also just more fun.
Soy wax is white when it’s solid and it’s very hard to overcome that to get deep, saturated colors. I consider it part of working with soy, just remember the color of the melted wax is going to be much darker than the final product!
Remember the wax looks much, much darker when it’s still liquid!
Candle dye comes in two styles. You can get solid blocks of color or glass bottles of liquid dye.
I have used both but I prefer the liquid dye. It’s a little more expensive to get started but one bottle lasts forever. I also find it’s easier to use in small batches of wax and you can mix colors more consistently.
One downside of adding a lot of dye is you have a higher chance of ‘frosting’ which is a whitish/light-colored haze on the wax. It doesn’t affect anything other than the appearance but it’s something to keep in mind.
Adding a buttload of color can also cause issues with burning candles but since these are wax melts we’ve dodged that particular bullet!
Molds
This supply is listed somewhere between consumables and permanent tools. If you already buy wax melts you’re probably familiar with the plastic clamshells that hold 6 cubes.
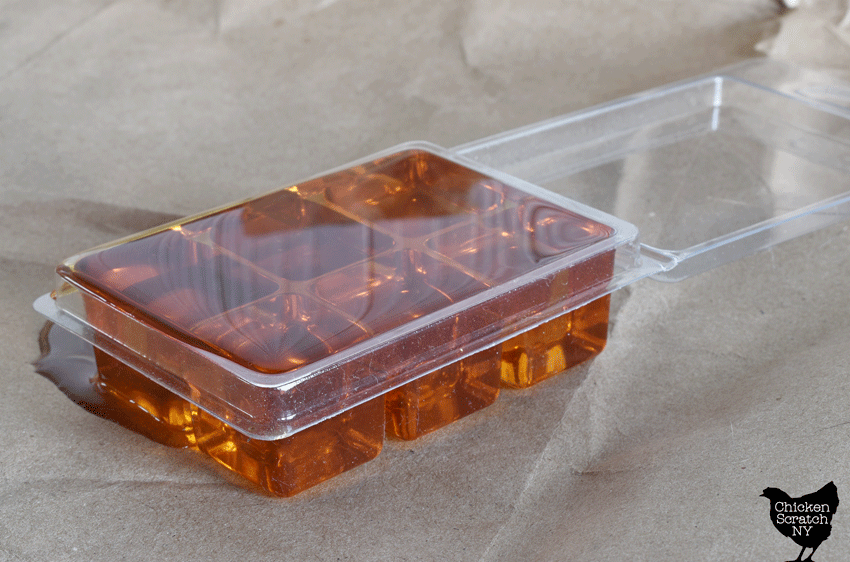
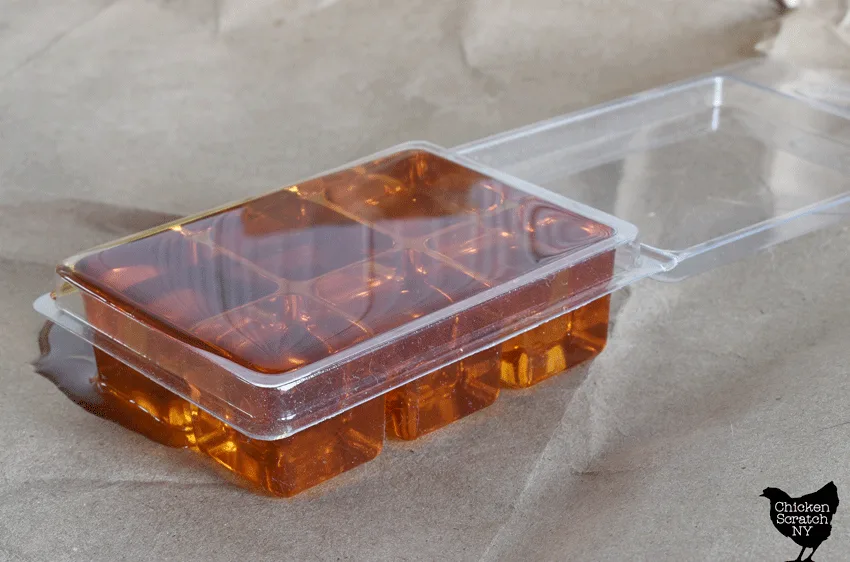
They’re great for making wax melts because they double as both the mold and as storage. You can buy them in bulk or reuse packages from wax melts you’ve purchased.
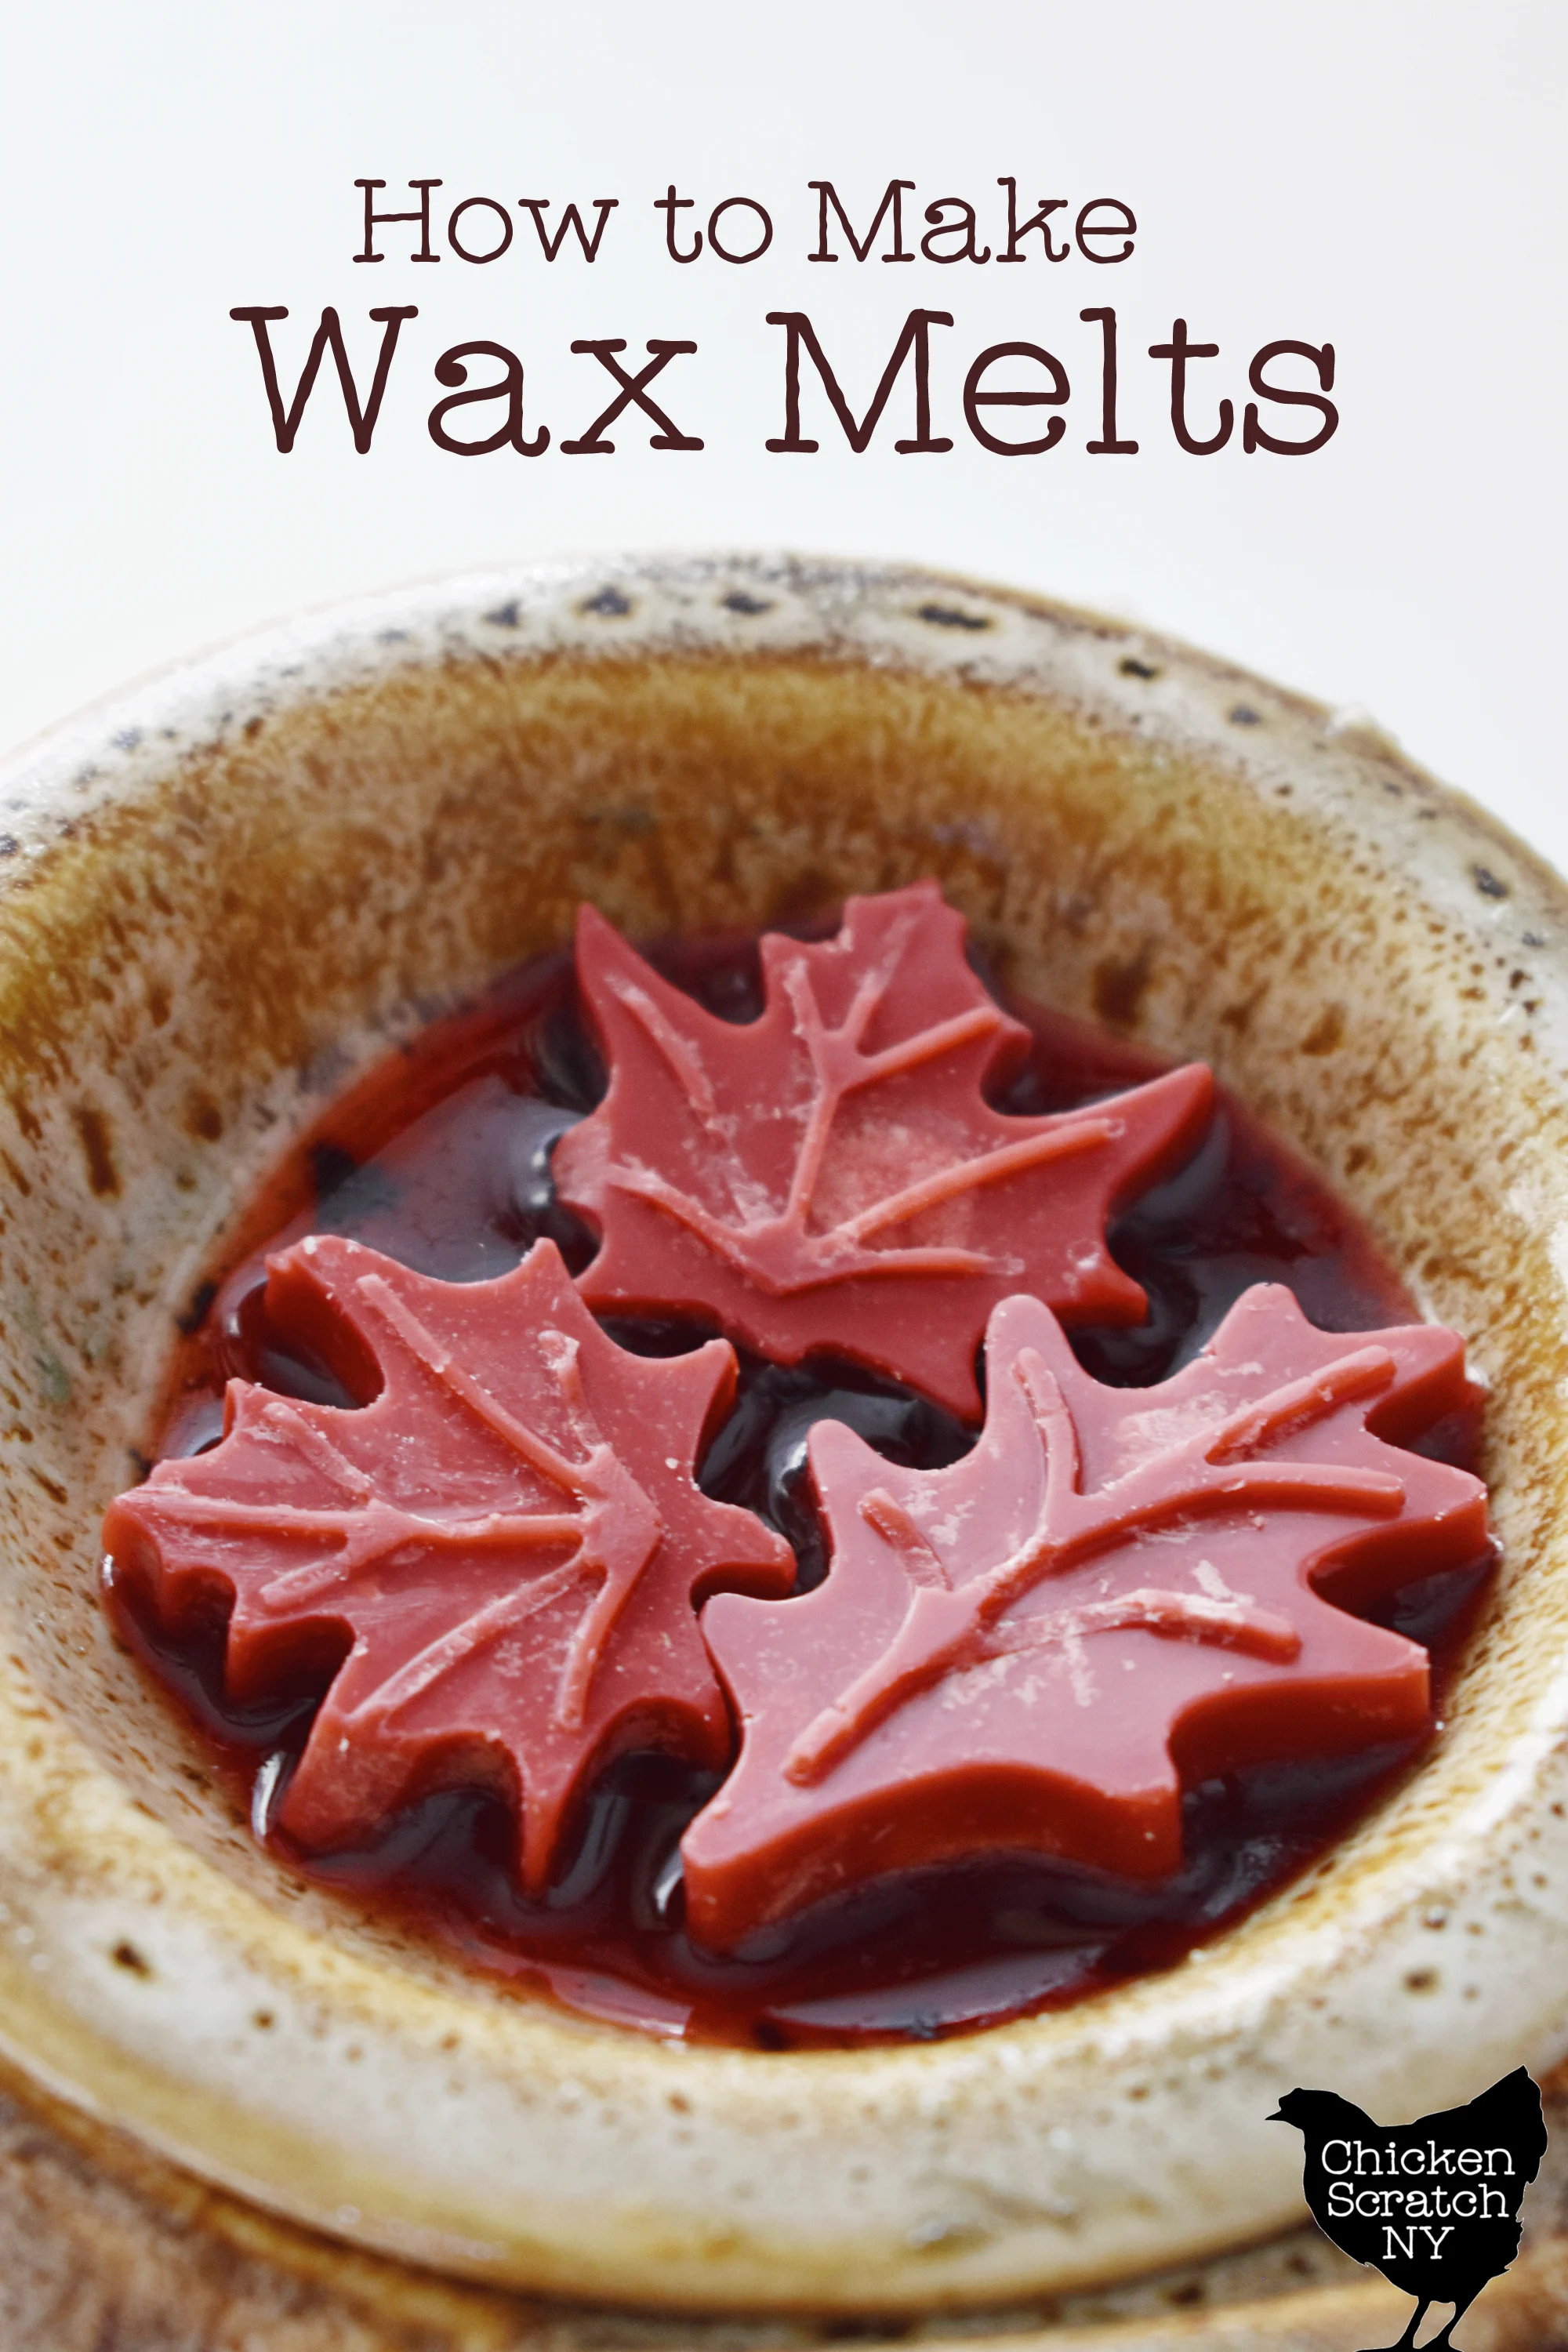
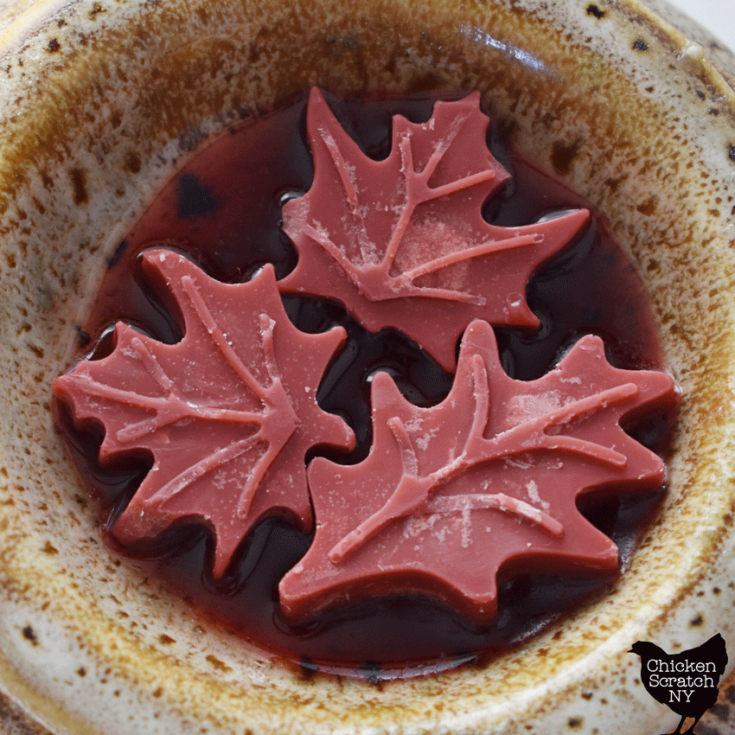
You can also use silicone molds to make your wax melts. There are lots of fancy silicone molds out there, I love picking up holiday molds after the season on clearance.
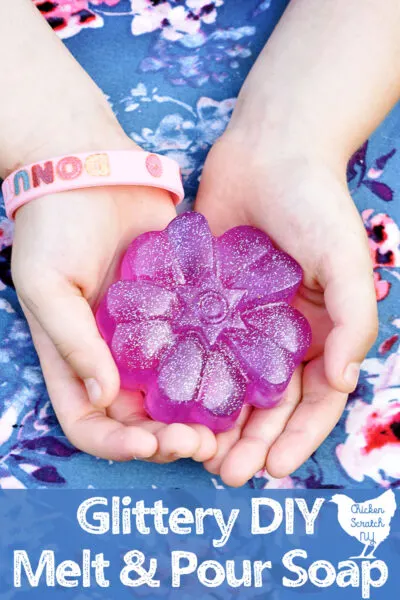
Once you use a mold with wax and fragrance oil it should never be used for food. I have a box of molds that I only use for making wax melts and soap.
Keep in mind that wax melts poured in smaller, more detailed molds are more likely to break when you pull it out. The wax melts will still be functional but not quite as pretty.
Wax Melter
The safest way to melt wax is in a double boiler or in a wax melter. When I started out making wax melts I used a metal pour pot in an old cooking pot with a trivet of canning rings on the bottom to hold the wax pot off the bottom of the pot.
If you’re looking toward the future, most of the supplies for making candles and wax melts are the same so once you’re comfortable making wax melts it’s not hard to take the next step into making candles.
Now I use a Presto Pot, which is actually intended to be a deep fryer. If you’re really looking to spend some money you can buy Presto Pots that have been modified with a pour spout on the bottom.
If you plan on making a lot of wax melts or getting into candle making as a hobby a $30 Presto Pot is a good investment.
Scale
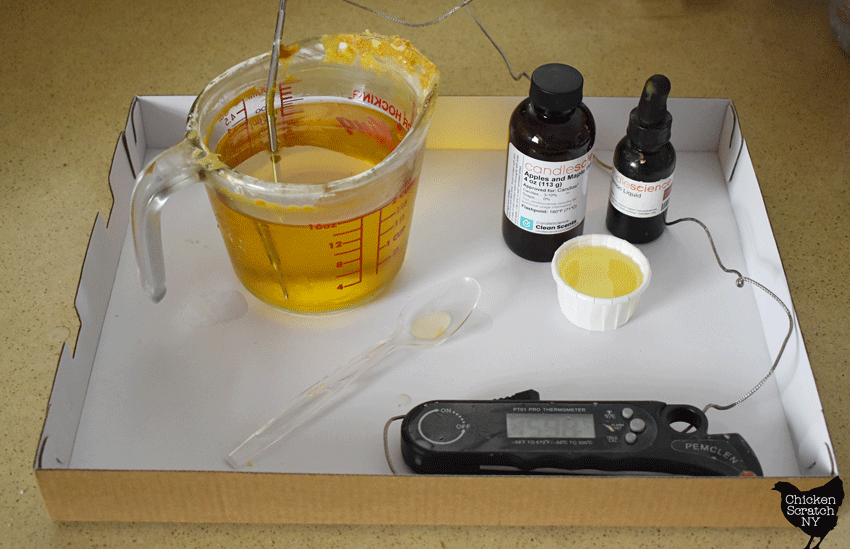
The most accurate way to measure your wax and fragrance is by weight. I use a basic kitchen scale for my wax and soap projects. I put a piece of aluminum foil over the top where you weigh your items to make any drips easy to clean up.
Familiarize yourself with your scale and find the ‘Tare’ or ‘Zero” button. Turn on your scale, place your pour pot on it, and press zero/tare.
The scale will drop back to zero and allow you to measure the wax or oil without taking into account the weight of the container.
Thermometer
A simple but critical tool in your wax melt-making arsenal is a thermometer. There are several temps you want to hit during the process for the best results
I recommend using a probe thermometer with a long wire, that way you can drop the probe in the wax and set the thermometer on the counter where you can keep an eye on it without getting it covered in wax.
Protective Gear
Even though safety comes first I’m listing the protective gear last. You should always wear gloves and protect your eyes when you work with fragrance oils.
I do my candle and wax melt-making in my kitchen and I usually just scrape the stone counters down when I’m done. But a smarter plan is to protect your workspace with newspapers or cardboard, especially if you’re sloppy with the liquid candle dye!
You’ll also want to keep paper towels on hand to clean up spills and to clean out containers when the wax is still liquid.
Making Wax Melts
I’m going to get pretty detailed here but I will add a condensed version in a printable card at the bottom.

The first step to making your own wax melts is weighing out the wax and fragrance. We’re not combining them yet but I think it’s less stressful to have everything ready when it’s go time.
Different waxes have different maximum fragrance loads, if you add too much oil it won’t blend into the wax. This should be listed on the wax package or on the site you order from.
Wax melts are much easier to perfect than candles because the fragrance oil can affect how the candle burns and that can lead to complications. You aren’t burning anything with wax melts you just melt the wax and it releases the fragrance.
After measuring everything you’ll need to set up a double boiler and melt the wax. Heat wax to 185 degrees and then remove from heat to add the coloring and the fragrance oil.
For accurate readings take the temperature in the center of the pot, not against the bottom or side. I usually stir with the probe and wait for the temps to stop fluctuating before I read it.
Stir well to make sure the wax and fragrance are completely combined. To be on the safe side, set a timer and stir for a full minute.
Wax shrinks as it cools so if you want your wax melts to look pretty it’s best to let the wax cool a bit before you start pouring. It’s a bigger issue with candles but no one wants their melts to look under poured either.
When the wax reaches about 135 degrees it’s time to pour it into your molds. Slow and steady is your best option to avoid overflows.

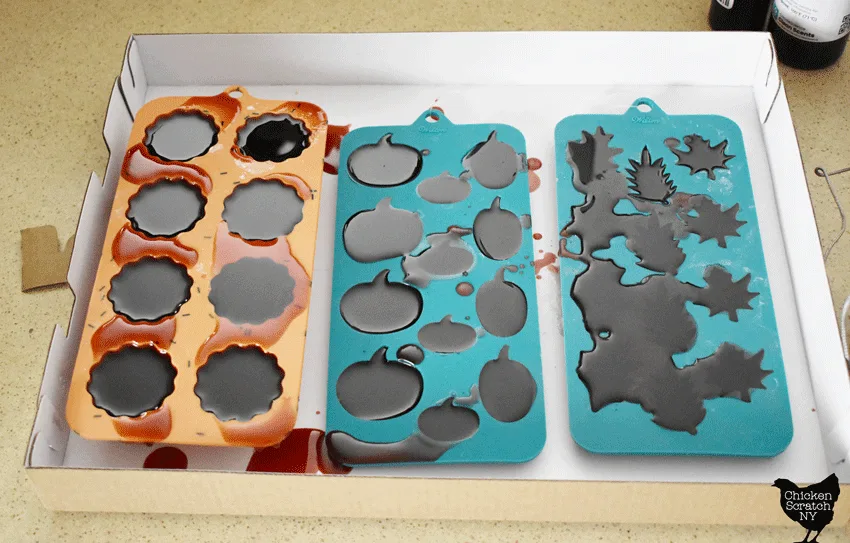
In my defense, the pumpkin molds were perfect until I bumped the box lid when I was trying to take pictures. The leaves were always a mess.
The wax will shrink when it’s cooled so try to fill the mold or clamshell all the way to the top where you’re relying on surface tension to keep it from spilling over.
Let the wax melts sit until fully hardened, I usually let mine sit overnight, if you’re using clamshell molds you can close them up and add a label or scribble on the fragrance name with a sharpie.
If you used silicone molds you can pop your melts out, if they’re bending or sticking pop the whole thing in the fridge for an hour to get them super solid. Store them in a jar or tin to keep them from getting dusty (and to keep your home from smelling confusing).
Soy wax requires a curing time in order to get the best scent throw.
I like to give my wax melts and candles about 2 weeks to sit before I start using them but if you’re impatient you can melt them as soon as they’re fully solid.
How to Make Wax Melts

Make your own custom wax melts with this easy tutorial!
Materials
- 13 oz Soy Wax
- 1 ounce Fragrance Oil
- Candle Dye (optional)
Tools
- Metal Pour Pot
- Water Bath
- Probe Thermometer
- Wisk
- 3 Clamshell Molds
Instructions
- Weigh out wax and fragrance (do not combine yet)
- Melt wax in a hot water bath, taking care to make sure no water gets into the wax
- When the wax is melted remove it from the water bath, (you can pull it off the heat when a few chunks of wax remain, they will melt if you keep stirring)
- When the wax temperature reaches 185 degrees stir in the fragrance oil and the colorant
- Stir for 2 minutes to make sure the fragrance is completely dispersed and bonded to the wax
- Allow the wax to cool to 135 degrees before pouring
- Fill molds and allow to set completely
- Close clamshells or pop wax melts out of the silicone molds. If the wax is too soft to remove from the molds place the entire mold in the refrigerator for a few minutes to harden up the wax
Notes
For best results allow the wax melts to cure for at least a week before using
Make festive wax melts in silicone baking molds, the amount of wax you need will vary with the individual mold