Garlic is the only non-perennial constant in my garden. I’ve skipped one year in the last 10 and I felt like something was missing the entire time.
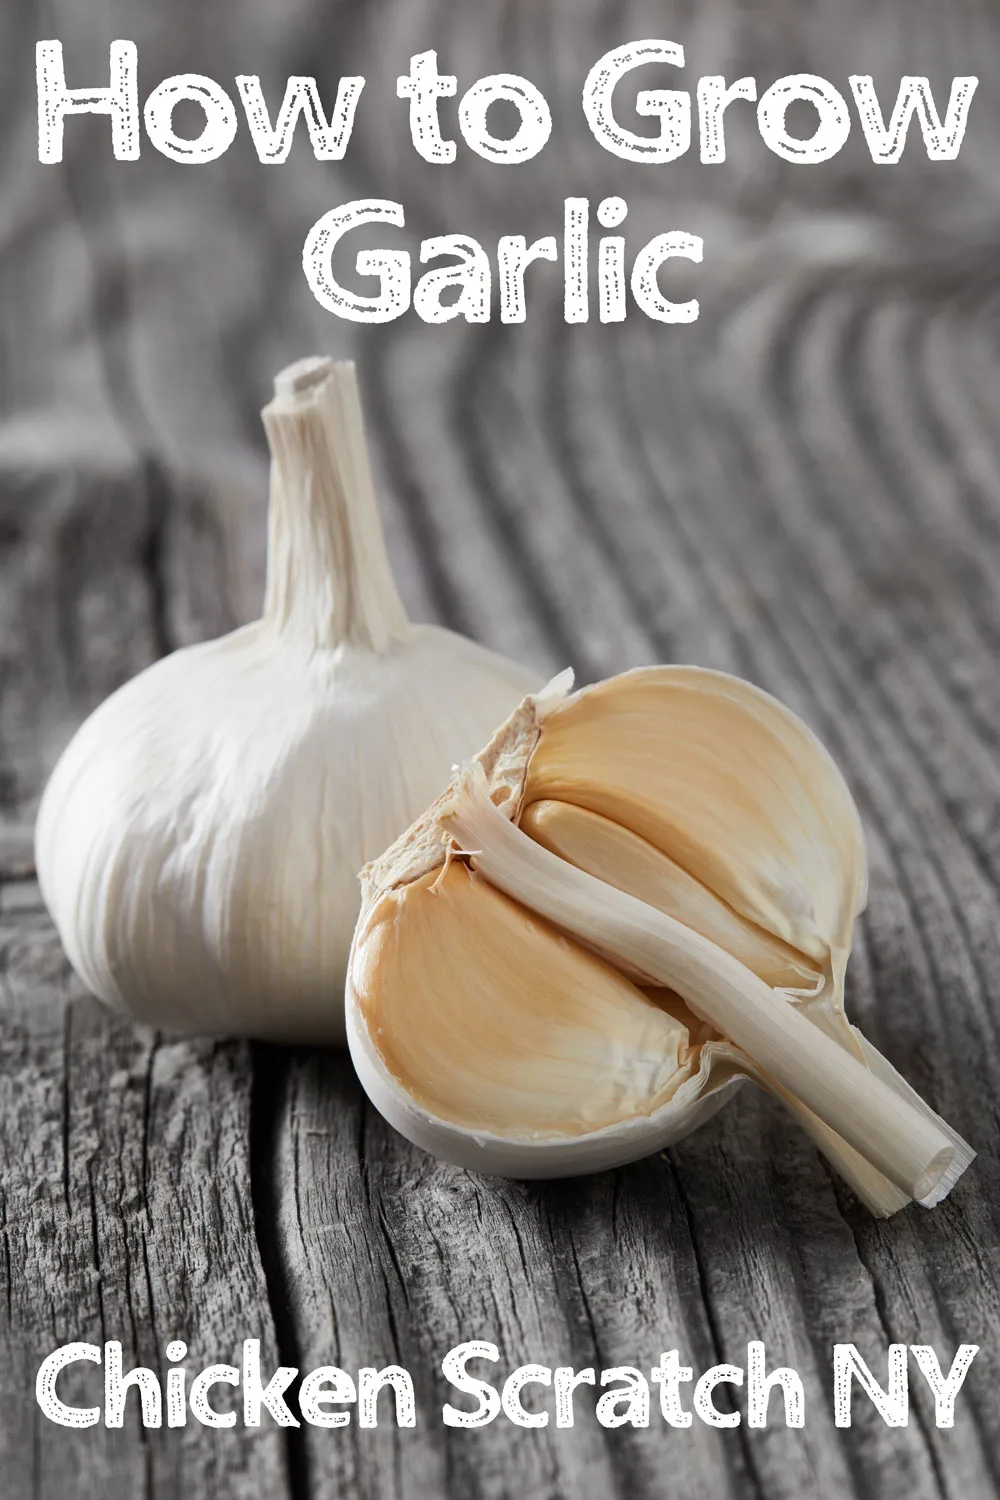
Garlic isn’t grown like most of the crops. You start out in the fall and finish up in the early summer. If you plant hardneck garlic you even get a bonus crop of garlic scapes in the late spring.
The type of garlic you grow is determined by your location. Where I live in Central NY we grow hardneck garlic because it can survive our winters.
I wish I could tell you about growing softneck garlic (the kind you can braid) but I can’t grow it here so I have no experience to pass on.
Where to Get Seed Garlic or Planting Garlic
I get my seed garlic at the Little Falls Garlic Festival which is about an hour from where I live and filled with local growers. Garlic is very good at adapting to it’s climate and if you can buy some that was grown locally you’ll have a leg up.
Seed garlic is more expensive than the stuff you’ll find in the grocery store so don’t be shocked when you see the prices. Last year I spent about $50 on 4 pounds of seed garlic.
If you can’t get any locally you can find it online. I’ve never purchased garlic online myself but based on other experiences I would recommend Fedco Bulbs out of Maine. I’ve ordered a lot of seeds from Fedco over the years and they have great pricing, quality and service.
How to Plant Garlic
Where I live in Central New York we grow hard neck garlic and we plant it in the late fall. The normal time is October but I pushed it back all the way to November 25th this year. Garlic is a forgiving beast.
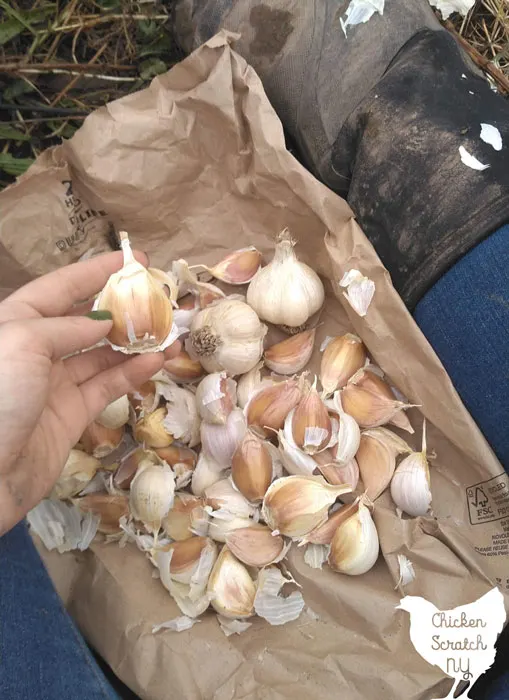
The first step to planting garlic is breaking up the heads into individual cloves. You can do this ahead of time or in the garden.
It’s kind of messy and you’ll have little papery husk bits all over the place so I like to do it outside. If it’s cold you’re better off doing it indoors and sweeping a lot.
Garlic is usually planted after something else has been recently pulled so your soil will likely be weed-free and loose. Plant each clove about 2 inches deep with 6 inches between cloves. Make sure the pointed end is up.
I try to plant on a 6 inch grid but it’s usually a bit generous and closer to 8 inches between rows. There are two methods I use, depending on how loose/wet/frozen the soil is.
If my soil isn’t that great I use my cape cod weeder to make trenches and then press the garlic into place and use my hands to fill in the trenches.
If it’s loose and easy to work with I get super lazy and just poke the cloves into the ground using two fingers, gloves are a must for this! And I use my hands to push the soil around the fill up the holes.
Check out my Favorite Garden Tools for the Home Gardener
I like to do all of my planting and then cover up the cloves, the white color shows up really well against the soil and if I have a few extra cloves at the end I can usually find a spot to sneak in an extra.
After I plant I immediately cover the entire bed with a few wagon loads of deep litter from the chicken coop or alpaca pen.
My next step is to cover it with wire fencing. I let the chickens into the garden in the winter/early spring and I don’t want them digging it up.
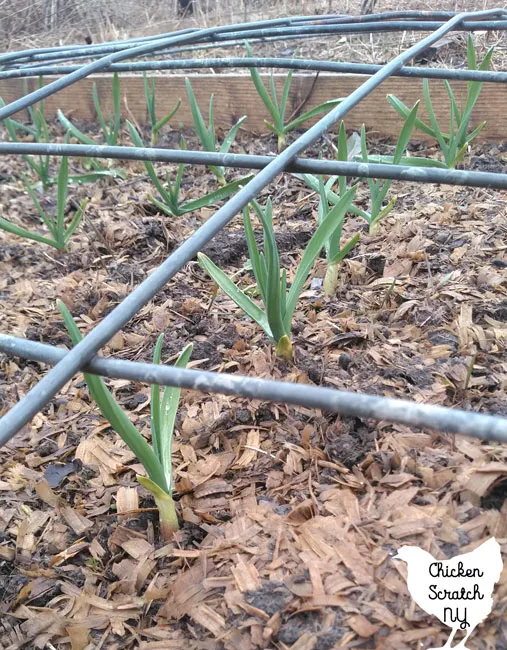
Lately I’ve been using a cattle panel and it seems to work well, the snow falls right through it, the garlic can grow up through it without getting damaged and it keeps the chickens from digging
When the soil isn’t frozen the worms do their magic and get all those nutrients from the bedding deep in to the soil where the garlic takes advantage.
The garlic starts to grow very early in the season, long before you’d ever be able to get in and plant it. You’ll even notice the leaves starting to peak up through the snow.
Luckily it’s very cold hardy and late snows don’t seem to mess with it at all.
Once the ground is fully warmed up I like to do one thorough weeding and then throw down a thick layer of straw.
Read more about Weeding Your Garden When You’re Overwhelmed
The straw does a good job keeping the weeds at bay and keeping moisture in the soil. Though to be fair, soil moisture is never a problem in central New York until July at the earliest.
If you’re desperate to eat something out of the garden this is the time for green garlic! If you’re interested in learning more check out my guide to growing, picking and eating green garlic.
Garlic Scapes
The true magic to hardneck garlic is the guaranteed double harvest. About a month before you pull the garlic to harvest the heads you get to enjoy garlic scapes.
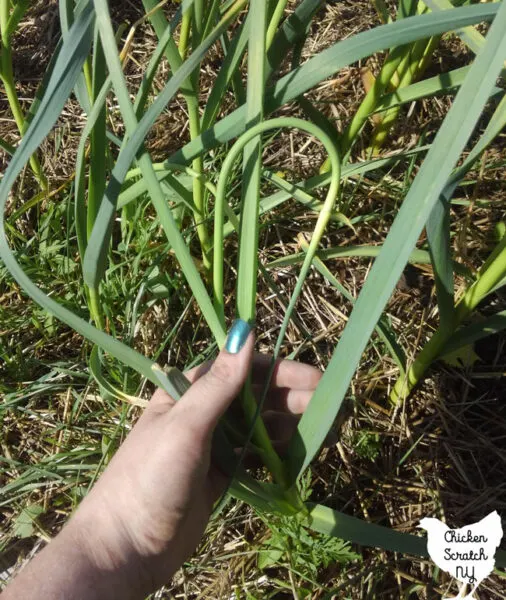
Garlic scapes are one of those super trendy ingredients that you’ll likely never see at the grocery store but you might see at a farmers market or a farm stand.
I usually pick my scapes in June but your timeline will depend on where you live. You want to pick them before the bulb at the end starts to swell up.
All you do to pick them is snap them off with you fingers. Most of my garlic is porcelain type and it lade large loose scapes, perfect to just throw around my arm like a bracelet.
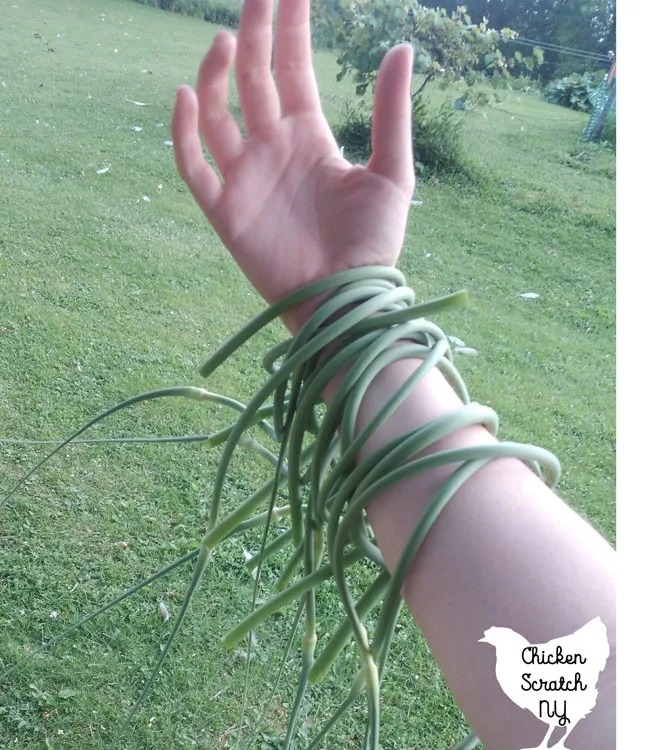
Garlic scapes are best if you use them as soon as you pick them. They start to get woody if you leave them for a few days.
Garlic Scapes in the Kitchen
Garlic scapes are a delight in the kitchen. They have a fresh, green and garlicky flavor that works fresh, roasted and pickled.
My go-to preservation method is to chop them up in the food processor with some olive oil. I freeze them in a cube tray and toss them into pasta salads and soup.
Feeling hungry? Check out these Garlic Scape Recipes
How to Harvest Garlic
The big day! Garlic is ready to pull when the bottom 1/3 of the leaves have turned brown. It’s usually early July where I live.
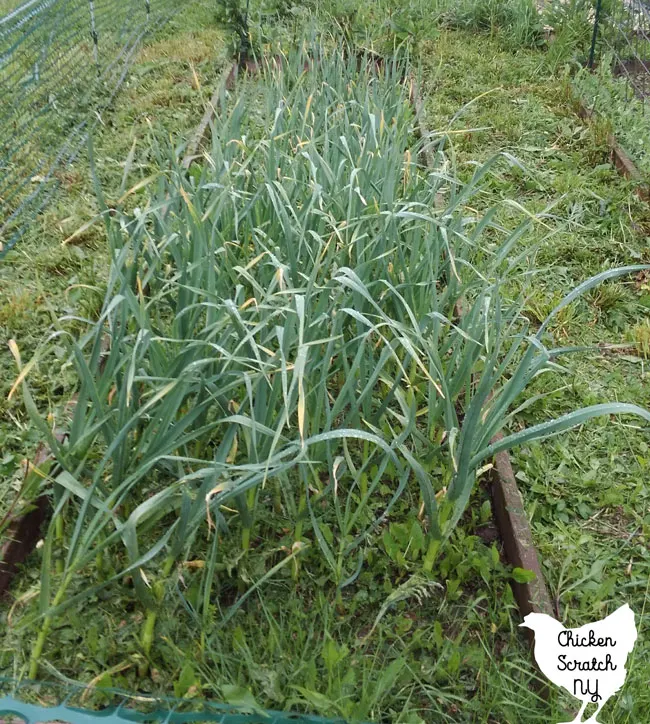
This patch of garlic still has a while to go, you can see the ends of the leaves turning yellow. You can also see how good I am at weeding.
The leaves will turn yellow and then brown and dry from the tips in towards the stalks.
The harvest tends to coincide with the end of our daily spring rains. I usually try to just pull my garlic but you really should loosen up the soil with a shovel or broad fork.
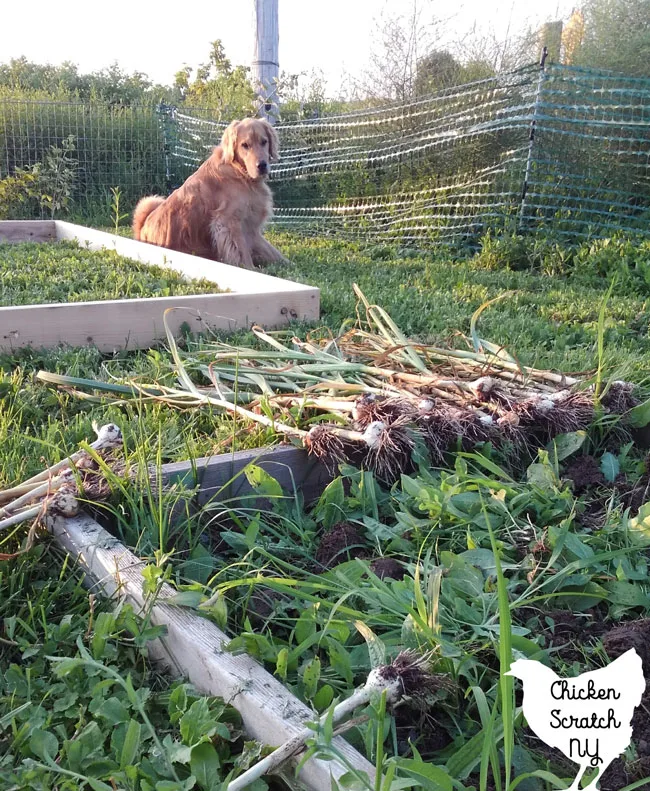
If the ground is too hard and the garlic has good roots you’ll pull the stalk right out from the center of the bulb leaving the cloves behind in the garden. Do as I say, not as I do, loosen up the soil before you pull your bulbs.
Another step I like to take is a bit of pre-cleaning. I try to get most of the dirt off the roots and peel off one or two layers of the bulb wrappings off in the garden.
How to Cure Garlic
You can start eating your garlic immediately but if you plan on storing any you need to make sure it’s cured.
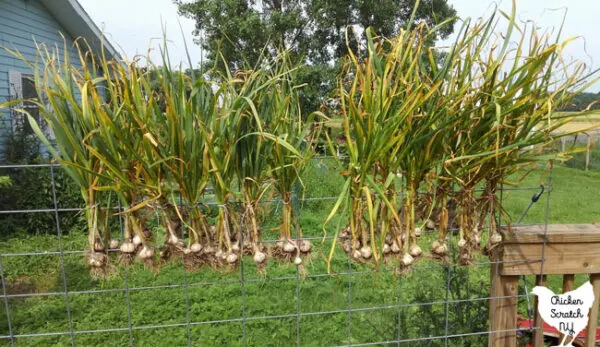
Curing garlic basically means letting it dry out. If you skip this the wrappings can mold and it won’t last long at all.
I tie mine into bundles and hang them up in the house out of the sun. As pretty as they looked hanging on the ‘gate’ to the deck that was just temporary while I made the bundles on the picnic table.
The stalks will shrink as they dry. I like to take a loop of twine about the size of a basket ball and make a lark’s head knot around the garlic. That way the twine tightens up as the garlic dries and you don’t lose any.
It’s important that the garlic is kept in a cool and dry area, it’s pretty humid here in NY and my garlic cures just fine as long as it gets decent air flow.
After about 2 weeks the heads should be dry, pappery and wrinkled. Now is the time to clip off the roots and cut the stalks down to about an inch above the bulbs.
How to Store Garlic
DO NOT put garlic in the fridge. The temperature in the fridge is absolutely perfect for triggering growth, remember it starts growing in the late winter!
Garlic should be kept at room temperature with a lot of air flow. Mesh bags and hanging bundles work well for storage.
Hardneck Garlic Varieties
Now that we’ve covered the whole process I’ll tell you a bit about hardneck garlic.
Hardneck garlic grows a thick stalk up through the center of the head that turns into a curly scape in the spring time. Each bulb produces one scape that is removed (and eaten) to allow the garlic to put all it’s energy into growing larger cloves.
Hardneck garlic has fewer, usually larger cloves than soft neck and they’re arranged in a ring around the center stalk.
Types of Hard Neck Garlic
Porcelain Hardneck Garlic
Where I live the two main varieties are German White and Music. Both are hardneck porcelain types.
German White (or German Extra Hardy) and Music are known for having large white cloves, 2-3 time the size of standard supermarket garlic. Even though the heads only have 3-6 cloves they’re still pretty hearty thanks to the large clove size. Another characteristic is a loose & loopy scape.
The giant cloves are really easy to peel, I cut off the root end, lay the wide blade of my kitchen knife over it and give it a single whack. The skin slips right off and you can either chop the garlic or toss the crushed clove into your soup or sauce.
I’m not nuanced enough to describe the differences in the flavors, that’s part of the beauty of visiting a garlic festival, you can taste everything and decide what you like.
Porcelain types should keep for 8-10 months if cured and stored properly.
Rocambole Hardneck Garlic
Rocambole is pretty similar to Porcelain types in flavor. The only one I’ve grown is German Red which has brownish-red skin.
The scapes of Rocambole garlic are much tighter than the porcelain types and form a tight curly spiral.
Rocambole types have more cloves, about 5-13 per head. They also have looser wrappings and don’t last quite as long in storage, only about six months.
Purple Stripe Hardneck Garlic
Purple stripe hardneck garlic has, wait for it, purple stripes on the wrapping papers. It it the oldest type and closest to wild garlic.
They have 6-14 cloves per head and pointed cloves. The purple coloring on the skin is affected by growing conditions and may be more or less pronounced.
Purple stripe hardneck garlic has a reputation for being very sweet when roasted, in general it has a rich but not hot flavor. As crazy as it sounds we had roasted garlic ice cream at the garlic festival one year and it was really good.
Purple Stripe garlic can be stored for 4-6 months.
The Best Way to Eat Garlic
This isn’t really related to growing garlic but it’s information I feel compelled to share. One of my favorite snacks is a slice of fresh bread smeared with a roasted glove of garlic.
If you’ve never roasted garlic all you do it cut off the top of the head, drizzle a little oil on it, wrap it in foil and toss it in the oven for 30-40 minutes at 400 degrees until soft.
Squeeze the now paste-like garlic out on to your toast and try not to get addicted. Porcelain garlic works really well for this with it’s giant cloves.
Do you grow hardneck garlic? I’d love to know your favorite kind, please leave any recommendations in the comments!
Check out my Vegetable Gardening page for more information or start here:


Bob S
Thursday 23rd of April 2020
I have found adding a small amount of elemental sulfur to my soil in the garlic bed, strengthens the flavor of my hard neck rocamboles. Also I have amended my soil with sand to make the soil more loose. Adding topical molybdenum micronutrients seems to help too. Also I apply 2 or three light applications of urea to the growing plants. Also, don't fo get to plant your bulbils! they make great solo garlics and are used by south American natives in herbal medicine.