I’ve always wanted to try growing mushrooms at home. It’s been on my to-do list for years even thought I hate mushrooms and I don’t eat them. That little fact didn’t get in the way of me starting my own mushroom kit mini farm in my craft room.
Mushrooms are fascinating to me, that’s more than half the reason I wanted to grow them. The rest of the reason? I wanted to see if I could! I’m not big on pushing boundaries, but when it comes to growing things I just have to see what’s possible.
Where do you buy mushroom kits?
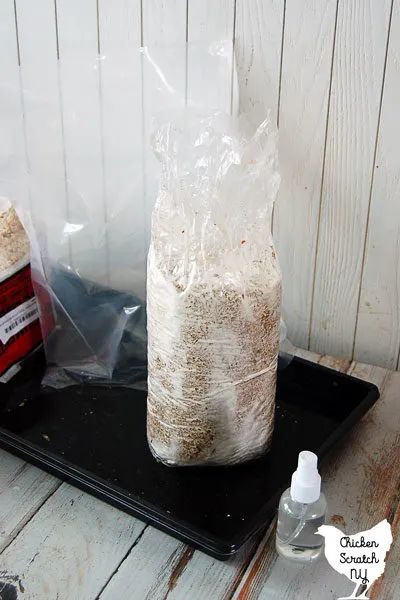
I bought mine on Amazon (SHOCKER!!!). There are lots of places online to get them but I can’t recommend any. I’d love to hear if you have any great sources, leave them in the comments!
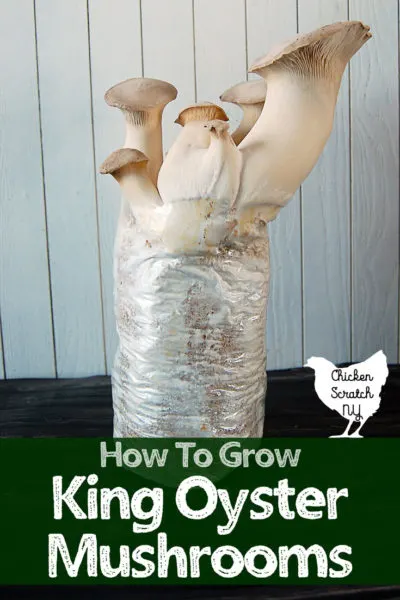
I ordered a King Oyster mushroom kit. The King Oyster kits was $19.95 with Prime shipping. It came with a heavy plastic hood and a little mister bottle. I also ordered two oyster mushroom kits, neither came with anything but the wood shaving block.
Having a spray bottle will help you keep your mushrooms damp so pick one up if you’re kit is mister-less. You’ll also need a tray or something to hold the mushrooms if your kit tells you to remove your wood shaving brick from it’s plastic home. I used a shallow seed starting tray for my other kits but this one didn’t need it.
What do you get when you order a mushroom kit?
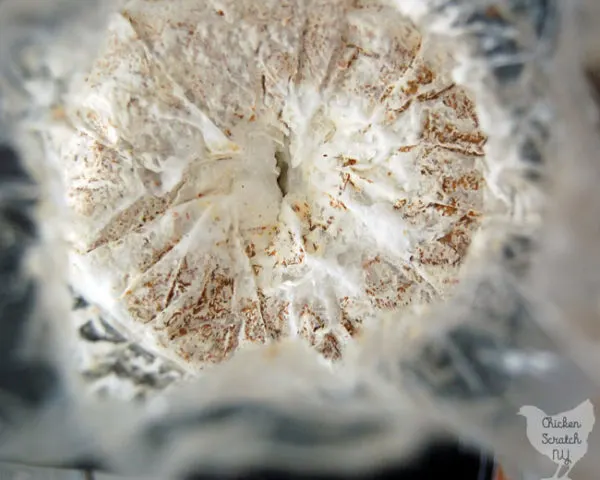
I ordered blocks, when you open the box you’ll have a heavy, clear plastic bag filled with sawdust and mushroom spawn. Depending on how far along they are you might see a lot of white matter in the bags. This was the first day I set up my mushrooms in the craft room.
My mushroom kits were delayed by one of the constant snow storms that New York keeps getting. I was afraid they’d arrive dead because of the cold but luckily that didn’t happen.
By the time I got them (and then forgot about them for a day..) the bags were fully colonized. Ok. Let’s get sciencey! You can skip this part if you’re just in this for the culinary adventures.
Mushrooms aren’t plants, they are fungus. Technically the actual mushroom is the fruiting body of the fungus that produces the spores for reproduction.
Have you ever pulled apart a semi-rotted log in the woods and noticed white strings? That’s called mycellium, it’s more or less mushroom roots. That’s the main form of the fungus.
You want the whole bag to be filled with the white stuff. After the blocks are colonized it’s time to cut them open. Or pull off some tape, depends on the kit.
What happens when they arrive?
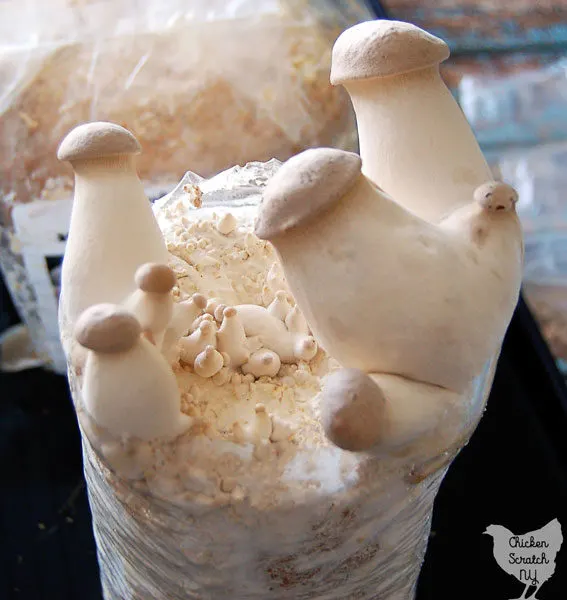
For the King Oyster kit all I had to do was untape the top, pull open the bag and spray some water in with the mister. Then I misted a bit more in the plastic cover and popped it over the bag. This was nine days after the last picture.
I set them in a tray with my other kits just so everything was in one place. I kept about 1/4 inch of water in the bottom of the tray and I’m sure that helped keep the humidity in the cover up.
All you need to do is keep them damp and in indirect sunlight light. That’s right! You don’t want your mushrooms in the dark! I kept mine in the craft room about 5 feet from the window.
Aside from daily misting I ignored them. After the baby mushrooms popped up I cut the plastic back to about an inch above the sawdust.
I was pleasantly surprised by the scent of the mushrooms. I guess I was expecting them to smell like a basement but they smelled very clean and earthy. There is a damp element to the scent but it’s not like mildew, more like a forest floor.
When and how do I harvest my mushrooms?
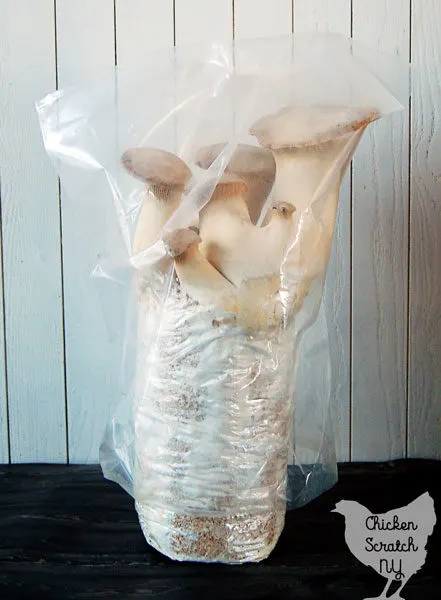
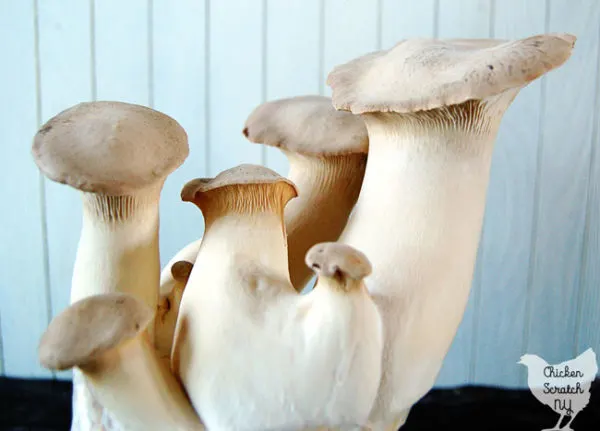
The mushrooms are ready to harvest when the caps flatten out. Unlike most mushrooms the stems on King Oyster mushrooms are huge. I had to be very careful removing the plastic, they filled the whole bag! This was 12 days after the original picture.
They’re supposed to have a meaty texture and make a lot of appearances as vegan scallops. My problem with mushrooms is 99% texture so I’m really hoping I like these. I love scallops and I’m going to try cooking them up with some bacon asap.
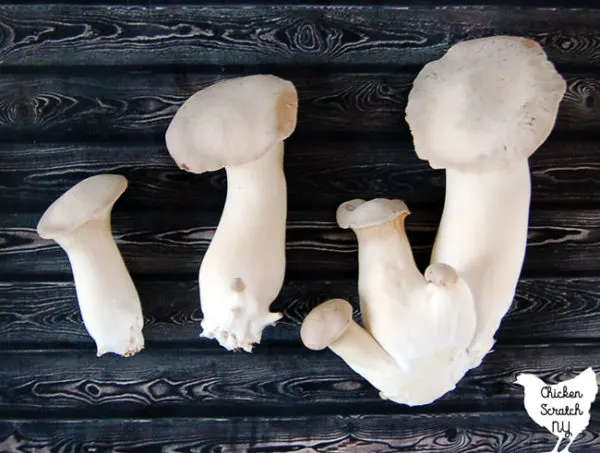
You can careful twist them off the wood shavings or cut them with scissors or a knife. I just pulled mine off because I’m never prepared.
What do I do after I harvest my mushrooms?
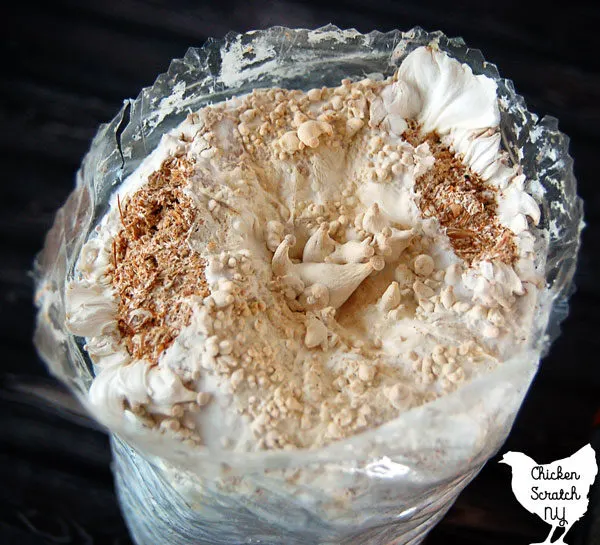
If you’re block isn’t throwing up anymore mushrooms there are a few steps to follow to try and get a second flush. These little guys were all pretty dried out.
The makers of the block recommend you start by scraping off the old mushrooms. Then soak the brick overnight, completely submerging it. Drain off any excess water, wrap in plastic and hide it in the dark for a week. Then unwrap and bring back into the light.
I’m going to try this and I’ll update you on how it goes. I’m also interested in inoculating a new block of shavings just to see how far I can take one $20 kit.
If growing mushrooms doesn’t seem like your cup of tea how about foraging? My friend Ashley over at Practical Self Reliance is sharing her knowledge on Foraging for Morel Mushrooms just in time for the new season.
Have you ever grown something just to see if you could? Have you ever grown mushrooms? Leave your answers in the comments!
Other posts you might enjoy:

