
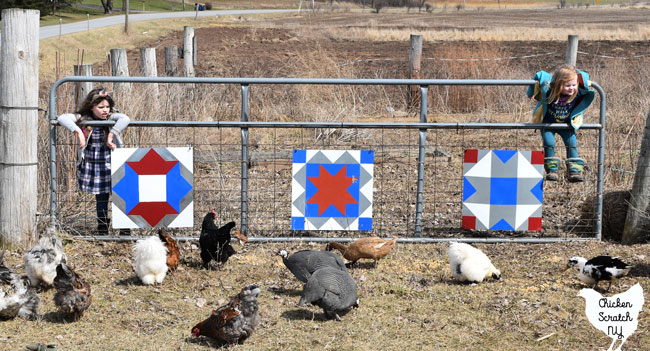
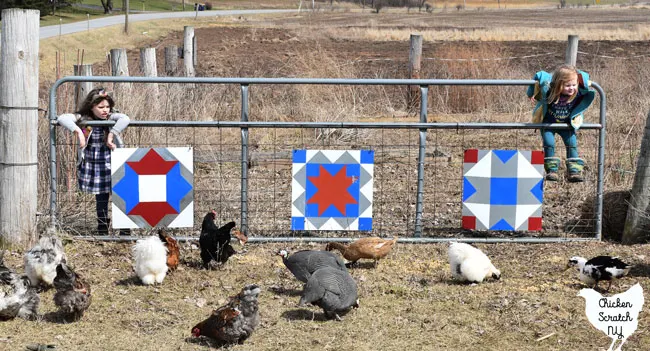
My wooden barn quilt is one of my all time favorite garden projects so when the time came to give my garden gate a makeover I decided to make a metal barn quilt.

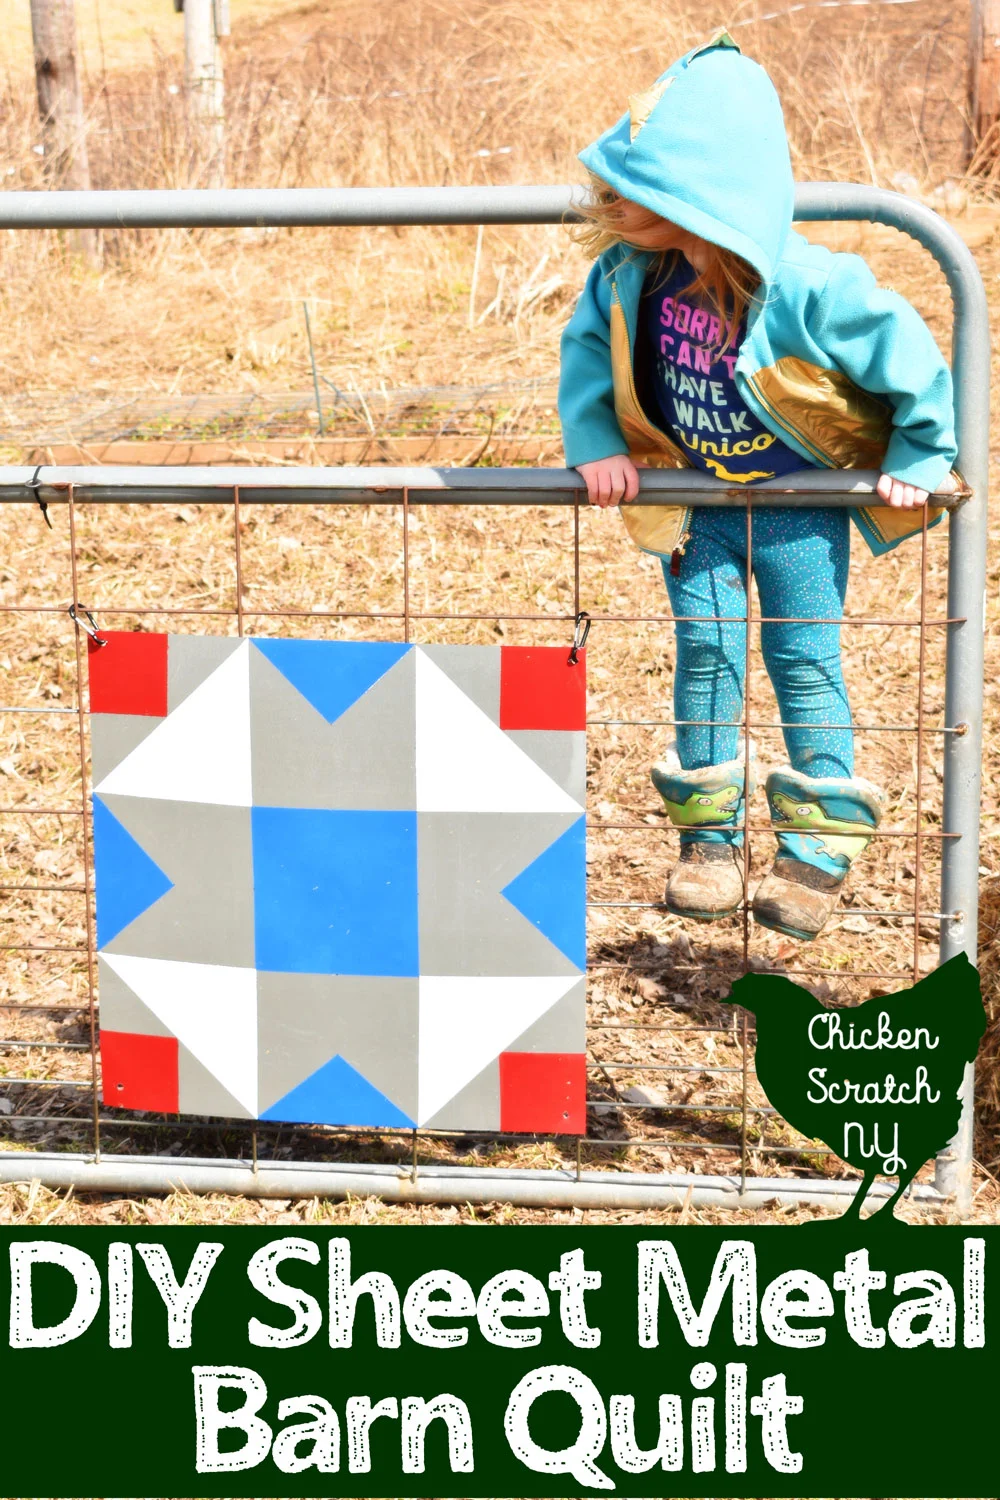
Actually 3 metal barn quilts. I have a very long gate!
Each quilt block is 24 inches by 24 inches. You can adapt this project to any size by buying metal at your desired size.
If you want to go BIG I recommend making a Plywood Barn Quilt, I made mine in 2012 and it still looks like the day I hung it.
Buying the Metal
There were two major issues with this project, the first came when trying to buy the sheets of metal. It was confusing and more than a little frustrating. To be honest I barely made it past this point.
If you’ve never tried to buy sheet metal let me tell you how it goes. There’s a large rack with little cubbies filled with identical metal squares. But they aren’t identical.
And they sure as hell aren’t in the right places. The first time I tried to buy a square I ended up with a $35 metal sheet. Uh, no. The cashier was rude and I was tired so I left empty handed.
Attempt two. I decided to match the numbers and ended up finding two that matched the serial number for the $10 sheets. But they weren’t the same, one was obviously thicker and much sturdier than the other.
I actually asked for help (something my anxiety choked heart can barely handle) and fortunately I ended up with a nice employee. He couldn’t figure out why they were different either but assured me they were the same price. I ended up buying both and picked up the 3rd a few weeks later.
The Paint
Before I even found the metal I knew what paint I wanted to use. Remember by Tin Can Pumpkin Planters? I made them in 2016, left them in a snow bank over the winter and they still look brand freaking new!
Obviously that Multi-Surface paint has some magic in it. (That post was sponsored, this one isn’t. I bought my own paint with a coupon!).
I wanted to go with an Americana theme, one of my favorite garden photos is a white picket fence with a red, white and blue bunting hanging on it and I wanted to recreate that effect.
The colors I selected were: Cotton Ball (white), Dark Scarlet (red) and True Blue. The pain metal acts as a fourth color and you get some nice contrast between the shiny metal and the satin paint for some extra pizzazz.
The Patterns
There are literally millions of options when it come to picking a quilt block patterns. I knew I wanted 9-patch blocks with a full one-color block in the center and a symmetrical design.

That didn’t really narrow things down but after a lot of digging I found three quilt blocks that worked together nicely.
I mocked them up in illustrator and printed them out with the intention of coloring them in and using them as patterns. But I’m lazy and I didn’t and I messed up my pattern.
I do have those printable patterns available (for free) to you though!
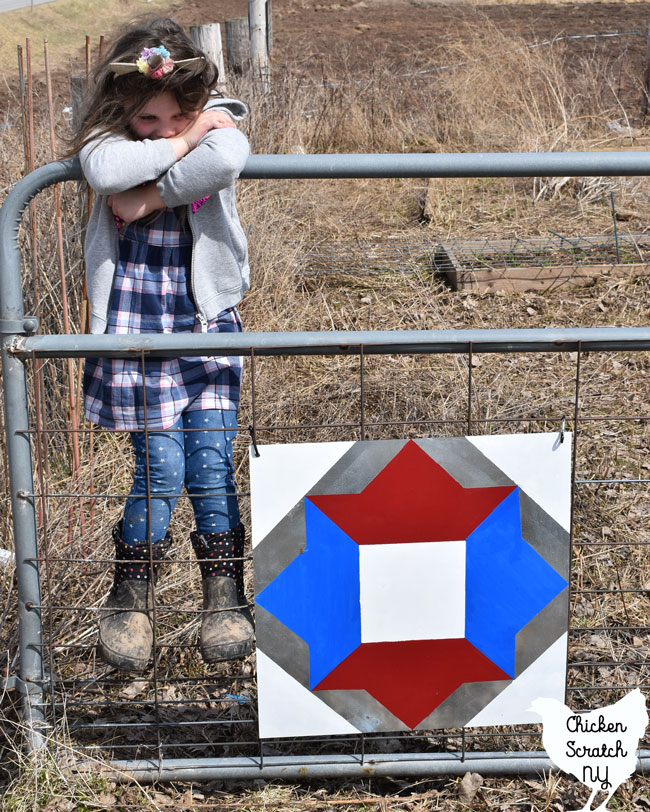
Rally Round Quilt Block (white center)
That may or may not be related to the 2 year hiatus this project took. The world will never know.
Another Disaster
After finally getting my metal home I eagerly started taping off the pattern. I painted four blue squares and let the paint dry over night.
The next morning when I went to move the metal my fingernail removed a huge stripe of paint. WHAT. My magical paint had let me down.
Randomly the next day I was talking to a friend about how the paint peels off NYS license plates and he told me they hadn’t cleaned the metal correctly so the paint wouldn’t stick. He said all they needed to do was wipe them down with vingear or acid and they wouldn’t have that problem.
Light bulb! As any good canner would, I have a large bottle of vinegar at all times. So I did a little test, wiping down the metal with a vinegar soaked towel.
After it dried I slapped some paint on. The next morning I tried to scrape it and it stuck! I was back in the game.
The Marking Process
Now we have our clean metal and it’s time to start marking off the pattern. All of my quilt blocks are based on a 9 patch, meaning three rows of three.
Now it’s time to grab your ruler and do a tiny bit of math. My metal sheets are 24×24 so for a 9=patch block I needed to mark of 8×8 squares.
I used a black sharpie and made dots at the corners. I’ll take this time to say I rushed this a little bit too much and not all of my lines line up.
Is it something no one else will ever notice? Yes. Will it haunt me until the day I die? Also yes.
How to Paint on Metal
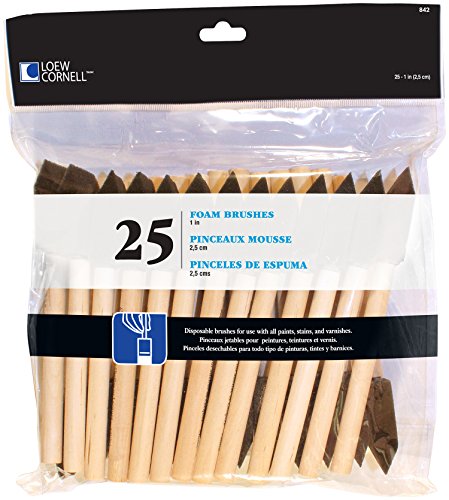
There is a certain technique needed to paint on metal without getting brush strokes. You’ll need foam paint brushes and painters tape to mark off your lines.

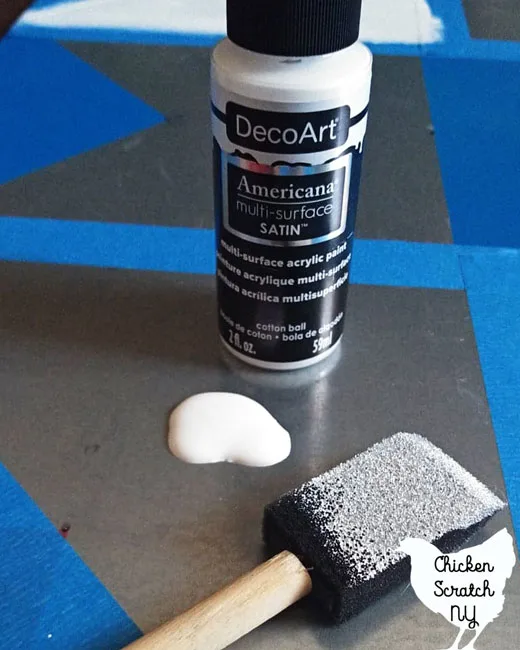
You can use a paint palette or do what I did and just squirt the paint on the metal and go from there.
Use the foam brush to spread the paint out and then (this is the key) tap the brush around on the paint. This gets rid of the brush strokes and you’ll get a more uniform coat of paint as it settles and dries.

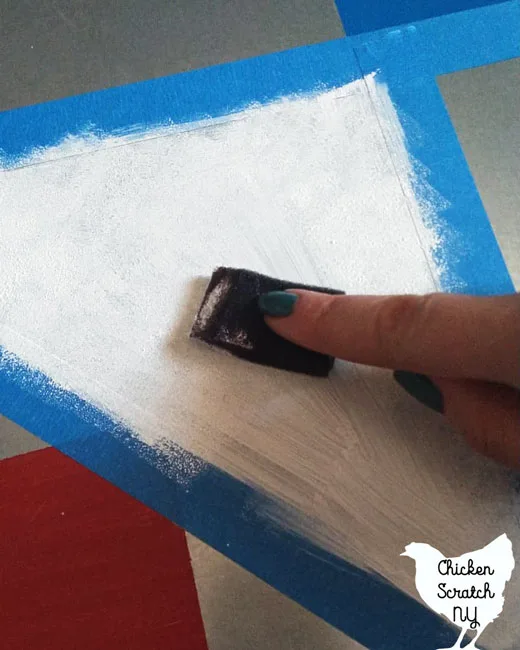
It still takes a few coats to get full opacity. The metal is smooth and the paint likes to slide around.
When you pull up the tape you might remove some paint, I just went back in with a brush and touched up my lines.
You’ll be looking at them from a few feet away at least, your lines don’t need to be perfect and no one but you is going to notice that corner where things don’t quite line up.
This is the longest part of the process, you have to wait for the paint to dry between coats and then moving the tape around and switching colors. THe simpler the design is the faster it will go.
Hanging the Quilt Squares
The final step in the process is hanging up your metal quilt squares.
You will need a drill, a large drill bit (size depends on your carabiner clips), a scrap of wood and two clamps.

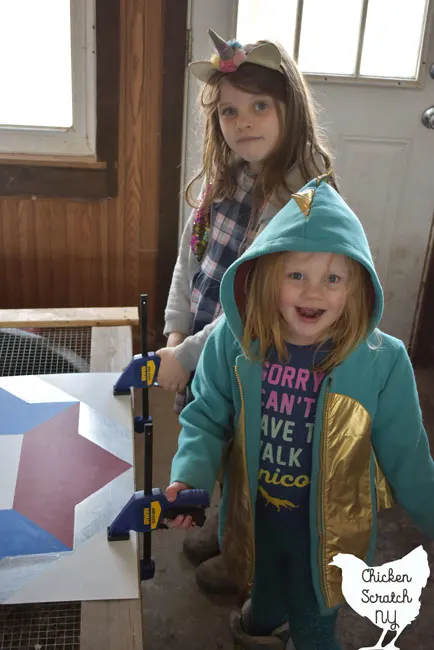
Use the clamps to hold the metal down against the piece of wood. Slowly drill through the metal in the top two corners. My kids are obsessed with these clamps, we used them to make their shelf and anytime they see them come out they can’t wait to release them (I guess that’s the fun part?).
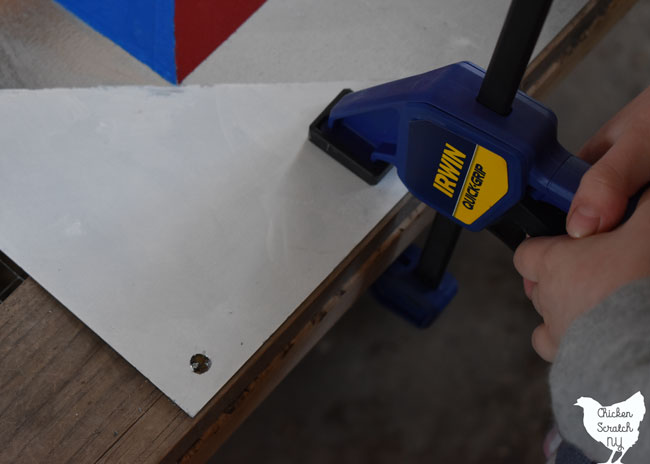

Could you skip the clamps? Maybe, I’m way too terrified about spinning sheet metal to even think about it.
Drill the hole about 1/2 an inch from the edge, if you go too far you won’t be able to get the carabiner clips through the hole. If you’re going to screw it directly to a building it doesn’t matter that much.
I’m not certain but this is probably going to ruin your drill bit. I don’t do a lot of large drilling so it wasn’t a big deal to me.

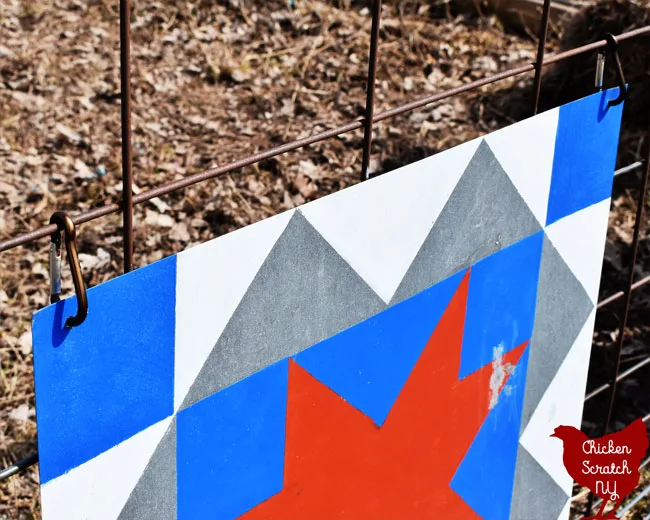
Slip the carabiner clips through the holes and use them to secure the quilt block to the gate. This is the block that spent the winter on the gate getting beat up.
The girls slide ended up rubbing up against it and took off some paint. I need to go out there and touch it up I just haven’t gotten to it yet.
DIY Metal Quilt Blocks
Dress up your garden gate with an easy DIY sheet metal barn quilt.
Materials
- 24 x 24 piece of sheet metal (get the $10 one)
- Vinegar & towel
- Painters Tape
- Multi-Surface paint in Cotton Ball (white), True Blue and Deep Scarlet
- 2 Carabiner clips
Tools
- Ruler
- Sharpie
- Foam Paint Brushes
- Scrap Wood
- Drill
- Clamps
Instructions
- Wipe down the metal with straight vinegar and let dry
- Mark out your patterns with the ruler and marker. Don't draw lines, make dots and use the tape to connect them
- Tape off sections and fill in with paint and the sponge brush. It will take a few rounds to get everything. Make sure the paint is 100% dry before you put any tape over it
- Place scrap wood under the metal, hold together with clamps and drill holes large enough for the carabiner clips 1/2 inch from the edge
- Use the clips to hang the quilt blocks on a fence or gate
Notes
Read the full blog post for troubleshooting tips!
Recommended Products
As an Amazon Associate and member of other affiliate programs, I earn from qualifying purchases.


Don’t forget to PIN this to your DIY board!
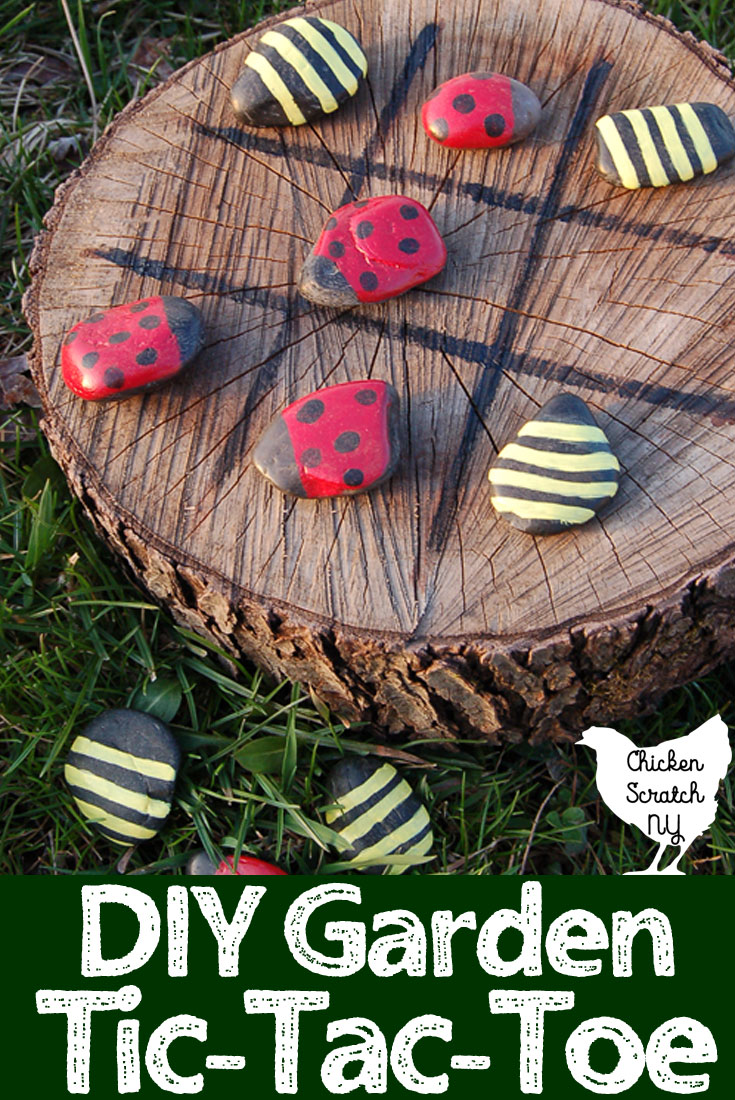
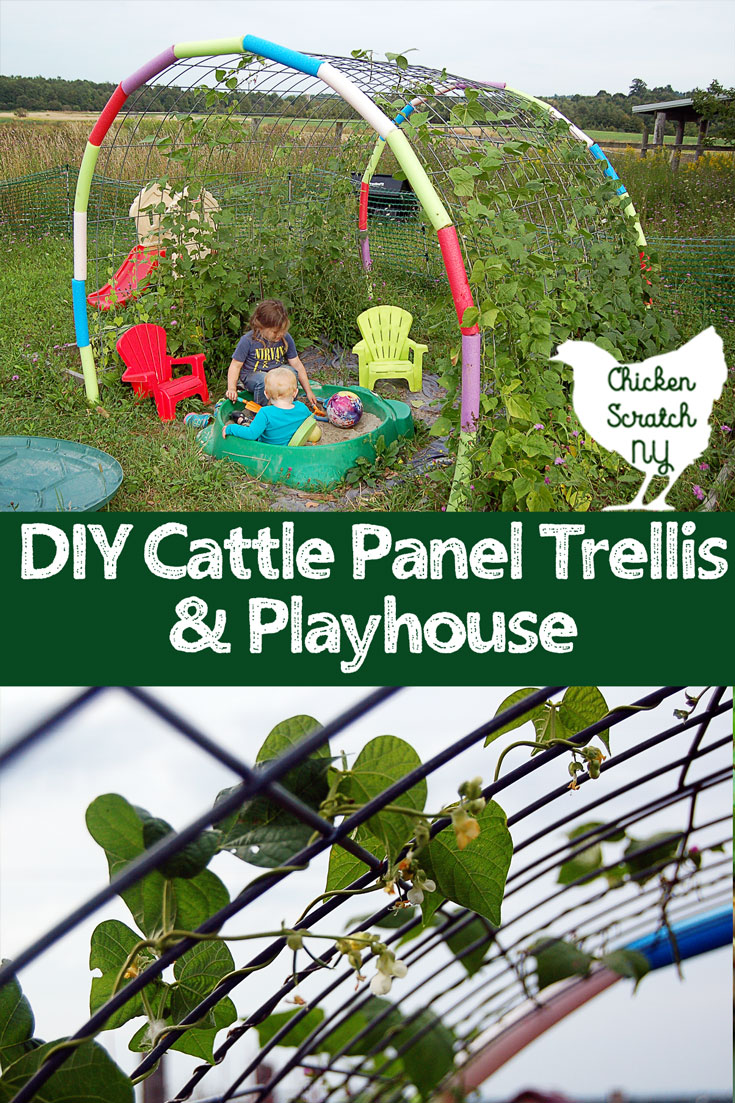
Check out my DIY Garden Projects page for more ideas or start here:


Deborah Black
Monday 26th of July 2021
Your “every day” jargon is charming and fits the project. Great tip about the vinegar. I enjoyed it very much and will look for more. Keep up the good work! Debbie