I wanted to add some autumn flair to my kitchen and I spent all my money of cloth diapers. I headed to the Dollar General (a real $ store where things only cost a dollar) with a $5 bill and a mission.
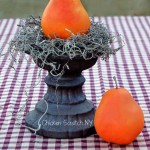
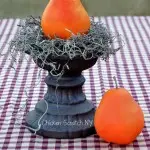
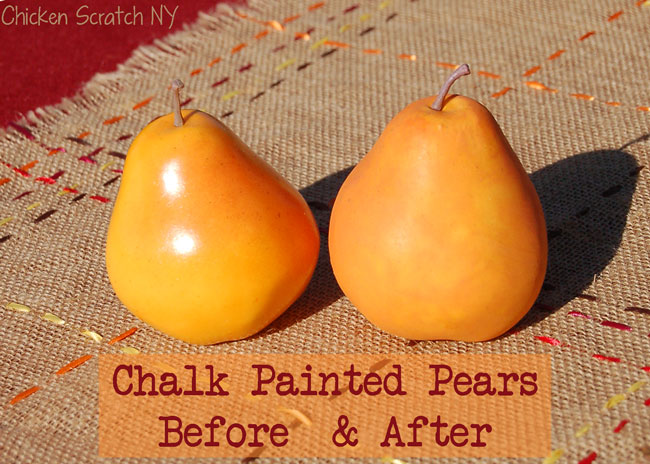
I was looking for some fake pumpkins when I happened upon a few bins of fake fruit. The finish was… well… bad but the shape and size were right on. I knew that a quick paint job would take them from low cost to high class.
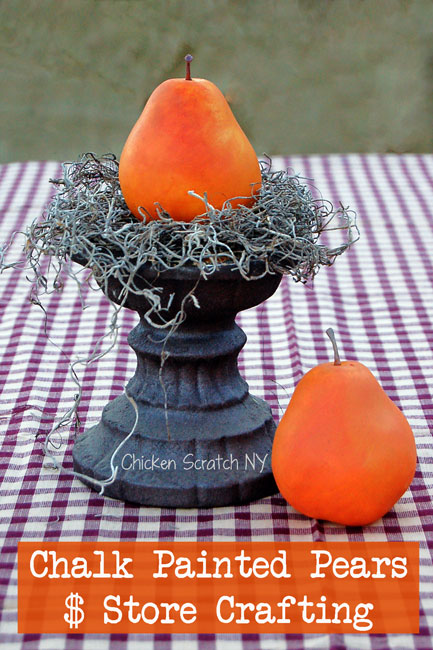
I think the matte finish makes them perfect for the farmhouse look. You could also do this on a few cheap plastic pumpkins and have great results.
Chalk Painted Fruit Supplies:
- Fake Pears or other Fruit
- Plaster of Paris
- Craft Paint in colors that match your fruit (doesn’t have to be an exact match)
- Paint Brush
- Plate or something to mix paint on
Instructions:
1. First a tip: pull the tags off, don’t try to cut them because a little piece will remain forever. Ask me how I know.

2. Get out your paint stash and find a color that’s pretty close to your fruit color. Squirt a bit out in the plate, sprinkle with some plaster of Paris and mix it up with the brush, it should be thicker than regular paint but not solid.
You should be able to brush it on without a problem. I did the green apple in one green color and mixed two shades of orange for the pear.

3. Don’t over load the brush with paint, you can wipe it on paper towel or scrape it off on the plate if you get too much. We’re not trying to completely cover the fruit, just to eliminate the shine.
Use a mostly dry brush to paint x’s all over the fruit to give it a rustic and chalky finish.
4. Let the paint dry and you’re all set to fill up a bowl, basket or cornucopia (unless you are like me and can’t figure out how to make the stupid think stand up on it’s own)need
You might be wondering if you really need the Plaster of Paris, and I’m gonna say yes. Regular craft paint isn’t going to give you a chalky finish (unless you happen upon a whole rainbow of pre-made chalk paint colors) and that’s critical to the overall outcome here.
2018 update, you’ll probably be able to find matte or chalky finish paint easily these days. I know Decoart has an entire line so I’m sure everyone else does too.
I still stand by this technique though. It’s a great way to get more out of your craft supplies without needing to by a whole ‘nother set of paint. However, if you don’t have or can’t find the plaster mix and the paint is available go for it.
In my opinion, the matte finish works to absorb the light while the shiny come-as-you-are- finish creates icky glare that is unattractive to look at and even worse to photograph.
Don’t forget to PIN this to your craft and DIY board!
Check out my Paint page for more ideas or start here: