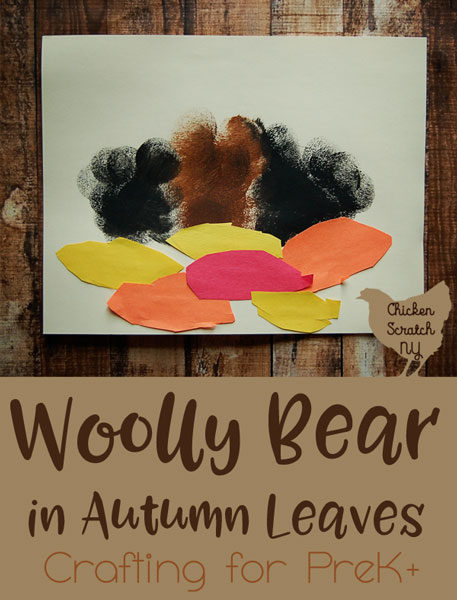
My house is already filled with kid-art. Mary’s preschool class did at least one project a day, but construction paper only lasts so long and I wanted to have an art project from the girls that would last the test of time.

I’ve had pumpkins on the brain and now that the 4th of July has passed I’m all ready for fall and Halloween. If you’re not that’s totally fine but make sure you PIN this post to come back to later 😉
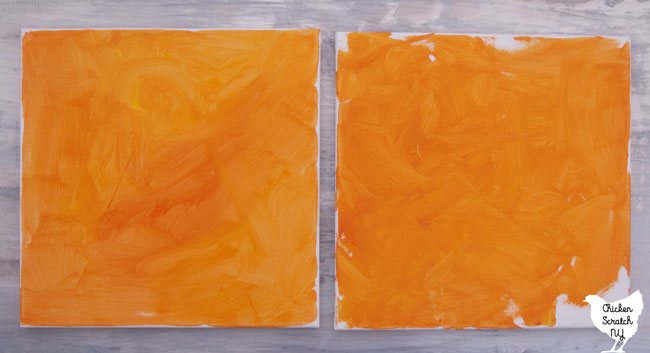
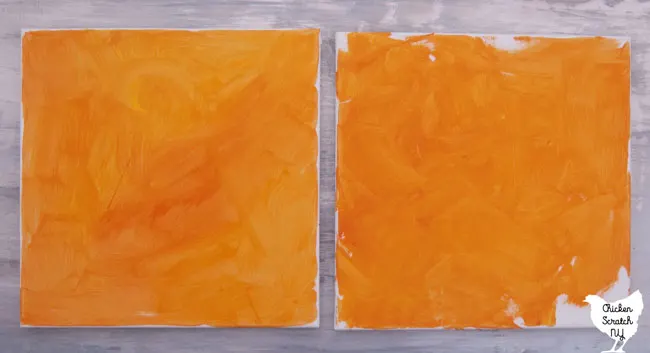
This is a fairly quick project, for the kids at least. They get their work out of the way in the beginning by painting the canvases.
I picked up three different tones of orange paint for this, as predicted Kat smeared hers all together. If you are doing this yourself or you just want to keep the colors separated you can do the colors one at a time and let them dry between.

I’ll be honest I’m thinking about making my own Painted Pumpkin Canvas, I think ‘Trick or Treat” would be adorable! I used the font Blackout for this, it’s available for free at Font Squirrel. I have a whole post about finding and legally using fonts if that’s the kind of thing you enjoy.
If you don’t hoard craft projects and you want to make this you can hand cut a pumpkin shape from vinyl or contact paper and add sticker letters at the end. I was going to go this route but I was disappointed at the sticker selection (and price, holy crap I need like 6 more jobs to pay for Halloween crafts…).
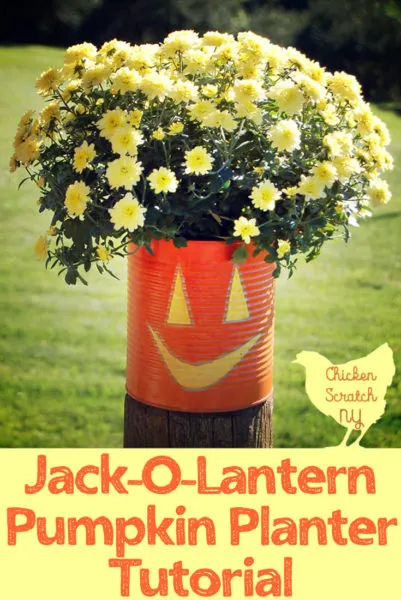
I have a tutorial on getting vinyl stencil-looking letters without a vinyl cutter and you can use the same process. I’m pretty lazy when it comes to last minute crafting and I free hand it quite often, that’s how my Jack-O-Lantern planters got their faces after all. That was one of the first projects Mary helped me with!
Painted Pumpkin Canvas Supplies:
? 12×12 Canvas (one per kid)
?Orange Craft Paint (I used three different tones)
? Pin or needle to remove the stencil (optional but will make life easier)
? Clear Top Coat Spray (optional)
? Black Sharpie to write date on the back (optional)
Instructions:
1. Squirt orange paint on a paper plate and let the kids go crazy. It took 5x longer for my kids to wash their hands after painting than it did to paint. It will take 5-10 minutes unless you have a tiny perfectionist.
I prefer to get my kids as naked as seasonally appropriate whenever we paint something but you do you.
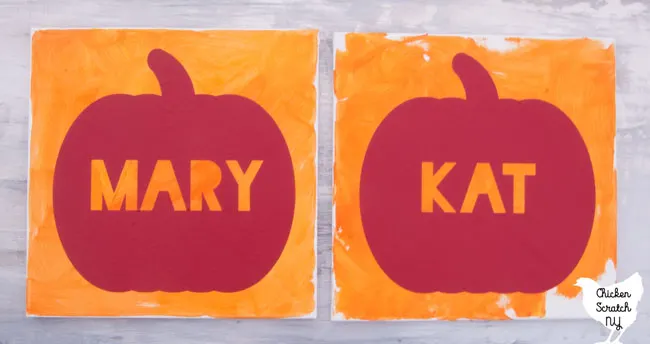
2. Set the canvases aside to dry and get your stencil ready. I ended up making my own and I’m sharing it with you!
Download the Pumpkin SVG File
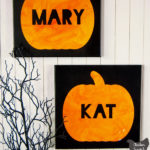
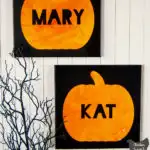
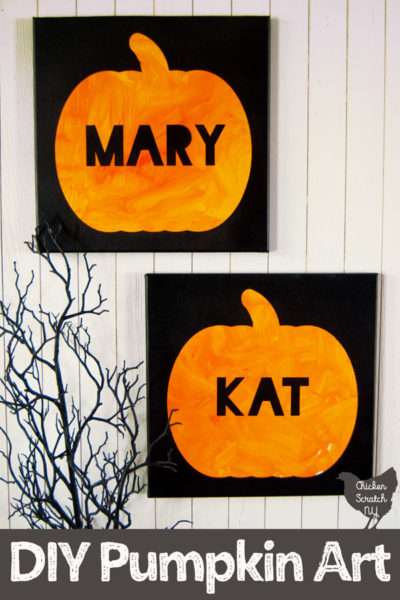
My canvas was 12×12 so I made the pumpkin 10×10 because I didn’t want to have a ton of empty black space around the pumpkin. I added the names in the Blackout font and cut them out of contact paper. My kids have short names so I could make the letters pretty big.
You could also do the year, a phrase, a face, etc. Anything you might put on a pumpkin!
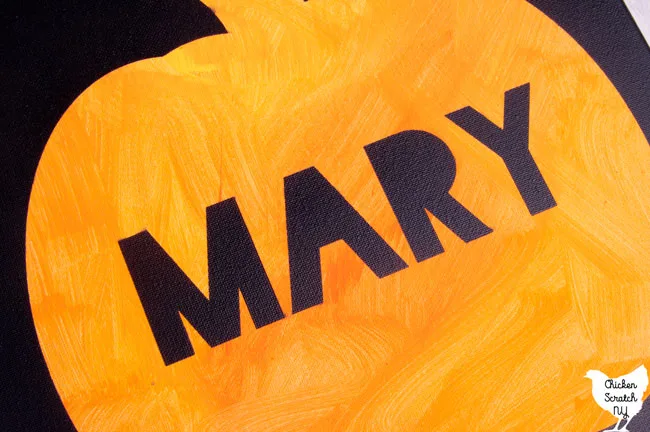
I didn’t bother using transfer tape, I just went carefully and slowly. Half the reason I picked the blackout font was the simplicity and lack of tiny pieces to keep track off. I also liked the graphic contract between the blocky black letters and the orange canvas.

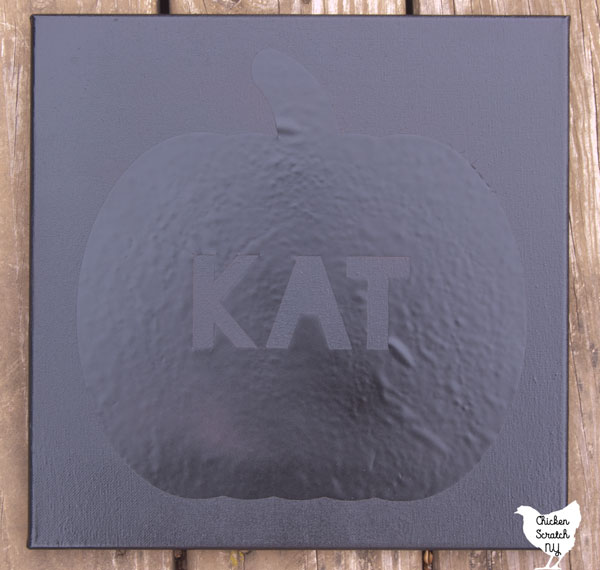
3. Smooth the pumpkin onto the canvas and take the show outside. Do a few light coats of paint instead of one mega saturation.
Vinyl doesn’t always stick that well to canvas so a dryer application will cut back on bleeding. Make sure you get the sides.
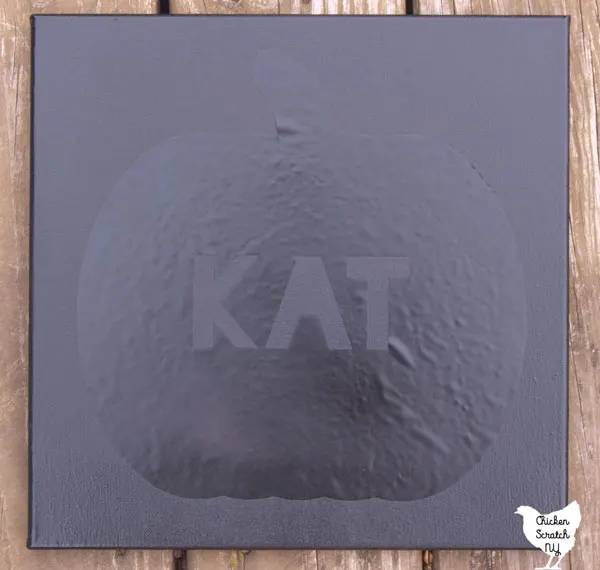
4. Use a pin to remove the stencil and let the paint dry completely.
5. Write the date on the back if you’re sentimental and hang up to show off you autumn spirit.
If you don’t have spray paint you can use regular black craft paint, just go easy to stop the bleeding. It was super windy when I painting by I won’t be ruled by the weather and I wanted to get something done so I did the spray paint any way.
Check out my Halloween page for more ideas or start here: