Fresh off the vine, still warm from the sun tomatoes are one of life’s greatest pleasures. Even better if you can wrap the little gems in Basil or cook them up with Rosemary & Oregano. So why not grow them together?
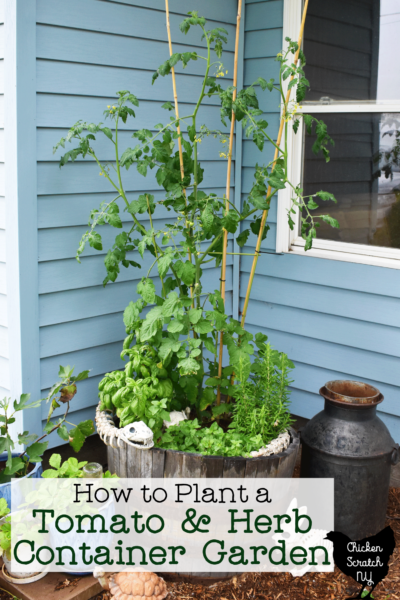

That’s exactly what I decided to do this summer. I usually keep a cherry tomato plant on the deck for late-night snacking but this year I kicked it up a notch with this Italian Herb & Tomato Container Garden.
Along with my tomato plant, I added Basil, Rosemary, and Oregano. Feel free to make it your own and plant what you love!
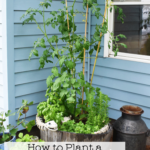
Setting Up an Herb & Tomato Container Garden
Before you even think about planting anything you need to make sure you’re setting up your plants for success.
You want to start out with a big container. I’m using a large 1/2 wine barrel from Lowe’s.
Larger containers are heavier and less likely to tip over in the wind. Tomato plants grow and grow and grow and can get pretty top-heavy, making a tumble even more likely.
Also, more soil means more room for water retention. Hot windy days can be a death sentence for plants, forget to water one day and it’s all over. That’s a huge part of why I avoid containers in general.
Speaking of soil, when you’re at the store make sure you’re grabbing a soil mix meant for containers. Container mix is formulated to hold water and stay light and uncompacted.
In the ground, you’d have earthworms to do that (when they’re done killing your onions) but that’s not really an option on the porch.
Half wine barrels are really big and require a lot of material to fill so I cheat and fill the base with dirty bedding from my alpacas, it’s mostly straw and poop.
Unlike most kinds of manure alpaca poop is low enough in nitrogen to be safe for plants without composting.
The last reason you’ll need a large container is that we’re putting a lot of plants in one pot. You want to make sure you have room for all of the roots to grow and some space between the plants.

It might look really empty when you first put the plants in but it’s going to fill in pretty quickly!
Planting Tomatoes in Containers
The main star of this show is the tomato, not only are they the tastiest (and most likely to be eaten on their own!) they’re also going to require the most work.
The basil, oregano, and rosemary are all grown for their leaves and as result, they’re always more or less ready to harvest. The tomatoes are going to require more care to get them to where you’re snacking away on the tasty morsels.
Tomatoes require a long growing season and are pretty much always grown from started plants or transplants. You can start your own or grab one from a local greenhouse.
When you transplant tomato plants you should bury them right up to the bottom set of leaves. Sometimes I’ll even pop off the bottom set of leaves if they’re looking a little rough.
Tomatoes will grow roots along the entire stem, you might have noticed in the garden that they’ll even start to put out roots if the plant flops over and the stem gets near the soil. More roots are always good!
You get more stability and the plant has a better chance at absorbing nutrients and water.
I have a whole post up on what to do if your tomatoes get leggy that goes into detail if you’re interested.
You’ll also need something to support your growing tomato plant. Make sure to add the trellis when you add the tomato so you don’t run the risk of damaging the plant later on.
You really don’t want to skip support for this. You really want the tomato growing up so it stays out of way of the basil and other herbs.
Plant the tomato toward the back of the container and add the trellis behind it, I used a metal trellis that my overeager cherry tomato outgrow in a month.
I ended up zip-tying a few bamboo stakes to the metal trellis to add support to the plant where it outgrew the trellis.
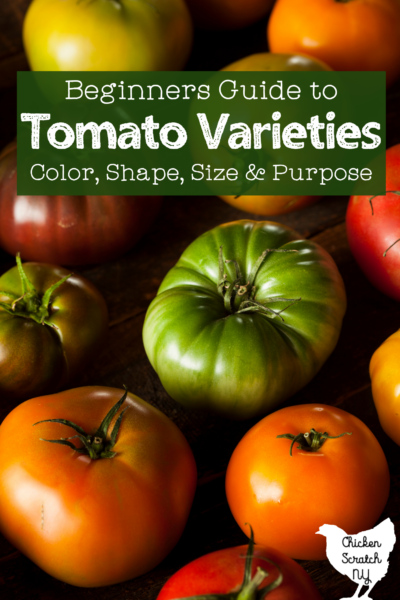
Best Tomatoes for Containers
There are hundreds of tomato varieties, if you’re starting your own from seed it could take several lifetimes to try them all out!
If you’re getting them from a greenhouse your options are going to be more limited but if you’re lucky you’ll still have a variety to choose from.
Read more about Tomato Varieties
While you can grow any type of tomato in this container set up I do have 2 pieces of advice.
If you want a larger, slicing tomato look for a bush or “determinate” type. Determinate tomatoes grow on thicker stems, they stay much smaller and work well in containers.
The smaller plants are easier to keep up with and don’t require pruning. They also tend to ripen all of their fruits around the same time.
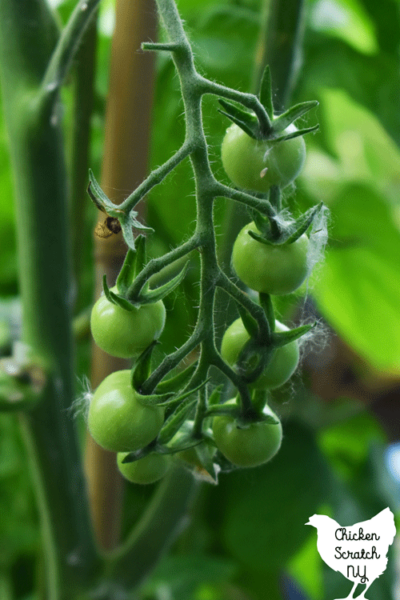

On the other hand, I think this kind of setup works really well for cherry tomatoes or any small-fruited variety of tomatoes. This year I planted a Sweet Aperitif tomato in my container, it’s an indeterminate variety that had giant clusters of slightly less than an inch wide tomatoes.
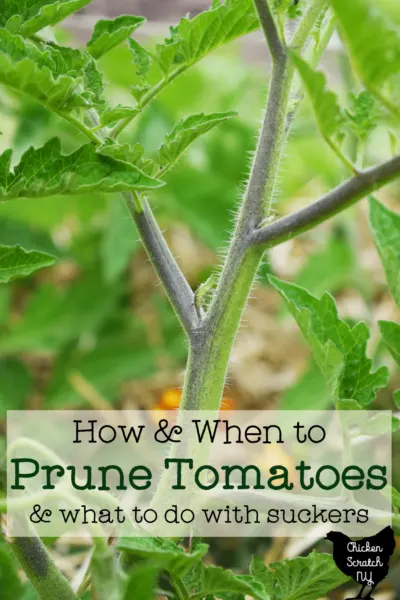
As the tomato grew up the trellis I removed the lowest leaves and removed the suckers to make room for the herbs at the base of the plant. I did let it branch a little bit and now I have a handful of stems but there is still a lot of room for air flow and sunlight.
Read all about Pruning Tomatoes & What to do with Suckers
My favorite tomato of all time is the Principe Bourghese, a semi-determinate tomato plant that puts out oodles of the best tasting golf-ball sized fruits. Traditionally used for sun-dried tomatoes they have a lot of flavor and are very meaty without a lot of juice.
The plants are aggressive growers and you’ll want to keep up on your pruning but you can’t beat them for flavor!
Adding Herbs to the Tomato Container Garden
As much fun as it is to grow a tomato in a container, the herbs are really what take this to the next level.
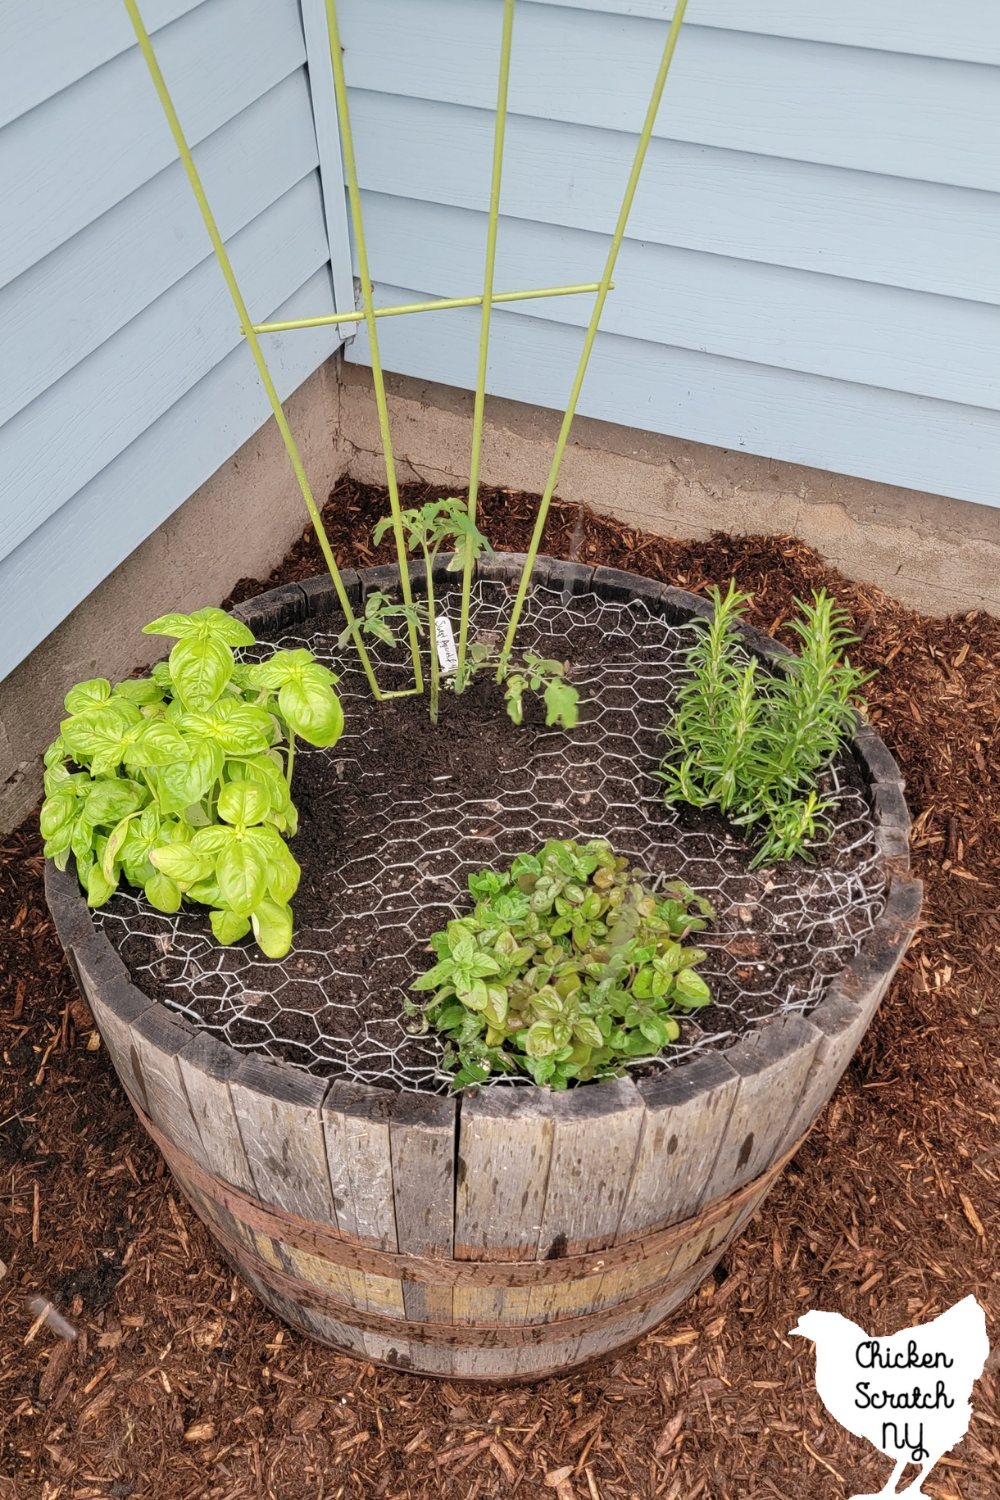
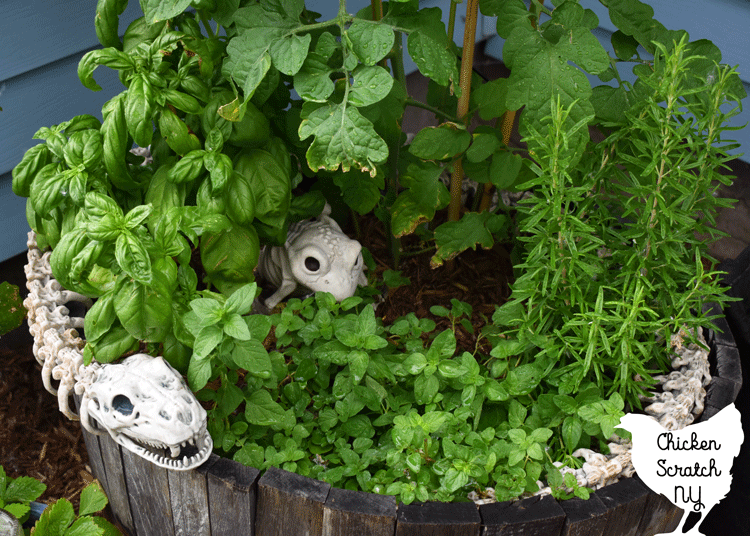
The three herbs I used take up quite a bit of space, I added basil (actually a supermarket potted basil that was 2/3 of the way dead when we bought it!), a rosemary plant, and an oregano plant.
Everything is very green, if you wanted to break that up you could plant purple basil or swap out one of the herbs for a flower. I like to plant marigolds with my tomatoes and one would look really pretty in place of one of the herbs.
I placed the basil and the rosemary to the sides of the tomato where the vertical growth will have extra room and I put the oregano in the front where its low growth habit will shade the soil but not really interfere with anything else.

Where I live both the basil and the rosemary wouldn’t survive the cold winter but keeping it near the house in a container will give me a little bit of space to keep them going longer.
I might even dig up the rosemary and bring it inside (I’ll probably remember this plan 24 hours after the first killing frost…).
The oregano is right on the border of winter survival in the ground but it’s most likely going to die in a container. Oregano is a vigorous spreader and it’s not exactly something I want to battle for the rest of my life in the garden beds so I’m happy to keep it under control.
Basil and oregano both respond really well to frequent picking, the more you pick the bushier they’ll grow. If you pinch off the top it signals the plant to put out more side shoots.
Pinch (or snip) back to just above a set of leaves, you should see small leaves starting to grow right above a larger set. My oregano didn’t seem to grow much at all then I blinked and it had tripled in size.
Container Garden Maintenence
Once you’ve got your plants planted I highly recommend mulching around your plants with something organic and food safe. I use straw mulch in my garden but for this container, I used natural wood chips.
Technically my chickens are fenced into the backyard but I have a few that disrespect my wishes and enjoy murdering my plants so I added a layer of chicken wire between the soil and the mulch, cutting small holes for all the plants.


It was a pain in the butt, but it’s July and my plants are thriving so I think it was worth it!
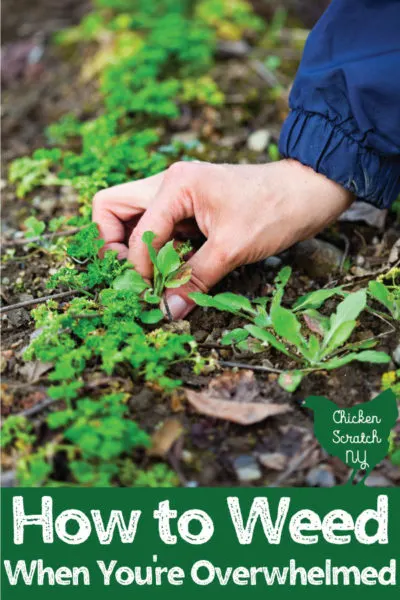
Not only is the mulch more attractive than bare soil, but it will also cut back or eliminate any weeds from air-borne seeds and maintain the soil moisture by cutting down on evaporation.
Water is key for growing anything, especially tomatoes. If your tomatoes are thirsty (among other issues!) you might end up fighting with blossom end rot.
Blossom end rot is technically caused by a lack of calcium but if your tomatoes aren’t getting enough water all the calcium in the world won’t make it into the plants.
Along with consistent watering, you need to keep up with fertilizing your tomato container garden. This is a pretty intensely planted container and you’ve got quite a few plants sucking up whatever they can.
This is especially true in really rainy seasons, lots of rain and watering will flush all of the nutrients out of the soil.
I use Tomato-tone for my tomato plants, both in the garden and in this container. It’s specifically formulated for tomatoes, it has higher calcium and potassium and slightly less nitrogen than generic garden fertilizers.
The label recommends 1.5 tablespoons for a 12″ diameter tomato pot which isn’t exactly helpful for the giant wine barrel. Instead, I aim for about 2 tablespoons of fertilizer every 2 weeks.
I’ll be honest, I’m much better about keeping this one fertilized than the plants in my garden. It’s hard to find an excuse not to when it’s literally 1 step out the front door!
The only other fertilizer I use is fish emulsion, which is a disgusting liquid you dilute in water. It smells like death but it makes plants very, very happy!
I water with nasty fish water about once a month, usually when enough time has passed that I don’t think it smells that bad.
I would love to see your tomato & herb container gardens! Tag me on Instagram @AleciaCSNY or send me a DM
Check out my Vegetable Garden page for more ideas or start here: