

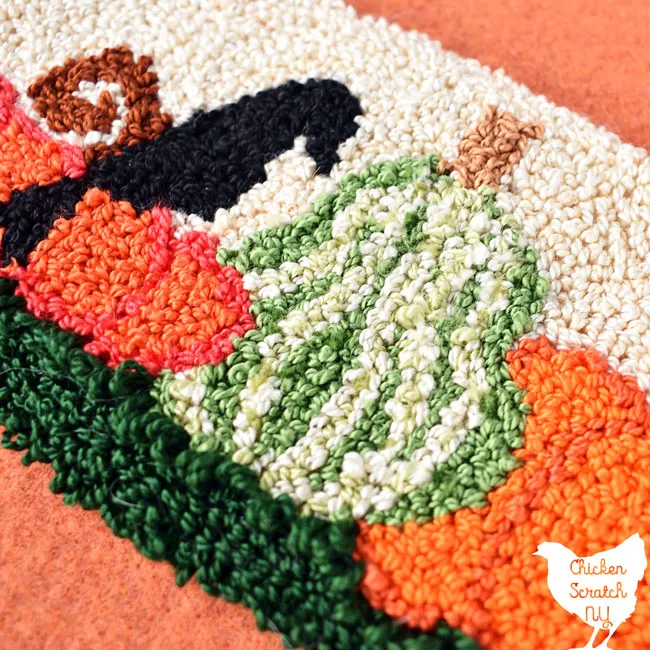
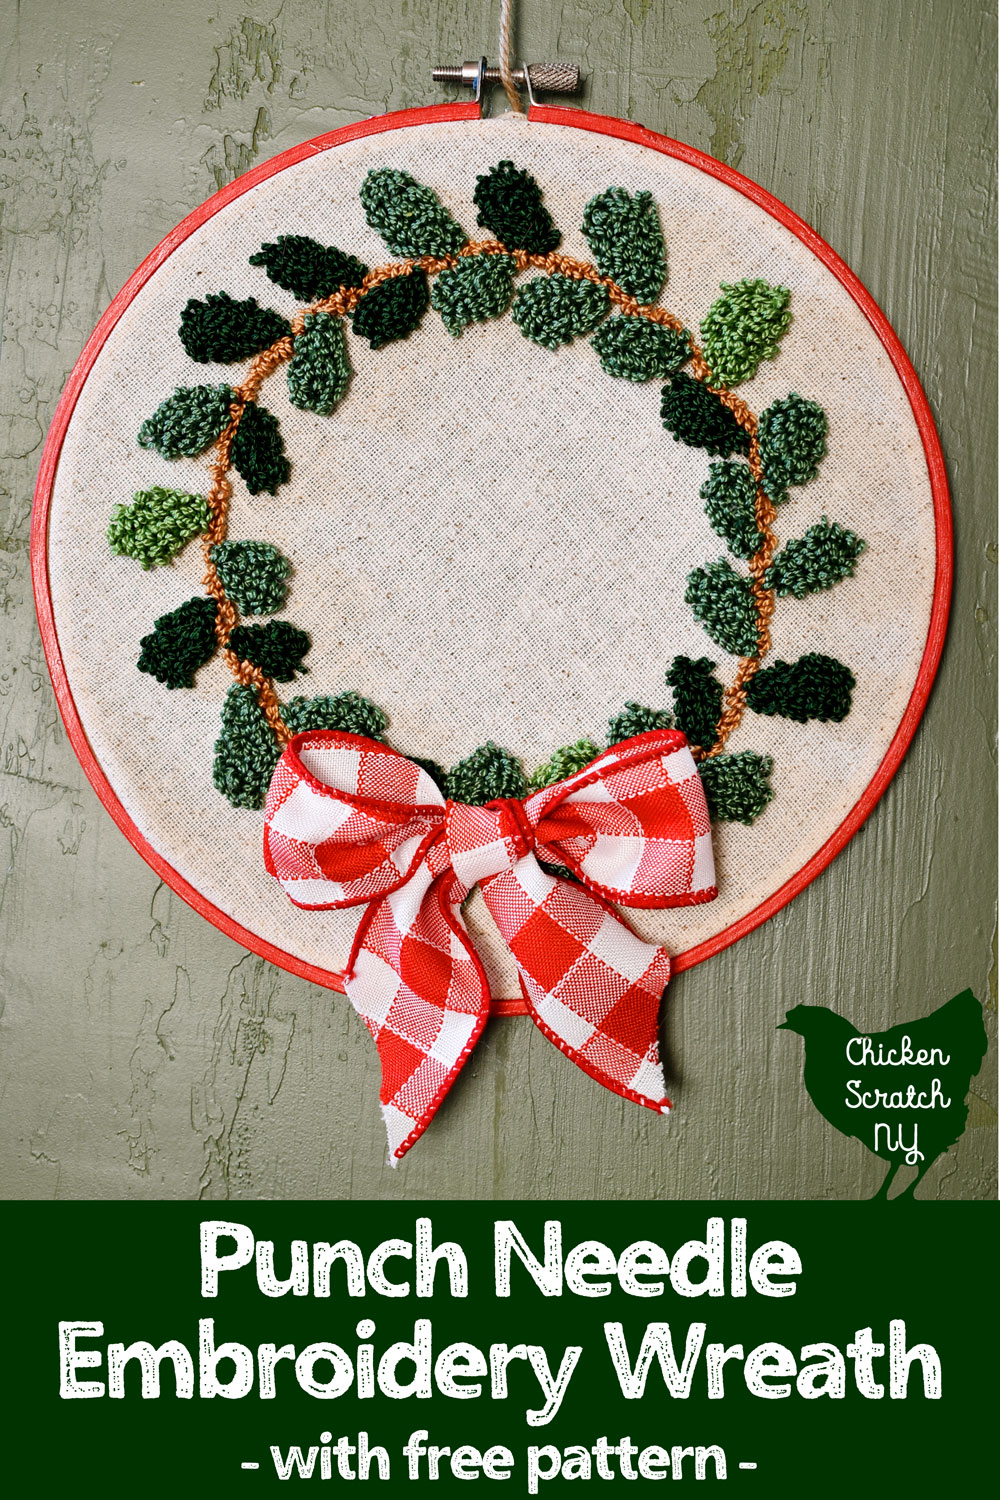
Get ready to get stabby with your new favorite craft! Punch needle embroidery is easy to learn and fun to master

There’s a new love in my life. I recently discovered the magical world of punch needle embroidery. It’s a pretty old school needle craft that has a lot going for it.
Why Punch Needle Embroidery Should be Your New Hobby
1 – It’s really cheap as far as crafting hobbies go. The only spendy parts are the embroidery pen or punch needle and a hoop. Embroidery floss is very inexpensive and you hardly use any fabric at all.
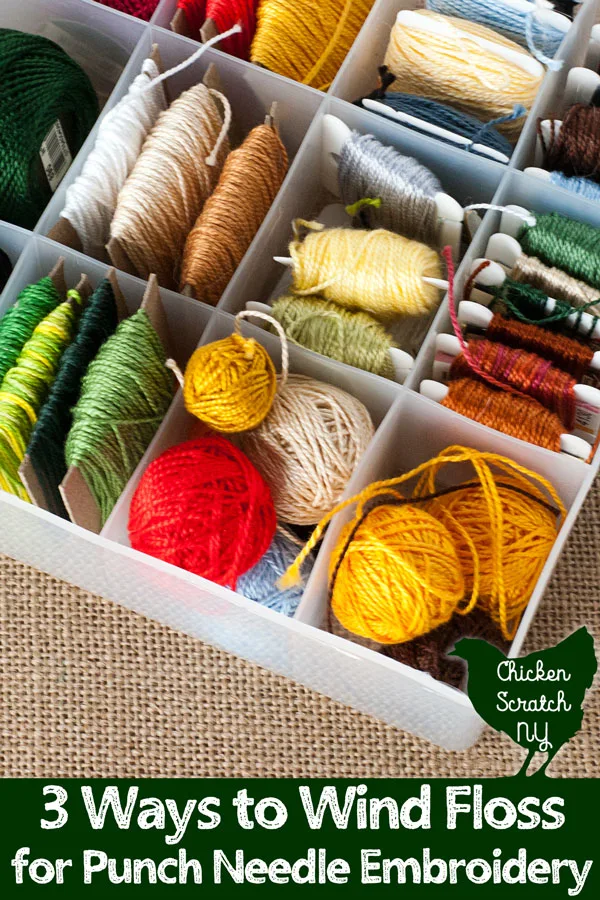
2 – It doesn’t take up a whole lot of space, you can store everything you need in a small box. I use one of the shoe box style craft containers from Michael’s. I also keep my floss in a plastic case when I’m feeling organized.

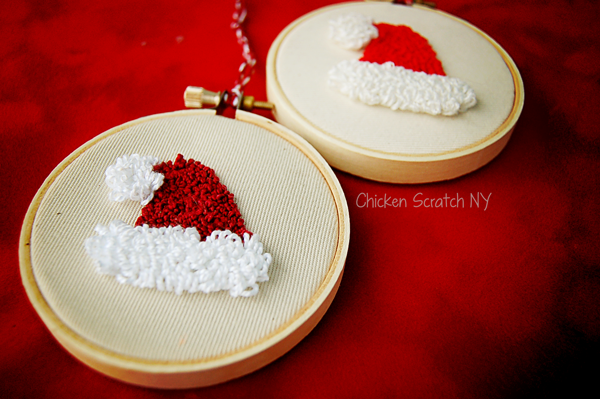
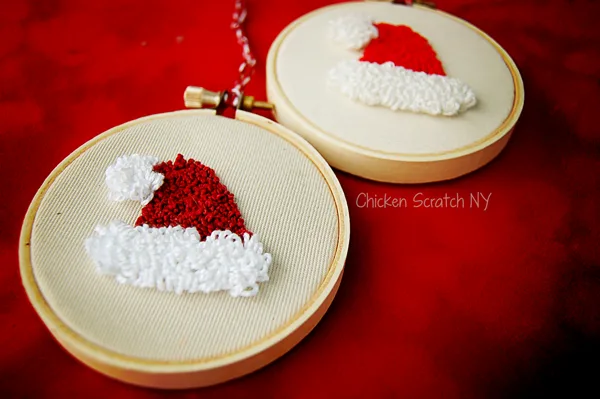
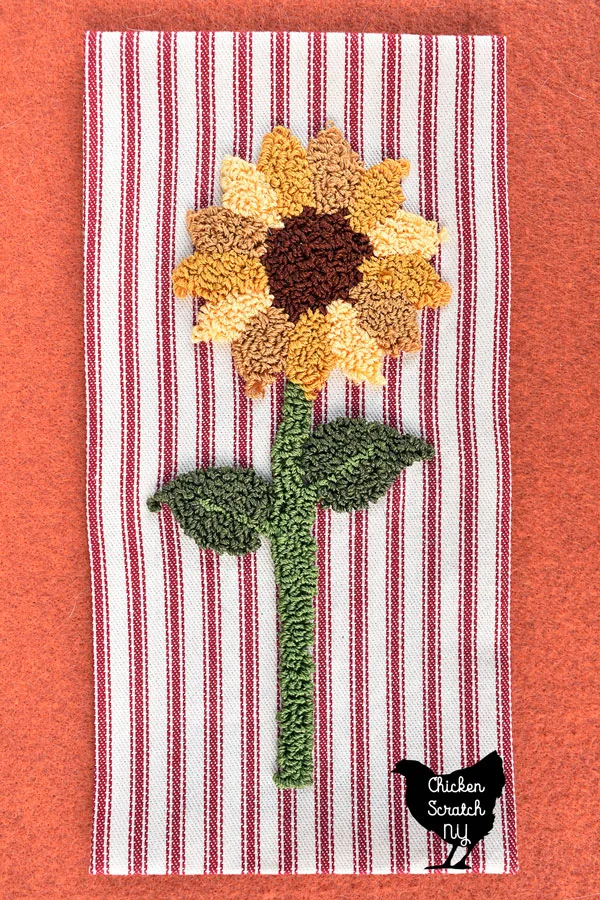
3 – The finished pieces are small and easier to store than say, painted buffets. It’s easy to frame them or put them in a hoop like my ornaments.
4 – The learning curve is small, you can pick it up in an afternoon.
And if you go… years without picking it up you can jump right back in without missing a beat.
5 – The finished pieces make great gifts. You can easily swap colors to make things personalized.
6 – It’s easy to do sitting on the couch and hanging out with the family.
7 – The possibilities are endless. You don’t need a pattern but even if you use one there is an infinite number of ways to switch it up and make it your own.
Are you convinced? Either way stick with me to the end of this crash course in punch needle embroidery basics and you might find yourself in the mood for some punching.
What is Punch Needle?

Punch needle embroidery is one of those ‘old’ crafts that maybe your grandmother or great-grandmother did.
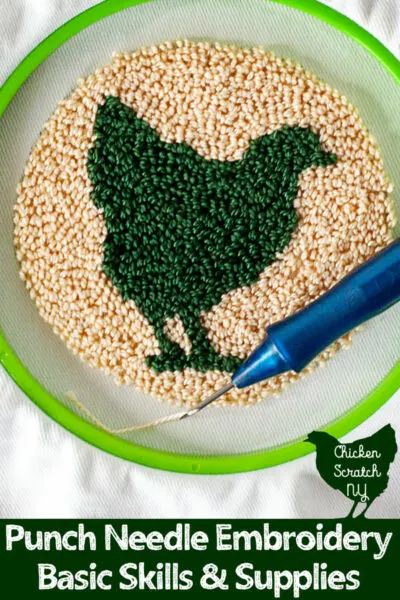
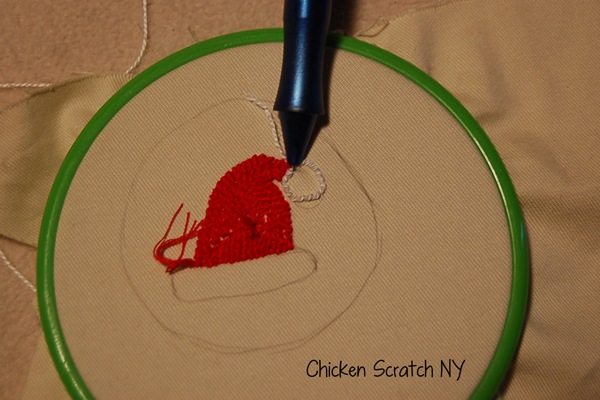
It uses a pen-like needle with thread running through the middle (where the ink would go) to make loops in a piece of tightly hooped fabric.
You work from the back of the fabric, push the needle through and pull it out through the same hole, move a little bit, and repeat leaving a line of loops on the right side of the fabric.
The needle separates the threads in the base fabric making a hole for the thread to go through and when you pull the needle out the hole closes around the thread leaving a loop on the right side.
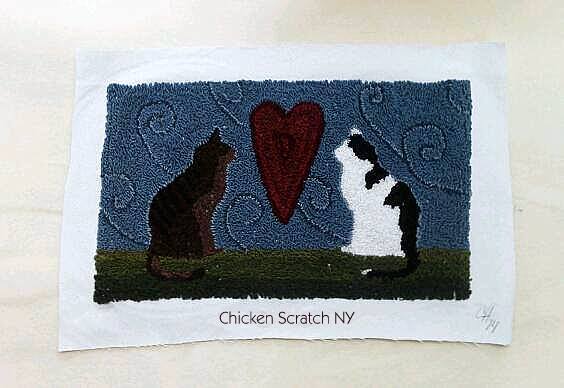
If your base fabric is too loosely woven your loops will fall right out. The terrible cellphone picture above is my first punched piece.
I made it for my boss, the white kitty (Mister) was our work kitty until he passed away and then she adopted Honey, the brown striped kitty. She couldn’t take a picture of the two of them together so I made one.
Punch Needle Supplies:
Ultra Punch Needle Set (needle + threader)
Obviously, you’ll need a punch needle to get started. I exclusively use an Ultra Punch.
I have 3 or 4 of them at this point which is serious overkill but nice when I’m working on complicated designs and don’t want to keep switching threads back and forth.

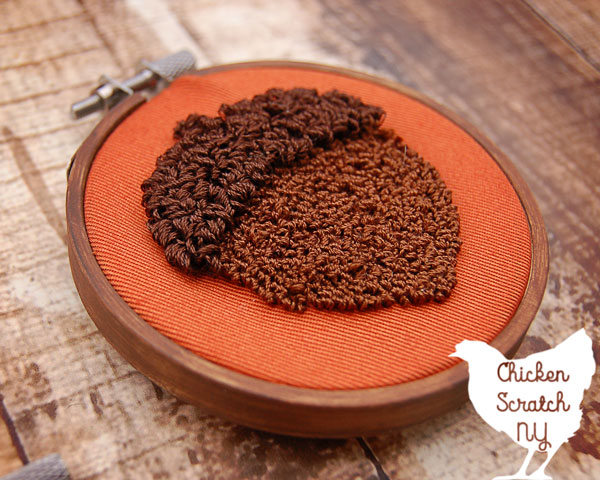
I really like the Ultra Punch because you can set the loop height by twisting the handle into numbered slots. Most of my designs are fairly simple in terms of colors and I like adding a bit of texture with different loop heights.
I bought a cheaper punch needle on Amazon and it sliced through the fabric instead of pushing apart the threads. Saving the money was not worth the headache!
Locking Embroidery Hoop
You need your fabric to be very taut for punch needle. The easiest and most accessible way is with a locking embroidery hoop.
Michael’s used to carry amazing hoops but they’ve discontinued them in favor of… garbage. Instead, I recommend this set of locking embroidery hoops from Amazon.

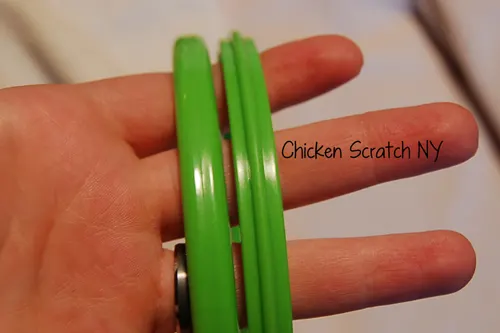
Make sure they have the locking rim, the outer hoop has a groove that the inner hoop fits into.
The two-piece hoops Michael’s carries, with an inner metal ring that squeezes into a plastic outer hoop, will not work. You can not get them tight enough to hold the fabric and they will
I bought a Spinning Gripper Frame from The Old Tattered Flag for larger designs. There is a learning curve and I’ll be honest I still find the hoops easier to work with.
It turns out I rotate my hoops a lot when I work and the large size of the frame makes that harder, especially if the perfect angle doesn’t coordinate with one of the
Embroidery floss
When it comes to switching things up, your best bet for a new look is changing out the thread.
You don’t have many options for different stitches so picking a variegated, metallic, or fluffy thread will change the texture and look of your work.
The most common thread used for punch needle is standard 6-stand embroidery floss, regular DMC from the craft store works great!
I prefer the look of Size 5 Pearl cotton but it’s not available in as many colors as the regular six-strand embroidery floss. It has a chunkier texture that I prefer.
When I’m using the regular embroidery floss I never separate it, I use all six strands at once but you can split it up for more detailed work.
DMC is the most common brand and the eaiser to get a hold of, it’s available at Michael’s and Joann’s. It’s pretty cheap and if you catch it on sale you can stock up for pretty cheap.
There are other options like Valdani, which is a Canadian brand that makes absolutely gorgeous thread. Their variegated threads are the things dreams are made of!
You’ll have the best luck tracking down their threads on Etsy.
Fabric
You’re supposed to use weavers cloth but I never have. I do all of my needle punching in scraps I bring home from work, usually a poly-cotton twill or denim.

You want a sturdy fabric with a little stretch that will hold the loops in place. If you want to do it the right way you should probably track some down.
Punch Needle Patterns:
To be honest you don’t need a pattern. But most of us do better with some type of guideline so they are a good thing to have.


I like to do a rough sketch on the fabric itself and make up the rest as I go along. If you like more structure you can start with a purchased pattern or do a quick search on Pinterest for “Free Punch Needle Patterns“
You can also buy patterns pre-drawn on fabric (sometimes even with thread) from sellers on Etsy or from The Old Tattered Flag.
How to Transfer a Paper Pattern
Now that you have the pattern all printed off it’s time to get it onto your fabric. I use the window method because it doesn’t require any additional supplies.

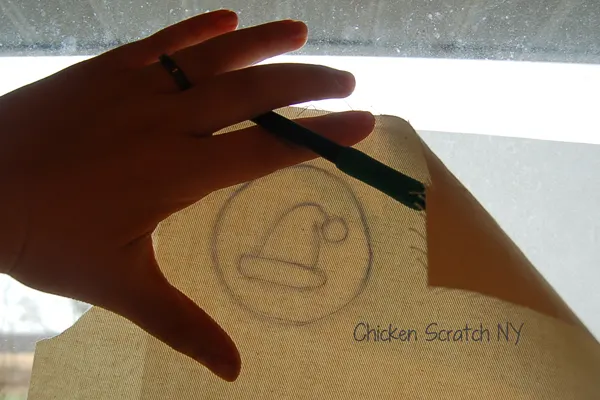
The easiest way is to hold the pattern against the window, place your fabric over it, and lightly trace with a pencil or pen. I like to use Frixion pens, the ink disappears with heat (almost always) so if it shows through the front it’s easy to get rid of.
You can also tape the pattern to the window, you can even tape the fabric to the window.
For more complex designs, I like to hoop the fabric, pin the pattern to the back, and then hold the whole thing up to the window.
The other option is a light table, I’ve seen a few tutorials for those online but I haven’t found the need to make or use one yet.
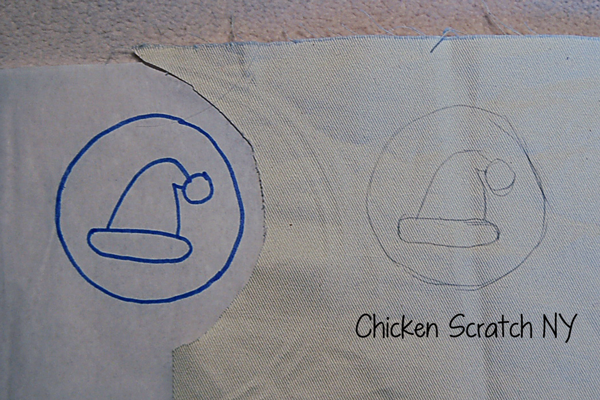

With punch needle you’re working from the back so trace your pattern onto the wrong side of the fabric. It’s also important to make sure any words are backward so when you flip it to the front it’s correct.
How to do Punch Needle Embroidery:
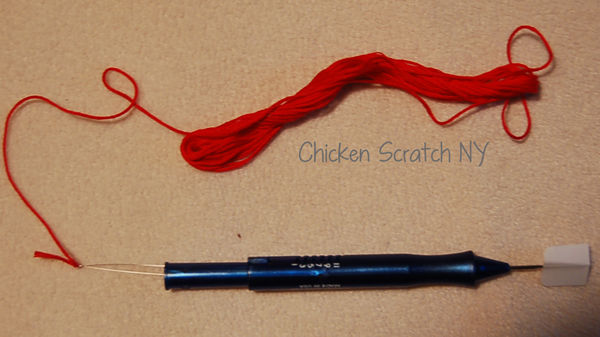
1 – Thread the needle using the threader that comes with your punch. These things are basically invisible and you will lose them constantly. I take a piece of bright-colored duck tape and stick it to the end.
I do a lot of punching in bed and I can’t keep track of the threader to save my life. Adding a giant flag definitely helps.

2 – Insert the threader down through the needle, place the thread in the loop, and pull it out. There is a tiny loop at the bottom of the threader that will hold the thread without slipping

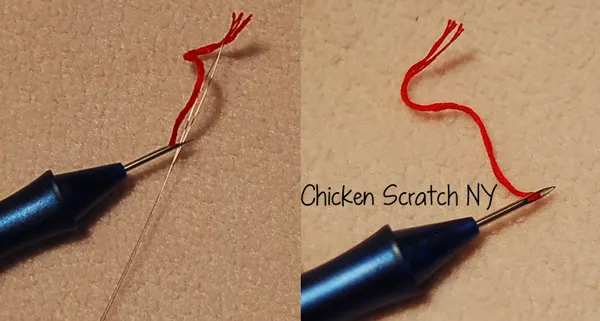
3 – Remove the thread from the threader and place the threader through the hole in the needle.
Put the thread back into the threader and pull it through the hole. Remove the threader and put it somewhere you absolutely will not lose it.
4 – Pull the thread back through the tool until you’ve got about an inch or a little more sticking out past the hole
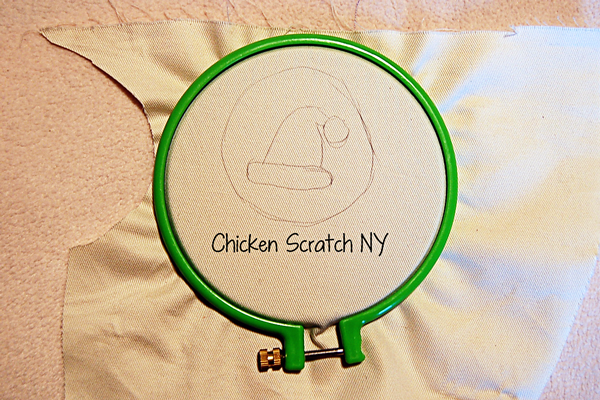
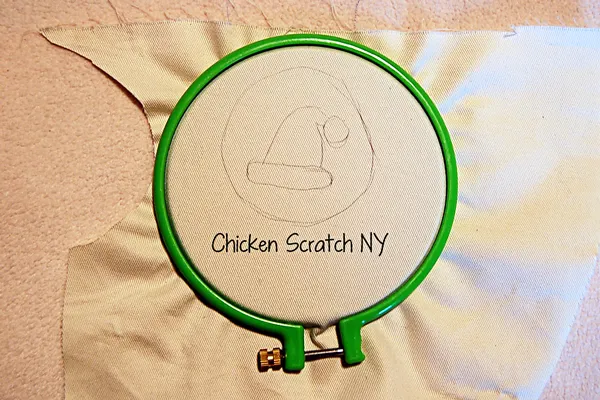
5 – If you’re using a pattern now is the time to transfer it to your fabric (I explained one method in the Punch Needle Patterns section above).
Place the inner ring of the hoop on the table, center your fabric over it and apply the top ring, turn the screw to tighten.
It has to be pretty loose to fit over the ridge on the inner ring so you’re going to have to tighten it a lot. Make sure all the edges are captured in the hoop

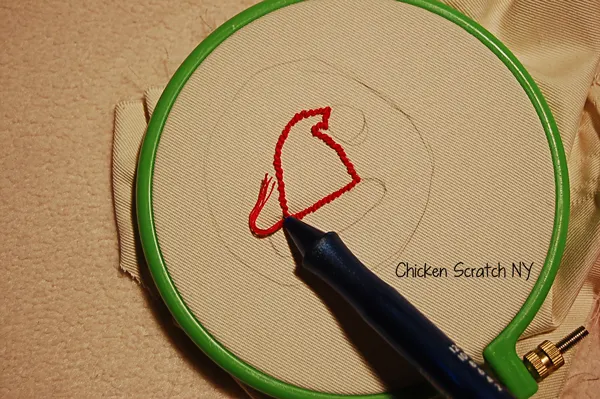
6 – Start by outlining the part you’re going to work on. I like to fill in the smaller details and then move out to fill in the bigger sections.
You are literally going to stab the needle through the fabric until the plastic nose is resting against the fabric.
It makes a little thunk sound with each stitch. Pull the needle out just until the tip of the needle is free and then move down about an eighth of an inch. I always work towards myself, rotating the hoop as I go.
If you’re working towards yourself the hole in the needle should be facing away from you. I find that there is a ‘sweet spot’ where the needle goes in evenly and it doesn’t kill your hand.

7 – When it’s time to stop working a color put your finger on top of the thread right where it’s coming out of the needle, pull the needle out, and clip the thread. You don’t need to tie any knots or anything. Re-thread and start the next color
8 – When you’ve filled in all the areas and you’re done flip over your work. Take a pair of clippers and shear off any loops sticking up too far.
If this all sounds confusing (it sounds harder than it is) there are a bunch of videos on Youtube that show you step-by-step how to do punch needle embroidery. Here is one I like: Just Keep Stitching Punch Needle Tutorial.
Check out my Punch Needle Embroidery page for more ideas or start here:


Friday 8th of December 2023
Kind of a crazy question, could i use embroidery kits (for regular needle embroidery) and use a punch needle?
Alecia
Saturday 9th of December 2023
It would depend on the fabric, punch needle won't work in cross stich aida cloth (the holes are too big to hold onto the fabric). I've punched in all sorts of fabric just to see if it works so if you already have one on hand it's worth a shot
Maria
Saturday 11th of November 2023
I like this 😍😍am excited to learn punch needle
Glenna
Friday 20th of August 2021
I'm trying to punch after 25 years on a different materials. 50.50 my stitches will not stay in, before I need shirts for the kids with interfacing on back. Help
Nan
Wednesday 18th of March 2020
How long do punch needles last?
Ema lina
Friday 13th of December 2019
Thank you. Really want to start now.