

‘Tis the season for festive creativity, and what better way to embrace the holiday spirit than by crafting your own mini Christmas trees using affordable supplies from the dollar store?

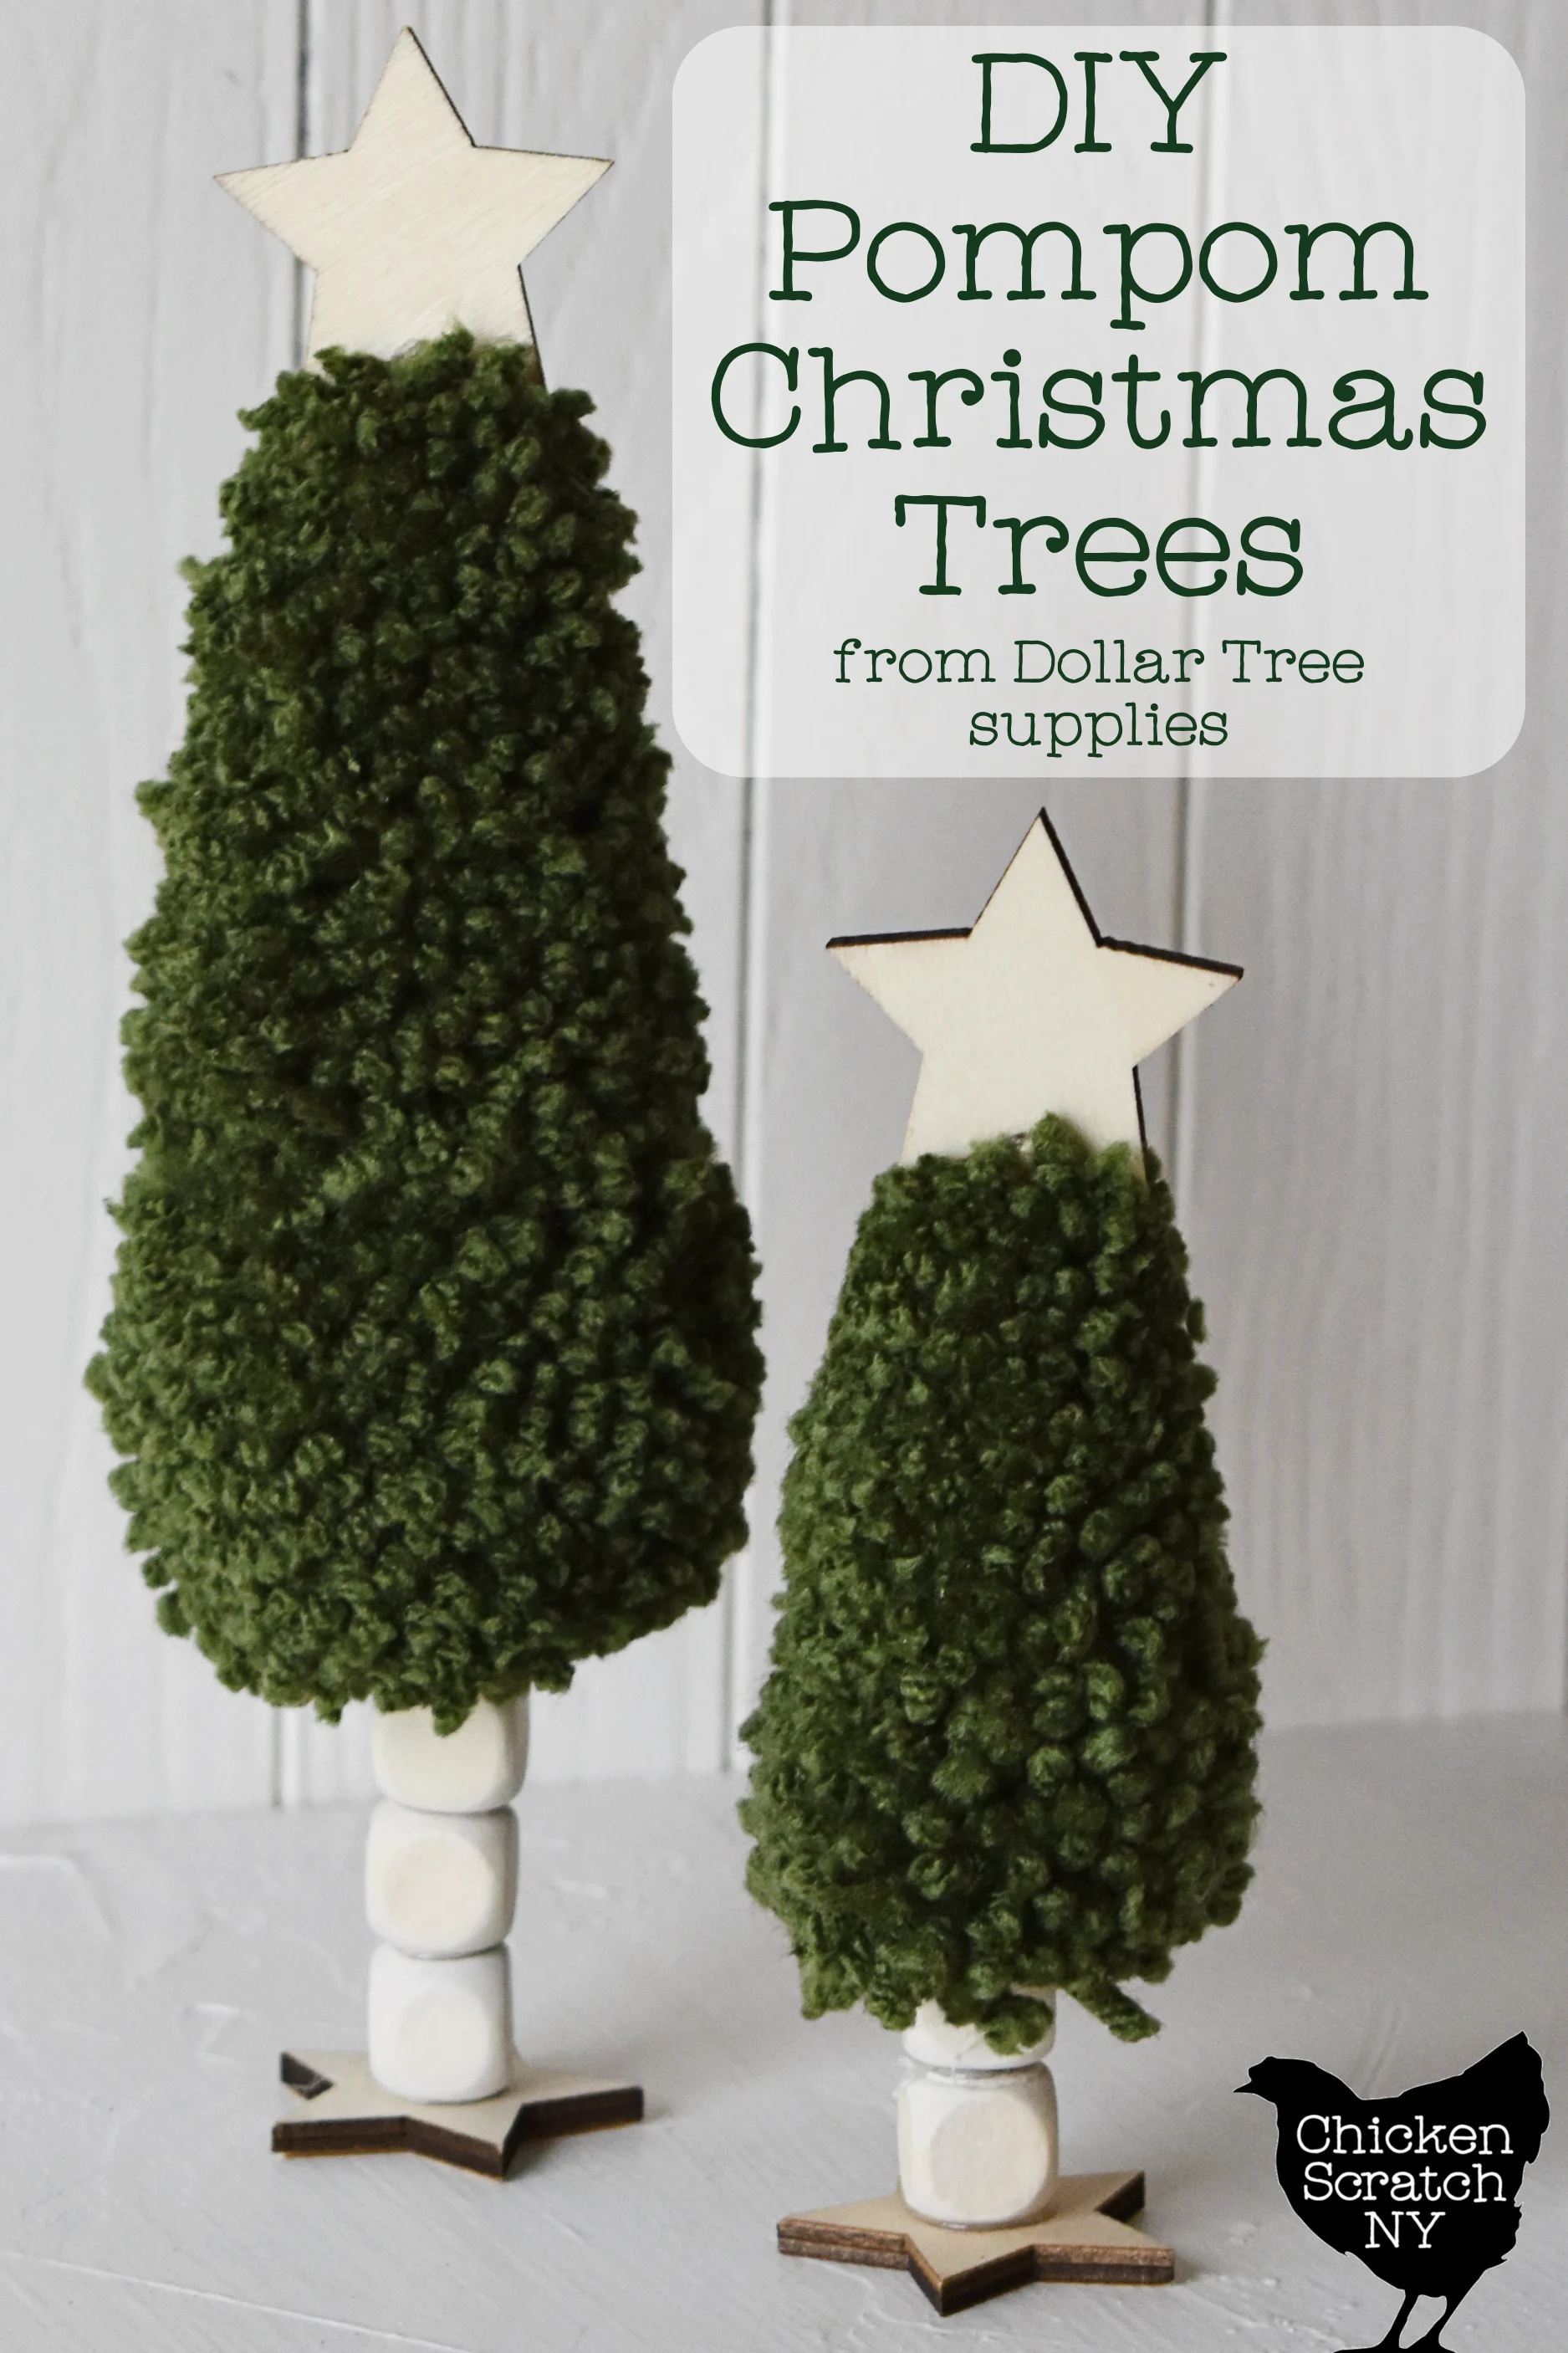
With a dash of imagination and a handful of dollar store finds, we’ll transform ordinary materials into enchanting miniature Christmas trees!
I planned to make this a 100% Dollar Tree craft and I ended up about 75% percent there. Despite being on their website I’ve never seen green yarn in a Dollar Tree store.
These trees would be cute in all white, but that wasn’t the vibe I wanted so I headed to Michael’s and picked up a skein of Loops & Threads Soft Classic in Leaf Green.
You don’t need fancy yarn for this, in my opinion, the cheap acrylic (think Read Heart Super Saver that everyone’s great aunt uses to make afghans) makes the best pompoms.
You can get a lot of pompoms from one skein, especially the little guys!


Another non-DT item I used was Venetian Gold Dazzling Metallic paint, I’m not a huge gold person and I’ve had the same lonely bottle in my craft stash for years and it needed some love.
Unlike green yarn, Dollar Tree does sell gold paint so you can pick that up in-store if you aren’t a craft hoarder and if you prefer a shinier look than natural wood.
When it comes to tools we’re 50/50 on DT availability, you’ll need a hot glue gun & a pair of sharp scissors. I’ve been on a pompom-making spree and everyone I’ve made without my Kai scissors has been a struggle.
Dollar Tree Shopping List:
Once you’ve got your yarn, hot glue gun, and scissors it’s time to head to your local Dollar Tree to grab:

- Small Wooden Star Shapes (Christmas craft section, 14 per pack)
- Square Wooden Beads (craft section, 27″ garland)
- Pom Pom Makers* (craft section, 2 pack, blue & pink)
- Bamboo Skewers (kitchen supplies, 100 pack)
*If you plan to make a lot of pompoms you might want to buy a set of Clover Pompom Makers, they’re more expensive but the plastic is thicker so the arms don’t bend and I’ve never had them fall apart.
DIY Mini Christmas Trees
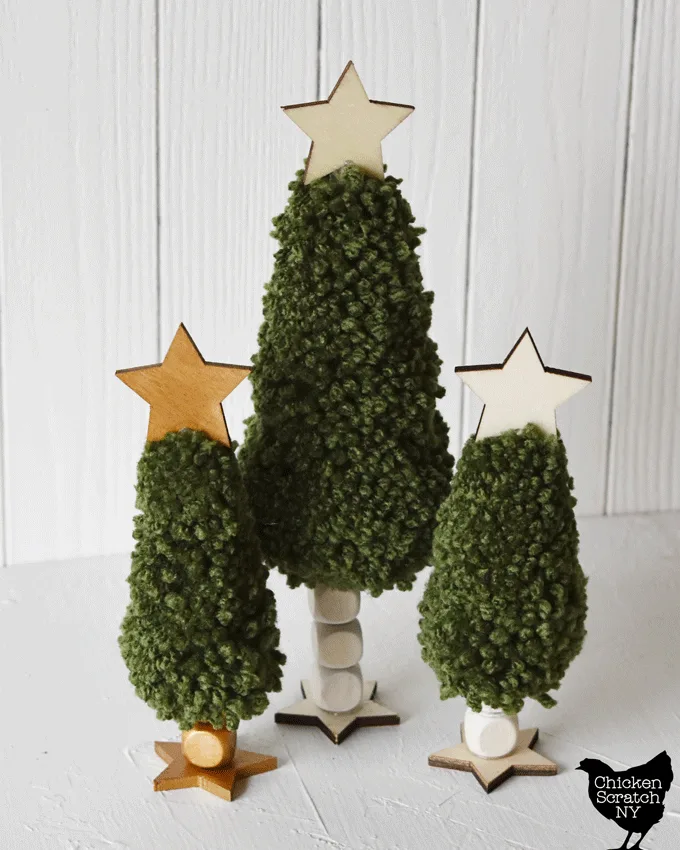
'Tis the season for festive creativity, and what better way to embrace the holiday spirit than by crafting your own mini Christmas trees using affordable supplies from the dollar store?
Materials
- Green Basic Acrylic Yarn
- Large Hole Square Wooden Beads*
- 1.5" Wooden Stars*
- Bamboo Skewer*
- Gold Pain
Tools
- Small, Medium & Large Pompom makers*
- Hot Glue Gun
- Sharp Scissors
Instructions
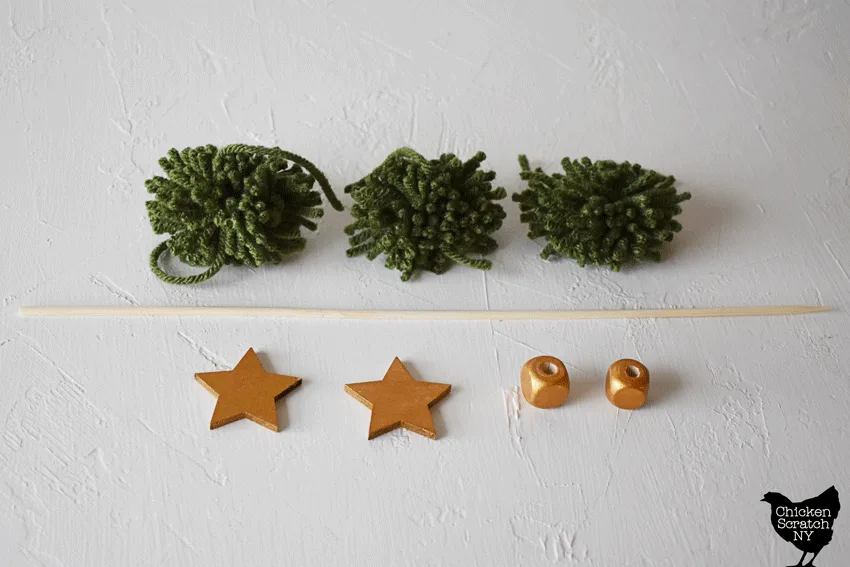
- Make pompoms (don't worry about trimming them yet):
Small Tree: 2 sm, 1 md
Large Tree: 1 sm, 2 med, 1 lg - Paint two stars and two beads [small tree] or 4 beards [large tree] gold for each tree and allow to dry (or leave natural)

 Hot glue the beads on top of each other to the base star
- Add an extra dollop of glue and shove the non-pointy end of the skewer into the beads, hold the skewer straight until the glue has set or your tree will lean!
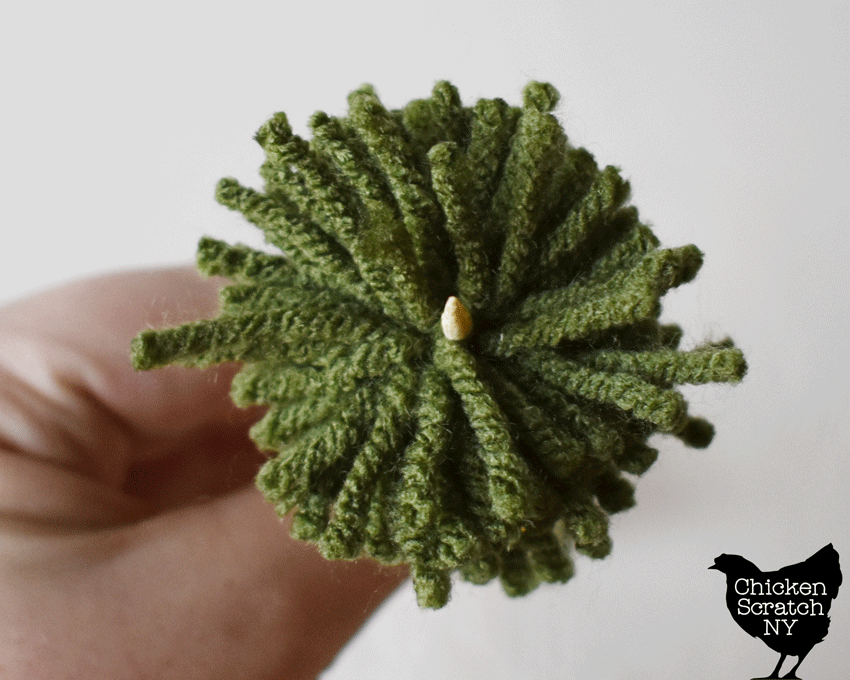
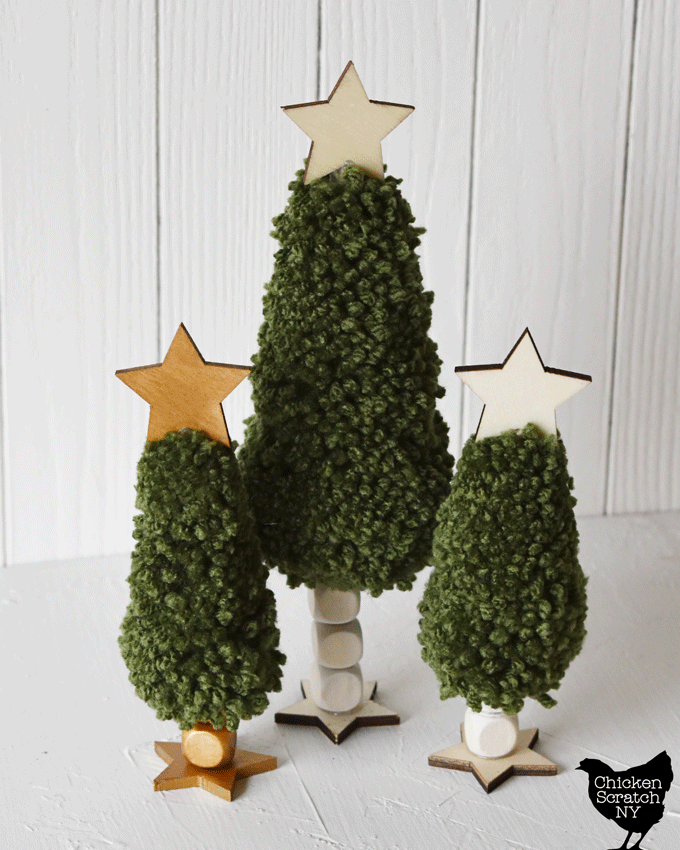
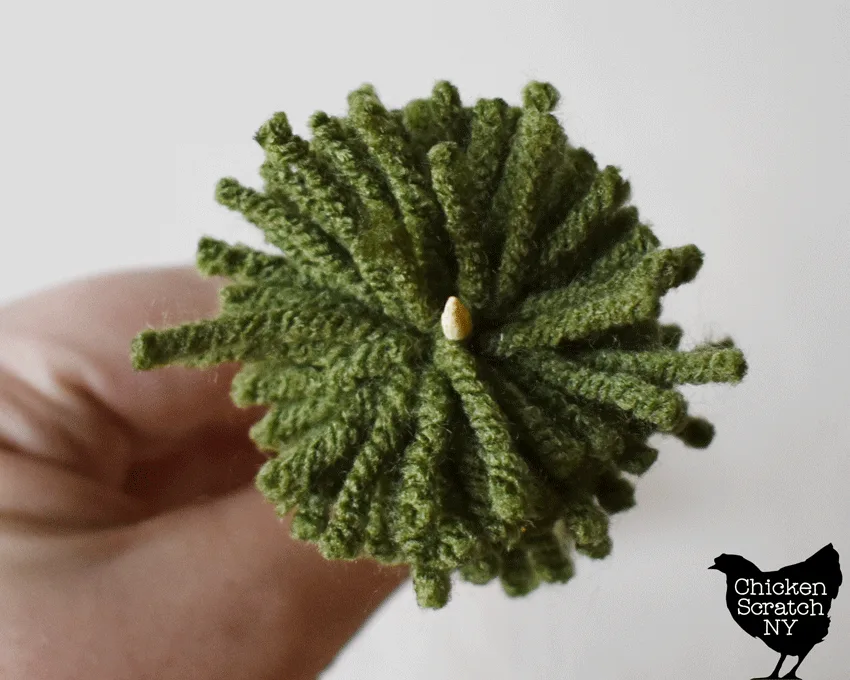 Slide the pompoms onto the skewer with the large one at the bottom and the small ones on top, make sure you're going through the center knot of the pompom
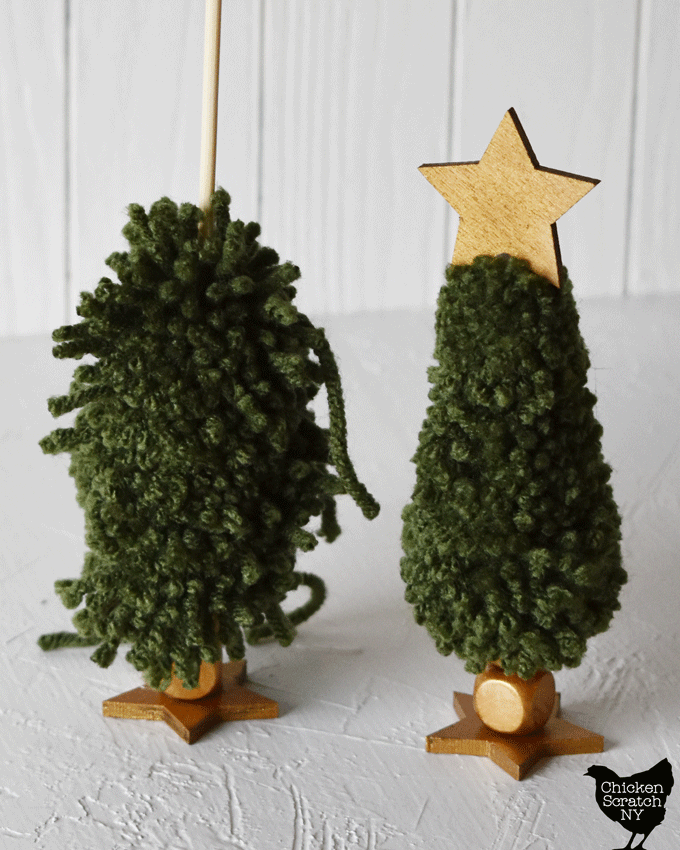
 Adjust the pompoms and use the scissors to trim them into a cone/tree-shape
- Snap off the skewer (you can use your fingers for this) at the top of the tree
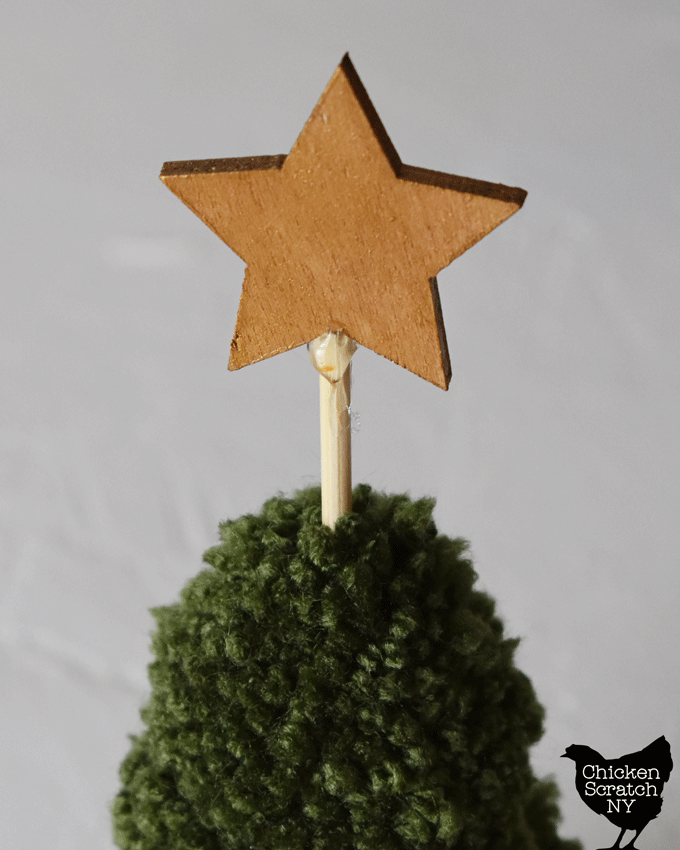
 Push the pompoms down and hot glue the second star to the top
- When the glue is set fluff up the tree to hide any extra glue at the top
Notes
*find these supplies at the Dollar Tree with the Christmas craft supplies, regular craft section, and in the kitchen section
How to Use a Plastic PomPom Maker
Making pompoms is the perfect craft for non-crafty people. It doesn’t take any real skill or patience and there is really only one thing you can screw up.
My kids LOVE making pompoms and are the reason I have an almost obscene number of pompom makers (and pompoms) in my home.
The best ones I’ve used are from Clover and unfortunately, they’re the most expensive, but if you can catch a sale or use a coupon it’s worth it.
Cheaper ones (both random Amazon finds and from Dollar Tree) are made with thinner plastic that bends when you wrap the arms no matter how loosely you work.
I’ve also had issues with the little arms popping off which is very annoying.
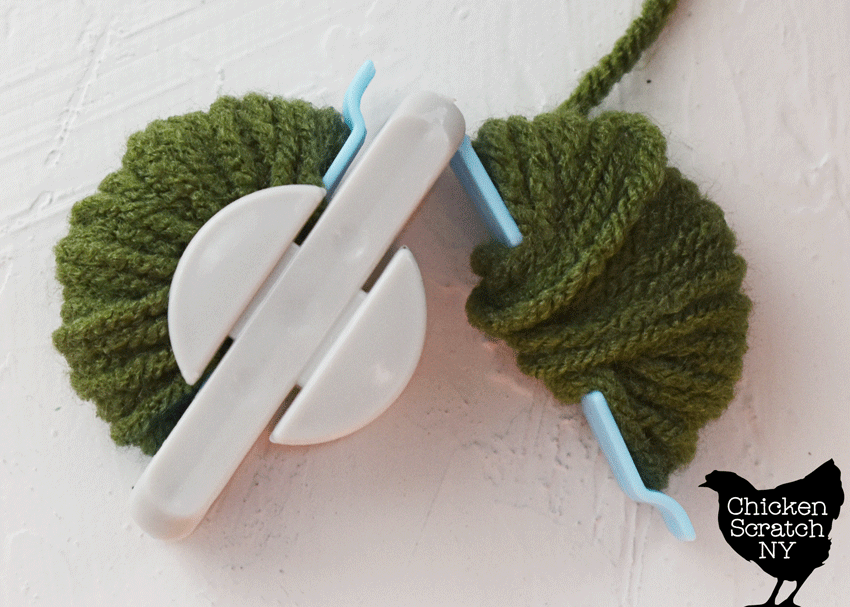

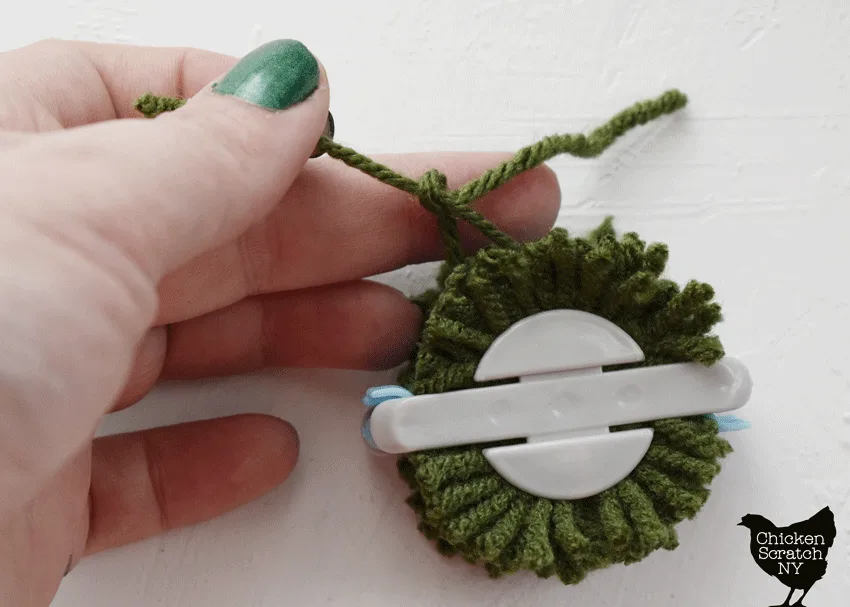
All you have to to do make a pompom is open up one set of ‘arms’ and wrap it with yarn. I go from one side to the other and back, trying to keep going straight across instead of going all over the place.
When you think you’re done, keep going. I like to wrap mine until it gives you some resistance when you close the arms.

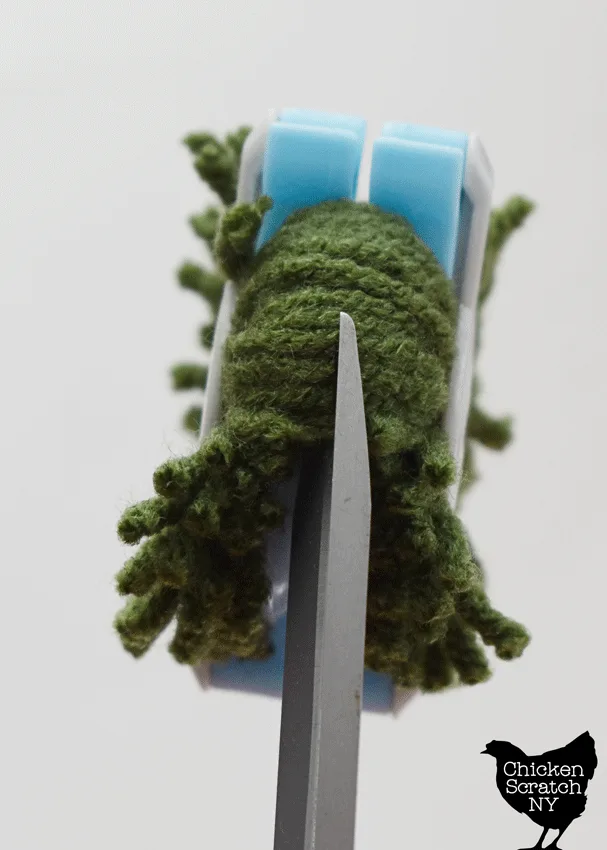
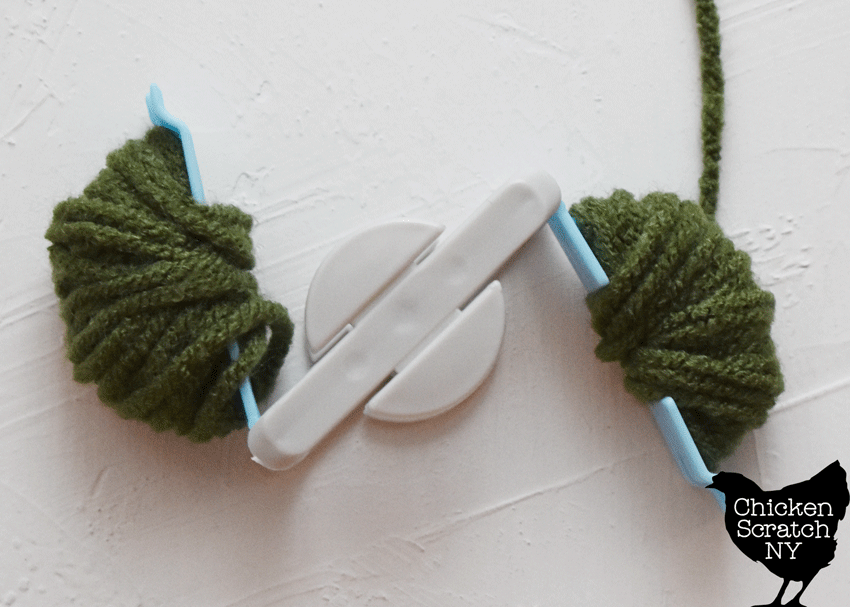
Then clip the yarn and repeat on the other side. Once everything is closed up it’s time to grab the sharpest scissors you own.
If you try to use dull scissors you’re going to end up pulling out your hair. There is no way around it.
This really is the perfect movie marathon project, it doesn’t take a whole lot of brain power and it keeps your hands busy!
Once you’ve got both sides clipped it’s time to tie a very tight knot. There is a sweet spot between ‘my pom pom fell apart’ and snapping the yarn.
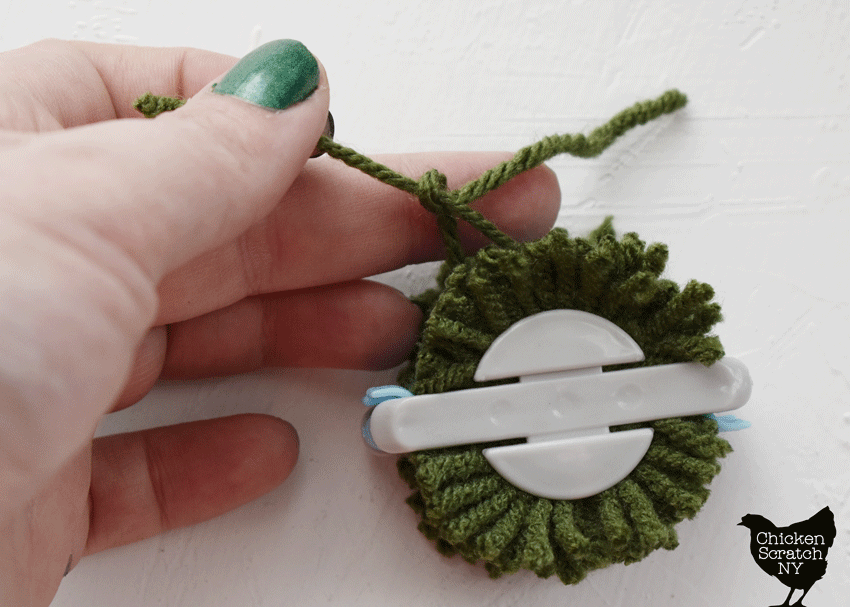
I like to tie it on one side, then flip it over bring the tail around to the other side and tie a knot. The extra yarn going around the middle makes them a little more sturdy (at least in my mind, you do you).
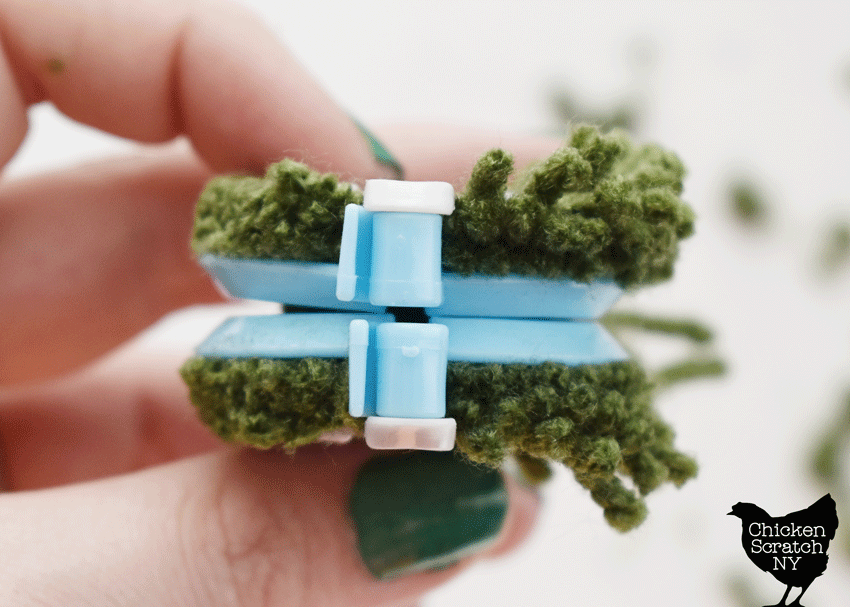

At this point, I like to give them a bit of a trim to even up the ends and then open up both sets of arms and pull the two pieces apart.
Grab the tails left over from tying the center and give the pompom an aggressive shake to fluff it up.
Tips for Perfect PomPoms
You might think that using a pompom maker (an incredibly high-tech tool) would guarantee a perfect outcome every time. Sadly that’s not exactly true.
The plastic gadgets will get you 80-90% of the way there but the rest is up to you. Fortunately, the remaining 10-20% isn’t that hard, it just requires a bit of know-how and a good pair of sharp scissors!

The best advice I can give you is to add more yarn than you think you should. I keep wrapping until it’s nice and snug when you close up the arms.
Make your cuts and tie the knot as tight as you can get it without snapping the yarn.
DO NOT remove the pompom yet!

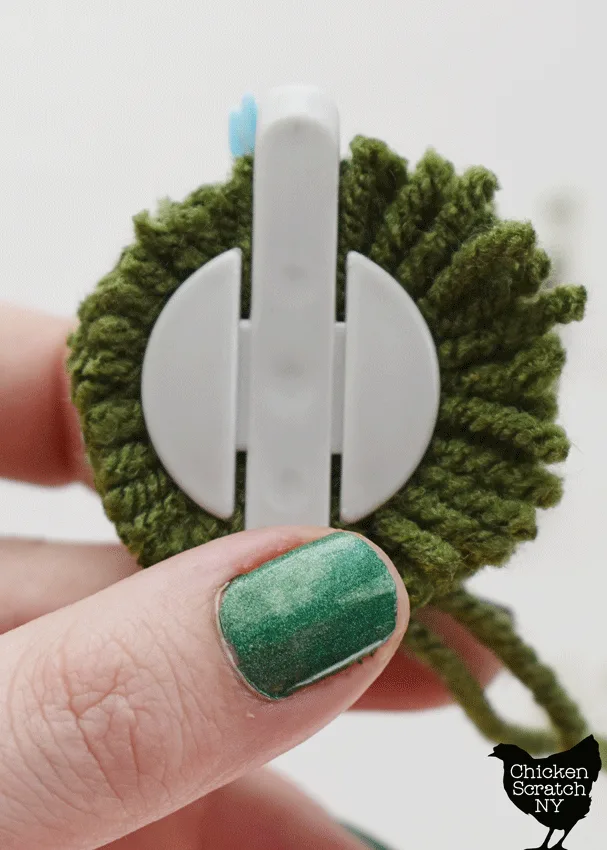
Trim around the edges of the pompom on all four sides. This will eliminate most of the ‘football’ shape you get from pompom makers.
The more you trim off, the denser your pompom will look.
You can also roll it around in your hands to make it look a bit more compact.
Pull apart the two pieces and give the pompom a good, aggressive shake. Clip off any random long pieces and you’ve got a nice pompom!
Check out my Christmas Page for more ideas or start here: