This event features bunch of my fellow bloggers, and I’m really excited to be kicking off burlap week. If you missed last week the theme was Buttons and you can check out the tutorials over at The CSI Project and My Favorite Finds.
When I picked burlap I knew I wanted to do something a little different. I’ve already covered half my house (and roughly 3/4 of my wedding) with the stuff and I wanted to step out of usual box. I have a 45 minute drive home everyday and this little gem popped into my head on the way home one day.

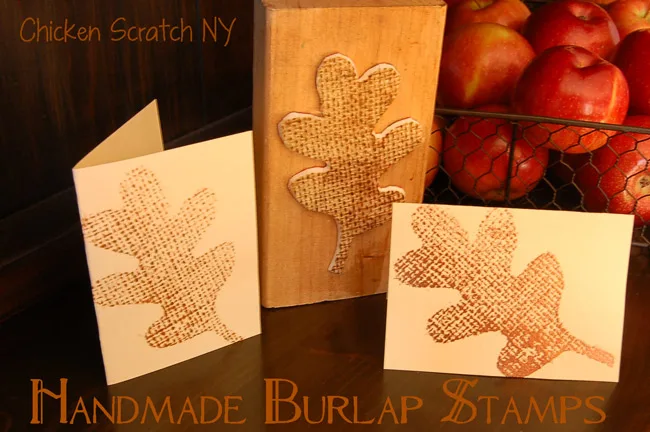
The card on the left is matte brown ink, the right is embossed with dark brown.
Supplies:
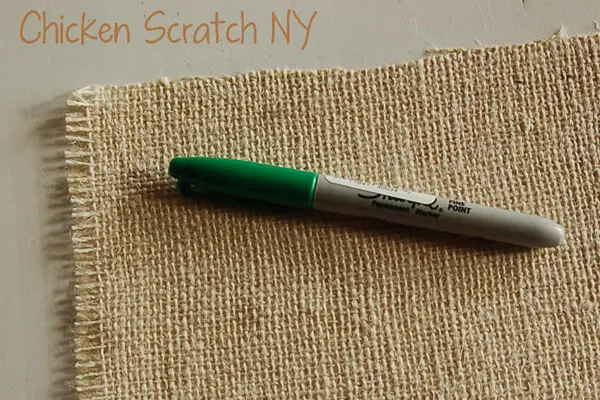
- Burlap
- Mod Podge or Glue
- Foam Brush
- Sheet of Craft Foam
- Leaf Template
- Scissors
- Block of Wood
- Ink Pad, Embossing Powder, Embossing Gun
- Paper
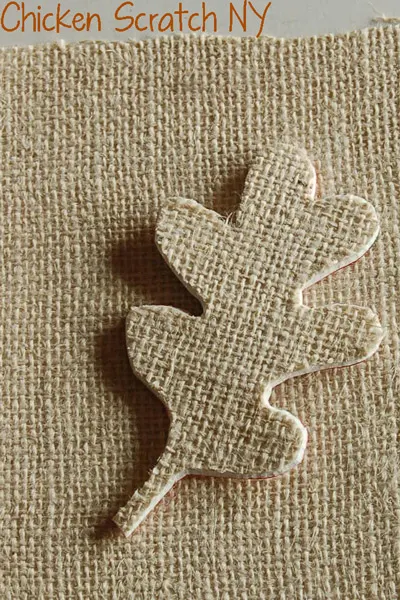
Start by coating one side the foam with Mod Podge. Firmly press the burlap into the glue, smooth out any wrinkles or bubbles. Press the foam-burlap flat by placing a few books on top until it’s dry, if your Mod Podge is oozing put a sheet of waxed paper between the burlap and books.
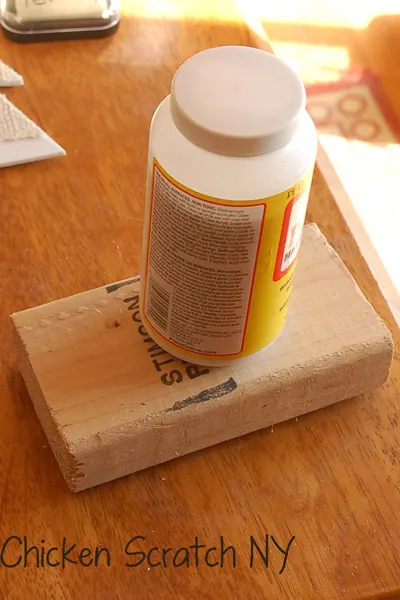
When everything is dry trace your leaf out on the foam side. Carefully cut it out with the scissors, it’s very thick so take your time. Using more Mod Podge glue the cut out leaf to the block of wood. I know the wood I used is comically huge but our circular saw died and it’s the smallest piece I could find. Press it down and wait for it to dry. Between the wood and Mod Podge I didn’t need any extra weight.
Once it’s dry your stamp is done!
The burlap hold the ink so stick with one color or work from dark to light. I tried embossing with dark brown, metallic gold and plain dark brown. My least favorite was the metallic gold, I don’t think the burlap transferred enough ink for the metallic to really show up.
Be sure to head over to Embracing Messy for her Burlap Tutorial tomorrow! And stop back on Thursday for the Linky Party!


Mixed Kreations
Saturday 24th of August 2013
Oh this is a great idea! I love how the texture of the burlap shows through onto the print. Thank you so much for sharing this at the All things burlap party. Pinning and sharing!!!
Linda
Angelina-JoJo and Eloise
Friday 23rd of August 2013
Oh My Goodness!!! What a Fantastic idea. I LOVE how this turned out and now I want to go and make a Burlap stamp. :) Thank you so much for sharing this with us at our All about Burlap Party! Pinning! :) xoxo
Grannyjack
Wednesday 30th of January 2013
What a fabulous idea. I will try this later today. Might try it with linen. I have a stack in my sewing crate, all different textures.
Kirsten @One Tough Mother
Sunday 20th of January 2013
Ok these are fabulous! So glad you shared these! :) You rock!
Megan
Tuesday 20th of November 2012
These are so simple and cute! I would be honored if you shared this at my Ginger Jamboree Link Party!