
Making Soy Candles with your favorite fragrances and colors couldn’t be easier! Follow these simple steps to safely create your own scented candles.

Making your own soy wax container candles is a great semi-practical hobby, as much as I love making quilts they don’t get used up and there will be a time when they overtake my home and I’m forced to live in the chicken coop.
On the other hand, candles burn down, leaving you with a container to refill with more wax so you can burn it again. It’s really a great system.
They also make great gifts, even if someone isn’t that into scented candles you never know when the power is going to go out and you’ll need some extra illumination.
Can Making Candles Save you Money?
The incredibly helpful answer to this question is, maybe. It really depends on the kind of candles you’re comparing your homemade version to.
Cheap candles from the store are usually made with lower-quality ingredients, they may not burn well, burn down really fast or have a lackluster fragrance throw. Buying cheap candles will likely save you money over making your own but you’ll have bad candles.
Pricier candles are usually better as far as burn quality and fragrance but they’ll make your wallet cry. And unfortunately, not all expensive candles are worth the extra money.
You can absolutely make good candles cheaper than you can find them in the… mall stores that specialize in candles and body products.
While I was confident that making my own candles would save money, I was curious about exactly how much so I did some comparisons.
First I figured out how much of each supply I would need to make a dozen candles (jar, lid, wick, wax, and fragrance oil), added them to my cart at Candle Science to figure out shipping, and let my Excel Sheet do the rest.
My first comparison victim was the small single-wick candles. I was able to find what appear to be the same exact jars on Candle Science.
These little guys hold 7 ounces so you’d be able to make all of them (and more) with 10 pounds of wax, I also added 2 – 4 ounce fragrance oils, a dozen jars, wicks, and lids. The total with shipping was $91.47 or $7.62 per candle.
The single-wick candles are $15.50 full price but they’re usually on sale for $11 (2 for $22). That makes your savings $7.88 per candle or $3.88 if they’re on sale. Of course, that doesn’t include sales tax or shipping from the store-bought candles so you could be saving even more.
It is important to note that the shipping on the jars really jacks up the prices so you could save even more money if you used locally purchased 8-ounce jelly jars.
Next up we have the popular 3-wick candle (I have purchased these in the past because Pumpkin Pecan Waffles puts me in a trance). If you’ve ever bought these candles you know you only do it when they’re on sale & that they burn down incredibly quickly.
My personal theory is that they are over wicked, that’s why the melt pool gets so big so fast. It does allow them to smell stronger but it also makes them burn down a lot faster (so you have to buy more candles…).
This one was a bit trickier because each candle takes 1 pound of wax and the wax comes in 10-pound or 1-pound bags, if I was really making them I’d get 2 of the 10# but for the sake of this experiment I went with 12# of wax, 16 oz of fragrance, clear jars, black lids and a 100 pack of wicks.
The regular store price of the candles is $26.50 but they’re regularly on sale for $13.50. As for the homemade version, drumroll please, making 12 candles will cost $136.29 or $11.36 each.
That’s a savings of over $15 if you’ve paid full price in-store or only $2.14 if you get them on sale. But your candles will last longer so maybe that $2 savings is worth a bit more in the long run.
I know these are the same exact size jars because one time my daughter dropped one of my (unlit) candles and the glass broke but I was able to pop it into one of these glass jars that I had on hand.
Is Making Soy Candles Expensive?
I’m a craft hopper and as a result, I have a lot of experience in buying craft supplies. You can do just about any crafting hobby for cheap and you can also spend a butt ton of money on the same thing.
I usually have the best results when I stick somewhere in the middle. Getting quality supplies from specialty vendors is going to cost a little more than a cheap amazon kit but chances for success are much higher.
Unlike painting or sewing candle making does have a very real risk of danger. Mixing cheap glass, oversized wicks, and low-quality wax can lead to a literal pool of fire on your countertops.
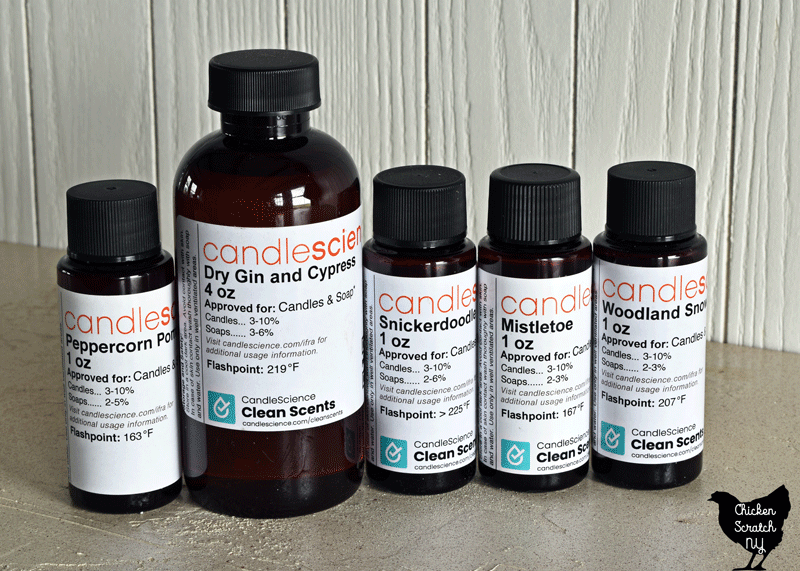
Candle Science is my go-to for candle-making supplies, in a past life I had a small home wax melt business and I fell in love with them. I no longer sell my creations but I’m still a loyal customer.


They cater to both small and large makers, most items from wax to wicks and candle dye to fragrance oil can be purchased in small or large quantities. The more you buy, the better the deal.
As awesome as that is, it can be dangerous, says the woman with a 50# case of wax on her porch…
Aside from the consumables the actual supplies you need to make candles can be picked up for cheap. One of my favorite tools is glass measuring cups from Dollar Tree.

You will also need a kitchen scale, a probe thermometer, and a pot for a double boiler or Presto Pot to melt the wax.
I’m a big fan of the presto pot, I weigh my wax, dump it in the pot, let the pot do its thing and once it’s melted I unplug the pot, pour the wax into a measuring cup or metal pour pot before adding my fragrance & color.
That keeps my pot clean and lets me work on multiple fragrances at once. DO NOT use the lid when heating wax but it is really handy for keeping dust out of the pot when it’s not in use.
How to Make Soy Container Candles
Let’s get to the fun part! I love making candles, it scratches that mad scientist part of my brain that’s been dormant since I stopped putting mud, leaves, and rainwater into old pots as a child.
First things first, you need to prep your area. I like to cover my counters with cardboard, it does a great job absorbing any spills and keeps the counters safe from highly concentrated candle dye.
Then put on your gloves and grab your scale. Weigh out the wax and fragrance oil, we’re not combining them yet but it’s easier to have everything ready to go before you involve heat.
All waxes have different temperature requirements, I use Golden Brands 464 which is a soy wax meant for containers. If you are using a different wax you’ll need to figure out your target temps.
Different waxes also have different fragrance loads, which is how much oil a wax can hold. If you’re using quality oils you’ll never need to hit that top limit.
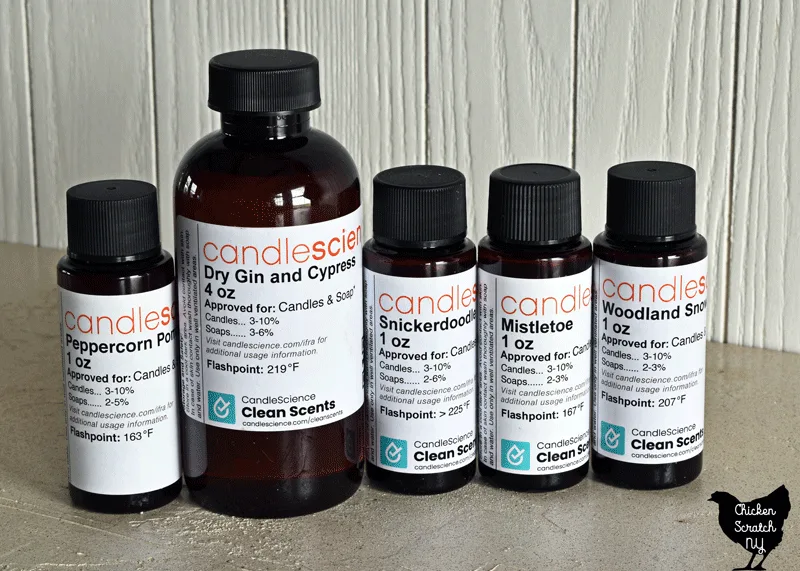
My starting point is always 1 pound of wax to 1 ounce of oil. That ratio gives you a fragrance load of 5.88% and since you can buy 1-ounce bottles of fragrance it’s nice that you don’t have to measure {and you won’t end up with a bunch of tiny leftover amounts).
For the sake of simplicity here we’re going to do things a little differently and add 1 oz of fragrance oil to 14 oz of wax. It will make a stronger candle (7.14% fragrance) but it also means you can just dump in a 1 oz sample and save a step.
If you feel like your candle is too weak (test after letting it cure for two weeks) you can add more oil but you might need to adjust your wick size.
Some people are really cavalier about the containers they use for candles, I am not so I stick to either canning jars or jars intended for candle-making.
Canning jars are usually the cheapest option if you can find them locally, they are pretty heavy and shipping costs are crazy. For this tutorial, we’ll be using 8-ounce jelly jars.
I bought my jars locally but the same ones are listed on Candle Science so I was able to check out their wick recommendations which are really helpful when you’re working with a new container size.
Wicking candles is the hardest part of the process, you need to get the right size to match the container, the wax, and the fragrance. It can take some testing to really nail it down!
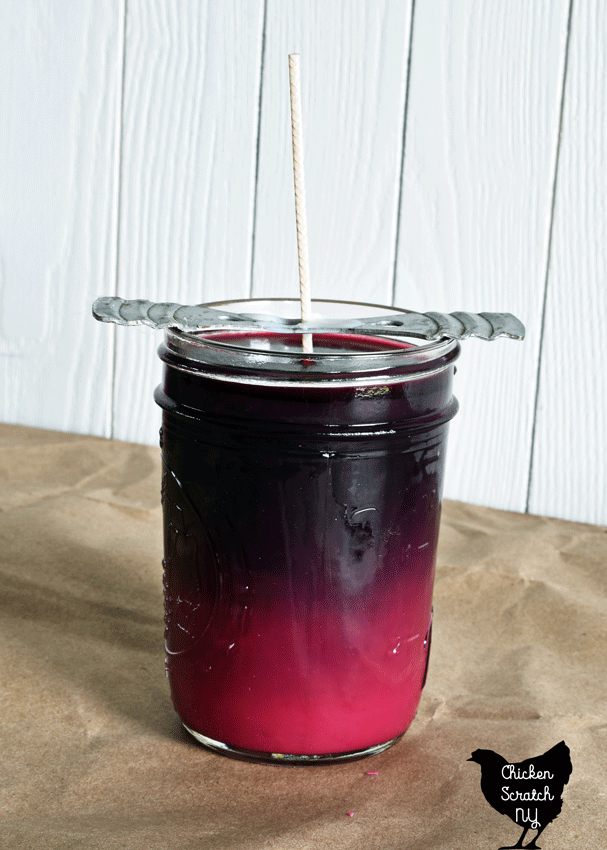
Candle Science recommends the CD8 wick for Golden Brands 464 so that’s a great place to start. Once you’ve got your wick it’s important to keep it centered.
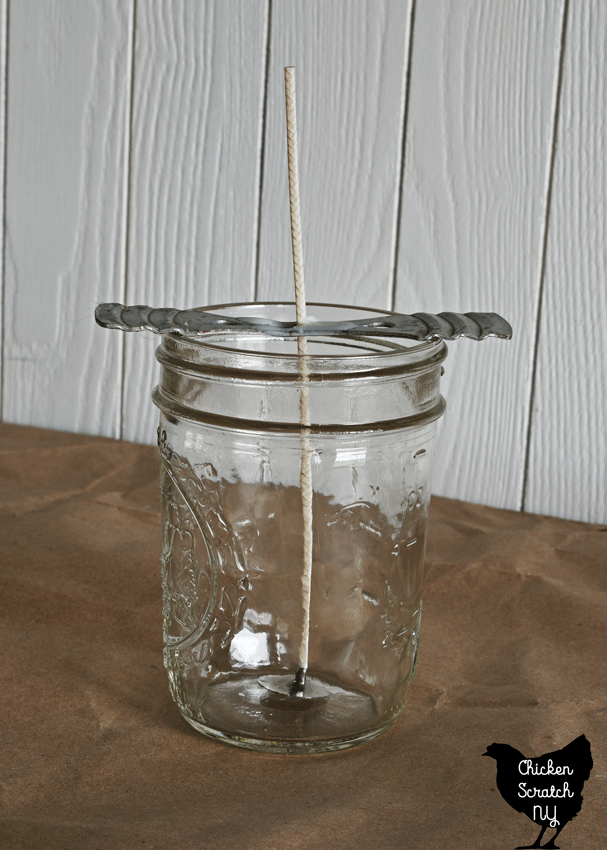
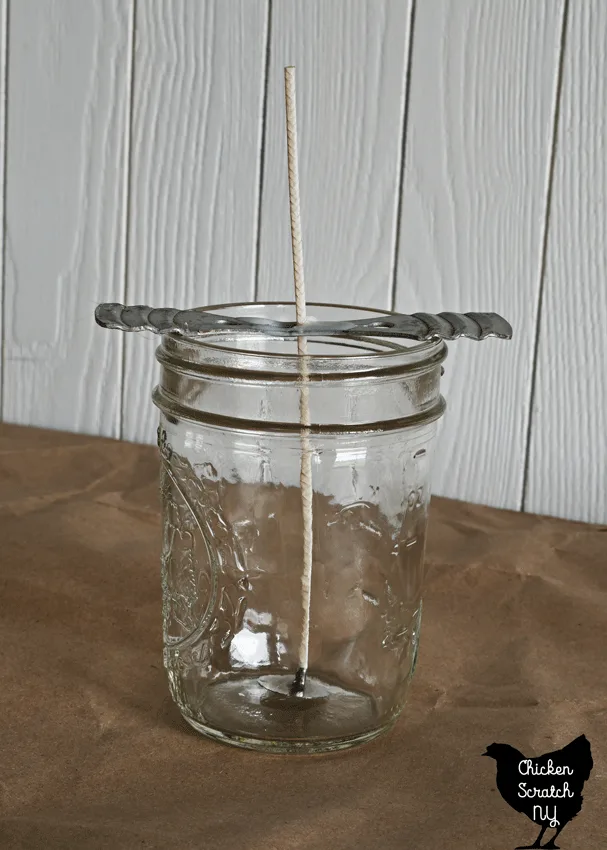
Use hot glue to secure the wicks to the bottom and a wick stablizer to keep it centered up top. They sell special items for this, my favorites are the metal bow tie style, but you can also finagle something you have around the house.
I’ve used those cheap chopsticks you get for free with Chinese food, don’t snap them apart and slide the wick between the sticks. Friction will hold the wick in place between the sticks.
You can also use paper card stock, cut into thin strips and with a hole poked in the center for the wick or a clothespin.
Once your jars are wicked and you’ve got your wax and oil measured out it’s time to actually make the candle.
Start by melting the wax in a double boiler or a presto pot. Use a probe thermometer and pull the wax off the heat (or unplug the Presto Pot) when the wax reaches 185 degrees.
Make sure you’re stirring occasionally to keep the heat evenly distributed while it’s melting. Add the fragrance oil and the candle dye and stir for a full minute to let the wax and oil meld.
If you want to add color use liquid candle dye or the block form, the liquid is messier but I think it’s more versatile and easier to mix into different colors. DO NOT USE CRAYONS, they aren’t meant to be burned and they’ll gunk up the wick giving you a bad burn.
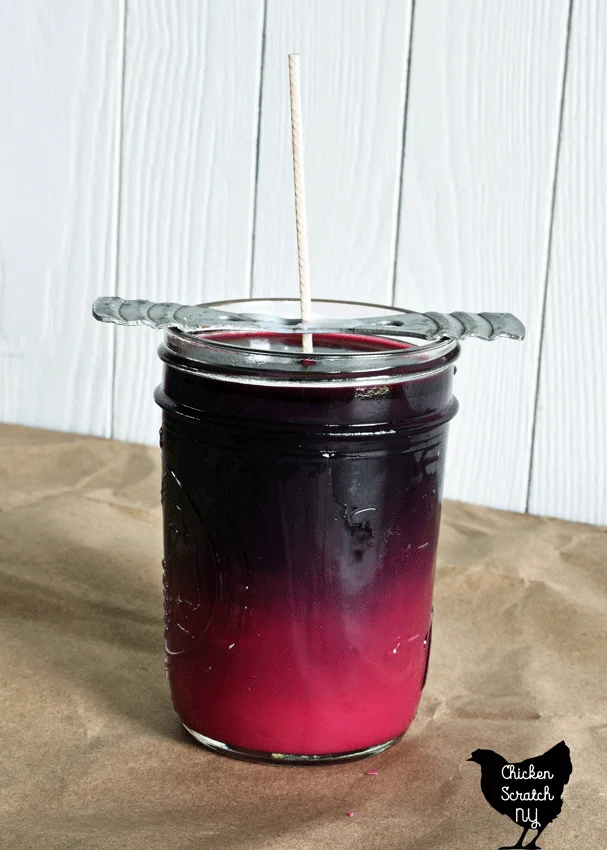
Let the wax cool down to 135 degrees before you pour it. If you pour it hotter the wax will shrink too much when it cools and you’ll have a dip around the wick in the candle.
It’s also important to let your candles cool slowly or you might see tunneling or even holes in the top of the candle.
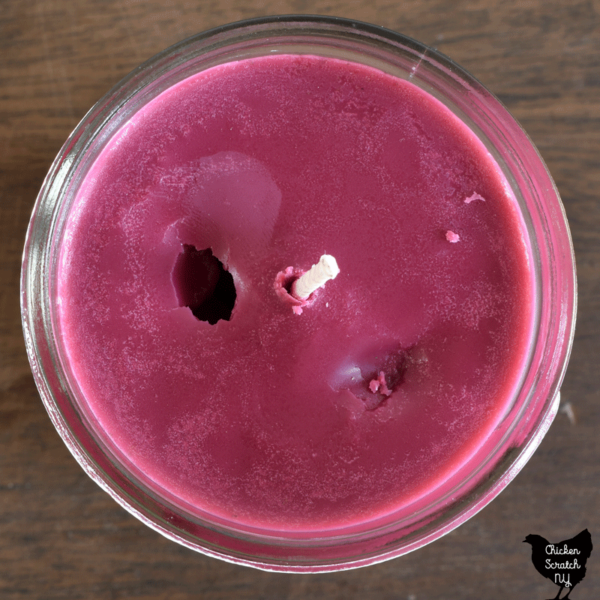

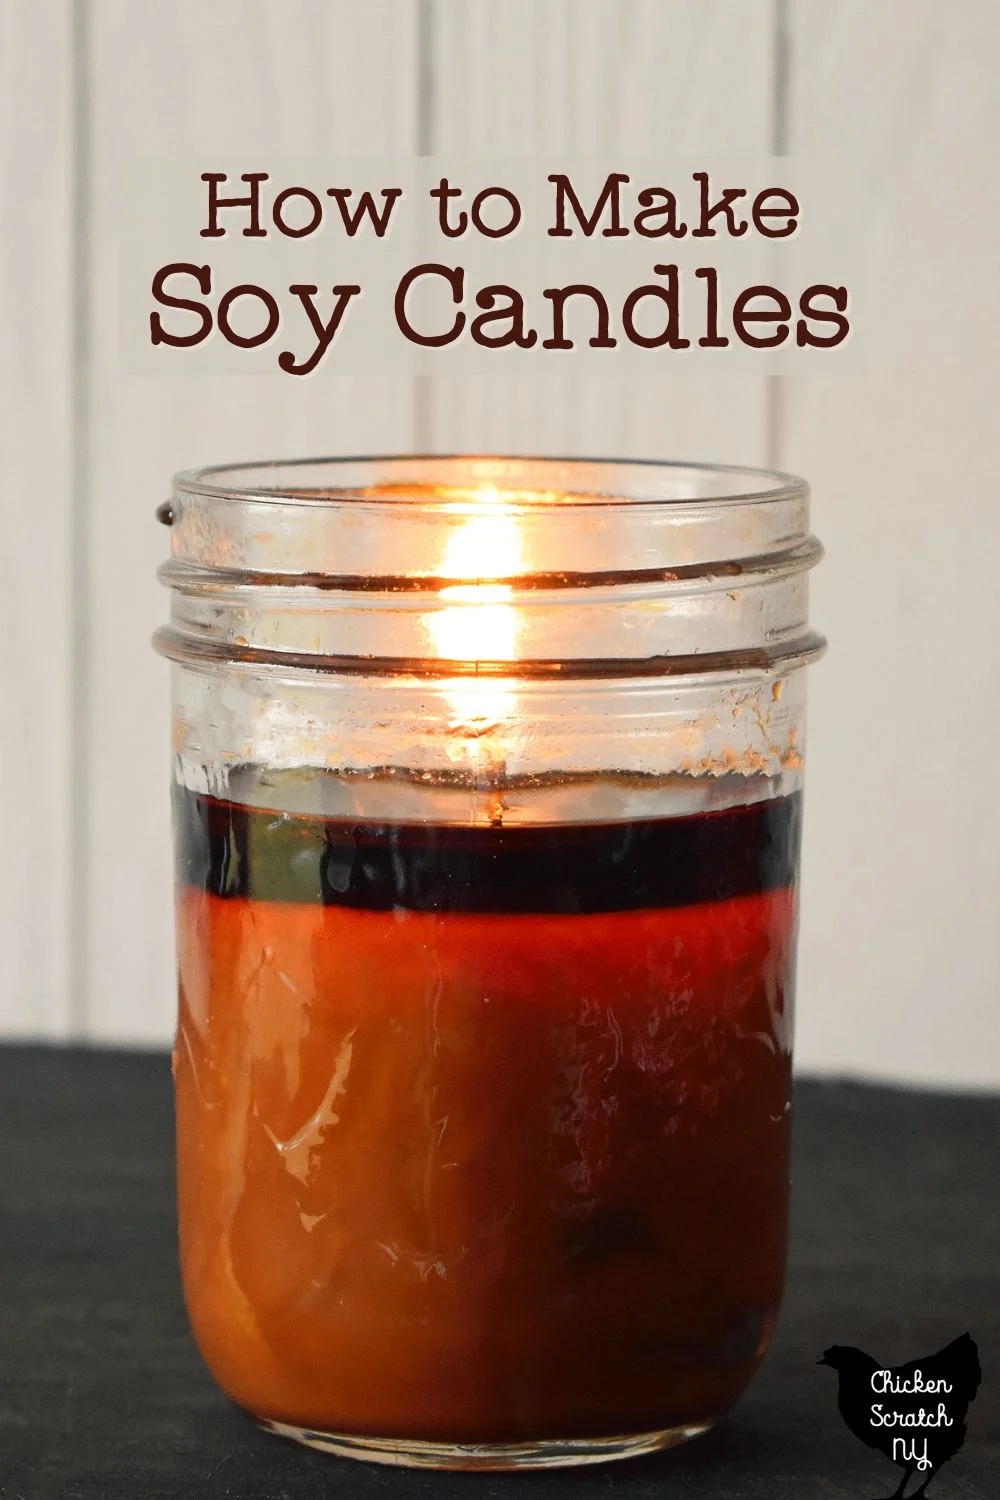
In order to get a decent photo I poured this candle on my unheated porch, it cooled way too quickly and it has these lovely holes in the top.
You can try to fix holes like this with a heat gun by carefully remelting the top. I just lit the candle and while it was sad for the first bit it caught up and eventually burned really well.
Soy Wax Container Candle
Make a delightful set of soy wax container candles with these simple instructions!
Materials
- 2 - 8 oz Jelly Jars
- 2 - CD 8 Wicks
- 14 oz GB 464 Soy Wax
- 1 oz Fragrance Oil*
- 1-4 drops of Candle Dye, optional (do not use crayons!)
Tools
- Kitchen Scale
- Double Boiler or Presto Pot
- Probe Thermometer
- Spoon
- Hot Glue Gun
- 2 Wick Stabilizers
Instructions
- Weight out wax and fragrance oil separately
- Use hot glue to secure the wick base to the bottom of the candle, and place a wick support on top of the candle to keep the wick centered
- Melt wax in a double boiler or presto pot until it reaches 185 degrees
- Remove wax from heat, stir in fragrance oil and dye
- Stir for one full minute
- Allow wax to cool to 135 degrees before pouring
- Stir wax and carefully pour into containers
- Allow candles to sit until hardened
- Clip wick to 1/2 inch tall
Notes
Soy wax behaves best when allowed to cure, after making your candles let them sit for 2 weeks before burning for the best scent throw
*using 1 oz of Fragrance Oil in 14oz of wax will give you a fragrance load of 7.14%
For a lighter scent use less fragrance, for a more fragrant candle you can increase the amount of oil
Golden Brands 464 can handle a fragrance load of up to 10%
Check out my Candle Making & Wax Melt page for more or start here: