
Christmas is in a few days. Is your mantle looking a little glum? Got a new pet (or child) currently lacking a chocolate orange storage device? Lucky for you I have a SUPER FAST (like lightning) Christmas stocking tutorial.
You will end up with a fully finished stocking with a cuff and hanging loop in less than 10 minutes. It will take you longer to cut out than to sew. Are you psyched? Lets do this!
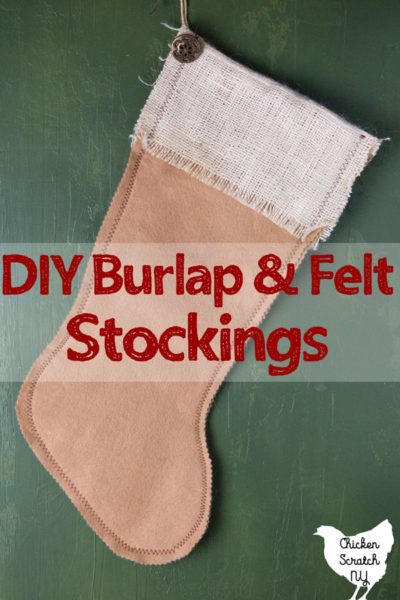
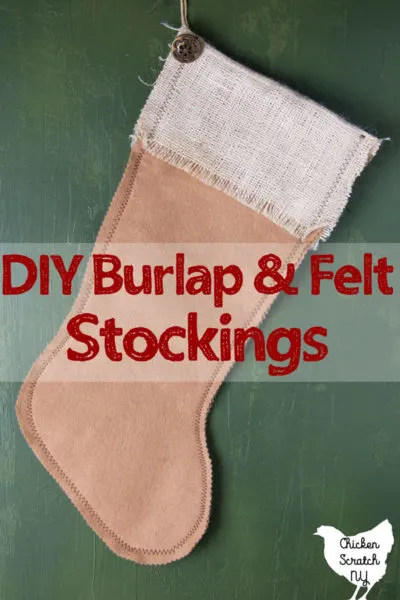
I used felt and burlap because I love the rustic, country farmhouse look. You don’t have to use felt but you need to stick to something that won’t unravel, like fleece if you’re using regular scissors. You can also use something like a heavy denim or flannel if you cut it with pinking sheers.
Stocking Supplies:

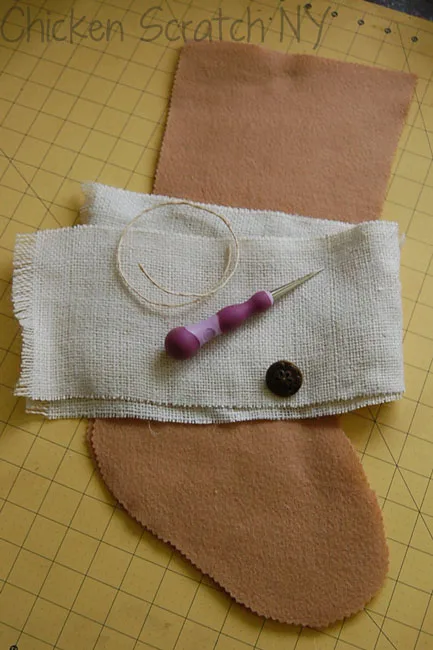
? Felt
? Old Stocking for Pattern
? Burlap for the cuff
? Large shank button
? Twine
? Gift Tag
? Awl
? Scissors
? Sewing machine & Thread
? Pins
How to Sew an Easy Christmas Stocking:
1. Lay out the felt and trace a stocking shape from an old stocking. Cut two pieces, one for the front and one for the back. I cut mine out with pinking shears.
2. Lay out the stocking pieces so the inside of the stocking is facing up. Lay your cuff pieces over them, matching up the tops and leaving about an inch on either side
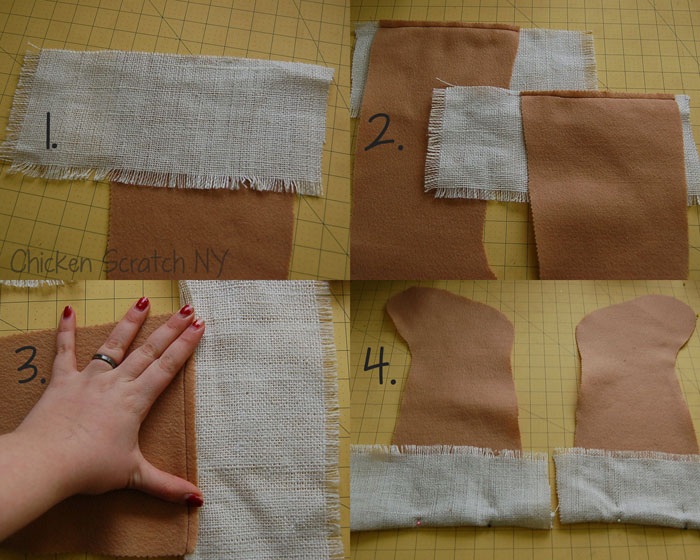

(1). Sew a narrow hem along the top
(2). Now comes the flip, open up the cuff and the stocking, press the seam open with your fingers, bend the burlap not the felt
(3). Next, fold the cuff over, and pin it in place
(4). Repeat with the other side.
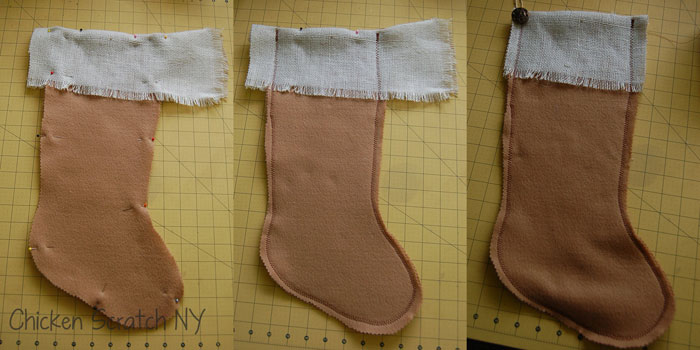
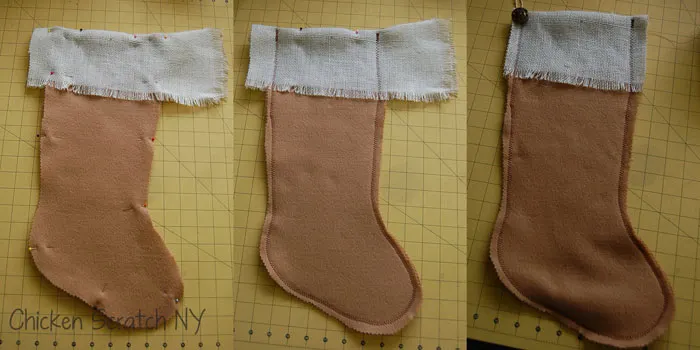
3. Pin the front and back together with the wrong (inside) together
4. Switch your machine to a zigzag. Run a quick seam all around the stocking leaving the top open. Trim the burlap overlap and any odd felt bunching.

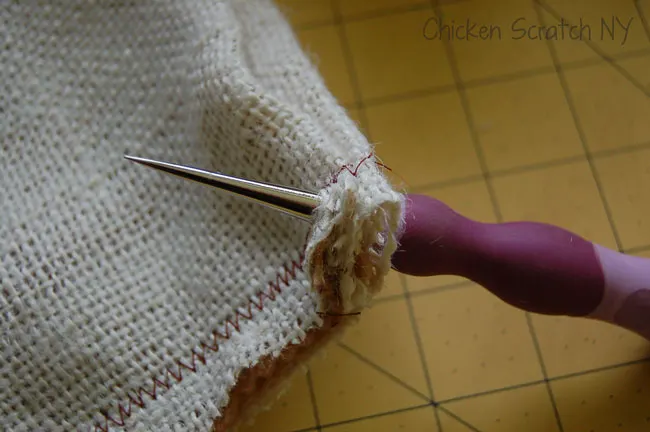
5. Now get out your awl and poke a hole in the top corner of the stocking. Don’t cut! Poking a hole won’t weaken the fabric but cutting will.
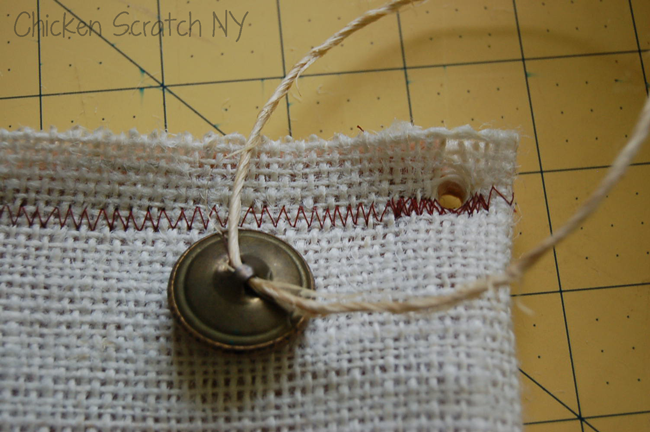

6. Thread your button on the twine, fold the twine and pass both ends through the hole in the gift tag and then through the hole you made in the stocking. Tie a knot in the twine and use it to hang your stocking.


If you like a more finished look you can sew the stockings right side together and flip them so the edges are clean. I made my pets mini stockings like this for a few years.
Instead of a burlap cuff I used Christmas novelty fabric. I cut a large rectangle, folded it in half, lined the raw edge up against the top of the cuff then continued the stitch-n-flip method.
The felt isn’t the sturdiest material so I wouldn’t go putting anything really heavy in them, it might permanently distort the fabric. If you want them to be a bit more functional try adding a liner and treating the felt and liner as one piece.
Check out my Christmas page for more ideas or start here:


andrea
Monday 15th of July 2013
I wish I could sew! I love all these featured sewing crafts and I keep telling myself I need to start reading about how to do this!
Alecia
Monday 15th of July 2013
This is a great project to start on, you get warmed up with a straight line and then all that's left is one lap around the stocking. It's good practice for sewing curves and it's pretty forgiving since you don't have to flip it inside out after you're done, it helps to hide the mistakes
JoAnn @ SweetPepperRose
Thursday 27th of December 2012
Hi Alecia! these turned out really cute! Hope your Christmas was great!
Raquel @ Organized Island
Saturday 22nd of December 2012
Love your simple stocking idea! I am all about simple crafts! Hope you have a wonderful Christmas!
Mel
Friday 21st of December 2012
Very cute, simple and perfect for a farm :)