
Doily Covered Lampshade
A few weeks ago I was given an old lampshade. I immediately went on pinterest for ideas and I saw a gorgeous lampshade covered in doilies.
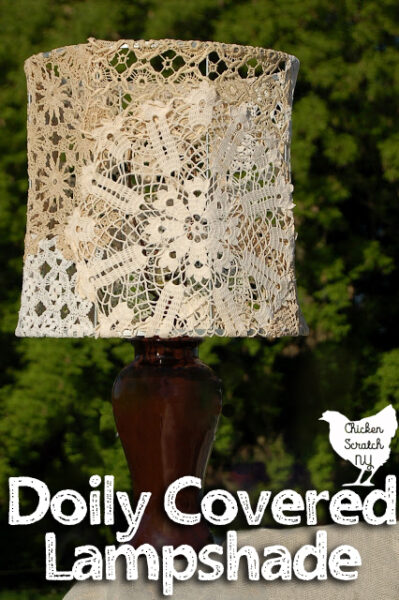
I'm pretty sure the first word out of my mouth were "Wow! That's gorgeous! I'm totally not doing that" Odd combo right? I do love it, I'm just not sure where a vintage doily covered lampshade was going to fit my house.
Then I ended up with some unexpected free time when my parrot decided he wanted a vacation. And flew out the door, I did end up getting him back by the way.
Anyway thanks to that free time and a pile of doilies I decided to try my hand at a doily covered lampshade. I also did it all on my back deck so that's why the pictures are all shown on an aged wooden surface.
Doily Covered Lamp Shade Supplies

- Old Metal Framed Lamp Shade
- Doilies
- Upholstery Thread
- Blunt Needle
- Scissors
- Clothes Pins
How to Make a Doily Covered Lampshade
For the record this is almost the exact opposite of the way the inspiration tutorial did it. To be honest her way was probably easier, but I like the layered look I got with my method
1. Remove the old lampshade, mine sort of crumbled off because it was ancient and completely dry rotted.


I used vintage doilies so there was quite a variation in sizes and colors, I tried to keep some contrast by mixing it up. My other goal was to avoid cutting anything, I wasn't sure if they would straight up unravel.

3. When your happy with your placement it's time to start stitching them down. I started by tying knots around the 'braces' and stitching the doilies to the top part of the frame.
I worked my way around in sections. It's a bit tricky to keep the tension right. You want the doilies taught but not squished. Use thread that blends in with the doilies and then you don't have to worry about trying to hide the stitches.

I'll be honest, this took quite a while. At least 5 hours split over two days. If you aren't such a perfectionist you should be better off.

I'm still in love with the final product 4 years later. I ended up putting in my bedroom where it does absolutely nothing to shade the lamp but does create beautiful shadows on the wall.
My bedroom is always in a state of disrepair but I really think this is the year I get my shit together and that means in my bedroom too. The lampshade is staying but I'm on the lookout for a new base.
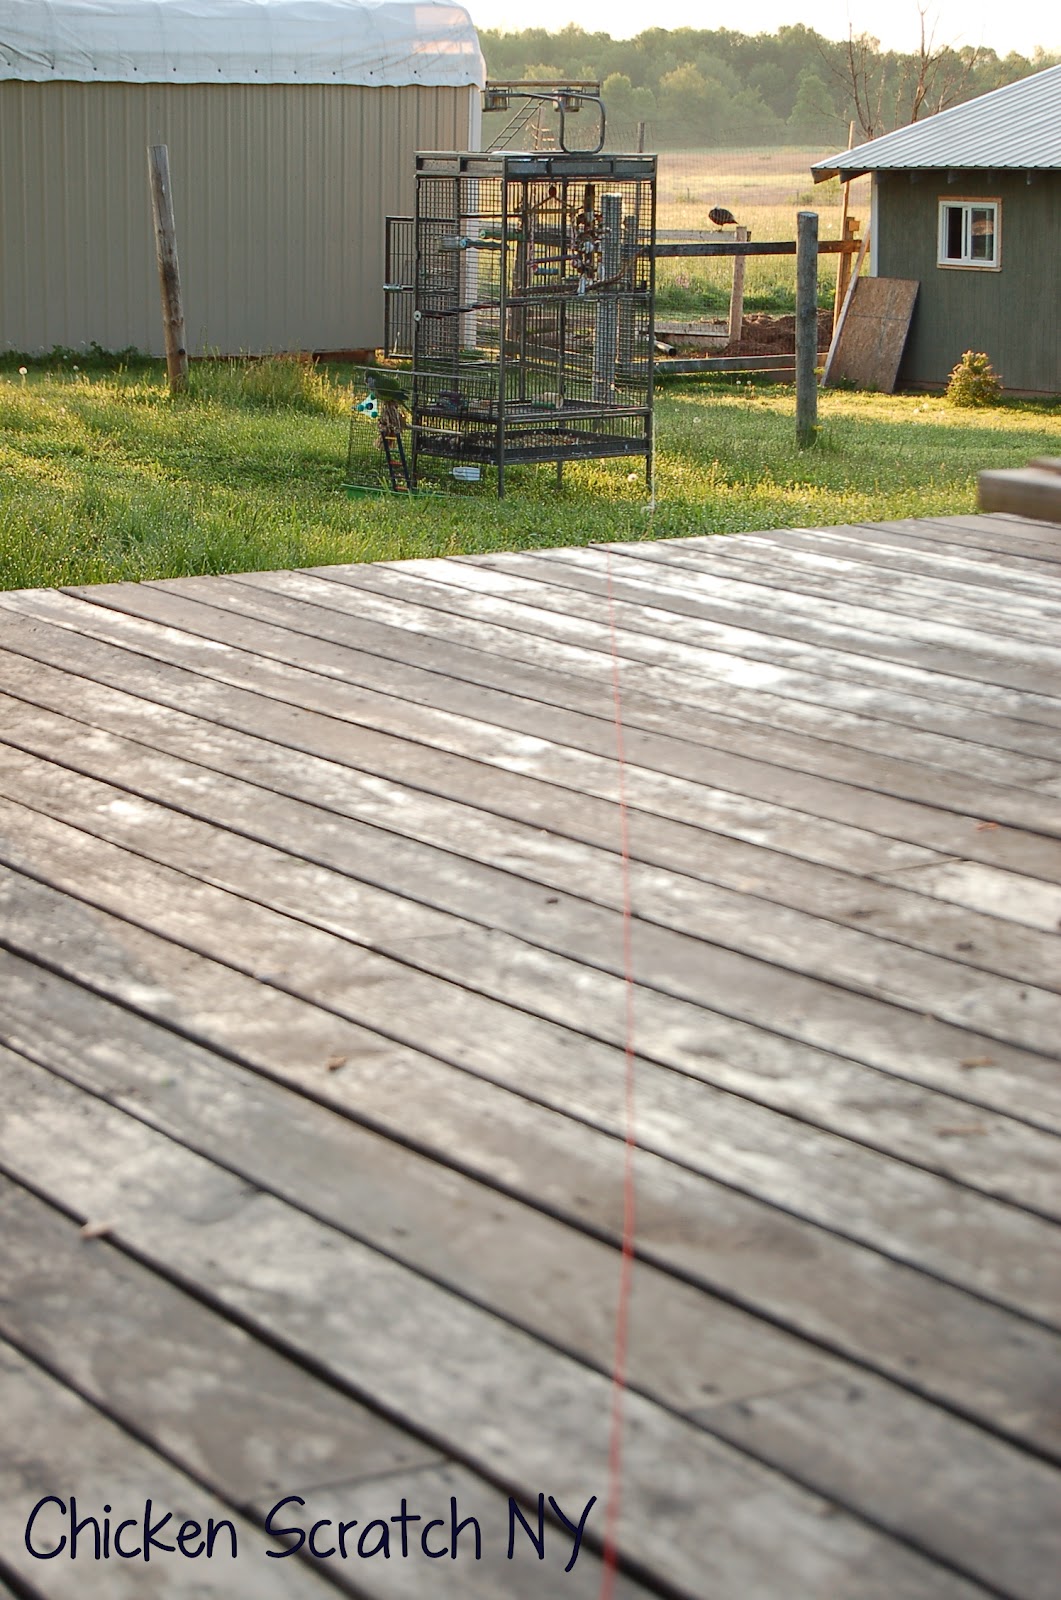
As for the parrot? This is how I ended up luring him home. I was going to pull on the red string to close the door when he went into the cage. He landed on my head instead.
Check out my Sewing page for more DIY Home Dec projects or start here:


Ohh my gosh Alecia that is so beautiful yours turned out gorgeous I love the different colors of the doilies I would love to see a picture of it in your home So Glad your parrot came back... had a clipped budgie fly out the door and catch a wind one time dh chased him into the next complex and scooped him up Gotta love our birdies.
RaNae
That is GORGEOUS!!!! I love it! You did an amazing job creating that! Thanks so much for entering this into the Project Pinterest Challenge. Best of Luck to you!
Jill
twoyellowbirdsdecor.blogspot.com
Absolutely beautiful! Your back yard looks gorgeous too. Thanks so much for sharing at Whmsy Wednesdys.
Just gorgeous! I've been thinking about doing this on an empty drum shade I have, so your instructions will help a lot!
Thanks for sharing it at the Knick of Time Tuesday party - I'll be featuring you next week and there will be an "I Was Featured" button waiting there for you!
Blessings,
Angie @ Knick of Time
THAT my dear is a winner project right there. I love that. I have seen chicken wire recently, but doilies are a sweet and soft version. Great project!
Your lampshade is so pretty....and I like it better than the original. What drew me to yours was what you said took the most time. The different colors and patterns of yours was really eye catching. Thanks for sharing how to make one of these pretty lampshades.
This is so awesome! I love it!
Thanks for sharing at my Super Link Party!
And I'm glad your parrot made it back home!
Wow! It turned out beautifully! I like the way you layered the doilies. If you're looking for another place to share your crafty projects, check out Etcetorize (http://etcetorize.blogspot.ca/2012/05/make-it-great-monday_20.html). Would really love to see you there!
What a gorgeous idea, I love it! It looks so different and beautiful, just up my ally! Stoppin in from the Tatertots and Jello, hope you have a great long weekend!
This is so cool! Bargain price too. Great idea.
Melissa
http://www.lovebugliving.com
That is beautiful! I love it! Thanks for sharing at the Pomp Party! Pinning to our Pomp Party board!
Jill @ Create.Craft.Love.
Beautiful project! I just shared it on my TT&J FB page 🙂
xoxo
Jen
Very pretty! 🙂
That is such a super idea! Love, love, love it. Thanks for sharing this fabulous idea.
Beautiful job! Would love to have this!
Hi Alecia: I'm a new GFC friend. I would love if you stop by http://hotflashncraftn.blogspot.com/ and be mine too. I love the lamp shade. I was confused about the parrot, though. I had one land on me at a golf course construction site, scared the heck out of me. After 2 weeks of caring for him I located the owner. Thanks for sharing your project, it turn out nice.
Alecia, thanks so much for sharing this at Project Queen's Party last week. I'll be featuring it tomorrow at the Highlight Party. I love it. You did a beautiful job.
This is great...so pretty. It must look really fascinating when the light is on. Thank you for sharing this wonderful idea.
What a beautiful project. I love how you did the layering look, it's very vintage. Thanks so much for sharing this awesome lamp shade on Simple & Sweet Fridays!
Jody
Love the doily lampshade so much! So vintagey looking and beautiful! This will be one of my top picks for the week at Sunday Blog Love, thanks for sharing this....glad your parrot is back at home!