Big plants deserve big plant markers! Even better if they’re cheap, colorful, and easy to make yourself.

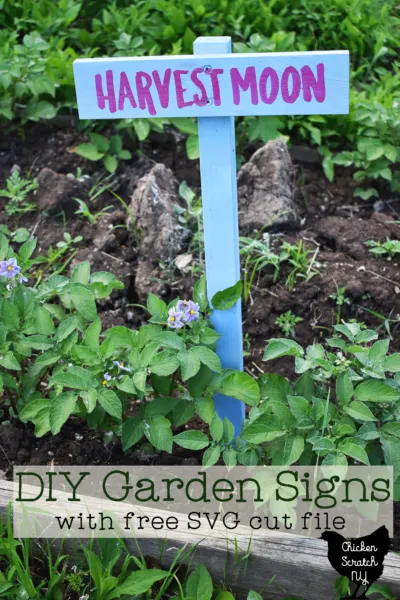
These garden markers were born from a desire to add more color to a vegetable garden and a necessity to label a variety of large plants. My garden decor theme this year has been obnoxiously & dare I say aggressively bright colors in practical applications.
I won’t be using these large plant markers for everything in my garden but I’ll still need a lot of them. They’ll be labeling 6 potato varieties, 7 melon varieties, a still yet-to-be-determined number of winter squash varieties (in the neighborhood of 10-15), and whatever else has a large enough section to deserve its own sign.
Basically, anything that grows on a large plant that will overtake smaller makers and things that can’t really be easily identified until it’s time to harvest.
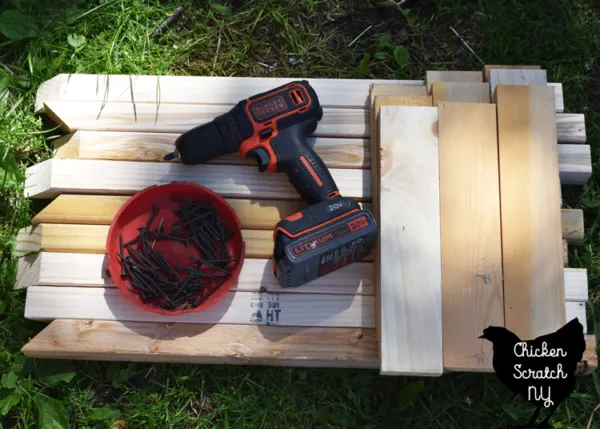
I knew I needed something that I could quickly make and something that wouldn’t be super expensive. In the end, I used 2×2 and 1×3 boards cut down to make simple T-shaped markers.
How to Make Wooden Garden Markers
This is a great scrap project and you can whatever wood you have hanging around. If you’re low on wood it’s time to head to the hardware store.
Pick up 1×3 wood for the face of the sign (the part that gets decorated) and grab 2×2 wood for the stake. How much wood you’ll need will depend on how many signs you want to make.
This is a real loosey-goosey project. My kids are obsessed with tape measures and I let them mark all my cut lines.

As a result, things end up a little bit inconsistent. I promise once the stakes are pounded into the ground no one is going to notice.
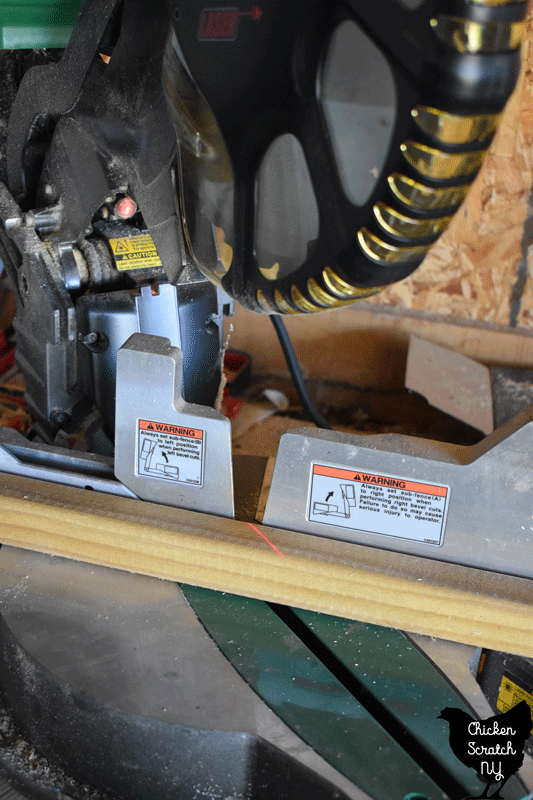
First things first, cut the 1×3 into 12″ sections, straight across. You’ll get 8 from an 8-foot board, 6 from a 6-foot board, you get the picture!
This is really easy with a miter saw, chop saw or table saw but you can also pull it off with a jig or circular saw.
For the straightest lines possible with a jig or circular saw I recommend using a clamp to hold a Speed Square or even a scrap of wood in place to act as a guide to run your saw parallel to.
The stakes are cut about 2 feet long and you’ll get 4 from each 8-foot board. This is the trickiest part of the project and it’s not really that tricky.
Start by cutting the 8-foot stake in the center (at four feet) with a straight cut. Then, cut each of those pieces in half again, this time at a 45-degree angle.
Cutting the stakes at an angle will make it easier to pound the stakes into the ground.

Once you’ve got your wood cut give any rough edges a once over with some sandpaper or a sanding block and grab your drill. Use two screws to attach the sign to the stake, if you only use one it will eventually spin around on you.
If you don’t have a drill you can try wood glue and clamps. I didn’t test this out but in theory, it should work.
You can leave the wood natural, stain it or go crazy with spray paint, whatever you choose, make sure the paint is dry before you add the stencils!
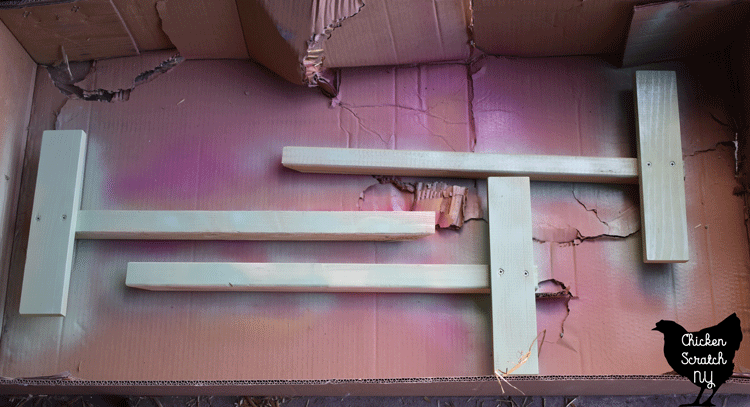
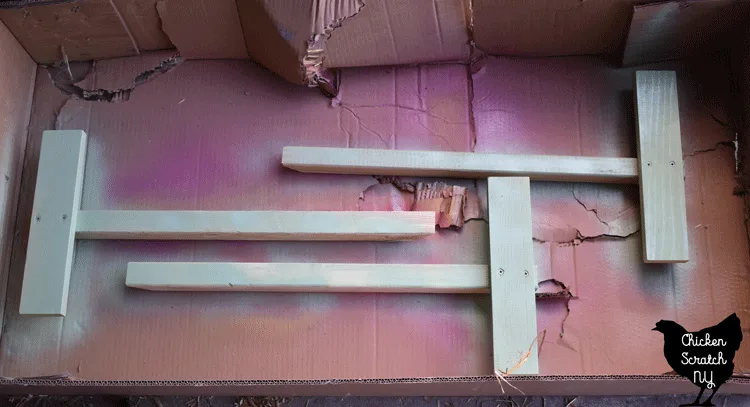
Spray paint is messy by nature so I did all of mine in a large cardboard box.
I used quite a few different colors of Krylon, the high gloss was more difficult to work with because the stencils didn’t want to stick.
After transferring my vinyl stencils with transfer tape I went around the outside with painter’s tape, both to help keep the stencil in place and to protect the sides of the sign from overspray.
Then I placed an old piece of poster board over the stake and got to painting. It’s a bit of a guessing game to know which color will show up well over others (just say no to yellow text!) but you can always try again if the first attempt doesn’t work.
For the best possible results, give your stencil a firm rub down immediately before spraying on the text color and use quick, moving bursts of paint. Do a few light layers back to back but do not go hard in one spot or you’ll end up with a lot of bleeding.
If you do get some bleeding spray a bit of paint on cardboard, let some of the excess liquid soak in then grab the pigment with a paintbrush and do your touch-ups.
Remove the stencils while the paint is still wet, you can use a pin to get any inner bits. I was able to reuse the painter’s tape for a bunch of signs but the stencils are a one-time use item.
Garden Sign Text
I used my Silhouette Cameo to cut stencils from Dollar Tree vinyl but there are other ways to get your text on the signs. You can use stickers, freehand it or use my tracing method.
I’m a bit of a font snob and in the end, I went with the font Wonder Journey, part of the Wonderlove font set. If you’re looking for a similar free font check out Arthemiz or Summer Days (in all caps) from Dafont.
I also made a cut file with a few of my favorite garden vegetables, I couldn’t do varieties but I think it’s a great start for most gardens.
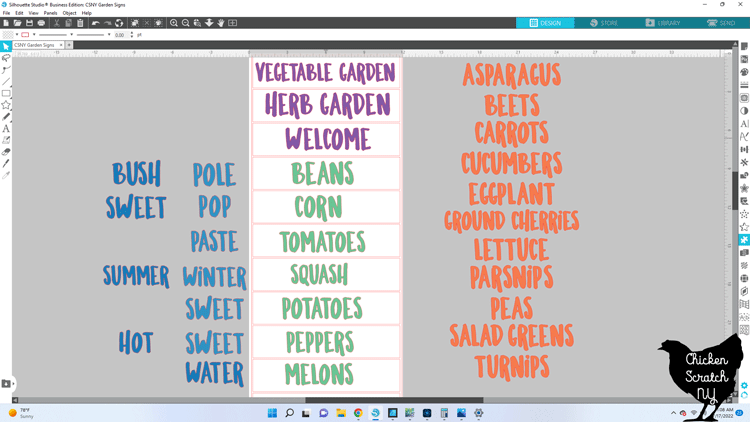
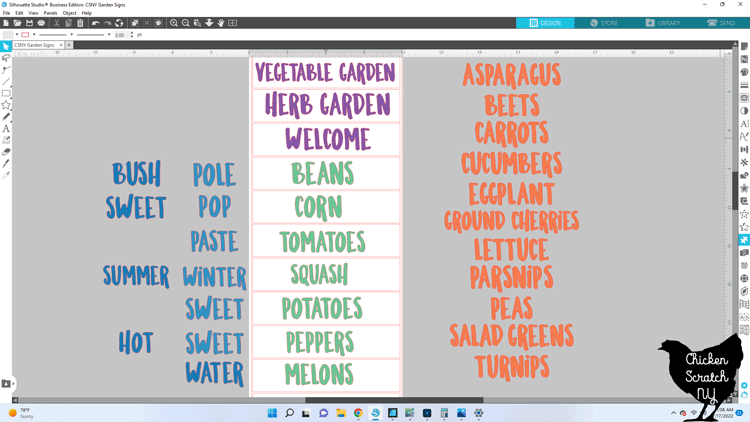
There are a lot of options for crops and a few different modifiers that you can drag around. The sizes are set up for using the same wood that I did but you can always adjust things to fit!
Download the Vegetable Garden Sign SVG Cut File
Check out my DIY Garden Projects page for more ideas or start here: