Typography is huge in decoration these days. Everywhere you look you can see instructions for elaborate art projects that require a masters in handwriting or at least a vinyl cutter.

But I’m a lazy crafter and I usually can’t be bothered to pull out my Silhouette. Instead I turn to this DIY Carbon Paper Hand Lettering Method.
To do this you need a printer and a pencil. My mom worked at a bank when I was a kid and I remember her bringing home carbon paper for us to play with. We’re making out own carbon paper here.
It’s not as clean as a vinyl stencil, although they tend to bleed a bit if you aren’t careful so maybe it’s about the same there. It will also take longer to fill in the letters than with a stencil but it’s also much cheaper than a $200+ vinyl cutter and all the supplies you need to go with it.
It goes back to that “Fast, Cheap, Good – you can only pick two” thing that applies to everything in life.
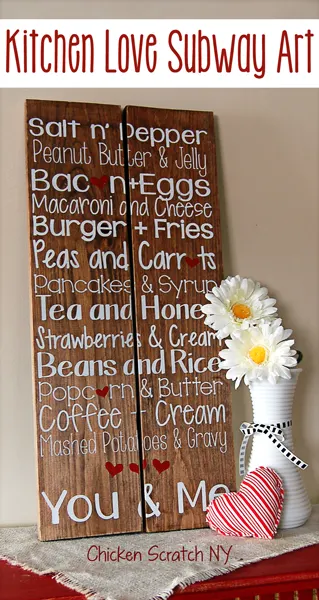
I wouldn’t use this method for something like my Kitchen Love Subway Art. That’s way to much to do by hand, at least for me. But if you’re only doing a few large words like when I stenciled my Garden Bench this would work fantastically.

By the way this mental back-and-forth is why everything takes me forever and I’m always exhausted. I can’t. Stop. Thinking. My goal for 2018 is to use that to make my life better. I’m trying to focus on creativity and hopefully squash back the anxiety that comes from constant over thinking.
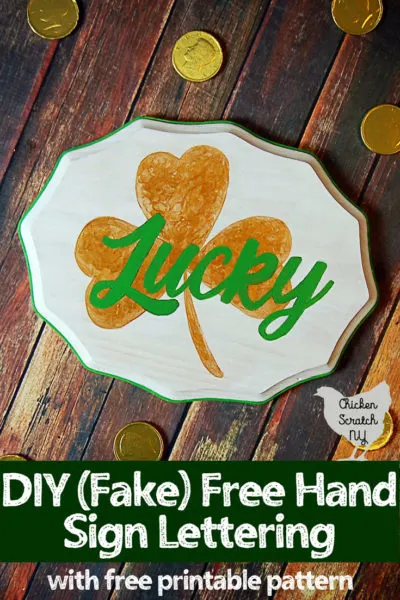
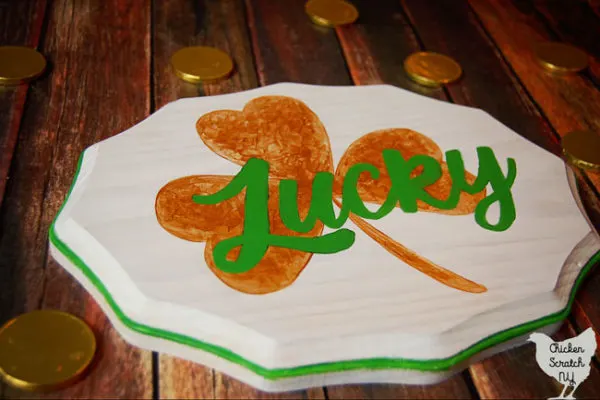
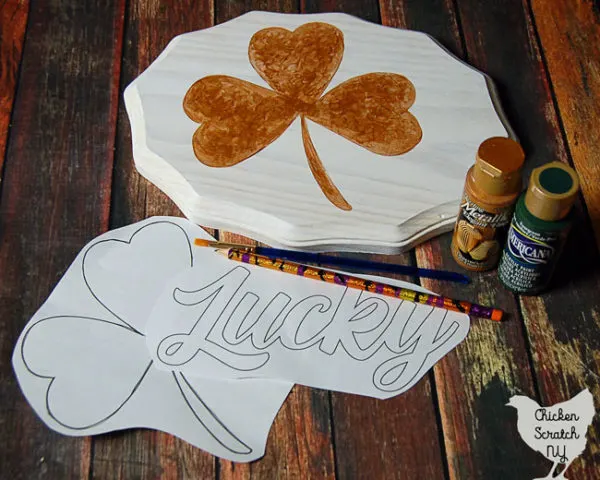
Enough of my mental health, back to the crafting. I wanted to make a cute St. Patrick’s Day sign to hang up with my Gold Coin Wreath and I didn’t want it to Be A Process.

How to Fake Freehand Letters:
1. Set up the phase/graphic and print it out on regular paper
2. Roughly cut around the shapes to make it easier to line things up
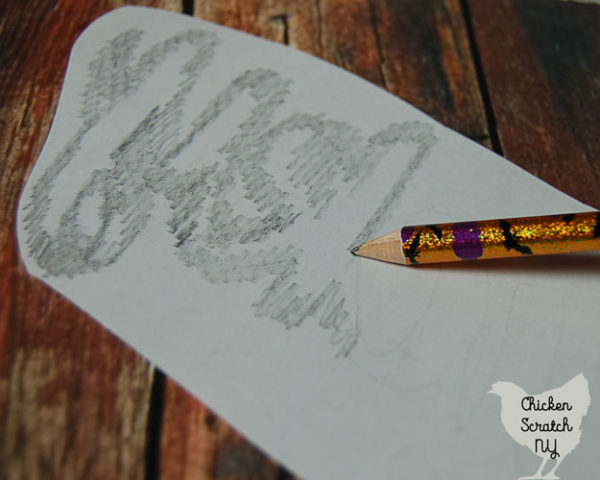

3. Flip over the paper and color with a pencil over the places where you need the design to transfer. You want a soft pencil lead and use the side of the pencil not the point
4. Flip the paper over again and place it on your sign or canvas or whatever. Trace over the design you printed using a fair amount of pressure. This should leave a faint outline of your design
5. Go in with a marker or a paint brush and fill in the design. Repeat with other layers.
I used a wooden sign I had laying around and painted it with Americana Multi Surface in Cotton Ball. I only did one coat but I noticed the raw wood soaked up a lot of the paint and if I was more patient I would have done another coat.
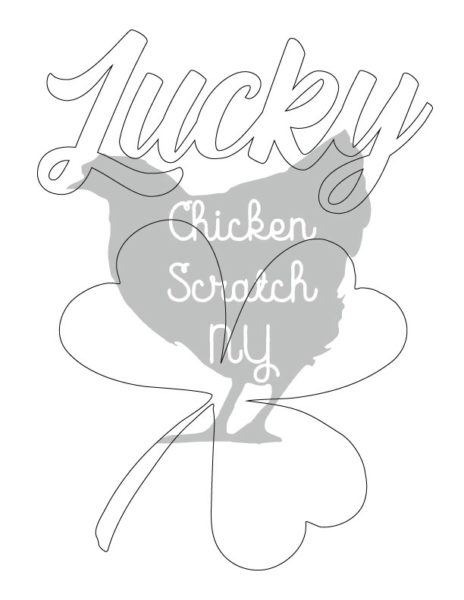
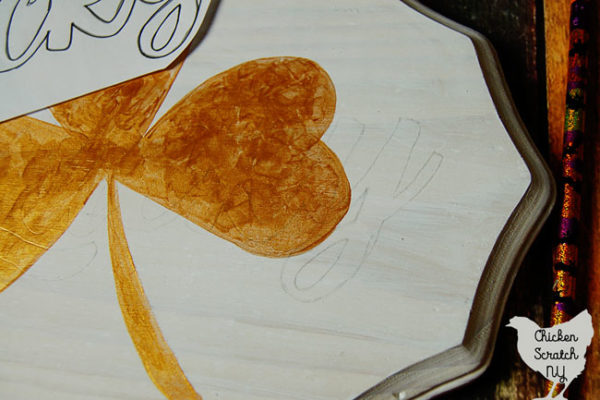
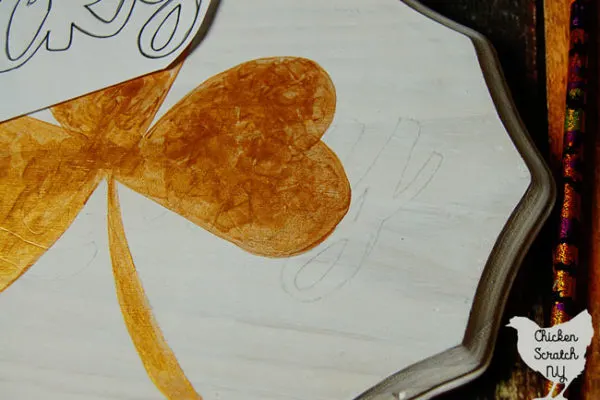
I added the clover with the DIY carbon paper method and filled it in with DecoArt Metallic paint in Emperor’s Gold. I didn’t want a solid gold so I used a short crosshatched brush stroke for added texture. It looks different from every angle which I think is pretty cool.
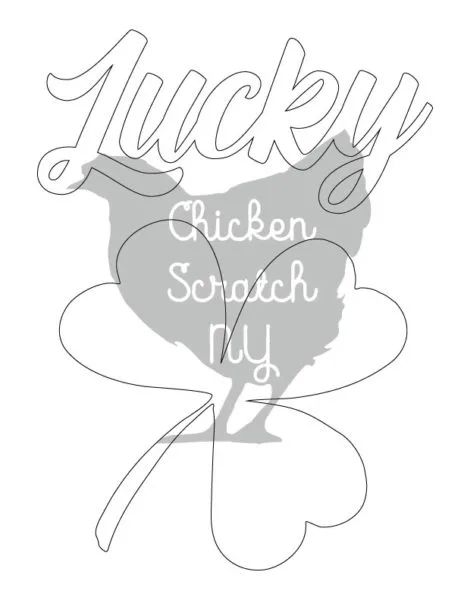
Click here to download the free printable lucky & clover pattern
The green gave me some trouble. I stated out with a dark green but the paint was old and separated. That’s why the work “Lucky” has a dark outline around some of the letters.
I ended up using more multi-surface in the color Leprechaun. It was just too perfect and I should have done that the first time!
Other projects to try: