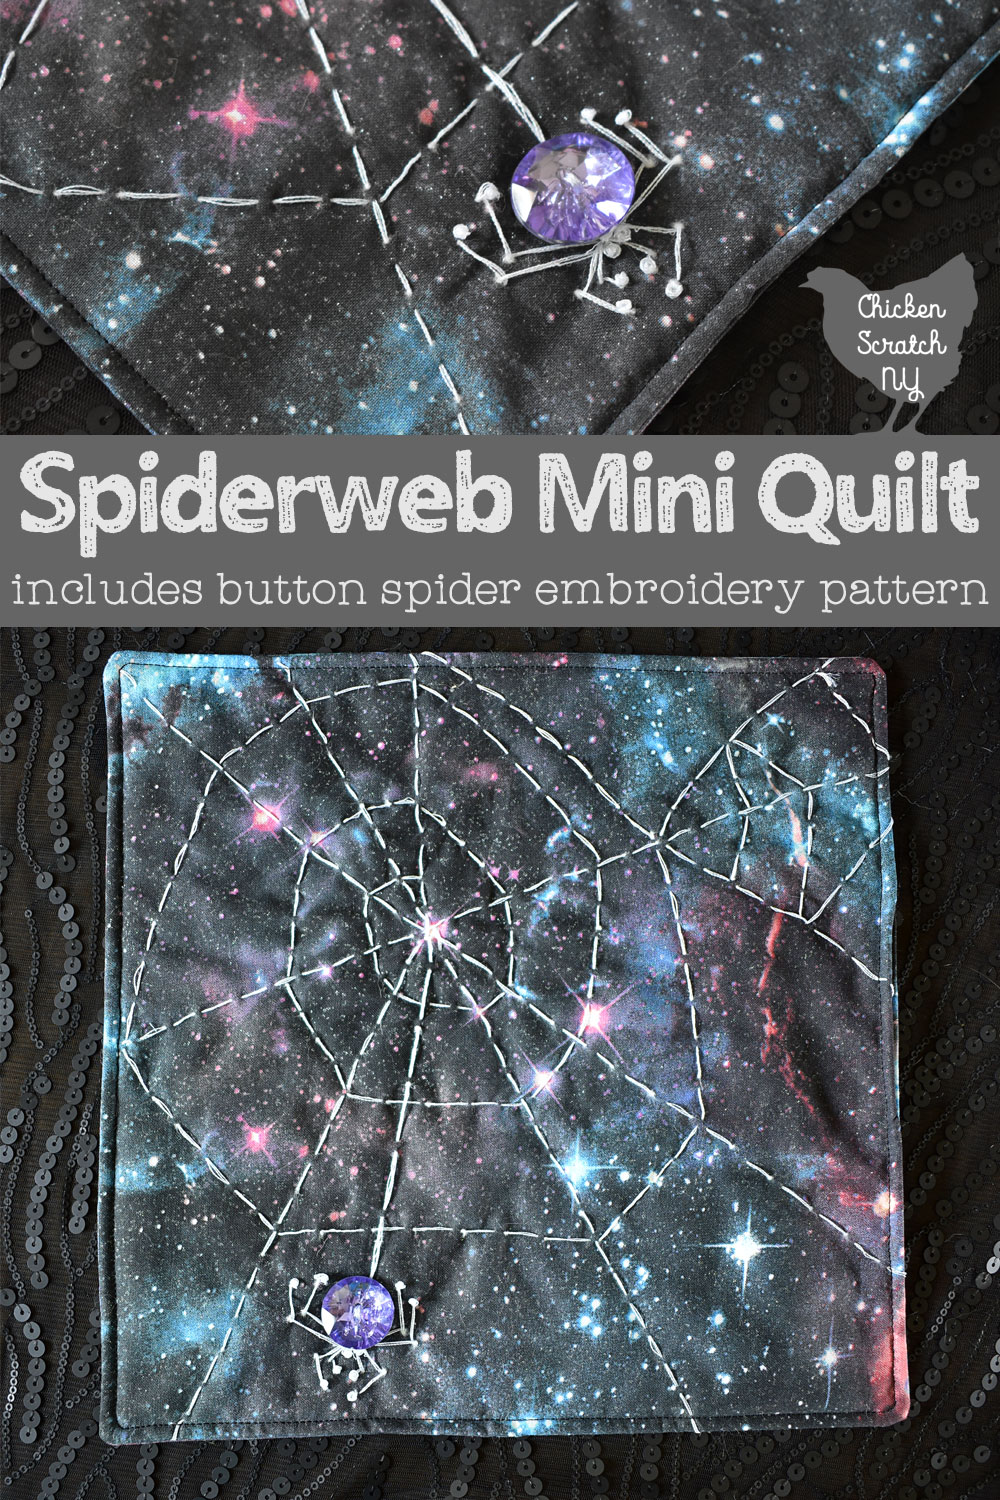
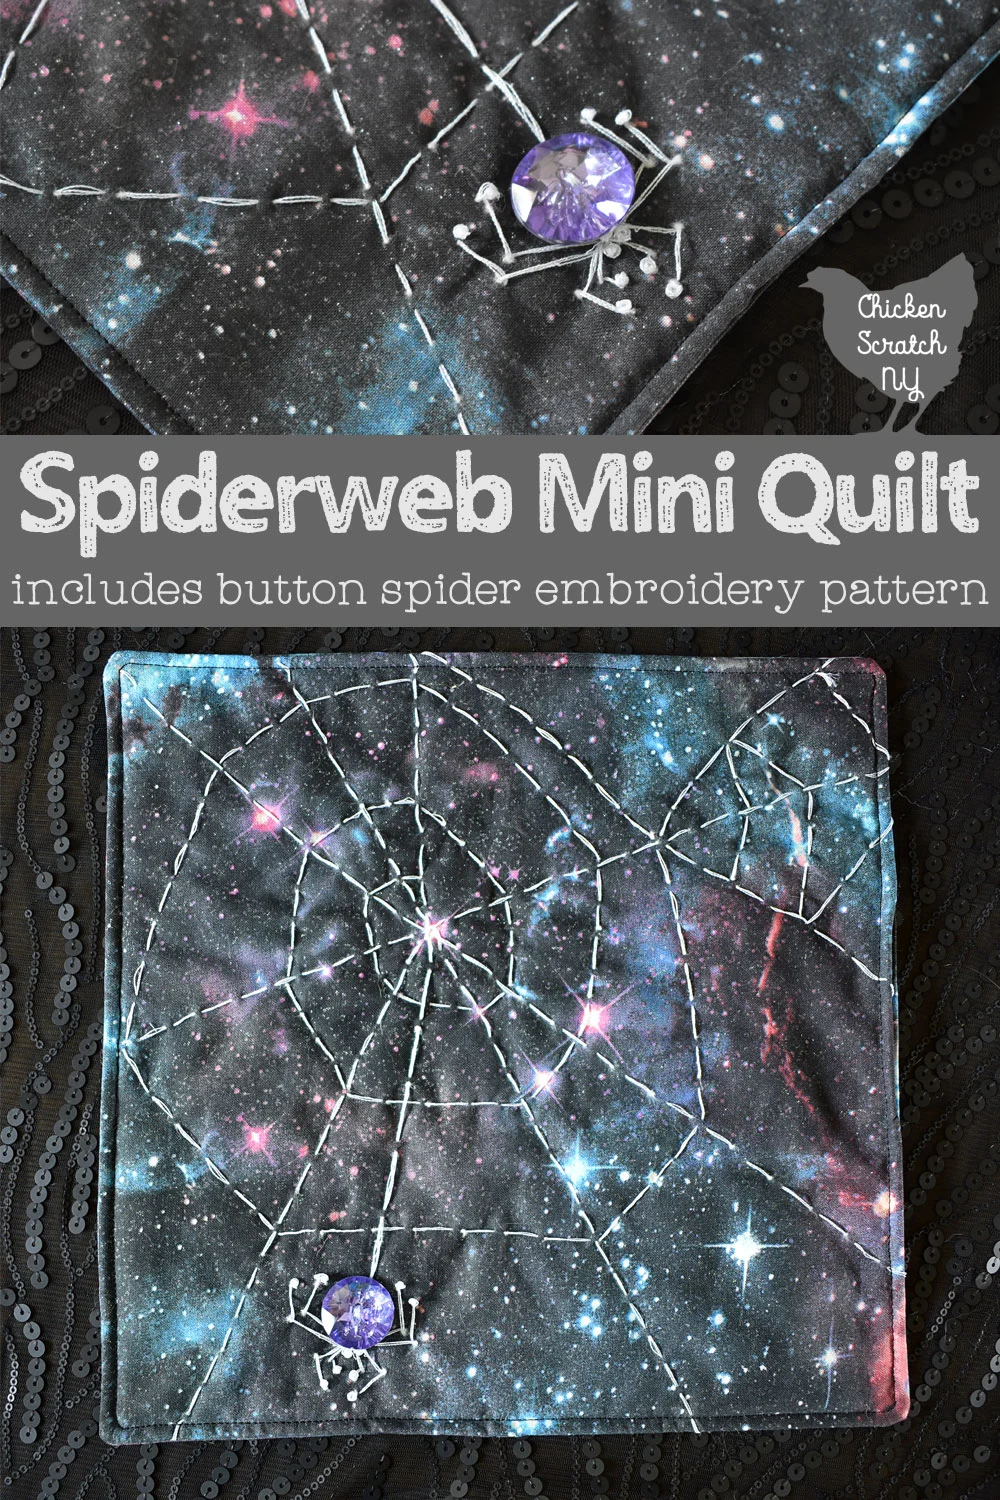
This simple table runner is a great introduction to hand quilting and embroidery. The spider web embroidery is easy to do and impossible to mess up. The hardest part is picking the fabric!
This project started last winter, I wanted to do some spooky DIY but it was the wrong time of year. Instead of relying on Halloween fabric I had to turn some standard issue sewing supplies into something a little bit creepy.
We can pretend this is a Halloween project but if you’ve ever been to my house you’d know I’m keeping this out all year.
Everything I used for this project is available year round at the craft stores, the thread is basic embroidery thread, the fabric is regular quilting cotton and the buttons are nothing special. I got everything at Joann’s.
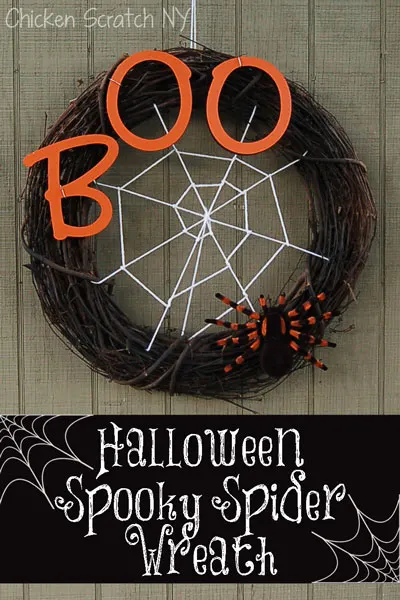
I’ve made two of these so far and I did them in slightly different ways. If you aren’t up for quilt binding check out the Spiderweb Mini Quilt Tutorial!
This post is written with beginners in mind but if you’re impatient with crafty ramblings there will be a basic DIY card at the bottom of this post.
Make A Quilt Sandwich with Binding
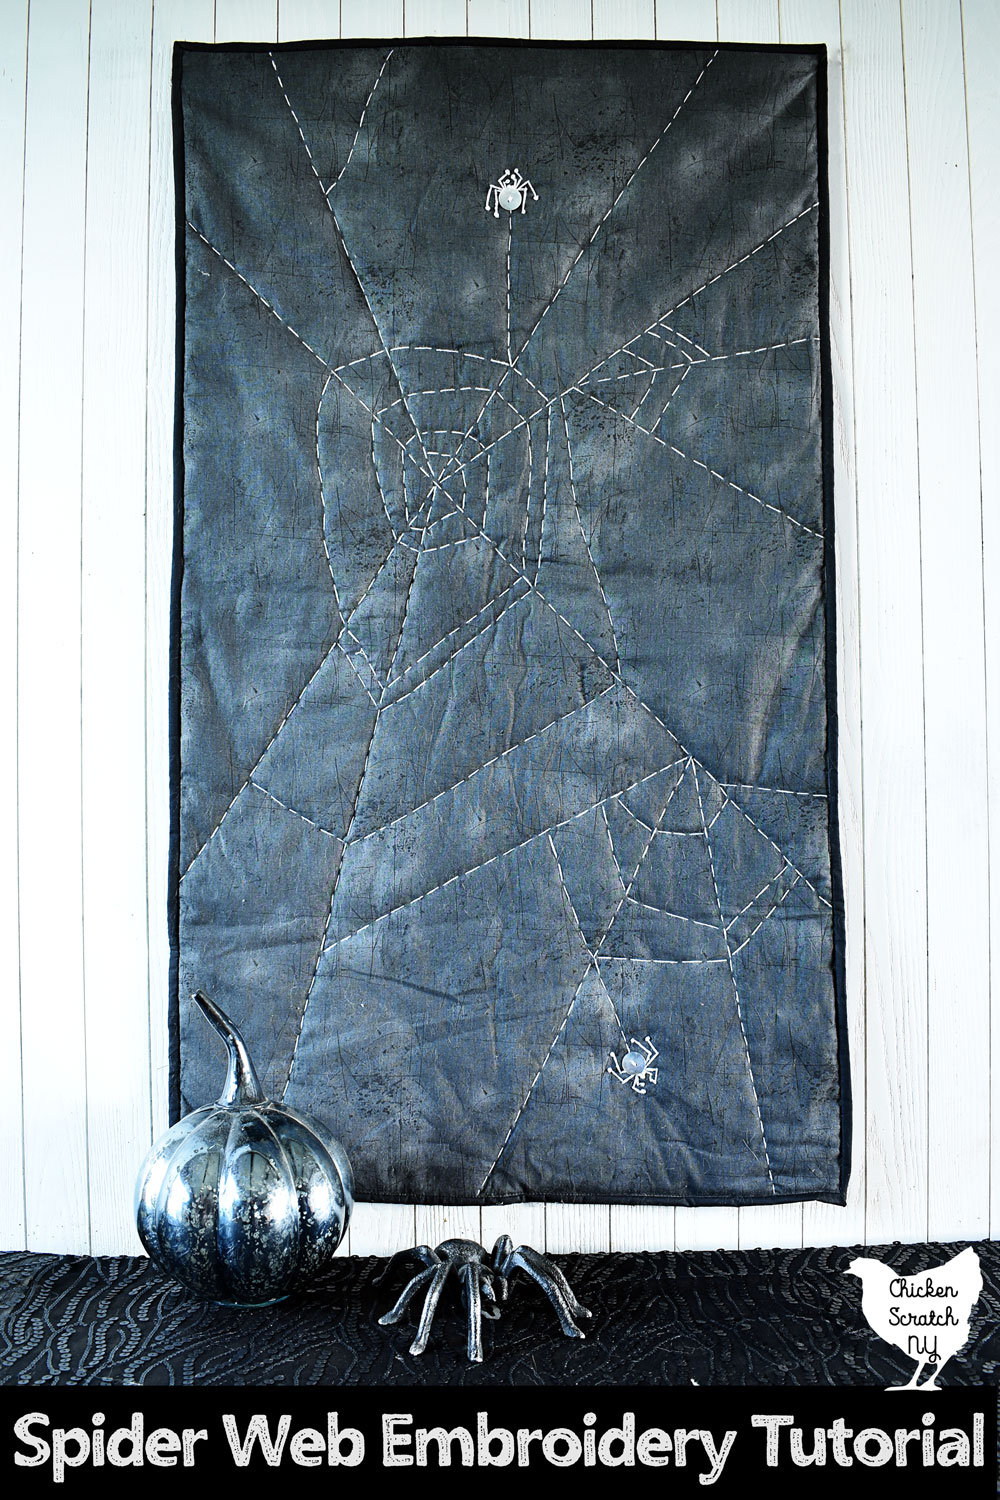
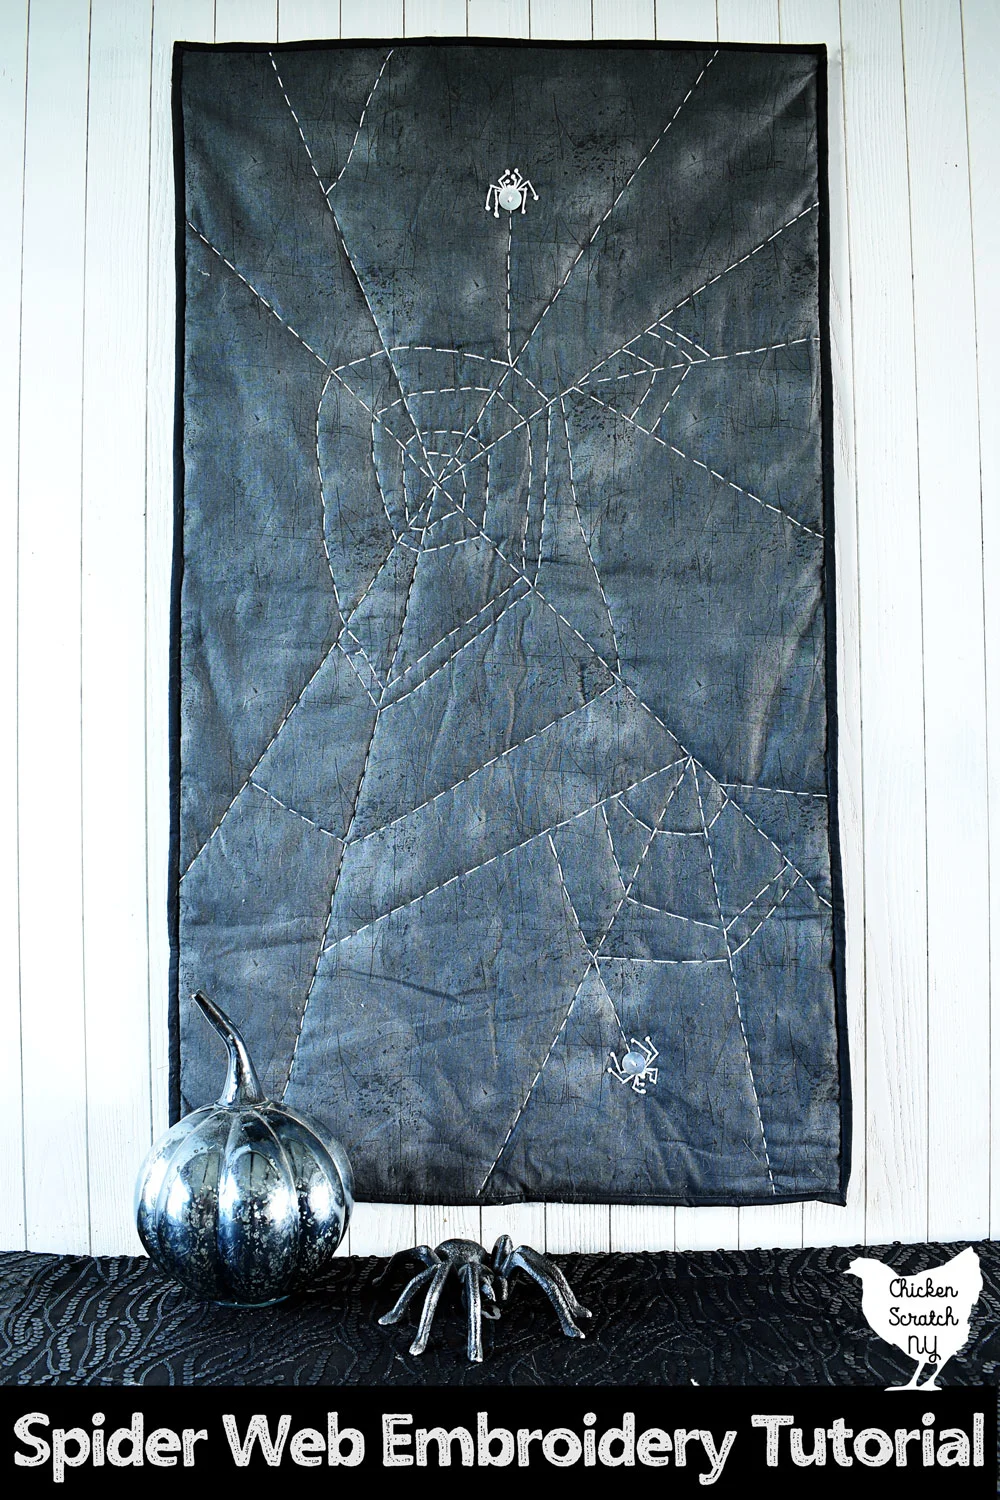
This was my first attempt and I think it’s my favorite. I used two layers of quilters cotton with batting between them and finished it up with a solid black binding.
When it comes to quilts I’m an old fashioned gal and I like that definitive border than a binding provides.
This was my first attempt at binding and I messed it up from the start by cutting 2 inch strips instead of 2.5 inch strips. I had to do quite a bit to fix it by hand on the back but the front looks good so I’m happy.
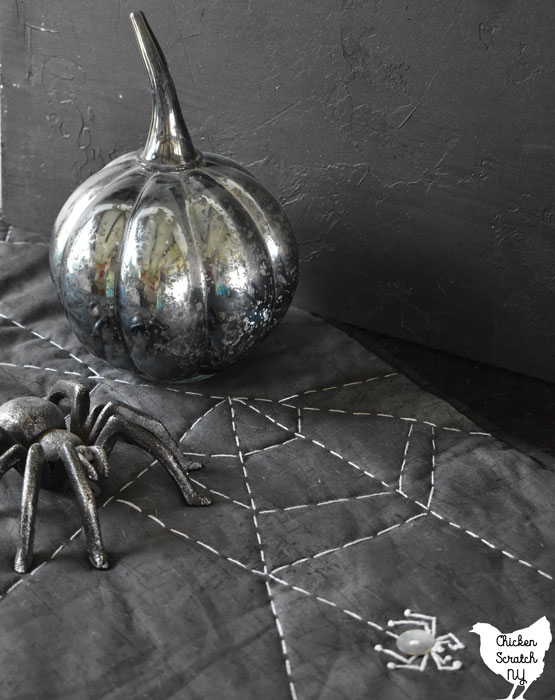
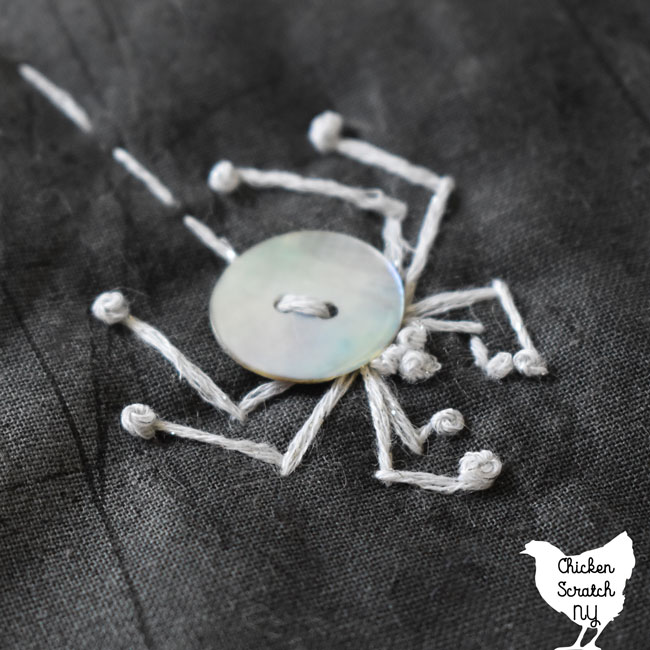
For this runner I bought a grungy tonal dark grey from the regular quilt fabric section. I used Mouliné Étoile embroidery floss from DMC in the color Blanc.
The Mouliné Étoile thread has a bit of shimmer and it’s fluffier looking than regular embroidery thread, I though it added something special to the webby-ness of the embroidery. All the stitching was done with 3 strands of thread.
I used a pretty fluffy polyester batting for this runner. I didn’t have any issues with the batting pulling up through the fabric when I did my stitching.
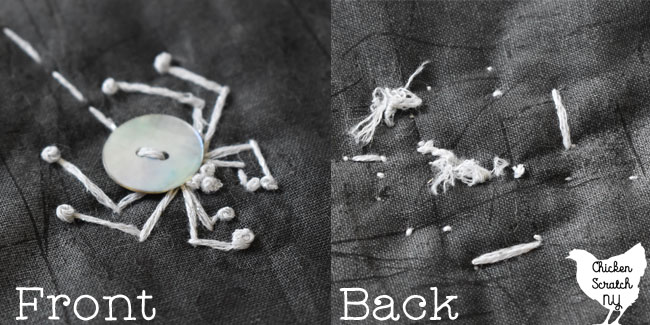
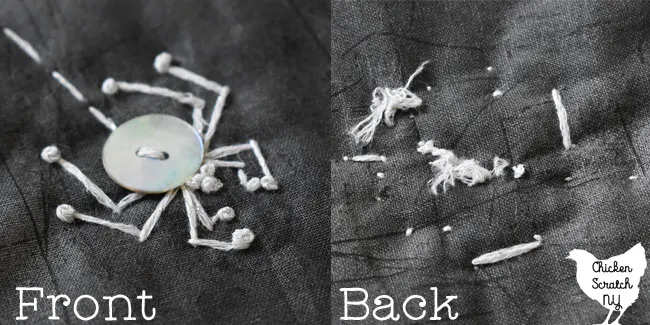
The downside to this method is the back is pretty ugly with visible stitching and knots. Personally I don’t really care what the back looks like, but you might.
Making the Sandwich
Start by cutting your fabric into two equal pieces, cut a piece of batting the same size or slightly larger on each side. There isn’t a lot of stitching and it’s all by hand so you shouldn’t have much shrinkage.
Lay one piece of fabric face down (pretty side against the table), spread the batting over it and then add the second piece of fabric with the face (pretty side) up.
Secure the three layers of your sandwich together with safety pins. Don’t use straight pins or you’ll end up stabbing yourself a lot, not that I tried…
Now you can move on to the web making and adding your spider.
Making the Spider Webs
Onto the real fun! Adding the web is where you really get to let your creativity go wild. I used a few special tools to make my webs just the way I wanted them.
First up is a giant needle, I bought 3 inch long Doll Needles from Joann’s. Using a long needle means you can make more stitches at once and I think it’s easier to keep them straight and even.
Second is a ruler or straight edge and some chalk. You can use fancy tailors chalk or just grab a stick from your kids craft bin. It will rub off as you work but it helps you create a decent framework.
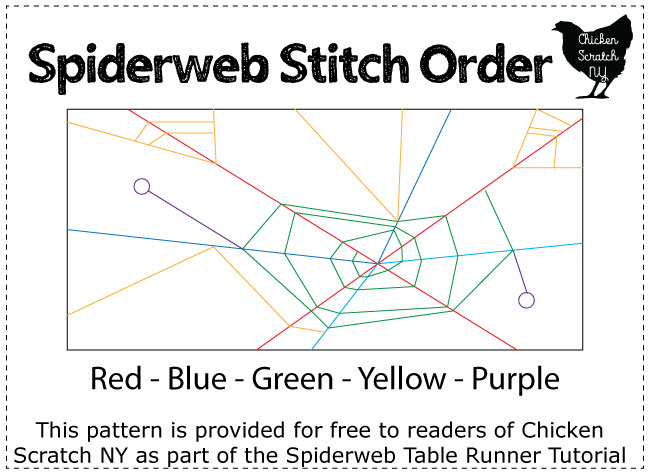

First up make a giant X (red) with two straight lines using the ruler and stitch them from edge to edge. I intentionally avoided the corners or making anything symmetrical.
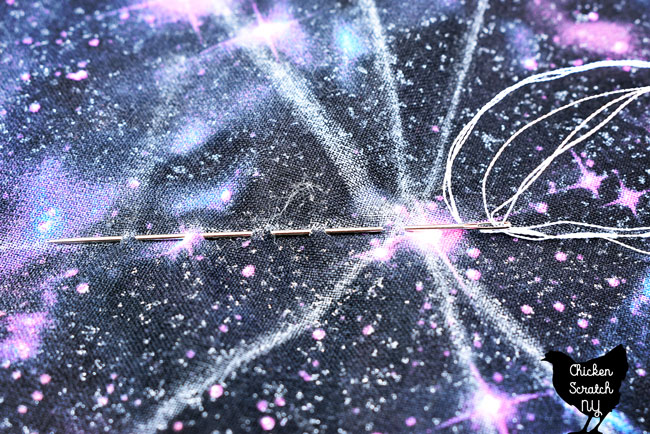
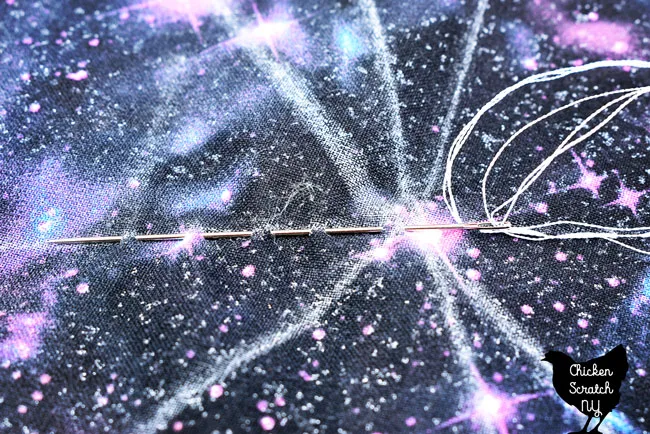
For your straight stitches aim for about 3/8 to 1/2 inch of thread showing on top (big bite) and 1/8 (tiny bite) on the bottom. It gives the illusion of an unbroken line but up close you get that rustic homey feel I’m always going for.
Then I added a few more lines from the edge to the center and then back to the edge at another angle (blue).
I like to keep my knots toward the edges where ever possible. Speaking of knots, all of your stitches with start with the knot at the back.
Learn the fastest way to Thread a Needle & Tie a Knot
Now it’s time to really get webby. Start near the center and spiral out using straight lines and turning when you intersect a web line (green). I like to use wonky angles and make some lines close together and leave larger spaces in other areas.
I like to add some smaller webs or just extra lines of stitching where I feel like there is too much open space (yellow). Just make sure you leave a spot for your spider and her butt rope (purple)!
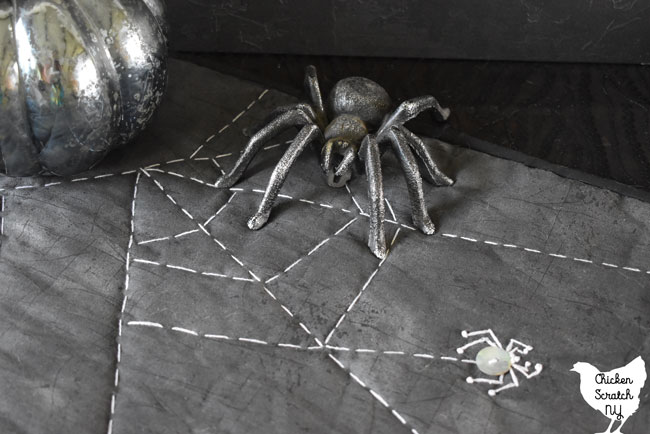
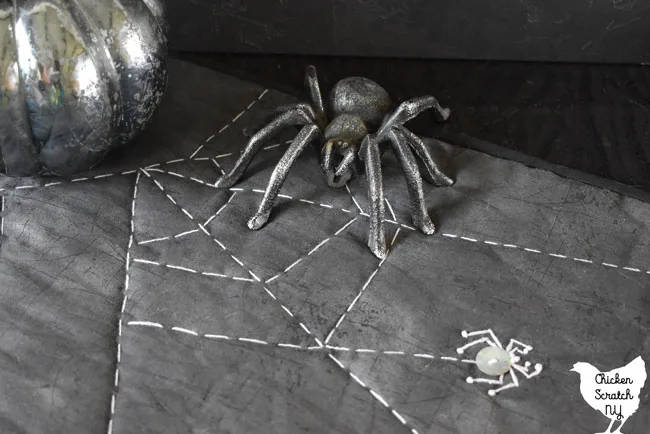
Adding Button Spiders
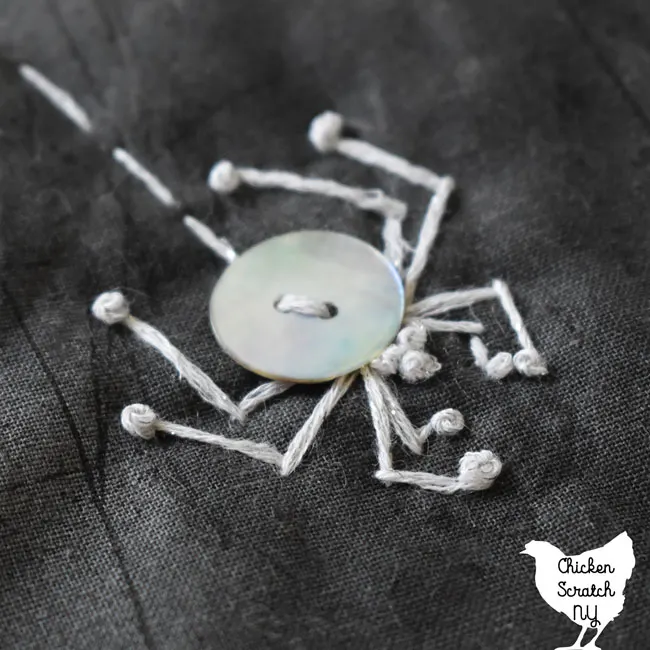
You can out your spider (or spiders) wherever you want. I added one on either side of the runner but you can add as many (or few) as you want.
This spider was my first attempt at normal hand embroidery. I’ve done quite a bit of punch needle embroidery and so much machine embroidery that it’s actually weird that I’ve never tried the regular method.
You only need to understand two stitches for this little spider, a straight or running stitch and a french knot.
Again you can really make this spider your own. I love the chunky french knot toes but you can skip them or add even more and give her fat ole knees too.
The number of times you wrap your thread for the french knots will depend on the thickness of your thread and how big you want the knots to be. I recommend you practice on some scraps before hand to figure out your sizing.
Coming from the land of machine embroidery digitizing I’m mentally programed to draw lines with the absolute minimum amount of stops (and knots) as possible.
You can sew each spider with a single length of thread by working from the middle out and back in. It’s easier than stopping and cutting and since the only real traveling you do is between the toes you don’t end up with any giant stitches on the back either.

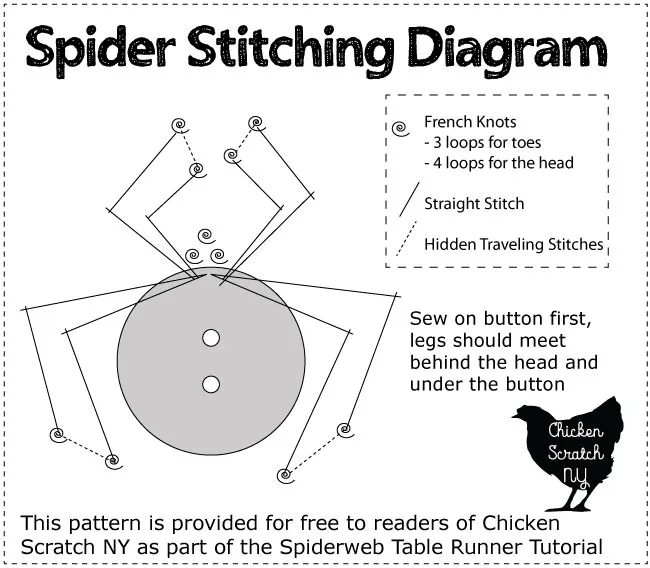
Start off by giving your spider a head with 3 large french knots. Then come up with the needle just under the edge of the button, make one long straight stitch angled back towards the button, bring the needle back up just outside the first line you made, make a second long stitch angling even more towards the button.
Come back up a few threads over and make your french knot for the toe. Bring the the thread back up about 1/4 inch from your first knot and make another french knot, now stitch the second leg the same way you made the first but in reverse, ending up in the same spot under the button.
Repeat another three times to make 8 legs. I made my back legs longer but again, this is your chance to make the spider of your dreams!
Finish Up with Binding
Once you’re happy with your webs (honestly you can still add more with this method, the back is already a mess) use scissors or a rotary blade and a ruler to straighten your edges and get rid of the excess backing.


Cut enough strips of binding fabric to cover all the edges of your table runner, I used a solid black and cut 4 strips that were the width of the fabric.
I don’t want to get into how to add the binding, it really could be it’s own post and I’m not that good at it. Instead I’d like to point you to my favorite binding tutorial from Jordan Fabrics on YouTube.
Spider Web Embroidery Tutorial
This simple spider web table runner with button spiders is a great introduction to hand quilting and embroidery. It's fully customizable and looks great in any size or color combination.
Materials
- 2 Identical pieces of quilting cotton
- Same size piece of quilt batting
- Embroidery Thread, try something fancy like DMC Mouliné Étoile
- Buttons for Spiders
- 2 1/2 inch wide strips of Fabric for Binding
Tools
- Scissors
- Rotary Blade & Mat (optional)
- Safety Pins
- Ruler
- Chalk
- 3 inch Doll Needle
- Regular Sewing Needle
- Sewing Machine with coordinating thread
- Straight pins or clips for binding
Instructions
- Prepare your fabric making a quilt sandwich with a layer of batting sandwiched between two layers of cotton with the right sides facing out
- Pin along the edges and in a few places in the center to keep the fabric from shifting
- Mark main lines for spider web using ruler and chalk
- Stitch webs using long straight stitches
- Add buttons and stitch spiders following the diagram above
- Square up uneven edges with rotary blade or scissors
- Finish with 2 1/2 inch strips of binding, mitering corners
Check out my Halloween Page for more spooky fun or start here: