Autumn is the best time of the year and chilly weather is the perfect time to cuddle up under a new quilt. It’s even better when the quilt has pumpkins on it!


The Pumpkin Lattice quilt is a great size for tucking around you while you watch a soccer game from the chilly sidelines, relax next to a late-season campfire, or binge a horror movie marathon. It looks just as great in autumn fabrics as it does in spooky Halloween prints!


The inside section of this quilt would wor well for any level of quilter, the only semi-tricky part is getting the pieced border to match up with the inner section.
Falling in love? Get the Pumpkin Lattice Quilt Pattern
It’s easy enough to fake if you’re a little bit off. If anyone ever pulls out a ruler to check your work, you have my permission to smack them with your iron (preferably a cool one but you do what you have to).
Fabric Requirements
The Pumpkin lattice quilt comes in one size and it finishes at 57″ x 57″
- Background 1 – 5/8 yard
- Background 2 – 1/2 yard
- Pumpkin Blocks – 3/8 yard
- Stems & Narrow Borders – 5/8 yard
- Outer Border – 3/4 yard
- 4 Patch Blocks & Pieced Border:
- either – 1/2 yard each of 2 contrasting fabrics or 14 assorted 2.5” width of fabric strips
- Backing – 3 5/8 yards
- Binding – 1/2 yard
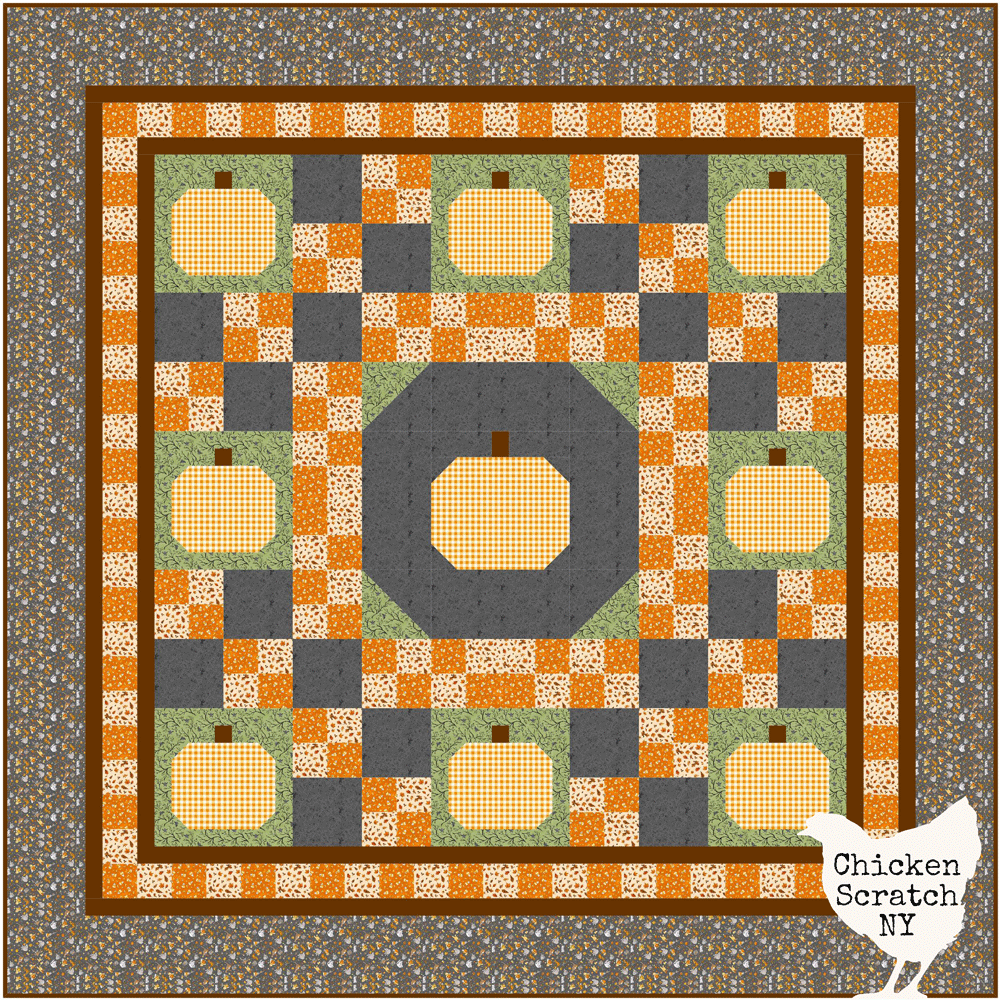
I’m definitely one of those people that enjoys buying fabric as a hobby and it’s really hard for me to pass on a good fall or Halloween fabric line! I’ve finished this quilt three times, once in a spooky line, Halloween Haunt and twice in fall fabrics, Adele in Autumn and Hello Fall.

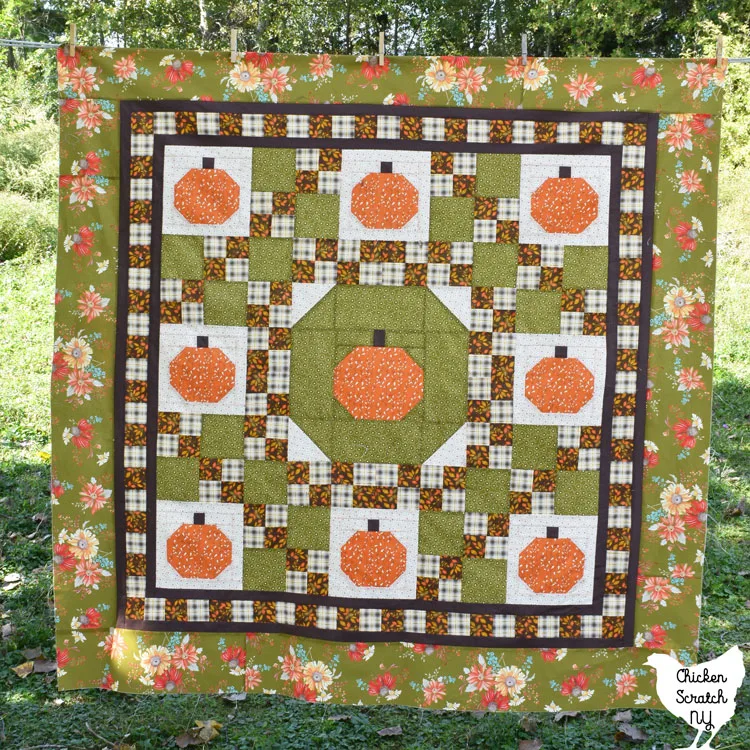
Green is my favorite color, and I fell in love with the large green floral from Adele in Autumn. In fact, I loved it so much that I made the outer border larger than it’s written in the pattern to better show off the print.
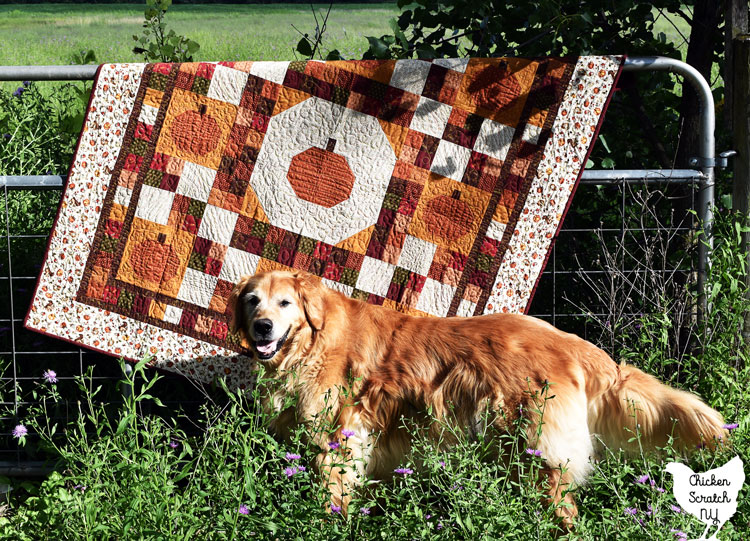
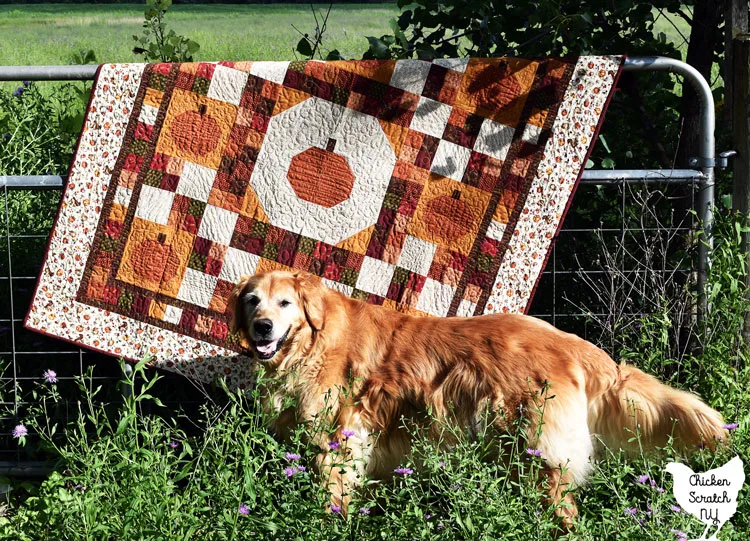
My OG pumpkin lattice was super scrappy and a financial disaster. I was hell bent on making this quilt in this fabric even though I had to buy yardage of every print. Needless to say I had (and have) quite a bit of leftovers.
Could I take a better picture of this quilt that isn’t blown out by the sun? Yes, but that’s my baby boy Alfie, and I miss him too much to take this one down.

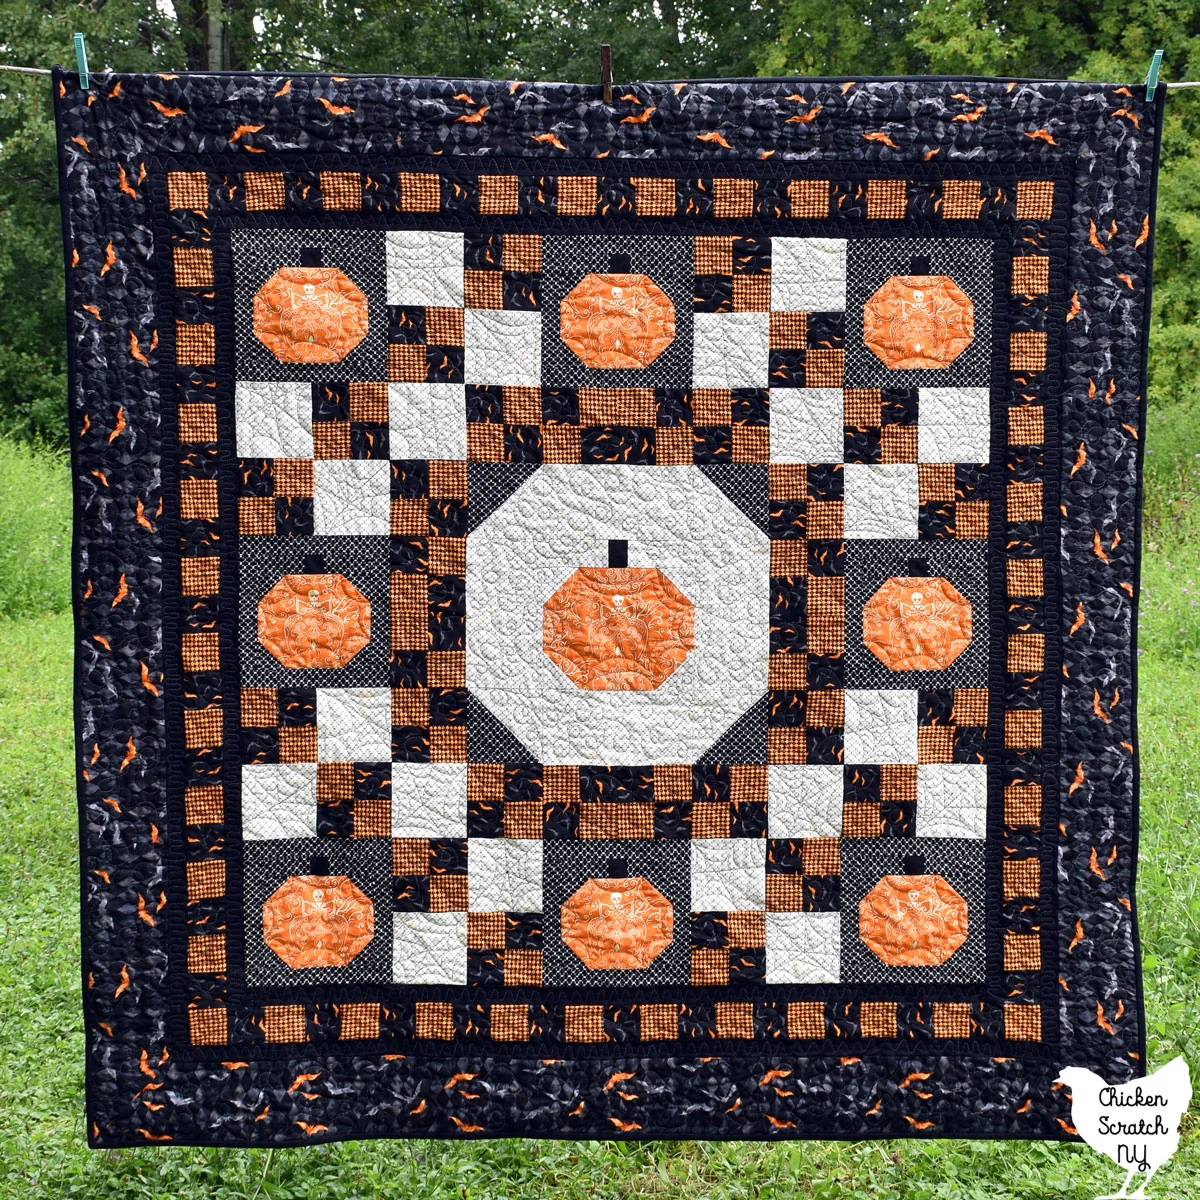
For the Halloween Pumpkin Lattice Quilt, I kept all of the four patches and the pieced border in 2 fabrics. I think it has just as much impact as the scrappy version but in a different way.
All of the fabrics were from the Midnight Haunt collection from Andover, even the adorable pumpkin print I used on the back. And if you’re curious, yes I picked it because I wanted that spooky orange skeleton print in my pumpkins.
This quilt was one of my first attempts at a mitered border and it turned out better than I expected. The print is so busy that most people won’t notice but I would and it’s my quilt.
Sewing
Let’s get into the pattern:
The majority of piecing in this quilt is made up of four patches, and I’d rather do taxes than sew together tiny individual squares so they’re all strip-pieced and sewn from 2 patch units.

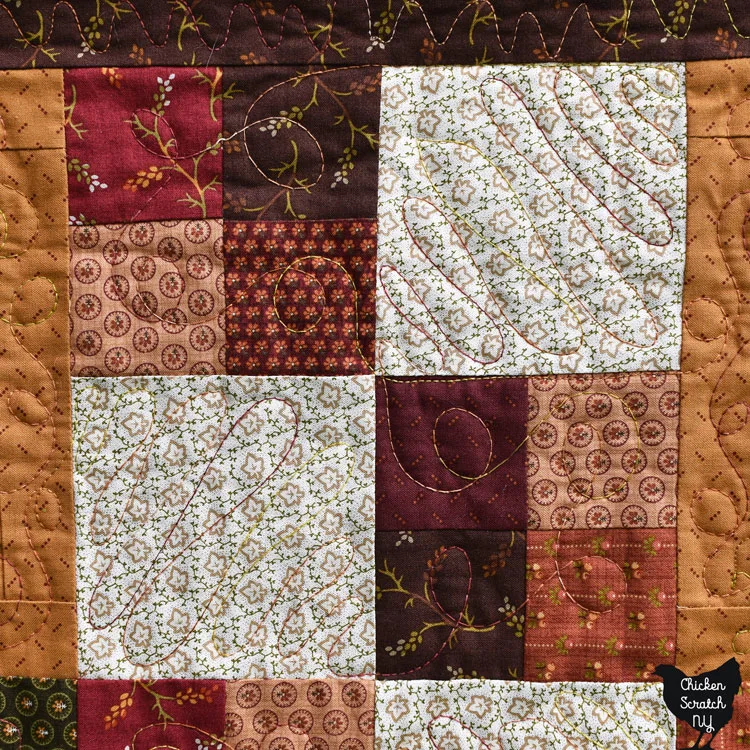
In order for this to go off without a hitch, you’ll want to make sure you’re pressing towards the same side on all your strip units. That way your seams will nest in the center and your blocks will line up perfectly!

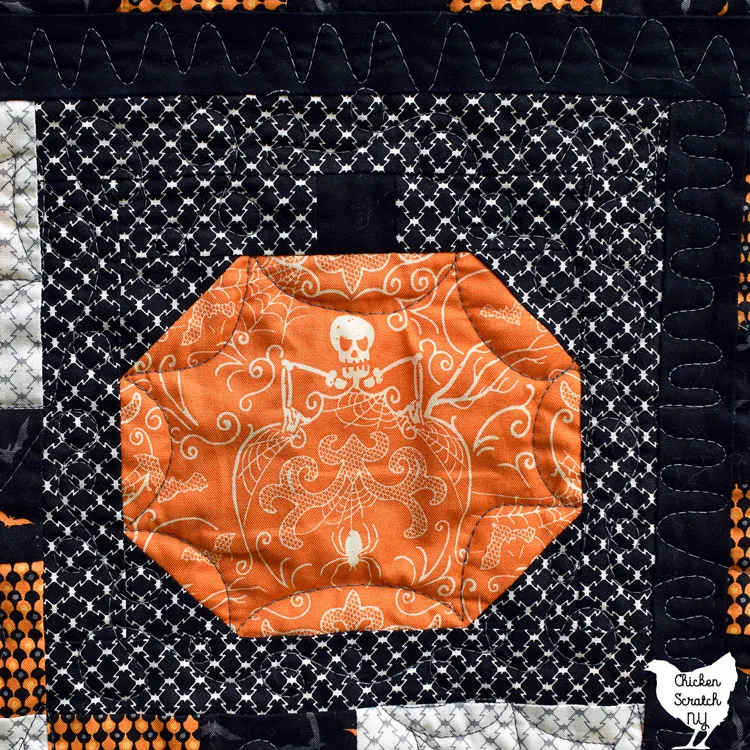
My favorite part of this quilt is the pumpkins and they could not be easier! This is a great time to pull out your fussy cutting skills and make your pumpkin block extra special.
Learn more about Fussy Cutting & 10 blocks to show off your favorite prints
Each pumpkin starts with a rectangle and we’re going to snowball the corners. There are a lot of ways to do this, you can draw a line across the diagonal, press a diagonal seam, or just wing it.

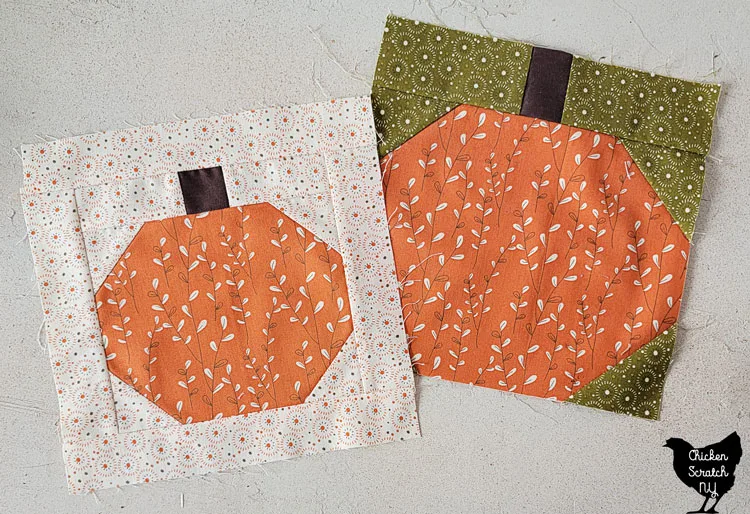
The beauty of pumpkins is they’re all a little wonky and if your snowballed corners don’t turn out perfect, it’s just character!
The best advice I can give you for this step is to press your snowballed corners open before trimming, then flip the block over and use a ruler to trim off any excess fabric you might have hanging over the edge. The goal is for the rectangle to be the same size before and after adding the corners.
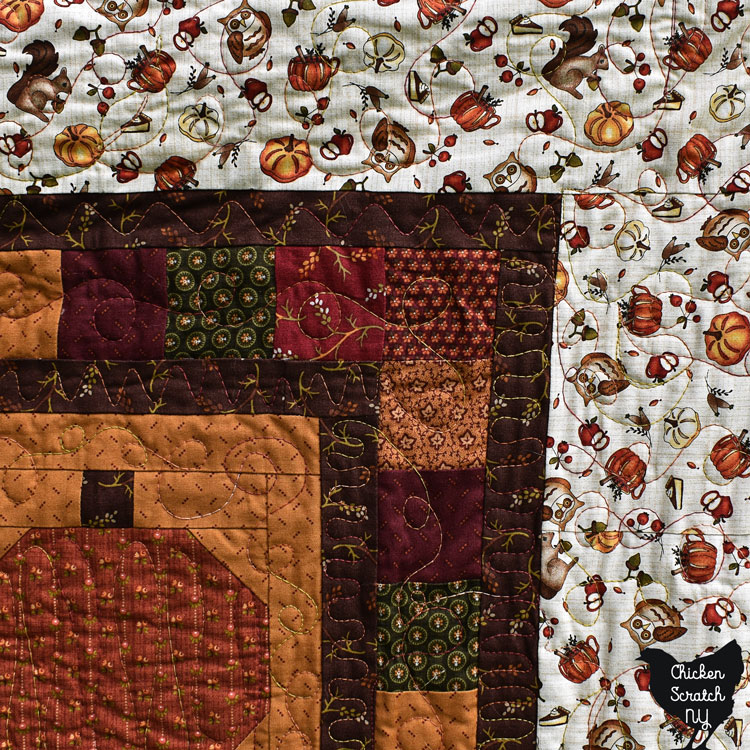
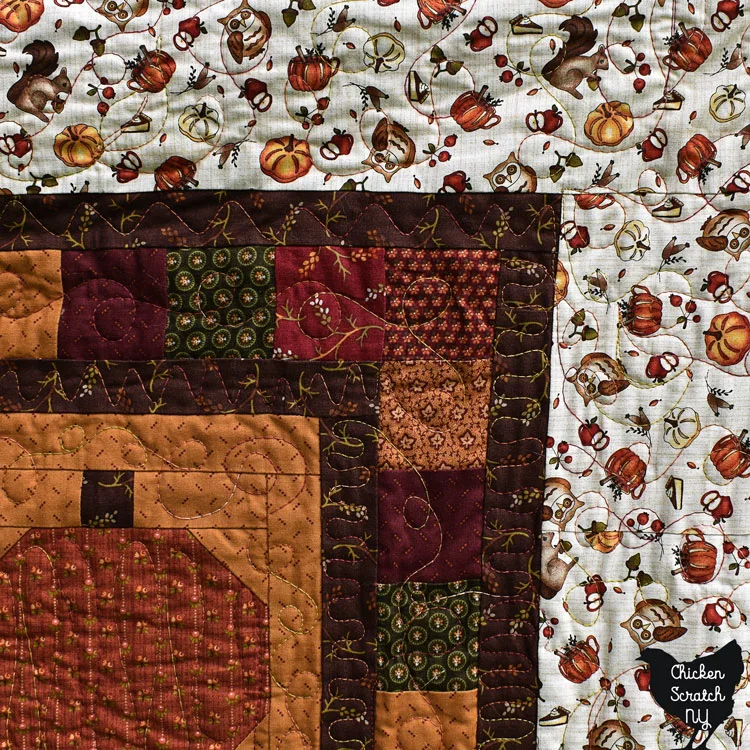
On to the misery…
Along with a general dislike of borders (and this quilt has 4), I’m also not a fan of pinning. But I think it really is necessary when working with the pieced border.
Even if you’re a much better sewist than I am (trust me that’s not hard, I sew like I’m late for my own wedding!) there are so many seams in the border that it’s really hard to get things to fit perfectly without pinning.
2026 Fabric Options
I won’t be sewing another version of this quilt in 2026 but that does not stop me from planning out exactly what I would do if I wasn’t currently drowning in pumpkin quilts (not a bad way to go but it’s not yet my time).
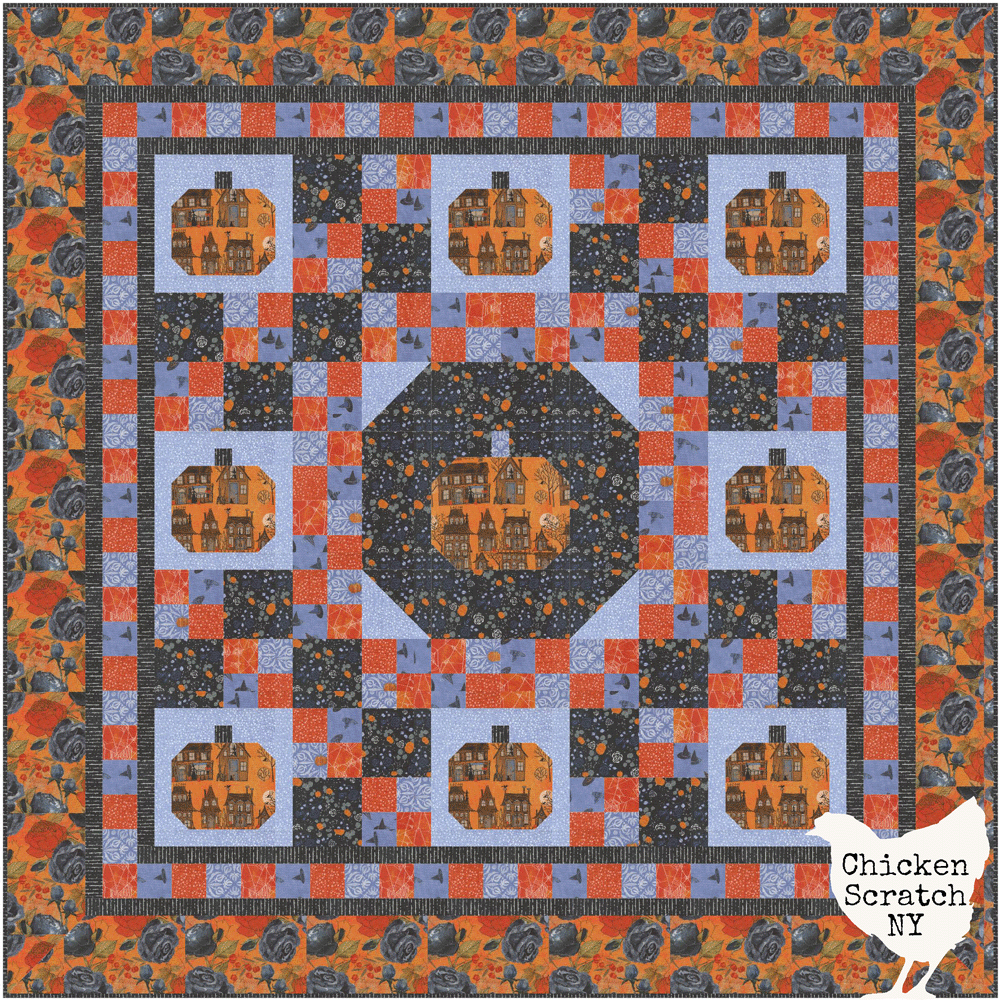
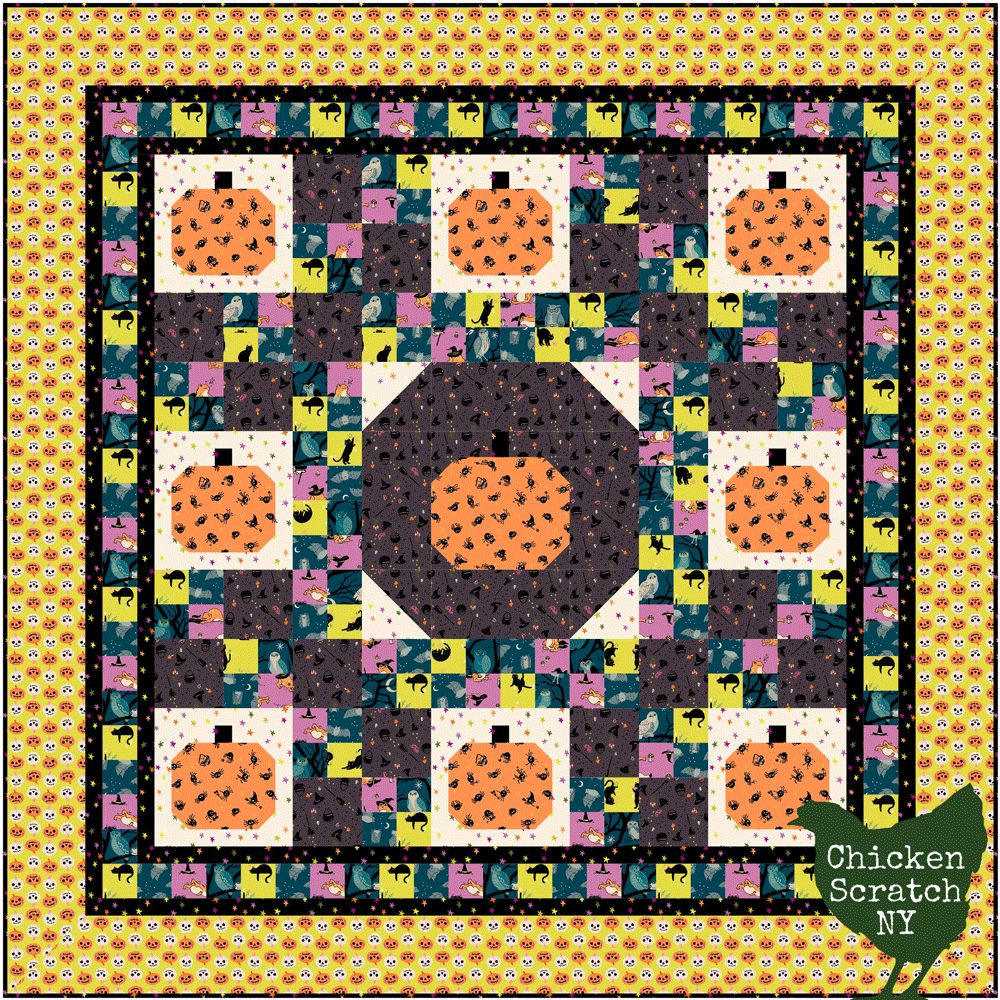
This was my favorite Halloween line of the year. I picked up a half-yard bundle on pure impulse, and I’ve been sewing all sorts of things with it.
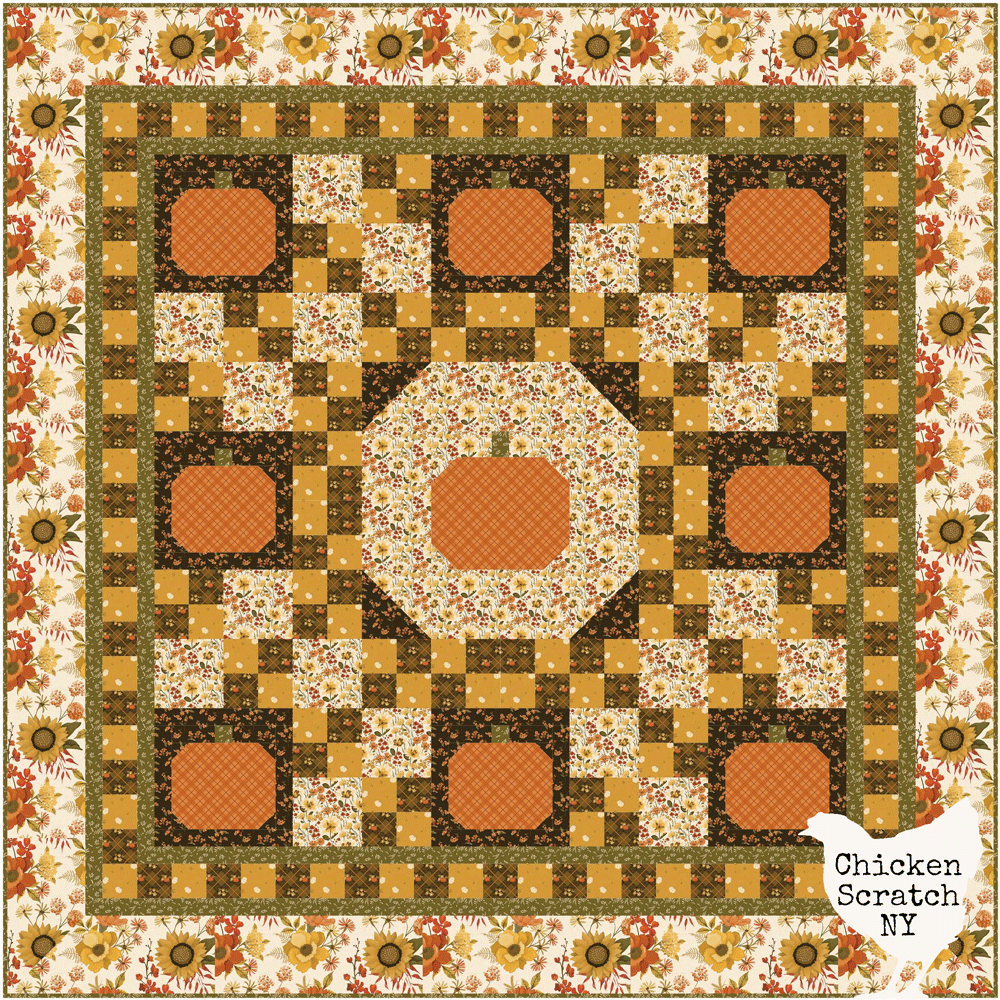
This is the most recent autumn line from Sandy Gervais, the green is a little darker but you can get a similar vibe as my Adele in Autumn quilt with the scrumptious green and orange combo (bonus points for the bias plaid!).
If you can’t get enough pumpkins in your life check out my shop for The Great Pumpkin Quilts:


or some of my fun DIY Fall and Halloween projects from the past: