Display your Halloween photos in style with this fun and kooky DIY Monster Picture Frame. They’re so cheap and easy to make you won’t be able to stop at one!
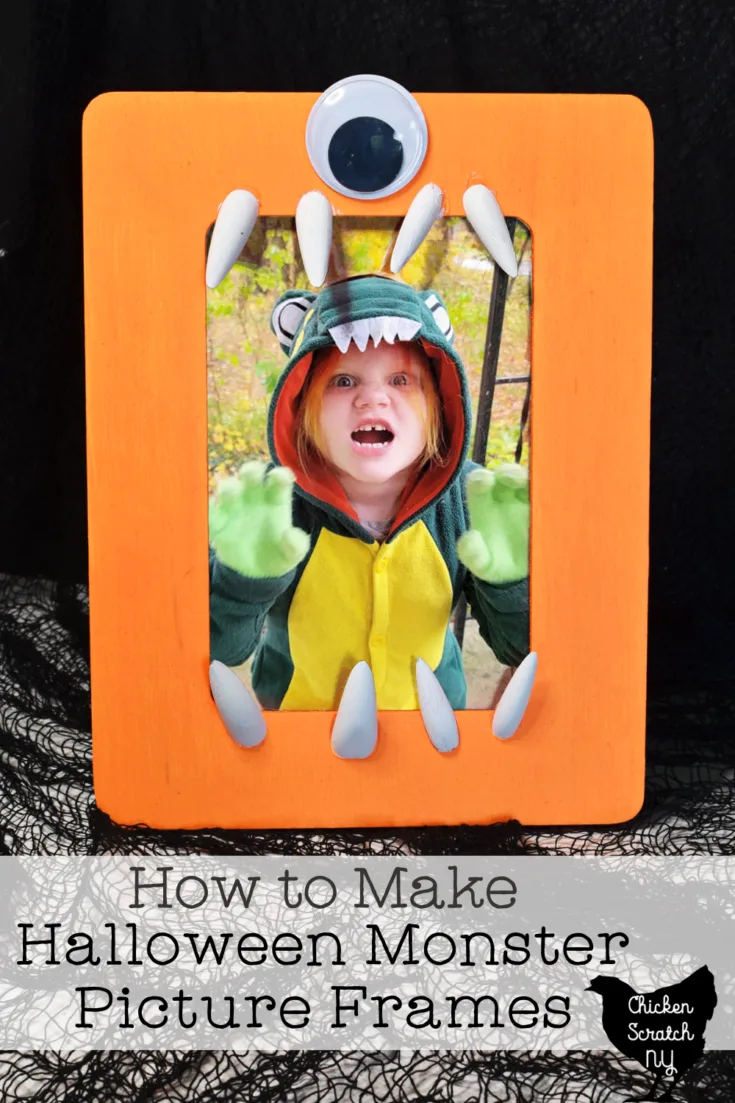
This project is great if you have little assistants, and with a little prep work, would be an awesome party activity. And who doesn’t love a party favor you can actually use?
Monster Picture Frame Supplies
The secret to keeping this project low budget is finding cheap picture frames. I was wandering around Michael’s (as you do) when I stumbled upon these 99-cent frames.
They don’t have glass and the standing mechanism is a dowel that you shove in a hole, but for this project, you can’t beat them! If you’re looking to make a whole bunch, for a class, party or you just really like monsters, you can order a 24 pack of frames from Michael’s website for only $18.24 or 76 cents a frame.
Assuming you want your monsters to be sweet, spooky or downright creepy you’ll need some paint to bring them to life. I went with DecoArt Multi-Surface Neon from my paint stash but I’m literally learning at this exact moment that DecoArt makes Neon Blacklight Paint and I’m considering a craft store run.
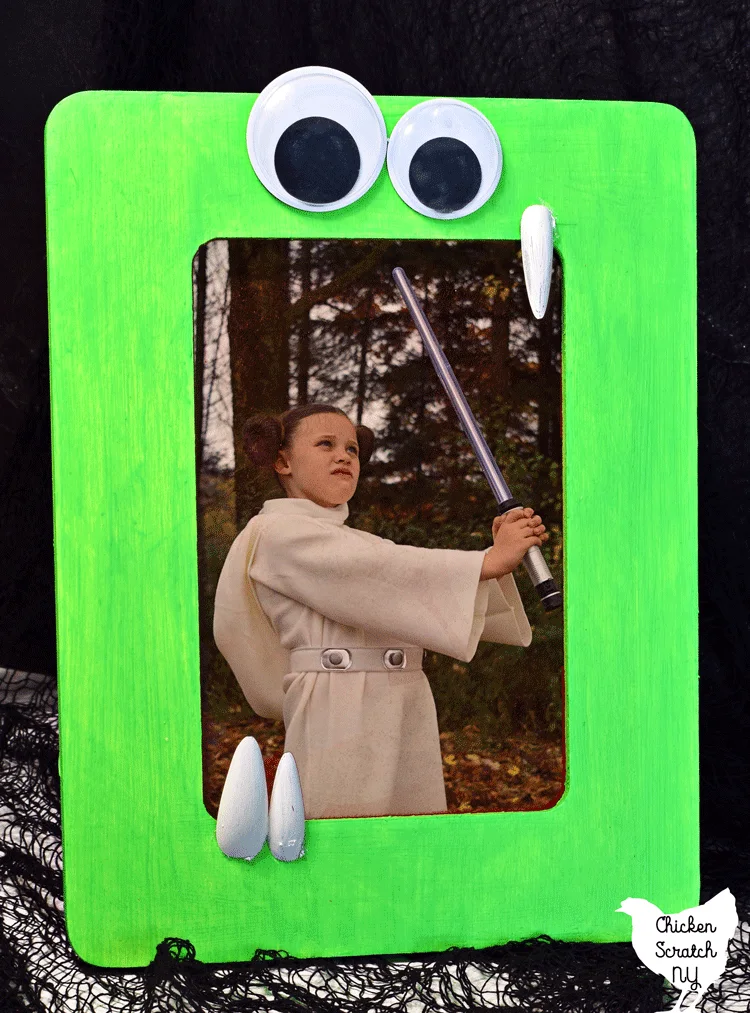
Of course, you can paint your monsters to match your theme. Orange & black are classic choices for Halloween but bright acid green, glossy purple or glittery pink would be fun too.
If you’re going to be painting a lot of them I’d lay out all the frames on cardboard outdoors and spray paint them. Spray paint takes a while to stop smelling so do it a few days in advance.
The finishing touches are the eyeballs and the ‘teeth’. Googly eyes are easy to find, I picked up the ones I used for this project in the craft section of the Dollar General.
The teeth are actually fake fingernails, I bought a giant box of them for my Mummy Hand Candleholder and I’ve been looking for excuses to use them.
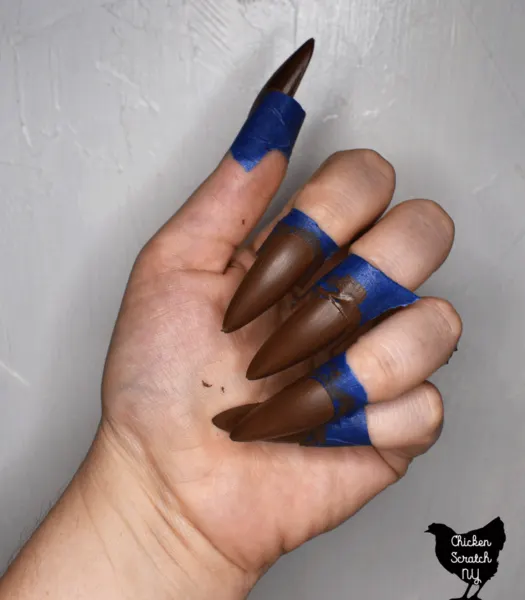
I used my handy painter’s tape method to give them all a coat of off-white paint. This image is from my Mummy fingernails but I have enough paint on my camera already and you’re smart enough to imagine this with white paint instead of brown.
Make a Spooky Mummy Hand Candle Holder to illuminate your Halloween night!
You can leave them plain but they are a little translucent and I didn’t want to be able to see the frame or picture through the teeth. My daughter wanted to put red blood all over them but I wanted to keep the vibes happy and kept them plain.
However, if you’re more on the bloody spooky side of Halloween you should absolutely do that.
You will also need a hot glue gun to attach the teeth and eyeballs and paint brushes for, well, painting.
How to Make a Halloween Picture Frame
Now that you’ve got your supplies together it’s time to have some fun! Paint your picture frames however your spooky little heart desires and let the paint dry completely.
I painted them with the paper inside and I was sloppy with it. As long as you get a uniform coat of paint on the frame, including the sides you’re golden.
If you’re making these frames as a party activity I’d recommend that you have them painted ahead of time. It’s the only really messy part and there is some wait time while things dry.
Once the paint is dry all you need to do is glue on the eyes and the teeth. You can really have fun with it.
Play around with different eye configurations and how many teeth you want. As much as I love the super toothy monster my heart belongs to the goofy dude with two teeth.
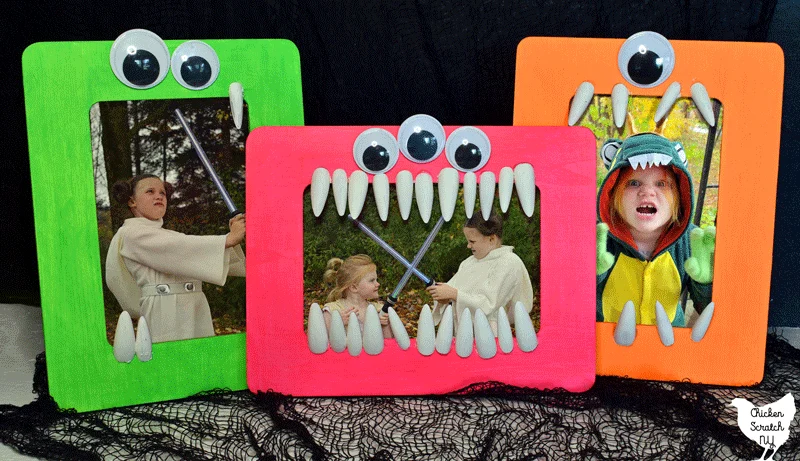
When you’re happy with your monster add a picture and the dowel to the back. I’m currently using mine to display Halloween photos but my kids are insisting on a “help we’re being eaten by a monster” photoshoot that will likely happen soon.
Check out my Halloween Page for more spooky fun or start here:
