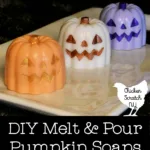
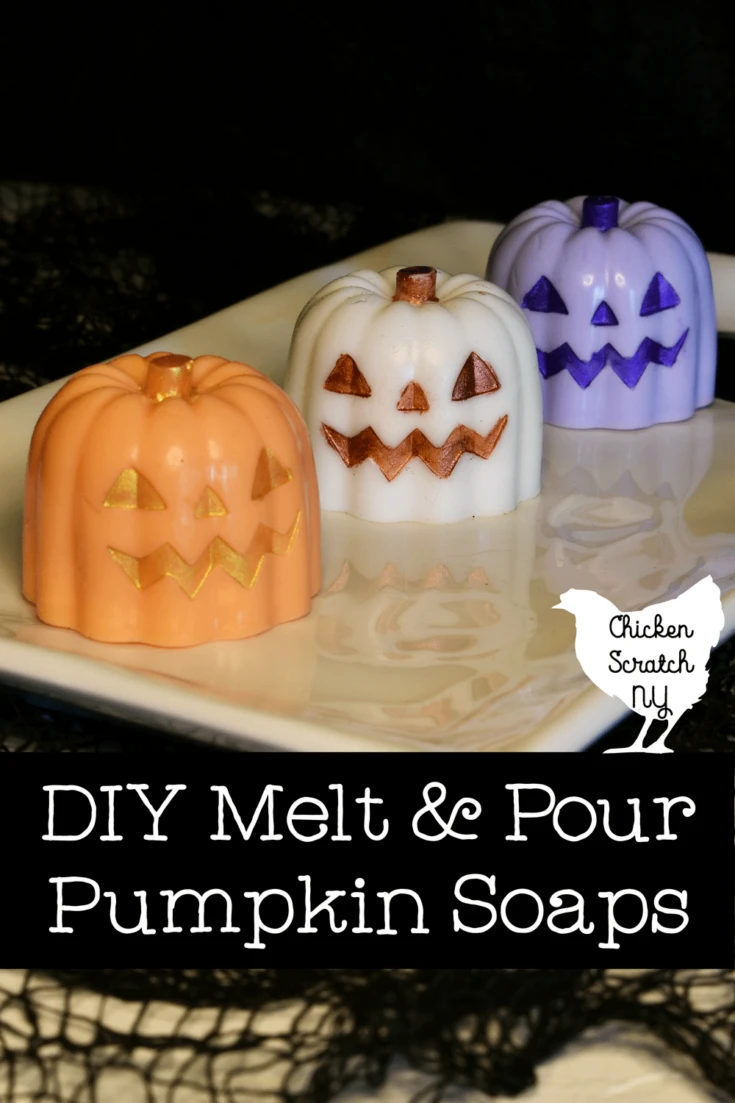
Everything is better with pumpkins, including soap. Autumn is the perfect time to make your own Melt and Pour pumpkin soap!

Making your own melt and pour soaps is a great way to dip your toes into the world of bath and body without having to deal with lye or any crazy chemical reactions.
Learn the Basics of Melt and Pour Soap Making
If we take the basic recipe and add a little bit of fall magic you can easily make these super cute little pumpkin soaps in an afternoon.
Melt and Pour Soap Pumpkin Supplies
Any melt-and-pour recipe needs to start with a soap base. It comes in large bricks, from one to five or even more pounds, and in a variety of formulas.
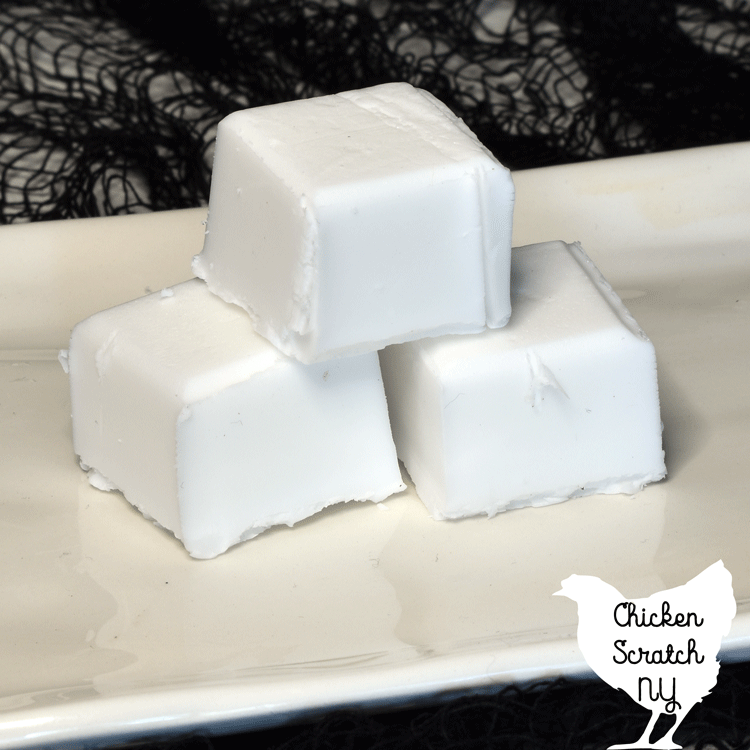

In the past, I’ve used melt and pour soap from Nature’s Garden, and if you have the time to wait for shipping I highly recommend it. But of course, I’m doing this on a whim so I went to Michael’s and bought Double Butter Melt & Pour Soap Base (the packaging has changed but I’m pretty sure this is the one I got!).
You’ll also need to pick out a fragrance, I’m using Tricks or Treats from Nature’s Garden which smells exactly like Halloween night. It’s also skin safe, very important for something you’ll be rubbing on your body!
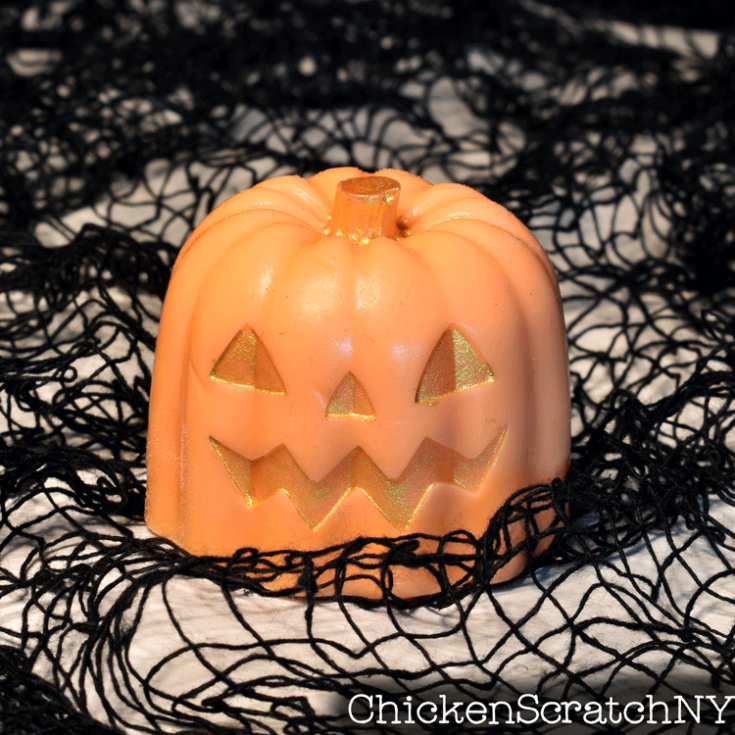
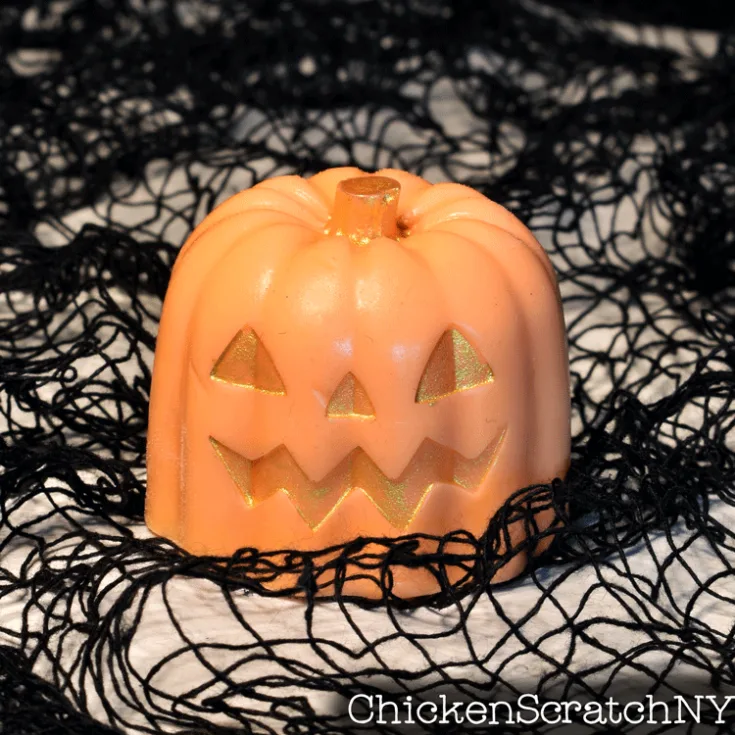
As for colorants you can use mica for a shimmery finish or liquid soap dye if you prefer a plain solid color. I dyed my soap with orange liquid dye and use some mica ‘paint’ to add details to the faces.
You will need a lot of dye if you want a more saturated color, it takes a lot to overcome come the white soap base! I was happy with the light orange, especially when I added the gold details!
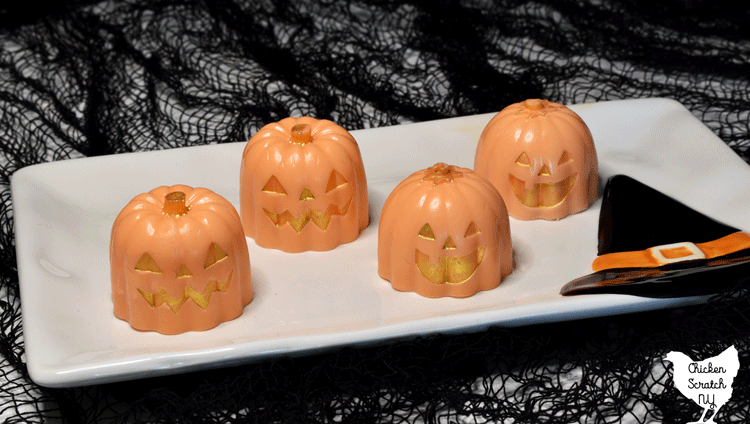

If you want to paint the faces on you’ll need isopropyl alcohol and mica. Add just enough alcohol to the pigment to make a paint and carefully fill in the details of the face and paint the stem.
The mica will mostly disappear the first time you wash your hands but I think it’s worth it.
I also made a few white pumpkins, they haven’t discolored yet but it’s always an option when you use a fragrance with vanillin in it.
Some fragrances with cause a lot of discoloration, turning white soap to a tan color. If that happens your soap is still perfectly safe to use, it’s just a reaction to something in the fragrance oil.
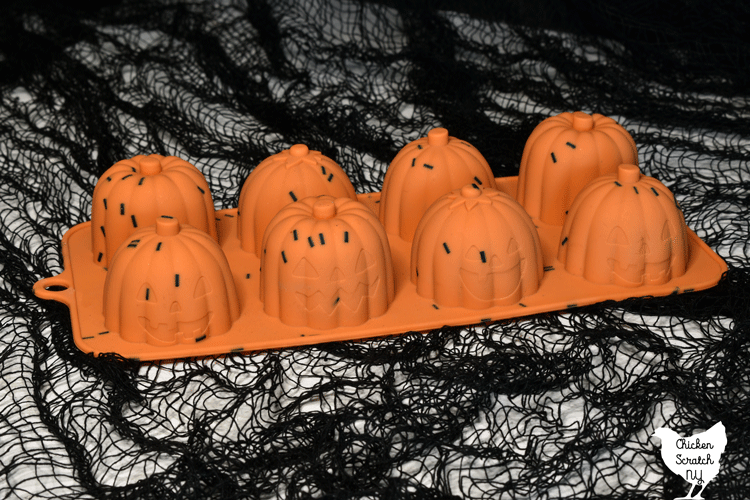
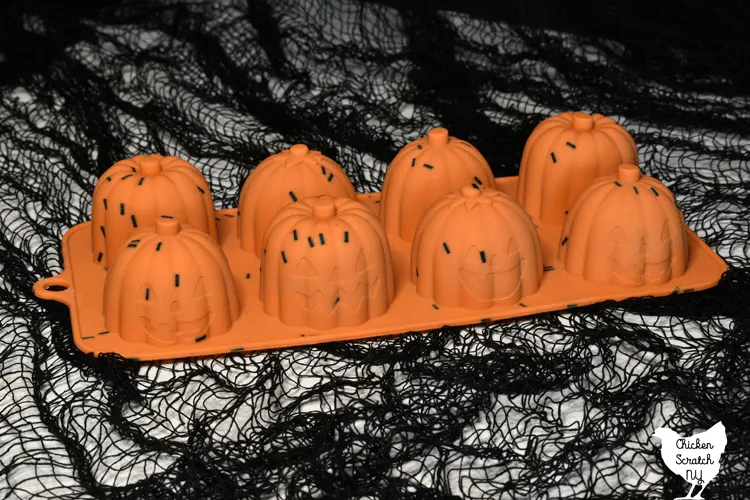
Another very important tool you’ll need is a pumpkin mold. I used a silicone mold from Joann’s, once it’s used with fragrance oils you can’t use it for food so make sure you mark the mold in some way if there is any way you could mix it up with something food safe!
This is where things get a little tricky because every mold is different. The best way to make sure you’re not over or under-making your soap is to estimate the volume of the mold with water.
All you need to do is measure how much water it takes to fill the mold cavities. For this pumpkin mold, it took about 2 tablespoons of water to fill each depression.
There are 8 pumpkins, which means 16 tablespoons of soap. That works out to be a cup of melted soap or about 9 ounces of white melt and pour soap (by weight).
You’ll need to do this for whatever mold you’re using. Make sure to do it ahead of time so your mold is completely dry when then it’s time to add the melted soap.

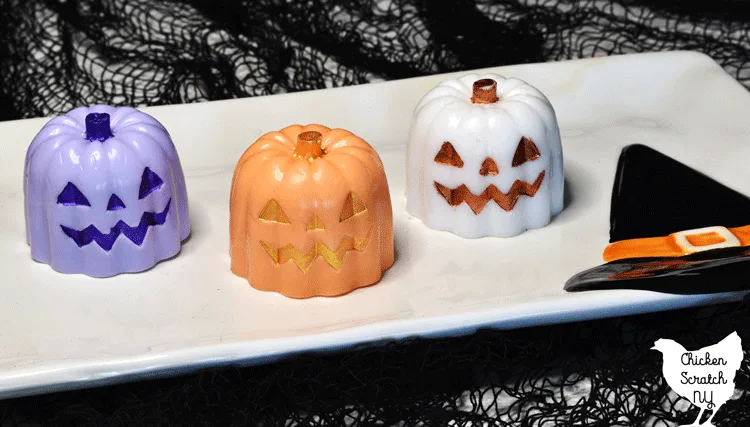
Don’t feel limited to making orange pumpkins either, I decided to make a few white ones (crossing my fingers they won’t turn tan!) and my daughter insisted on a set of purple pumpkins scented with Berry Bewitching Brew fragrance oil from Nature’s Garden.
Melt & Pour Pumpkin Soap
Use a silicone baking pan to create your own melt & pour pumpkin soap! This beginner-friendly tutorial is a great way to get familiar with melt and pour soap base, soap colorants & fragrance oils.
Materials
- 9 ounces White Melt and Pour Soap Base
- .5 to 1.5 teaspoon Fragrance Oil (see notes)
- Orange Soap Dye
- Gold Mica
- Isopropyl Alcohol
Tools
- Silicone Pumpkin Mold
- Glass Meauring Cup
- Teaspoon
- Spoon for Stirring
- Knife
- Scale
- Paint Brush
- Spray Bottle with 91% Isopropyl Alcohol (optional)
Instructions
- Chop soap base into small cubes and melt for 30-second intervals in the microwave
- Stir between heating, stop when a few lumps remain, and stir until they're gone
- Add several drops of orange coloring and stir, repeat until you're happy with the color
- Stir in fragrance oil
- Pour into molds
- Spray with alcohol to remove surface bubbles
- Allow soap to set fully
- Remove soaps from mold, mix a small amount of alcohol with gold mica and paint faces
Notes
Every fragrance oil has a different strength and if you're testing a new fragrance start in the middle with 1 teaspoon of oil. You can go up to 1.5 teaspoons per 9 ounces of soap if you have a weaker fragrance oil.
The black spots in the mold will leave the occasional divot in the soap, it's purely aesthetic and you won't notice it once you use the soap but if it's going to bother you look for a different mold
Recommended Products
As an Amazon Associate and member of other affiliate programs, I earn from qualifying purchases.

Check out my DIY Bath & Body page for more ideas or start here: