


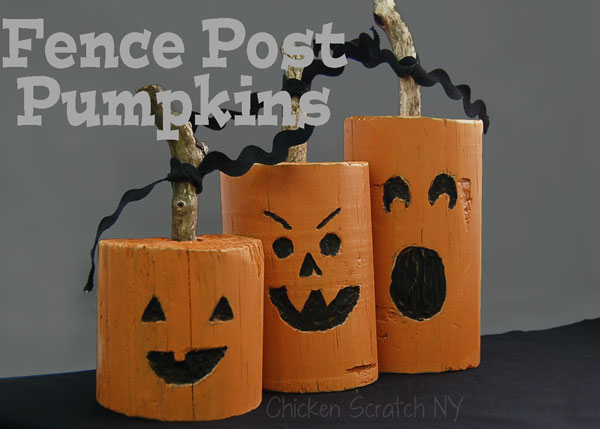
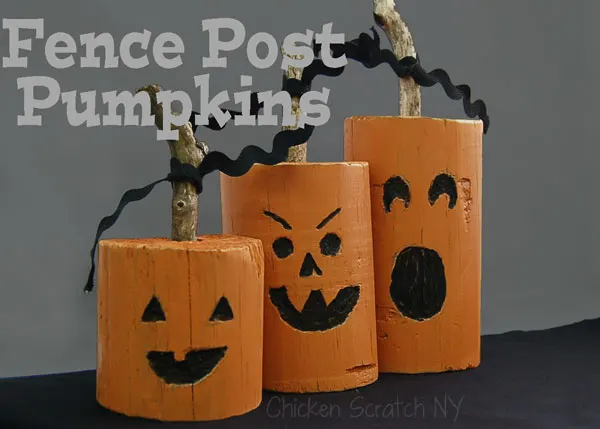
Fall means pumpkins and there’s no better way to decorate for fall on a budget than by turning things you find around the home into everyone’s favorite squash. Toda we’ll be turning chunks of fence post into rustic autumn pumpkins.


Really you can turn anything into a pumpkin. Today I’m using a few pieces of old round wooden fence post.
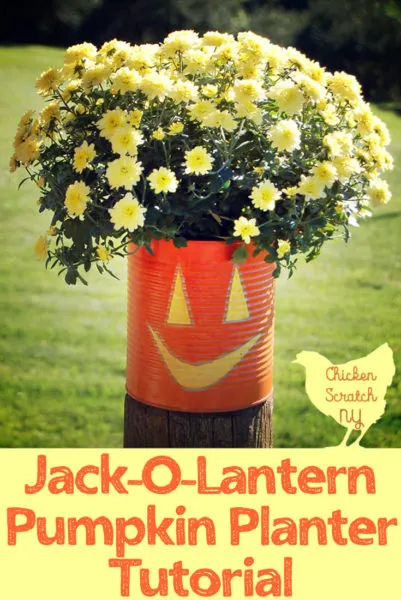
I love taking a good idea and beating it to death. That’s why I have 3 different tin can windsocks (a ghost, a witch and Frankenstein if you’re curious).
This is the fall version of my Firecracker Centerpiece. The basic supplies are the same, three pieces of wooden fence post and paint. How hard can it be right?
I did go a bit further into my crafting hoard and pulled out my Dremel for this. I wanted to give the pumpkins carved faces on one side for Halloween.
You can skip that step and paint the faces if you don’t have a Dremel or don’t feel like getting sawdust everywhere.
I have a ton of decorations and having anything be two holidays in one is a big help! All you need to do to take these guys from Halloween to Thanksgiving is give them a quick spin.
Reversible Fence Post Pumpkin Supplies:
The real beauty of this project is it’s verasility. I happen to have a generous hoard of fence posts ready to be turned into Jack-o-lanterns but you could achieve the same look with left over 2×4, 4×4 or even a really big branch.
- 3 pieces of wood, all different heights
- 3 dry sticks for stems (no one wants moldy pumpkins)
- Drill with bit large enough for your sticks
- Pencil
- Orange and black paint
- Dremel with carving bit
- Sanding block
- Paint brushes
- Hot glue gun
- Ribbon or Twine, optional
Instructions:


1. Starting with three pieces of round fence post use the sanding blocks (or sandpaper) to get rid of any splintery edges and smooth things down for the paint
2. Eyeball center and drill a hole, about 1/2 in deep, in the top
3. Draw or trace a face on each chunk of wood

4. Using the Dremel carefully carve the faces about 1/4 of an inch deep. Protect your eyes! Wear safety glasses and a mask. As far as the carving, it doesn’t have to be perfect, we’re going for rustic here!
5. Paint the sides and top orange and using a smaller brush fill in the face with black paint


6. Once everything is dry sand around the edges, over the face and anywhere else you’d like a bit of the original wood to show through
7. Glue the stems in the holes you made earlier, tie a piece of ribbon, rick rack, or raffia to the top and you’ve got an everlasting pumpkin display!
Don’t forget to PIN this to your Autumn and Halloween Boards!
Check out my Halloween Page for more ideas or start here:


Nick
Monday 25th of November 2013
Trying to be creative and was looking to do something like this, but winter themed. Wife is out of town for a week. This looks cheap and quick. Thought about white paint and some glitter/clear beads with burlap. Any thoughts/ideas would be greatly appreciated via email. Thanks!
Maria
Saturday 12th of October 2013
These are amazing! I will have to wrangle my husband into cutting up some of our old fence posts. Thanks for the inspiration!!
Kendra @ Creative Ambitions
Saturday 12th of October 2013
So cute... Perfect for some rustic fall decor!
Miranda @ Someday Crafts
Saturday 12th of October 2013
I love those little carved pumpkin faces! They're adorable! We'll be featuring your pumpkins over at Someday Crafts tomorrow, so stop by if you get a minute :)
Tanya
Friday 13th of September 2013
These are SO stinkin' cute!! Featuring on Facebook today :)
xo, Tanya