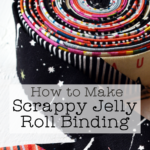
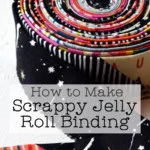
Add an extra splash of interest to your quilt with a scrappy quilt binding made from leftover Jelly Roll Strips!
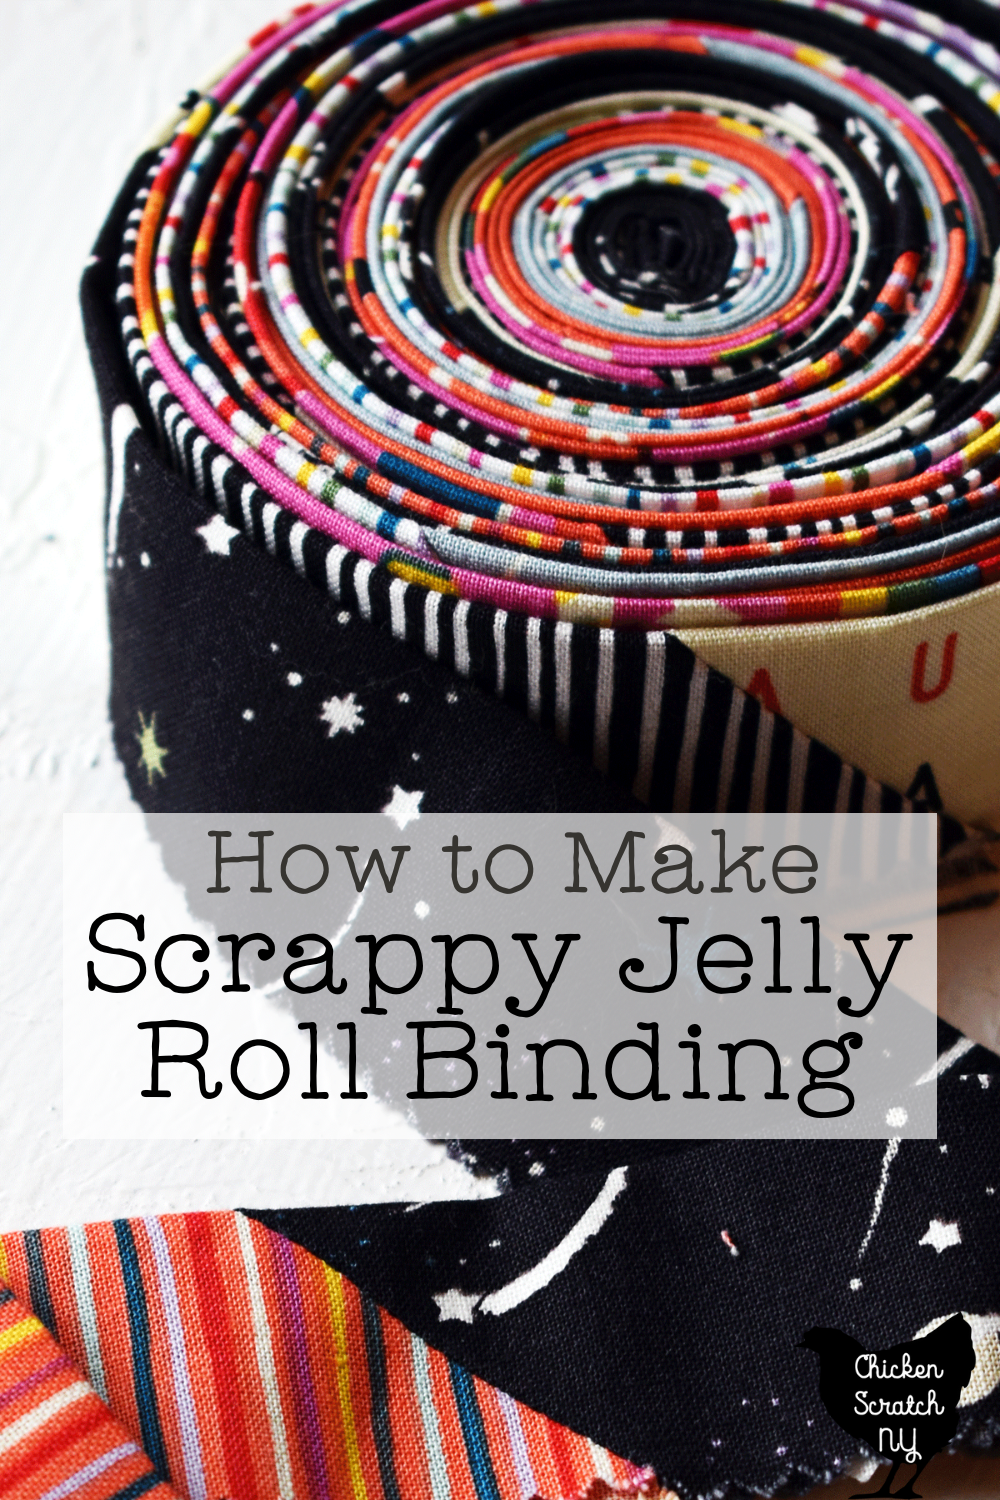
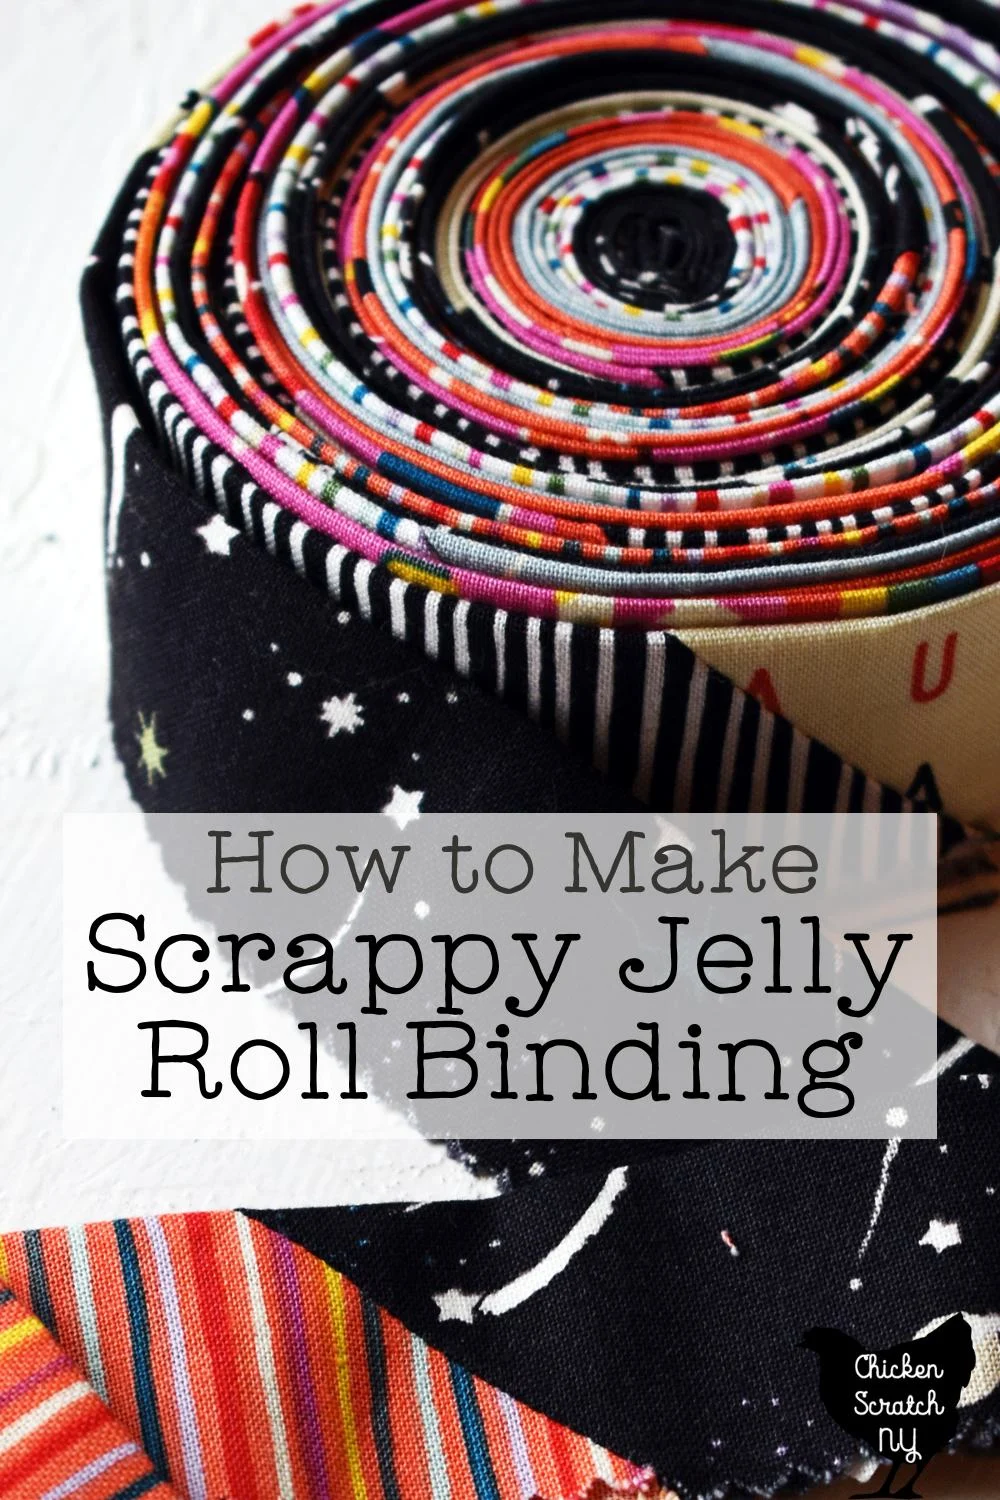
As a lover of throw quilts, I often have leftover Jelly Roll strips after finishing a quilt top. One of my favorite ways to use them up is turning them into a super scrappy quilt binding.
Not only does it keep fabric out of your stash, it also adds a really fun finishing touch without a lot of extra effort. Despite all the extra seams it really doesn’t require that much extra work.
How to Make Scrappy Quilt Binding from Jelly Roll Strips
The first step to making your binding is figuring out how many strips you’ll need. It’s a very simple formula:
Length + Length + Width + Width +10 = Inches of Binding
Inches of Binding ÷ 32 = Number of Strips (Round Up)
This will give you the minimum number of strips you need but if you want to make it even scrappier you can add as many as you want.
If you decide to cut your strips in half, into thirds, or into even smaller pieces you’ll need to adjust the number of strips.
For my Howden Quilt I needed 270 inches of binding (58 +58 + 72 +72 + 10 = 270). This works out to be 8.4 strips which need to be rounded up to 9. If I was using regular binding I would have only needed 7 strips.
Once you’ve figured out how many strips you need it’s pretty much business as usual.
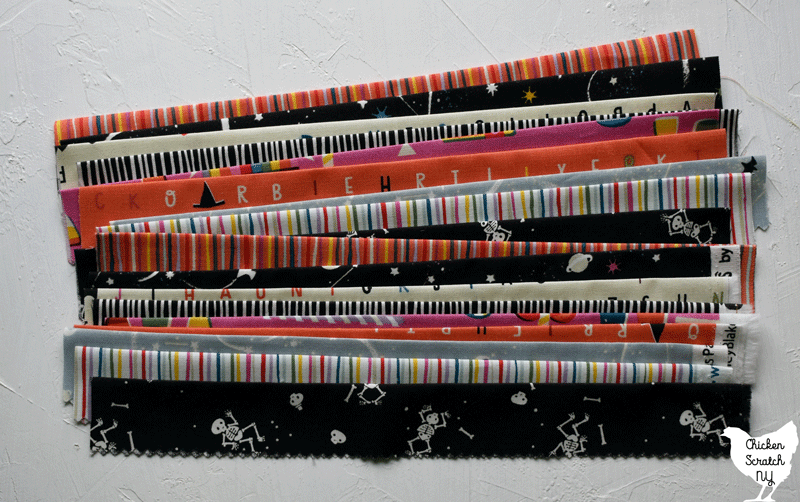
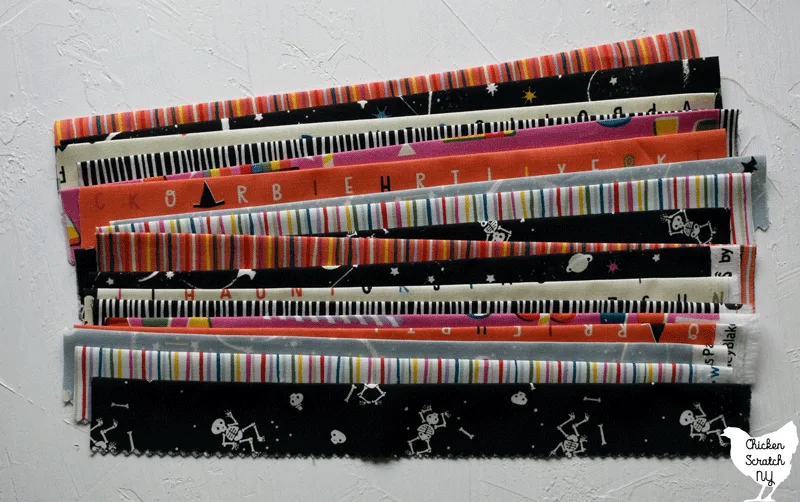
I start all of my binding by pressing it in half, in this case, I found it was easier to cut the jelly roll strips in half before pressing them. Then once they had cooled I cut the halves in half again giving me 4 pieces from each jelly roll strip.
Stack the pieces and head to the machine, if your machine has a needle down setting this is a great time to use it!
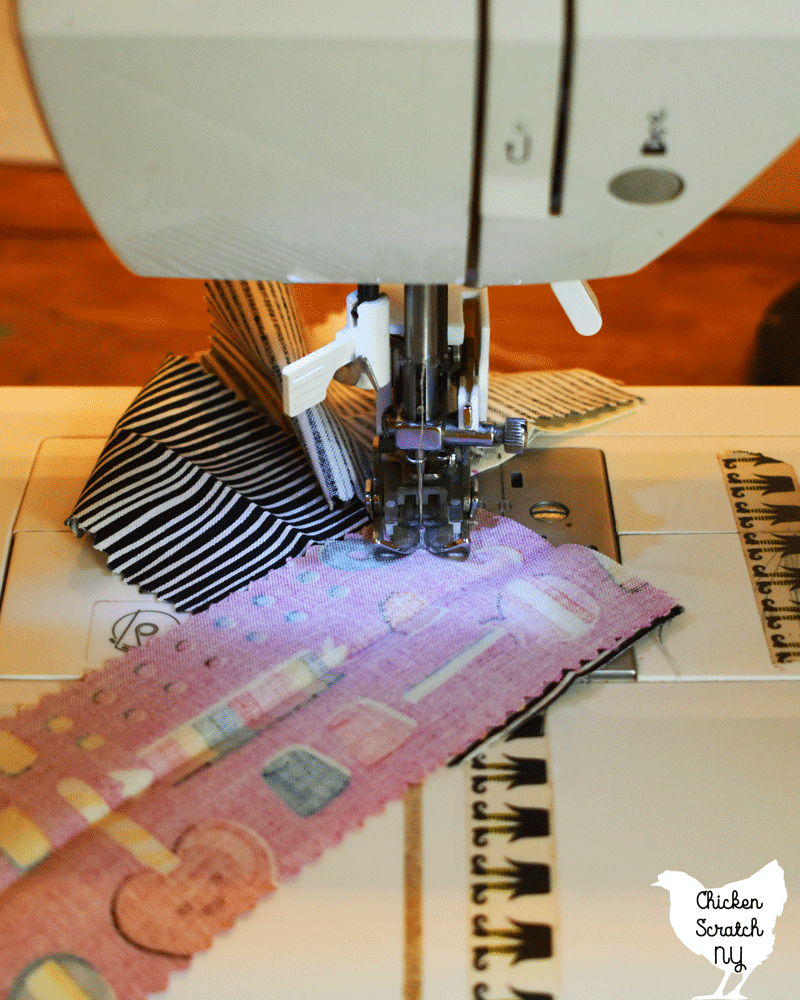

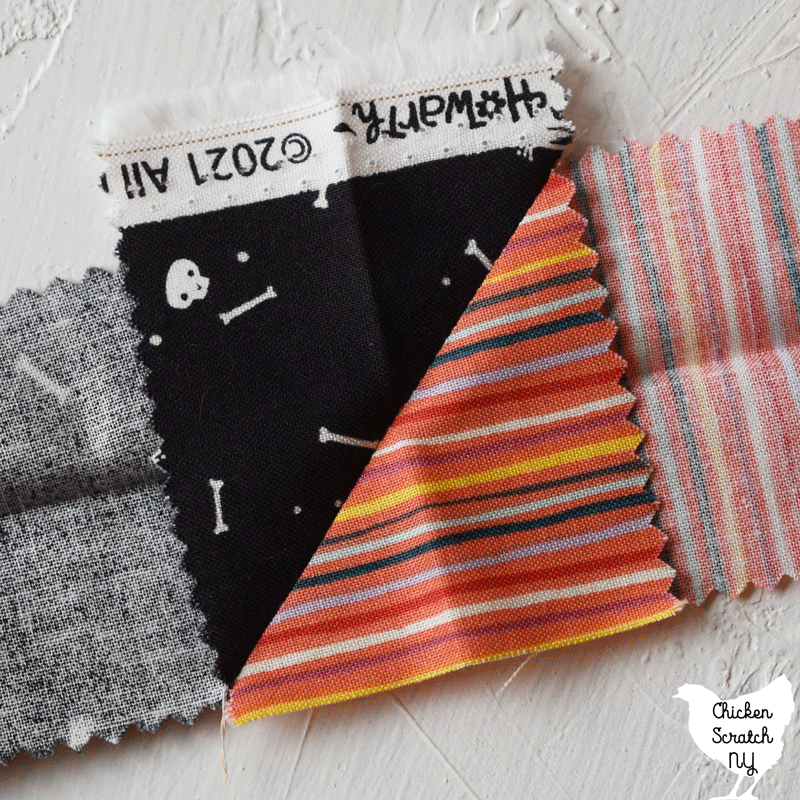
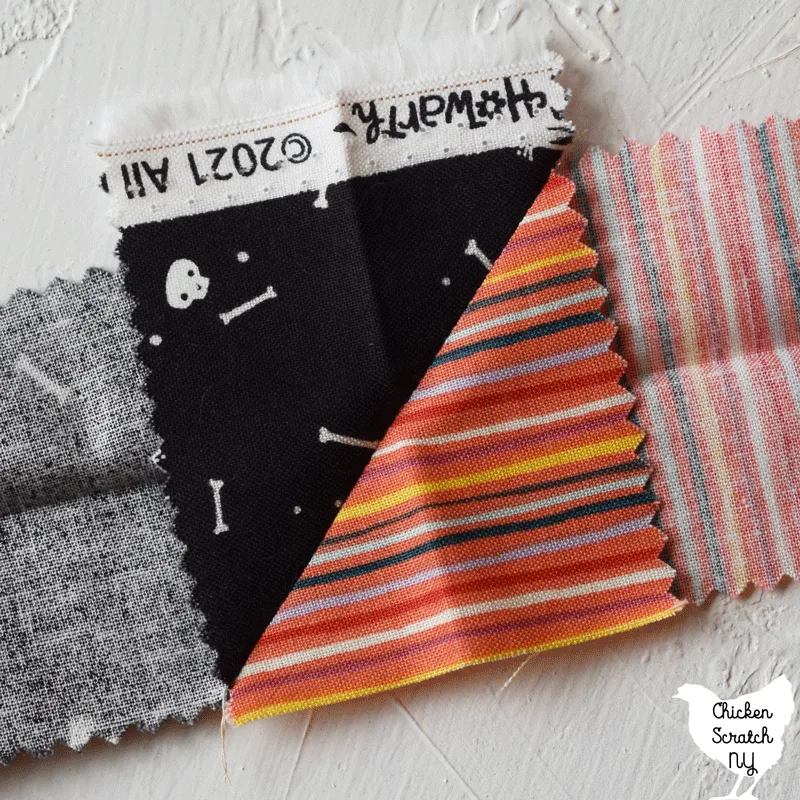
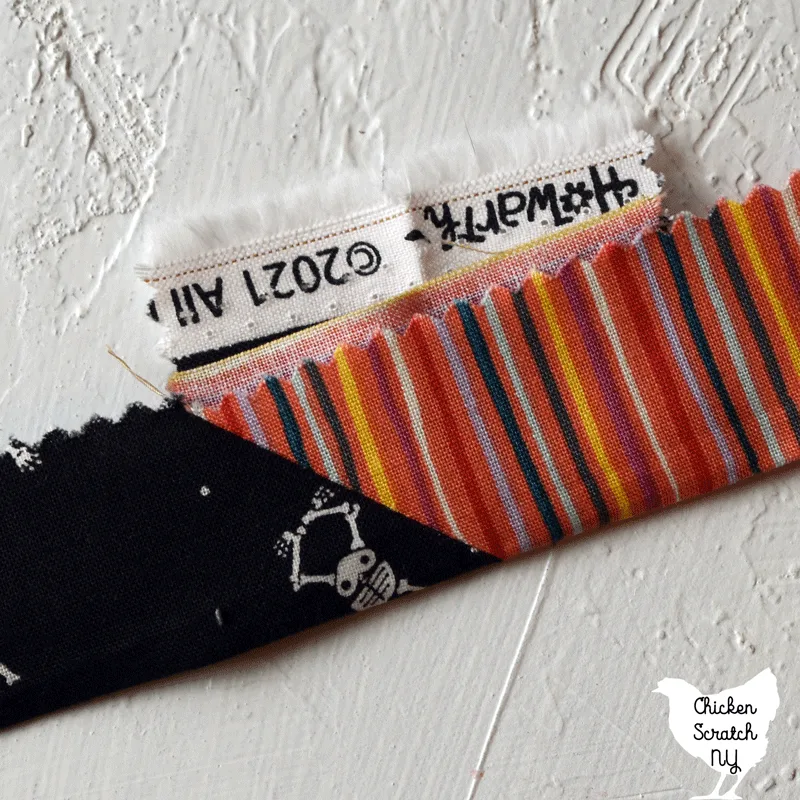
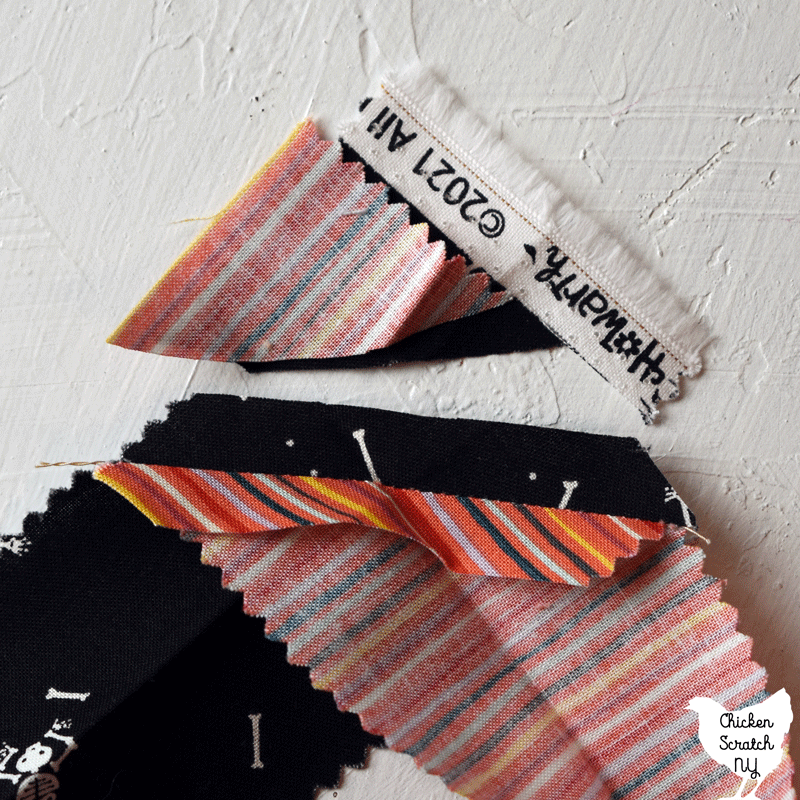
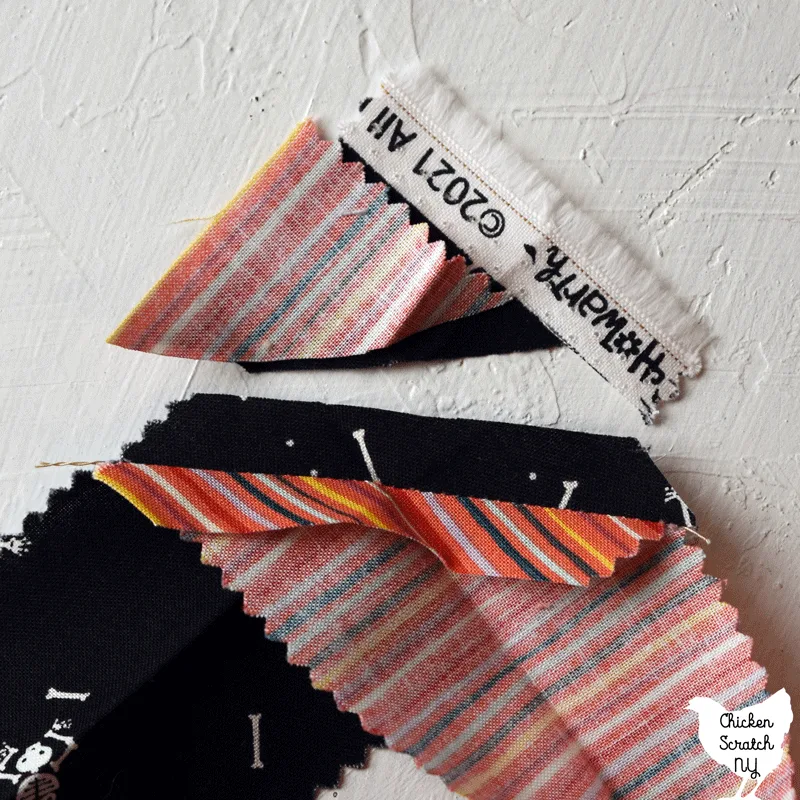
Open up two strips and stack them at a 90-degree angle, face to face. Sew across the diagonal (on the bias) to cut down on bulky seams in the binding.
Then flip the piece that was on the top so it’s face up and repeat.
And repeat, and repeat, and repeat. Just keep going until you’re out of strips.
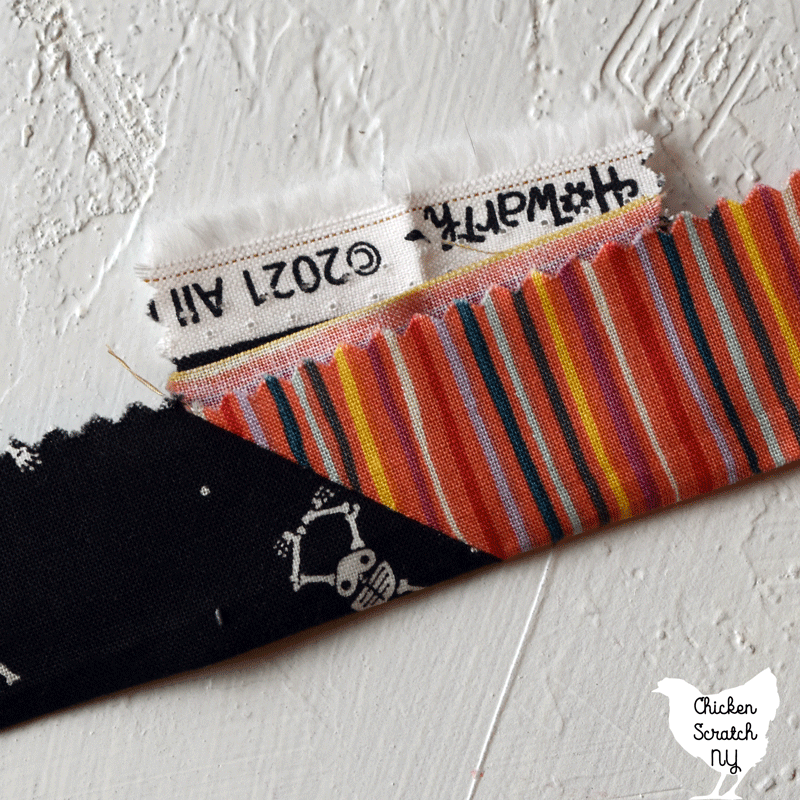
Clip them all apart and head to the ironing board. Press all the seams open, then fold in half and press again.
If you let the fabric cool in this position it will pretty much stay folded, I like to go down the entire strip pressing everything before I move on to the next step. By the time I get back to the beginning, the fabric has cooled and set.
Going back to the beginning of the strip, open up the strip and clip off the excess. From this point on you can treat it like regular binding.
I’m not a lucky person and I almost always end up with a seam on the corner, with my Howden quilt I only had it happen once despite all the extra seams so maybe my luck is changing!
Check out my Quilting page for more info or start here: