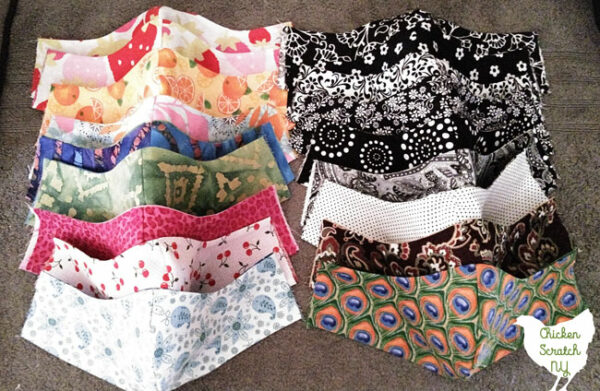
I’ve been making masks along with the rest of the world and I wanted to pass on a few tricks I’ve learned working for a sewing company.

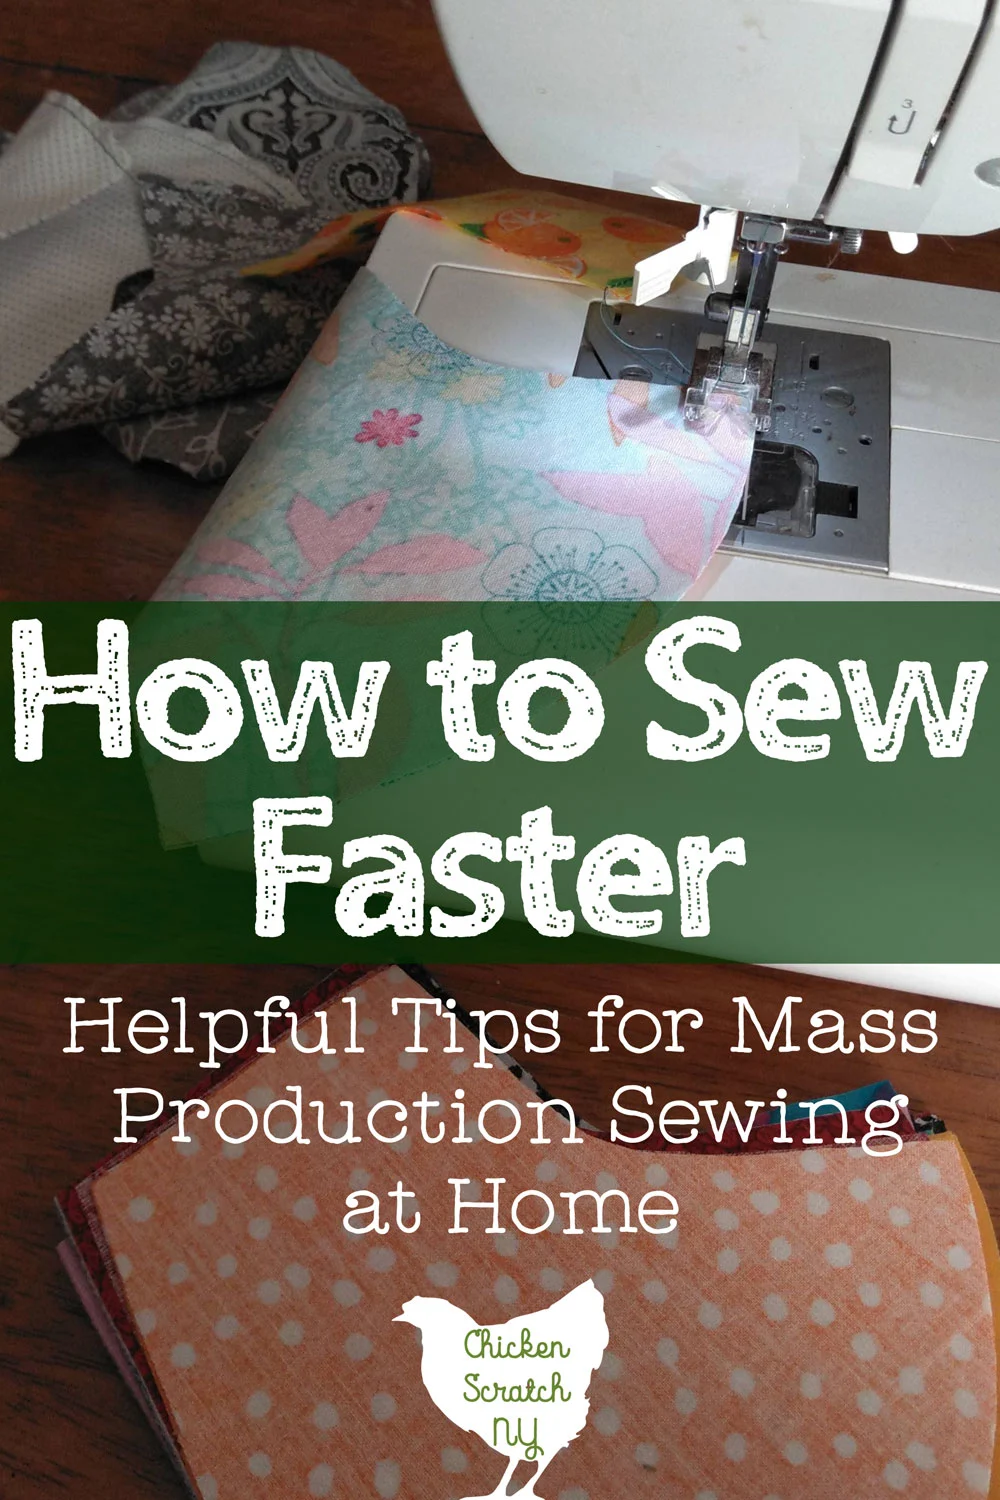
These tips are all aimed at helping you to work faster when you’re making a lot of something. Most of us don’t sew 10+ of anything at one time and hopefully you can use this advice to streamline your process, no matter what you’re sewing.
Before you start working on speed it’s important that you’re comfortable with what you’re making and happy with your pattern. Trust me, you don’t want to figure out your pattern is a half inch too short after you’ve got a stack of 20 cut!
Prep Work
There are things you can do before you even get to the sewing machine that will make your life easier
I’ll admit I’ve got masks on the brain but these tips should help you out no matter what you’re sewing
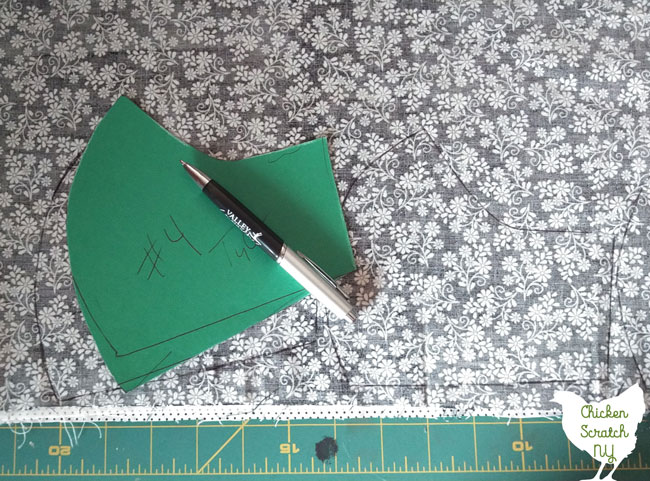
Transfer pattern to heavy card stock
I made my own mask pattern but there are dozens available online to print out. No matter how you got your pattern you should transfer it over to heavy card stock or thin cardboard.
Maybe one of the 45 boxes of cocoa pebbles your 6 year old has eaten since school closed 5 weeks ago?
A heavy pattern is more durable and easier to trace around. I’ve been using plain chalk on dark fabric and a pen on light fabric and then cutting right inside the lines so the markings aren’t on the finished pieces.
Press the Fabric Face to Face
I fought it for years but there is no denying an iron will make your sewing go much smoother. If you don’t have an ironing board (I don’t!) fold up a clean towel and lay it over a table or the counter.
Start by pre-pressing the fabric before you cut. I like to fold it face to face, lining up the selvages and then pressing both layers, avoiding the center fold with the iron.
This gives you a flat surface for tracing and it helps the layers ‘stick’ together a bit keeping them locked together when you cut.
The first sewing step in my pattern involves sewing the center nose seam. By pressing my fabric face to face and then cutting both layers at once I’m making sure my pieces match up exactly and I can get right to sewing without having to line up my fabric pieces.
Cut Multiple Pieces at Once
I’ve been using quilters cotton and I can comfortably and accurately cut through 6 layers at a time. Having a great pair of scissors is a life saver here!
Lay out your pressed fabric and then stack another piece on top, assuming you followed my advice to press it you’ll have 4 layers. If you’re feeling confident go for 6 layers.
Make sure all the edges are lined up, you don’t want to find out after cutting that there is a giant chunk out of the piece you had on the bottom. Also check to make sure your fabric is flat, you don’t want any fold or wrinkles in the fabric you’re cutting.
Trace around your handy card stock pattern a few times and then cut. It’s so much faster than tracing and cutting each piece on it’s own.
You can hold small pattern pieces in place by hand or use something heavy like a soup can to keep it from shifting.
Fill several bobbins
When you sit down to sew and you’re filling one bobbin, just keep going and fill up 3 or 4 or more. Few things are more irritating than getting into a good grove and then having to stop, un-thread the machine, fill up the bobbin and then re-thread so you can carry one.
Prepare your Notions
The more you can have set up and ready to go the faster you’ll be able to work. Just like having a few extra bobbins ready to go, having your elastic and wire cut to size will shave off time from each mask.
I’m using pipe cleaners across the noses and elastic for the ear straps. I used tape to mark off the elastic lengths for each mask size on a quilting ruler and used a rotary cutter to cut them all to size.
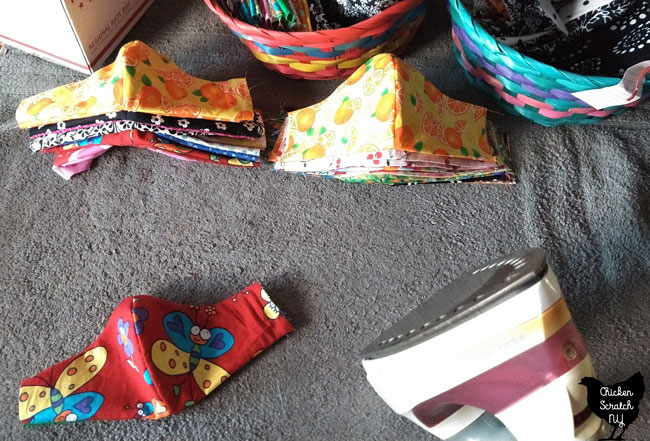
Stay Organized
I have 2 adult sizes and one kid size so along with 3 different patterns I’m cutting 2 different lengths of pipe cleaner and 3 different lengths of elastic. It’s kind of a lot to keep track of.
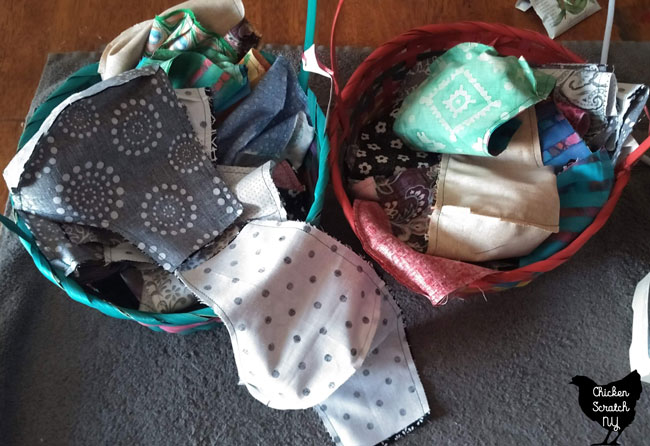

The best way to keep things together is to either work on 1 size/variation at a time OR have a separate box or basket for each size. I’m using my girls Easter baskets at the moment to keep my parts separated.
Start Sewing
You’ve got all your pieces cut and you’re ready to go! Most of my time saving tips are involved in the prep stages but I do have a few for actually sewing.
Work in Batches
The first thing you have to do is breakdown your sewing process into steps.

For my masks the steps are:
- Sew center seams
- Clip notches
- Line up front and back face to face matching center seams
- Sew top and bottom seams
- Flip masks right side out
- Press seams
- Add wire & pin in place
- Fold ends inside and press
- Add elastic and top stitch all around
Regular text is done at the machine, bold can be done anywhere and italics are done at the iron. I like to do my ironing standing up, it’s a nice change of atmosphere from sitting at the machine.
Don’t underestimate how hard sewing can be on your body, especially if you end up hunched over your sewing machine. I do most of the stuff in bold either sitting comfortably on the couch or on my bed.
Work in batches, completing step 1 for all of your masks before you move on to step two. You’ll develop a rhythm and get better at doing each part the more you do it.
I also ended up switching to the zipper foot when I sewed the channel for the nose wire. Switching the foot once is was better than switching it between each mask (I made 52 in my first run).
Chain Piecing
For steps 1 & 4 I chain sew all the pieces meaning I don’t clip in between them. I’ve been sewing 15-20 of each size at a time and it really cuts back on your time.


At the end you’ll have everything stuck together in a long stand that you can clip apart. I love having spring loaded scissors for this part.
When I had to sew the front and back of the mask together I did all of the top seams first and then when I got to the end I started on the bottom seams in the same order.

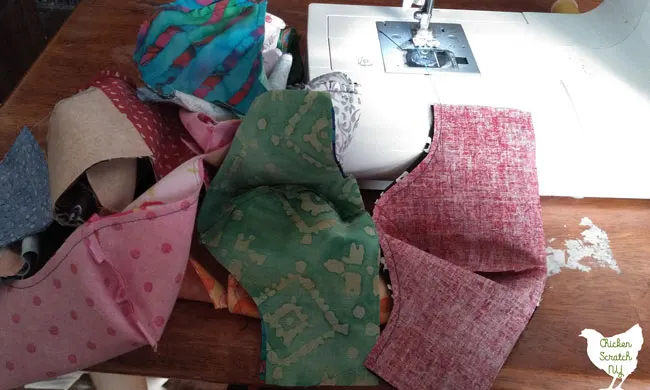
I didn’t even clip the thread, just pulled the fabric out from under the foot and brought it back to the front. They ended up sewn together in a chain from two points.
Finger Pressing
Your iron will certainly come in handy but sometimes you can get by with a quick finger press. Finger pressing is exactly what it sounds like, you use the pad of your finger to press against a seam to open it up.
I’ve been finger pressing the center seams open with my fingers. It’s an awkward place to get the iron and it doesn’t need to be crisp anyway.
Avoid Pins
Pins are great for holding things together but they’ll only slow you down. I’ve used pins in one place on my masks, to hold the wire in place before I topstitch.

Everywhere else I matched up the fabric by hand and held it in place. Cotton is a very ‘sticky’ fabric and it doesn’t slide around very much.
Don’t be afraid to rely on your iron, it’s very good at holding fabric in place. Especially when it’s something like 100% cotton that can really the heat.
This is pretty rough and I’m sure I’ll have some more tips to add as things continue but I wanted to get this up asap.
Don’t forget to PIN this to your sewing board, check out my Sewing Page for more info or start here: