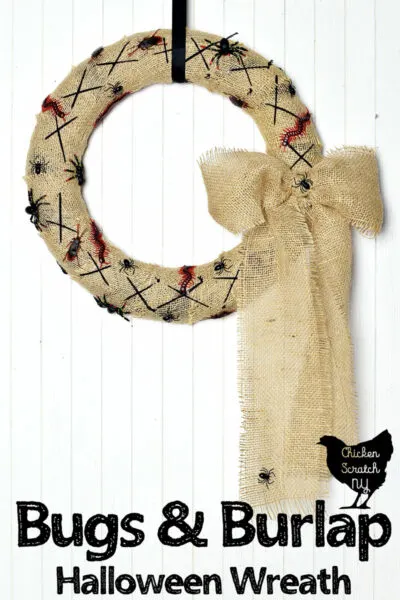
Another year, another Halloween wreath! This time I’m going back to a classic and taking my inspiration from the Nightmare Before Christmas.

It’s not exactly out of character, I’ve already made Sally’s Sugar Cookies, a Frog’s Breath Float and Bone Daddy Shots on Tipsy Chickens.
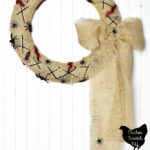
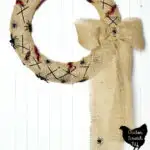
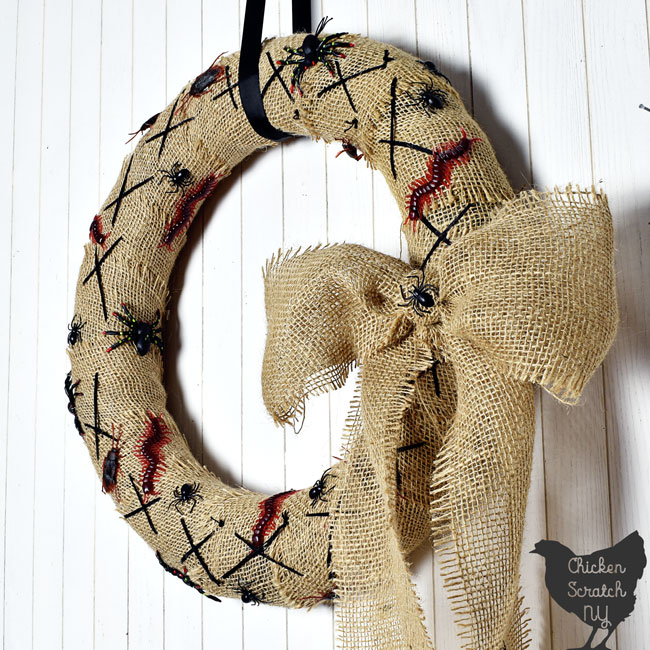
I wanted to take the wreath in a different direction so I turned to the villain Oogie Boogie. When I think of him I think of burlap, black stitches and bugs; this is what I came up with.
Burlap Halloween Wreath Supplies
The supplies are pretty basic for this one, you can pick it all up at Michael’s or Joann’s if you’re feeling urgently inspired
- Straw Wreath
- Black Duck Tape
- Raw Edged Wide Burlap Ribbon (Burlap cut into 6 inch wide strips)
- Hot Glue Gun
- Black Yarn or String
- Tapestry Needle
- Fake Bugs
Nightmare Before Christmas Wreath Tips & Tricks
I’ll put the bare bones instruction in a printable card below, if that’s all you’re after keep scrolling but if you want a little more assistance keep reading.
The Base
The first step is to cover the wreath in black duck tape. Leave the plastic on the wreath and don’t worry too much about keeping it flat.
I used an unwrapped straw wreath for my Farm Wreath and they shed almost as bad as the burlap. Speaking off, I used a wide burlap ribbon with raw edges because I like the slightly falling apart look.
This is Tim Burton after all. If you can’t find a pre-cut ribbon you can use burlap yardage, just cut it into 6 inch wide pieces.
The best way to cut burlap is to pull out one strand and then cut in the empty space you made. It keeps the lines straight and you’ll have less shedding.
Start on the back and secure the burlap with glue BE VERY CAREFUL, the hot glue will ooze right though the burlap and burn the hell out of your hand. I usually use the scissors to push the burlap into the glue, they’ll get messy but it’s better than the alternative.
Wrap the burlap around the wreath, it’s pretty flexible so it’s not hard to keep it flat. If you look closely at the wreath I mad you can see that it overlaps more in the center and as you get to the edges you can see through it more.
That’s why we used the black duck tape, to darken up the background. Black ribbon or any dark colored duck tape will give you a similar effect.
Black Stitches


Irregular is the name of the game here. I couldn’t find black yarn so I used a quadrupled strand of black crochet thread.
Don’t worry about hiding the knots, it just adds to the charm. That’s right, it’s not lazy it’s charming.
The stitches should go through the burlap ribbon only, don’t try to put them through the wreath.
The Bow
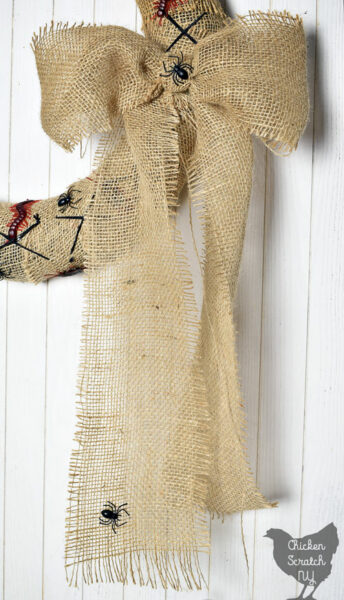

I’ve made a lot of bows in my life but this is a favorite for sure, even without the spider. It’s one long piece for the loops and tails and another short piece folded in half or thirds for the center.
You’ll need to do a bit of experimenting to find the perfect size for your bow. You want it as big as it can get without the loops collapsing. It’s going to depend on the stiffness of the burlap ribbon.
Make a big Z with the ribbon, grab the center with one hand and move the loops around with the other until you’re happy. Then wrap the short piece of ribbon around the center.
Tie it off at the back with some of the black yarn. Glue to bow to the wreath at 3 o’clock.
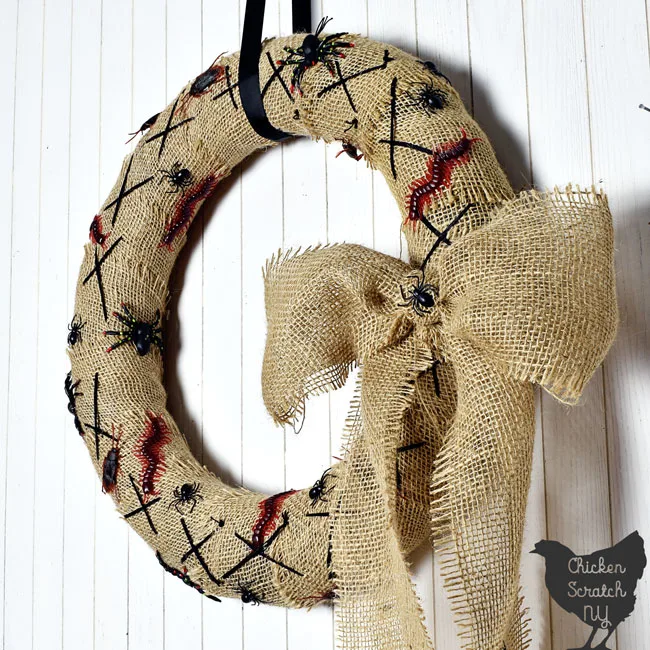
The Bugs
This is the dangerous part, I’m typing this with a band-aid over a giant painful blister on my thumb thanks to a wily cockroach.
At the end of the big fight scene between Jack and Oogie Boogie the later unravels to reveal a pile of bugs. I thought way too much about the best way to convey that in wreath form (I have a long commute) and this is what I settled on.
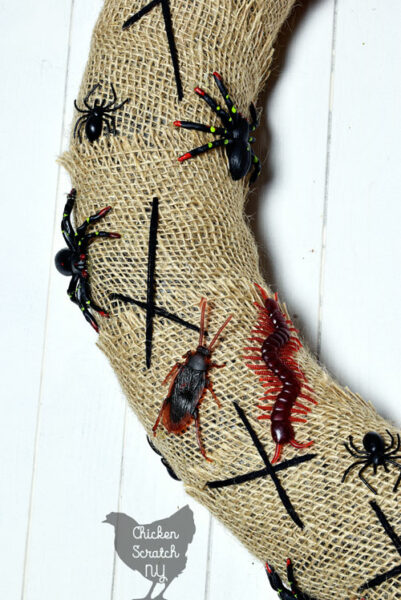
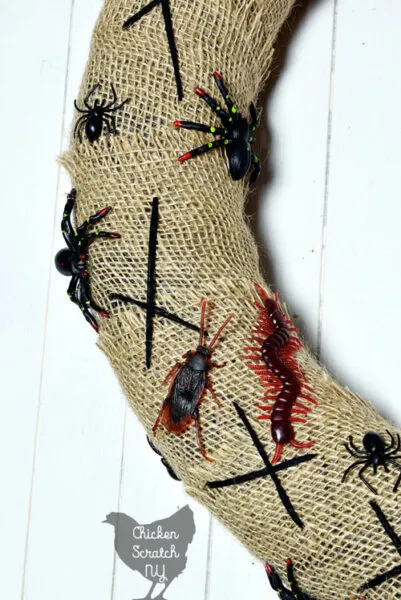
I wanted the bugs to look scattered and random like they were naturally crawling in, out and all over the wreath. I bought my creepy crawlies on Amazon and the mixed pack came with centipedes, large spiders, small spiders, cockroaches and a few things I left off like a snake, lizards, salamanders and maggots.
The centipedes were the first to go on the wreath, they’re also my favorite in the bunch. I decided to treat the different critters the way I’d work with flowers, I added the largest first and then filled in with the smaller stuff.
I glued down all eight legs and the bodies on the large spiders to really make them look like they were clinging to the wreath.
If you decide to make your own Nightmare Before Christmas Wreath I would love to see it! Tag my on instagram @AleciaCSNY or share it on my Facebook page
Easy Burlap & Bugs Halloween Wreath
Materials
- 18" Straw Wreath Form
- Black Duck Tape
- 6" Wide Raw Edged Burlap Ribbon
- Black String or Yarn
- Fake Bugs
Tools
- Hot Glue Gun
- Yarn Needle
Instructions
- Wrap the wreath form in black duck tape (don't remove the plastic)
- Glue one end of the burlap to the back of the wreath and wrap around overlaping as you go
- When you get back to the starting point glue and cut off the rest of the burlap
- Add large irregular X stitches to the wreath with yarn sewing though the burlap
- Make a large bow and glue to the side
- Glue on bugs and spiders all over the wreath, including the sides and on the bow
- Hang with a piece of black ribbon or a wreath hanger
Recommended Products
As an Amazon Associate and member of other affiliate programs, I earn from qualifying purchases.
-
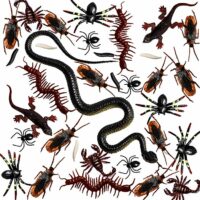
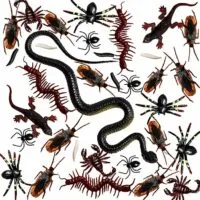 Whaline 148 Pieces Plastic Realistic Bugs Trick Joke Toys Scary Insects Fake Snake Cockroaches Spiders Worms Scorpions and Gecko for Halloween Party Favors and Decoration (9 Types)
 -

 Duck Brand 1265013 Color Duct Tape, Black, 1.88 Inches x 20 Yards, Single Roll
 -
 FloraCraft Straw Wreath, 18-Inch, Natural
Check out my Halloween Page for more ideas or start here: