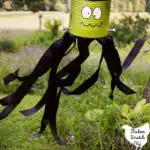
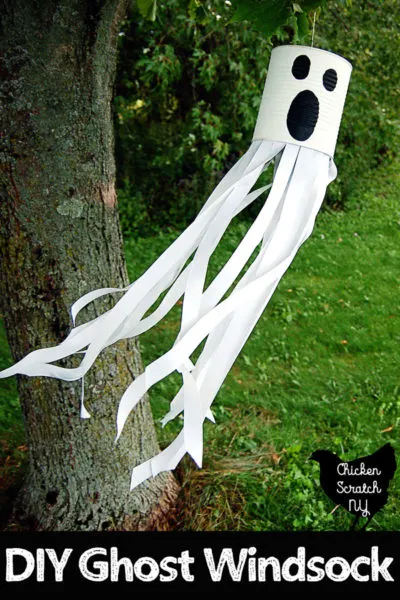
The most popular Halloween post on this site is, hand down, no questions asked, the Ghost Windsock. And it’s easy to see why, it’s a quick, cheap and easy project. You can even get the kids in on it!
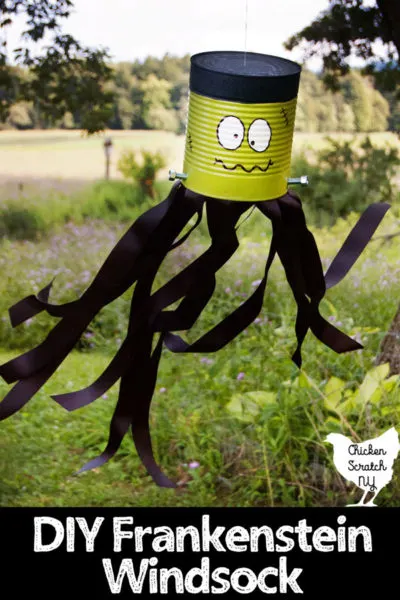
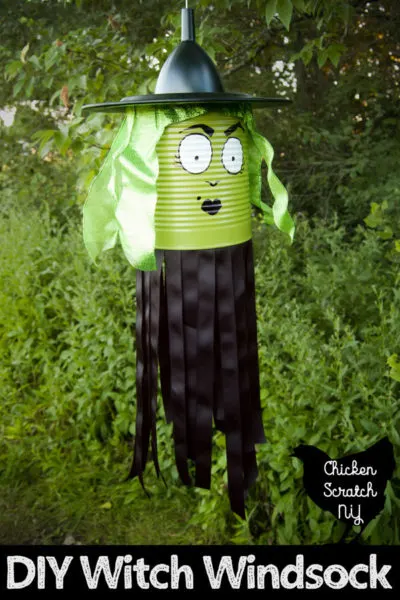
This year I decided to give Mr. Ghostie a few friends, I started with a Wacky Witch Windsock and now we have a charming Frankenstein Windsock. This is a little more complicated than the ghost because you’ll need a drill but much easier than the witch.
Just like the others you’ll need a large tin can. The bigger the better, if you can get your hands on a #10 can it’s the best.
I was able to grab a few from a commercial kitchen, it helps to know people 😉 If you can’t get a big can a small one with work, just downsize everything a little bit.
Frankenstein Windsock Supplies:
? #10 Can, clean with the label removed
? Paint Brush
? 2 1 x 3/8 inch Bolts with matching Hex Nuts
? 1.5 inch thick Black Grosgrain Ribbon (10 yards)
? Scissors
? Pencil
? Nail or something sharp to punch a hole
? Paper Clip
Instructions:
1. Find and mark the front, back and sides. Drill two holes in the can, slightly to the front of the mark you made on the sides near the bottom for the bolts. I did this by sticking a piece of scrap 2×4 into the can and pressing the can up against it while I drilled. Go slowly and wear safety glasses.
2. Spray the can with two coats of green, letting the paint dry completely between coats
3. Paint the top of the can and the top section of the can black, down to where the indents begin to give your monster some hair.
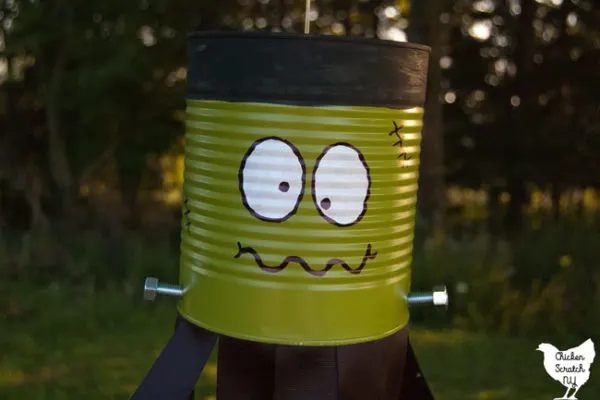
4. Find the front of the can, opposite where the marks from the adhesive are. Lightly trace a face. You don’t need to be an artist!
Make two ovals for eyes, roughly the same size and shape. Trace a wiggly mouth and a nose. You can skip the pencil and go right to the next step if you’re brave.
5. Fill in the eyes with white, you may need two or more coats. Draw the mouth and nose with the sharpie, add black pupils and a few stitches with the sharpie. If you can get your hands on a brush tip sharpie do it, it’s much more forgiving on the wavy parts of the can.
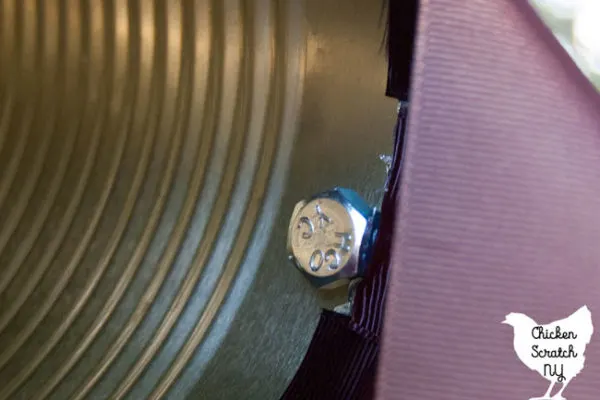
6. Thread the bolts through the can from the inside, secure with a little hot glue and then screw on the nuts
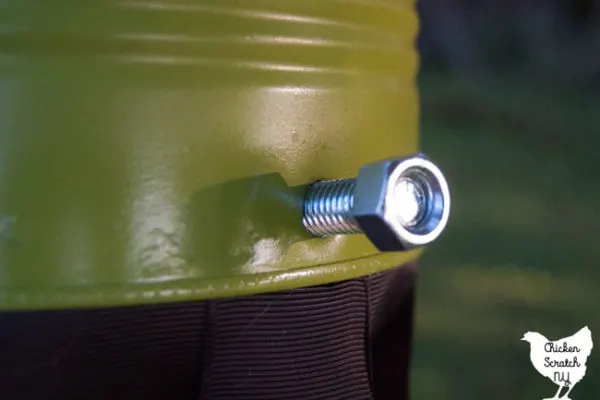
7. Cut the black ribbon into 13 pieces about 4x the length of the can with 45 degree angled bottoms.
8. Glue the ribbon around the bottom of the can, butting up the edges of the ribbon. If you have a gap at the end overlap the final piece of ribbon. I like to start at the back so if I have an overlap it’s not as noticeable.
9. Punch a hole in the top of the can. Cut a length of fishing line and tie the ends together
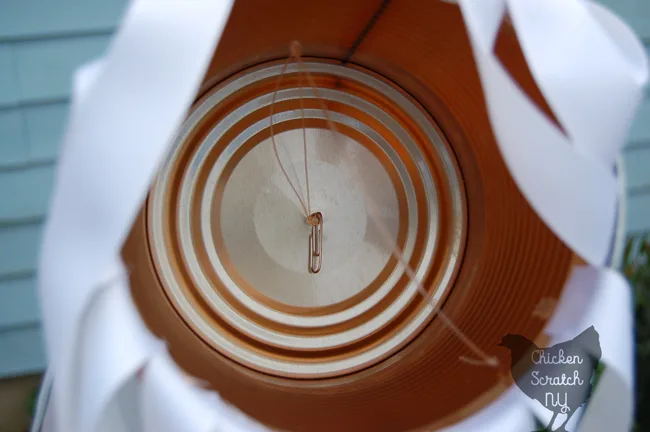
10. Thread the fishing line through the hole with the knot on the inside, hook the paper clip onto the fishing line to keep it from pulling through the can. This is a picture of the ghost but it’s the same for this guy.
Hang up your latest creation and you’re ready for Halloween! Ok, maybe not quite ready but you’re certainly on your way 😉
Don’t forget to PIN this to your Halloween Board. Check out my Halloween page for more ideas or start here:

