
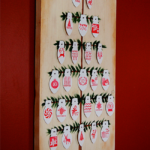
Christmas Countdowns can take over your home if you aren’t careful. This DIY Christmas Countdown is easy to make, doesn’t add 25 tiny items to your home, and can be used year after year.

I love Christmas and I really love Christmas Countdowns. Mostly because I never know what day it is and it’s the best way I’ve found to make sure I know when to let the holiday panic set it. You never want to panic too early…
This tree count down is a step up from the basic paper chain, and while it can be a tiny bit tedious if you’re a perfectionist it’s easy enough to throw together.
The downside to this project is I originally thought of it in 2014, made it in 2015, and got around to posting it in 2016. So… the light bulb punch that I used is no longer available and neither are the stamps.
I still think this is a really cool idea and I have several ideas to work around the lack of supplies so have no fear!

Christmas Countdown Supplies:
- 12 * 24 wooden board (I get mine from Lowe’s, they’ll even cut them for you!)
- Paint for the background (I used Decoart Chalky Finish in Timeless and Decoart Golden Brown Wax on the edges)
- Dark green & brown craft paint
- Paint brushes
- Ruler
- Pencil
- Hammer
- 25 Small Finishing Nails
- Scissors
- Large Light Bulb punch or die cutting machine
- Thick fancy paper (I used glittery card stock from Michael’s store brand)
- Number Stamps or stickers
- 1/8 inch hole punch

Instructions:
1. Paint the board front and sides of the board, let it dry. I added some dark wax around the edges because I don’t know when to stop
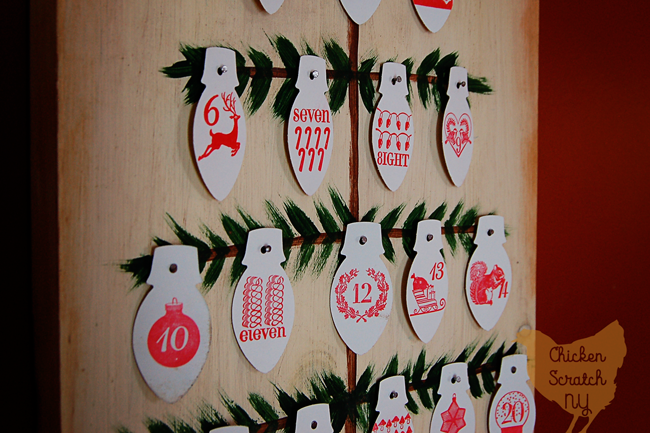
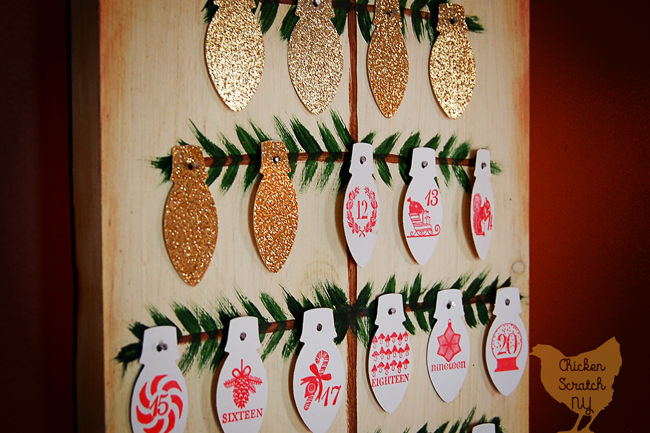
2. While the paint dries punch or cut out 25 light bulbs with a paper cutter (or whatever shape you pick)
3. Add numbers to the back with stamps or stickers
4. Punch a hole in the top with the 1/8” hole punch
5. Find the center of the board and lightly trace a line down it. You will need six branches total, the spacing will depend on the size of your bulbs so play around until you’re happy
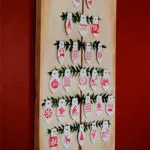
If you’re not into the rustic/prim style tree you can certainly make a fuller, more traditional tree!
6. Use the pencil to mark lines for the branches and mark spots for the nails. There will be 2 nails on the top followed by 3, 4 5, 6, and 5.
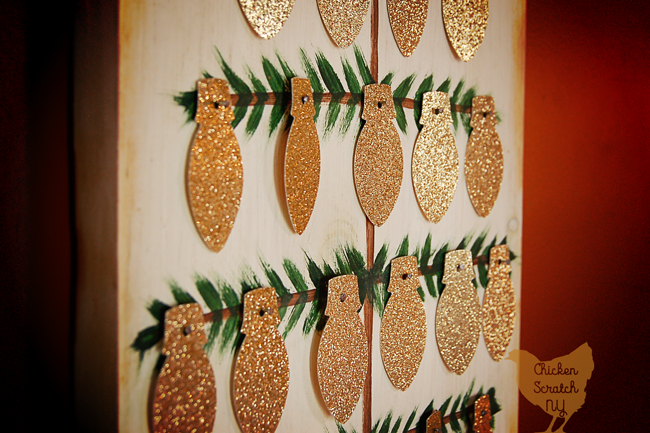
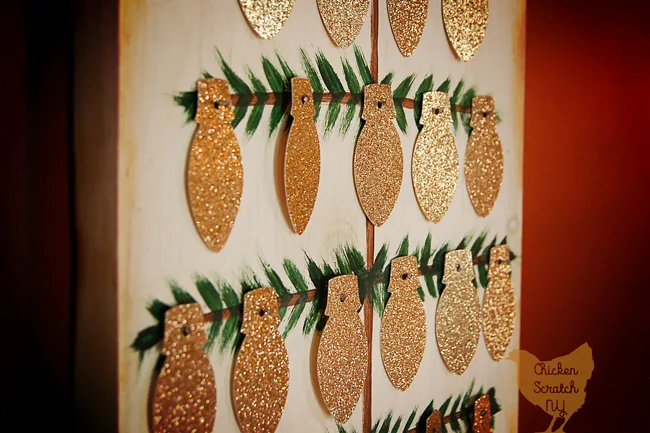
7. Paint the branches brown and let dry
8. Add green needles starting on the branch and dragging the brush down or up and away from the center
9. Add a finishing nail to each spot you marked. Try to get them straight but don’t stress about it. As long as the light bulb stays on you’re golden
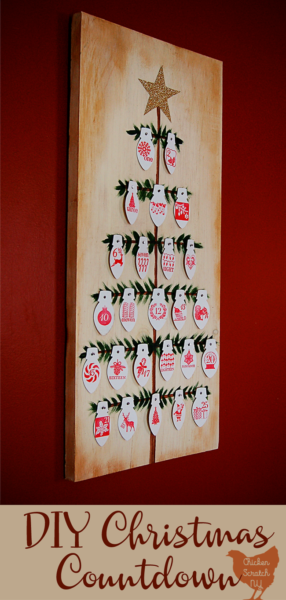
10. Cut a star for the top and affix it with whatever you have
11. Put the light bulbs on with the numbers facing out. Each day flip one more light over until the whole tree is covered with fancy light bulbs and it’s Christmas
Check out my Christmas Page for more ideas or start here:


Kristin
Tuesday 29th of November 2016
Oh my goodness, I totally want to try my hand at making one of those. It's so fun, festive and chic at the same time!
Emily
Monday 28th of November 2016
This is so cute! I love the simplicity of keeping track of the days and having it be cute too :) My kids are already asking me how many days until Christmas. Something like this would come in handy.
Rosey
Monday 28th of November 2016
That is awesome that you got it up and running. I love that you stuck with the idea until you made it.
Lois Alter Mark
Monday 28th of November 2016
That is adorable and so creative! What a perfect way to count down!
Renz
Monday 28th of November 2016
Love this. Def need to show this to my cousin who is much more artsy and who would be able to create this. Plus she loooooves her count down