


There are so many options for beautiful vining and climbing flowers that it’s easy to run out of places to grow them. This easy DIY garden trellis is made with a few t-posts, zip ties and a lot of tree branches.
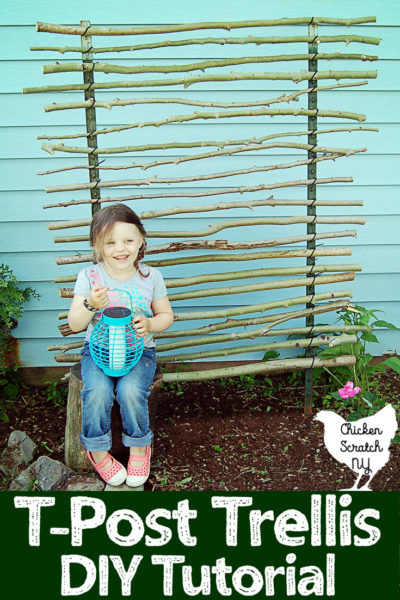
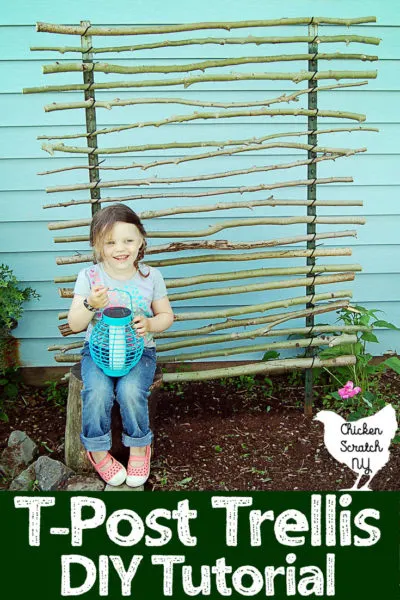
It has a rustic garden vibe and the entire project can be completed in an afternoon, including cutting down the trees. I’ve had my t-post trellis up for several years and it’s still going strong, even though the wood has aged from greenish-brown to gray.
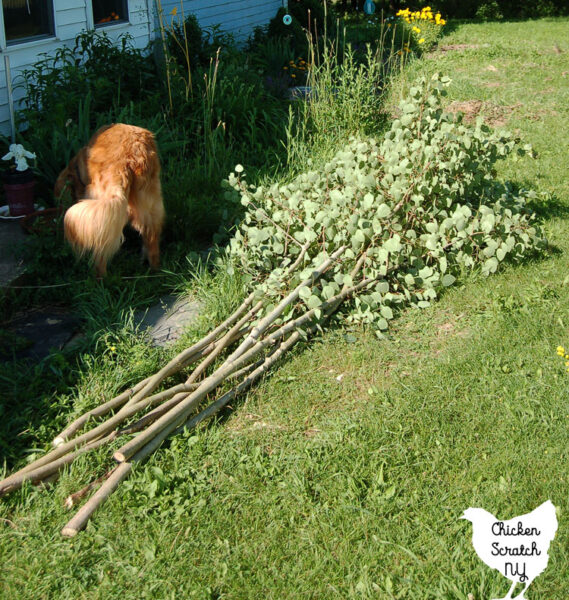
I have a small woodlot next to my home and all along the edges we get lots of poplar saplings springing up every year. Poplars spread via root suckering, meaning anywehere the roots are they can send up a new tree.

Poplar is a short-lived tree in general, the root suckers can get really dense in an area and they tend to die off anyway. I also get them coming up in my pasture and lawn where they are really fun to mow around.
Every spring I end up cutting down a whole mess of them and using them for a project and not just a bonfire seemed like a great idea. I’ve also used poplar branches to make plant supports in the garden (you have to watch them because cut branches will try to put down roots!) and I’ve turned them into roosts in my chicken coop.
Learn How to Make a Fold Up Roost
I was able to get 2-3 trellis segments from each poplar sapling that I cut down. Even after cutting down 8 saplings there are still about a million left, I could probably fence in my entire property with them!
Branch Prep
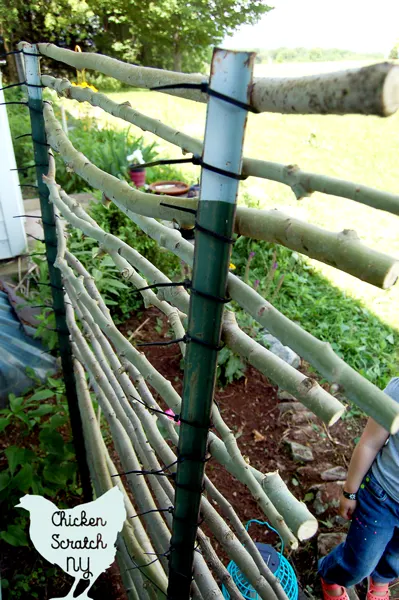
The first step to this trellis is clearing out the area and pounding your posts into the ground, this will give you the lengths that you need to cut your saplings.
Make sure the t-posts are facing the same way, I inherited these posts when I bought the house and they have thick metal knobs, I used the knobs as spacers and support for my poplar branches.
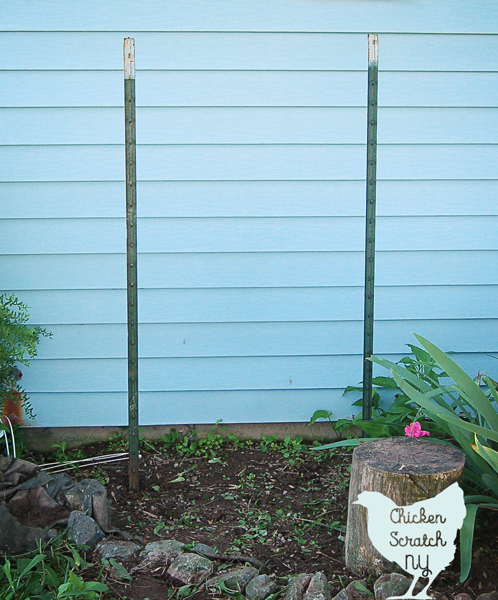
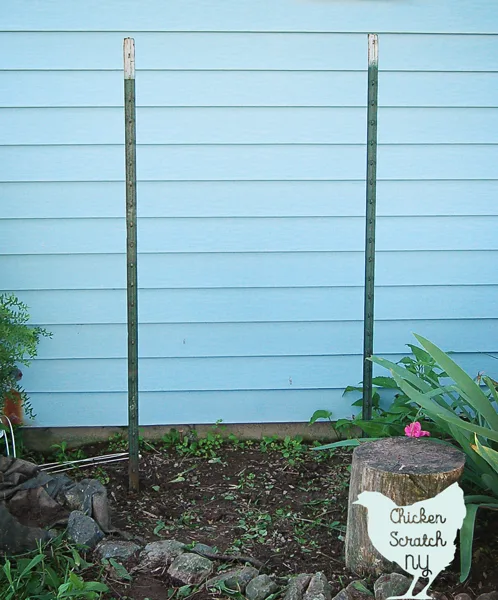
You can do all your wood prep first but I ended up hitting a huge rock and my trellis ended up about 8 inches narrower than I intended.
Once you have that measurement you can start cutting the wood to length. A power saw will make this easy but I just used my folding hand saw.
Start with your pruning sheers and just clip off all the side branches, if they’re particularly thick you might need to grab the loppers or even the saw. Then starting at the bottom cut the saplings into roughly the same length segments.
Poplar isn’t a particularly strong wood so stop cutting when the branches get to be less than an inch thick or they’ll end up snapping if you try to put any weight on them.
Cheap DIY Garden T-Post Trellis

Grow vertical with a DIY garden trellis made from budget-friendly supplies. Use zip-ties, T-posts and branches to make a decorative garden plant support.
Materials
- 2 - Heavy Metal T-Posts
- Heavy Duty Outdoor Zip Ties
- 8-10 Tall Poplar Saplings
Tools
- Hand Saw
- Hand Pruners or Loppers
- Dead Blow Hammer (or whatever you use to pound in t-posts)
Instructions
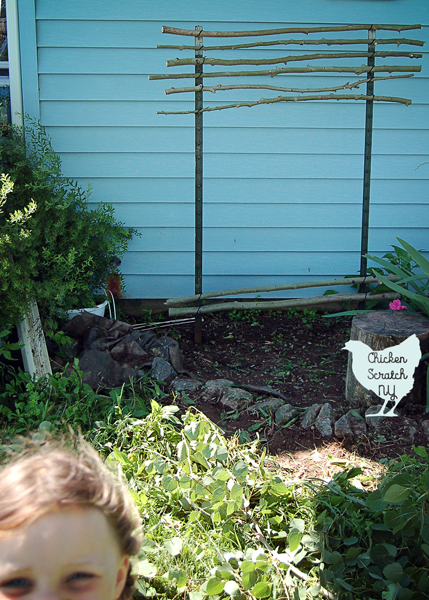
- Pound T-Posts into the ground 3-4 feet apart
- Clip all of the side branches off the saplings and cut about a foot wider than the space between the posts (You want about a 6-inch overhang on either side)
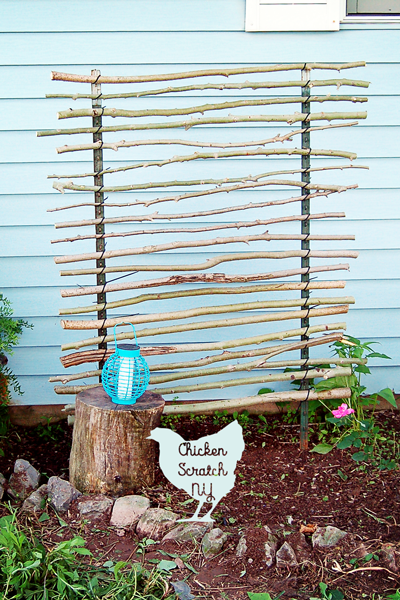
- Use the zip ties to attach the branches to the T-Posts. using the thicker branches at the bottom and the thinner ones at the top. If you plan to cover the zip ties with jute or twine make sure they're all angled the same way.
Alternate which side the thickest end of the branch is on for each row
- Optional: Clip the zip ties down and cover with twine or rope for a nicer appearance
Notes
Leave 4-6 inches of space at the bottom of the trellis for easier weeding around the flowers
Recommended Products
As an Amazon Associate and member of other affiliate programs, I earn from qualifying purchases.


This project went from idea to completion pretty quickly, something that doesn’t always happen in my life.
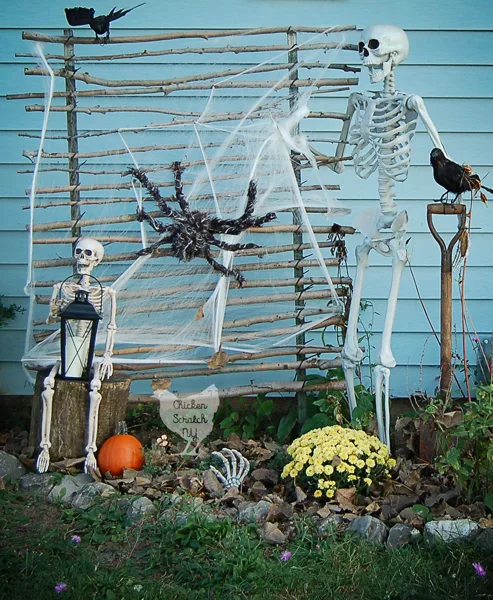
Aside from the obvious use of supporting vines and flowers I’ve also decorated it with wreathes in the summer and of course, covered it in spider webs for Halloween.
Looking for a fun and easy Halloween lawn decoration? Make a Spooky Skeleton Display in Minutes!

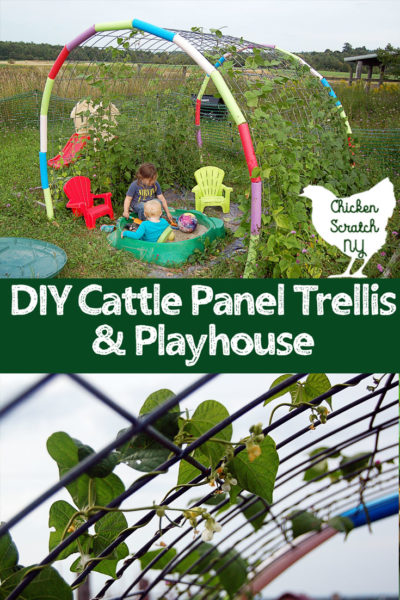
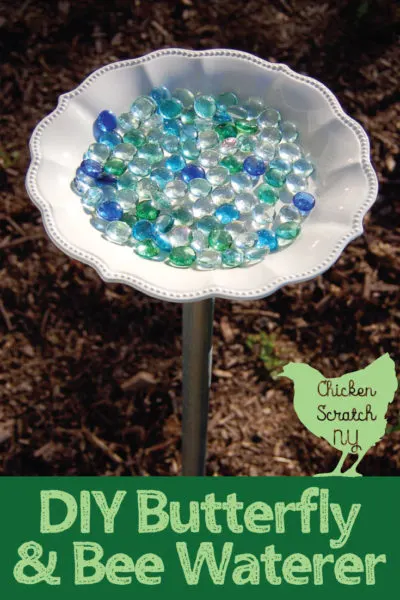
Check out my DIY Garden Projects page for more ideas or start here:


Sunday 25th of February 2024
Was looking for how to turn my bamboo into a trellis but don't have any t posts with knobs. Guess I have to keep looking. Thanks anyway.
Emily
Wednesday 28th of June 2017
I love how this looks! I was just thinking about adding a trellis to one of my flower beds, to have vines go up for a nice visual. But I was not happy with the ones I saw in a store, I really like this one. Thanks for the idea!
Michelle D Garrett
Wednesday 28th of June 2017
This looks so easy and fun to do! I was / am a late starter, too! We are finally tackling our backyard and my green thumb has been itching so looking forward to having some greenery in our space.
Amy Cape Cod Moms
Wednesday 28th of June 2017
I have always thought about doing a trellis in my yard as it would look really good but never tried it. You made it look super easy in this post and the directions seem easy to follow. I will have to go out and try this this weekend! thanks for the tips!
Louise
Wednesday 28th of June 2017
This looks so good :) I could do with some trellis in my own garden, so I may have to follow in your footsteps and have a go at making my own :)
Louise x