
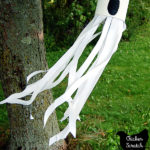
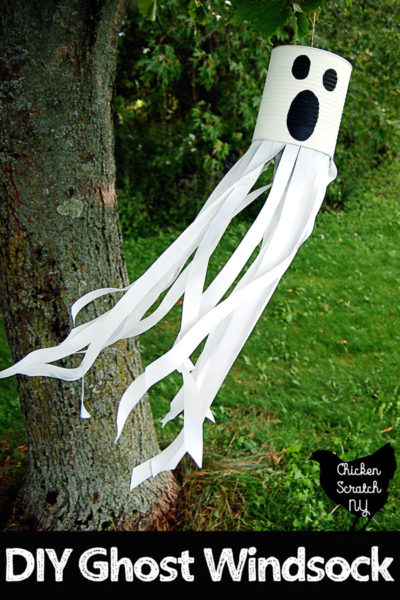
Halloween on a budget doesn’t have to be hard or boring! Turn a large tin can into a spooky friend with this easy DIY Ghost Windsock!

This project is in the kid-friendly Halloween category. There is a bit of a wait with all the paint drying but you can put together this Ghost Windsock in an afternoon.
If you’re looking for something more spooky than cute check out my Halloween sheet ghost tutorial. They look extra creepy hanging in the trees where they catch the moonlight.
Tin Can Ghost Windsock Supplies:
You can probably find most of the things to pull this one off in your house right now. The hardest thing to track down will likely be the giant can.
I’m not sure about you, but I find #10 cans of tomatoes hard to manage in a family home! I have a few friends that work in restaurants and they were able to save me a few cans for my spooky projects.
- Large Tin Can, clean with label removed
- Hammer
- Awl, nail or screwdriver
- White Spray Paint
- Black Craft Paint
- White Ribbon
- Hot Glue Gun
- Scissors
- Twine or Strong Fishing Line
- Paperclip
Instructions:
The first thing we need to do is get those cans painted! The first mistake I made with with project was buying super cheap spray paint.
It took about seven thousand layers of paint to get my can white. Save yourself some time and buy decent paint!
Once the white paint is dry it’s time to get creative and add a spooky face! As you can see from my two ghosts I have exactly one free-handed ghost face in my creative repertoire.
Try not to think too hard here, it’s just two or three black blobs.
Next up, we have to pop a small hole in the top of the can. All you need is something sharp and hard like an awl, nail or even a Philips head screwdriver.
Center it (just go by eye, it doesn’t have to be perfect) and give the awl a tap with the hammer to pop through.
If you’re me and you have no idea where anything is find a small, sturdy screwdriver and push on it until it pops through the bottom of the can. It’s easy on the small ones, but a bit trickier on the #10 cans
It can’t be a windsock without streamers so it’s time to add them. Start by cutting ~24-inch lengths of ribbon, I didn’t measure and intentionally left them all slightly different lengths.
Cut the bottoms at an angle to keep them from unraveling, you can also seal them with a lighter but I don’t have that kind of time (or a lighter)
Once you”ve got enough strips cut grab your glue gun and add the streamers. I found it was easiest to start in the back so if you have to overlap your last piece it’s not as noticeable

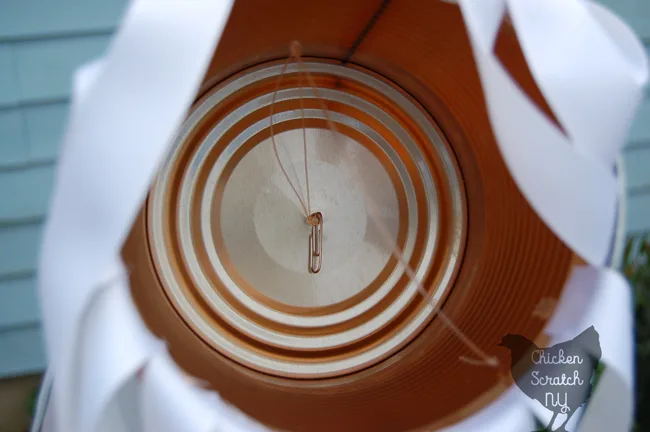
The final step is to cut a length of fishing line for the hanger and tie it in a loop. Thread on the paper clip as a stopper, pull the loop through the top of the can and hang your ghosts.
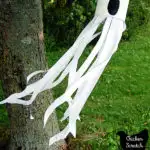
The fishing line does a great job bending into the background and gives the ghosts a floating look.
If you’re going to have a lot of lights on them at night go for a darker fishing line or give it a light black of black spray paint to cut the reflection.
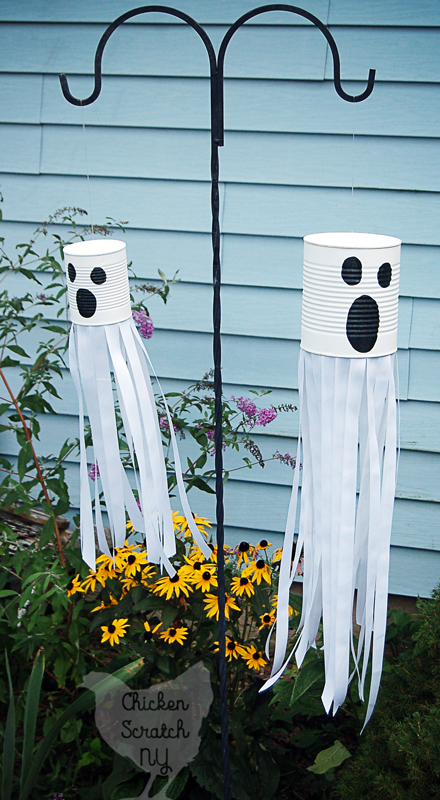
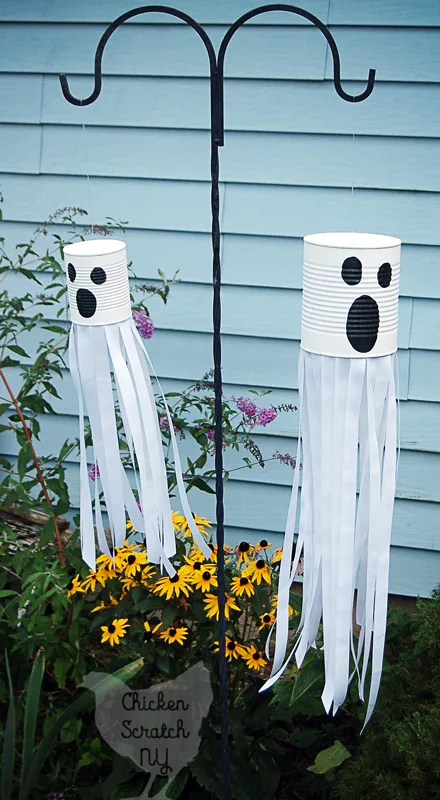
I hung my ghosties in the garden and they look really good with the constant breeze!
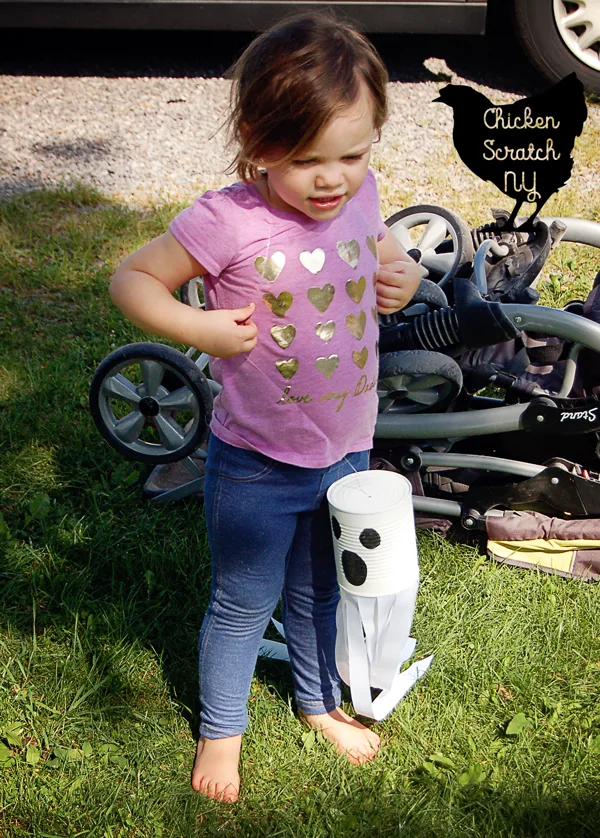
If you’re on the wilder side you can also use them to make a fashion statement.

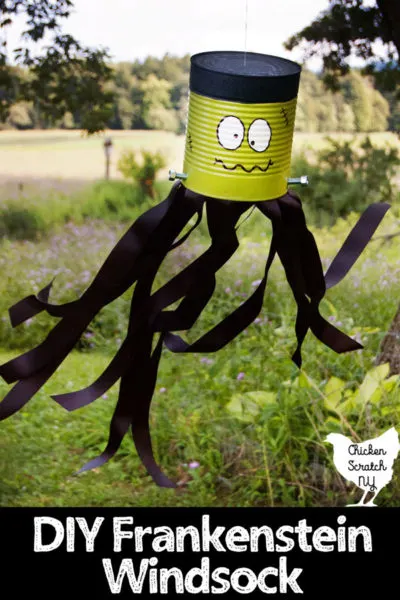
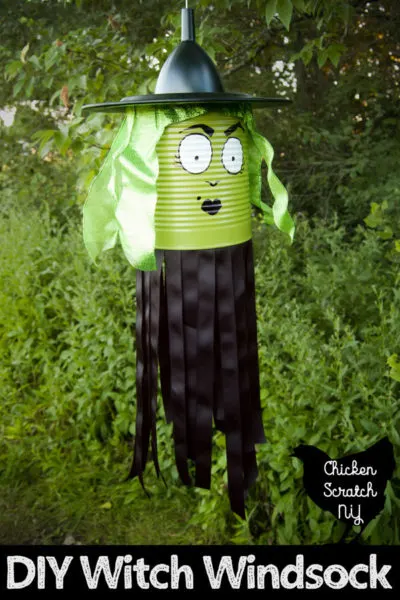
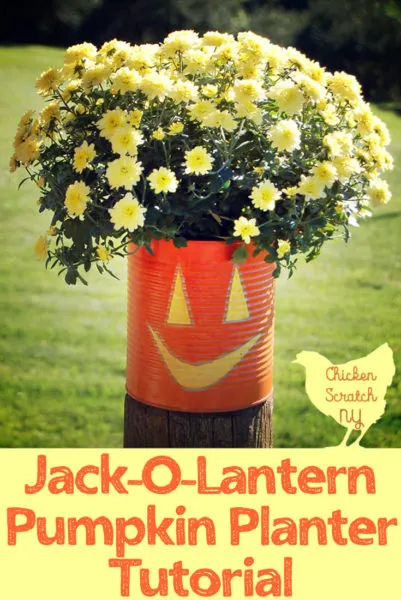
Recently I’ve added to my tin can Halloween family, there is a wacky witch and a friendly Frankenstein in the windsock category and of course the Jack-O-Lantern Planters! They’re still going strong and already have some clearance mums calling them home.
I’d absolutely love to see your own spooky creations, share them on my facebook page, tag me on instagram @AleciaCSNY or use the hashtag #ChickenScratchNY
Check out my Halloween Page for more spooky fun or start here:


Anne Leclerc
Wednesday 31st of August 2022
Love your ideals, love Halloween 🎃 decorating
Barbara Howell
Tuesday 27th of September 2022
@Anne Leclerc, I am using a white plastic table cloth to make my ribbon strips. 24 inches long and are they like 1 1/2 inches wide and any suggestions on how to attach plastic to the tin can?
Betty Tedesco
Friday 13th of May 2022
That is adorable.,Halloween will be here behind you know it! Thank you your crafty insight!
Linda
Thursday 16th of September 2021
You could also use a white plastic kitchen garbage bag, in place of the ribbon.
Cristine
Thursday 15th of September 2016
Great idea to up cycle an older item. Plus it's a simple cost effective decoration. Too many decorations are way costly
Cynthia
Thursday 15th of September 2016
Oh My Gosh, this is so cute. I love making decorations with items I have in my home. You have inspired me to make a few of these. I think I will hang them in my trees in the front yard