I was revisiting some old content of mine when I cam across my Summer Sun Hat Wreath. I had forgotten about it and how cheerful it was.
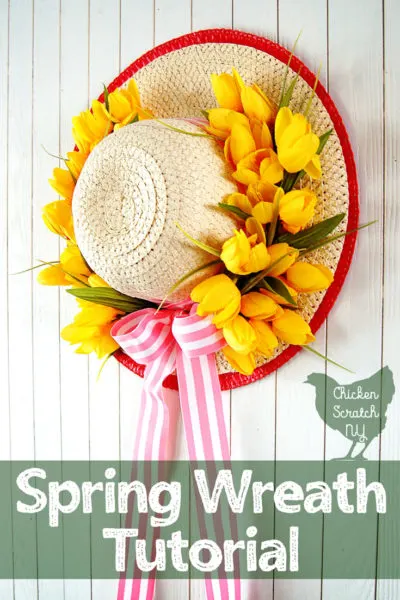
After a quick trip back to Dollar Tree I found myself in possession of another sun hat. I turned the hat and a few bunches of fake tulips into a Spring Wreath.
This time I had my hot glue gun handy and the wreath came together quickly. I learned from my last hat wreath that you need to support the hat to help it keep it’s shape. The hat I found this time was smaller than the original but I found a brightly colored place mat that was about a half inch larger all the way around.
The place mat would pull double duty, it would support the hat and help it keep it’s shape and add some size to the hat. It’s also how I ended up hanging the wreath.
Spring Wreath Supplies
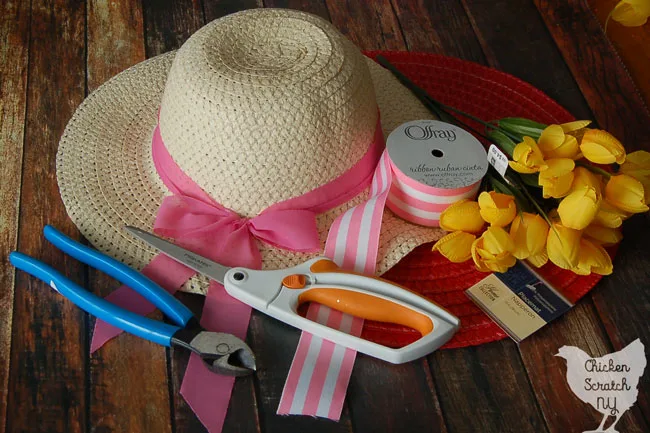
- Sun Hat (Dollar Tree)
- Place mat (Dollar Tree)
- Fake Tulips
- Gross Grain Ribbon
- Scissors
- Hot Glue Gun
- Wire Cutters
Tulip Wreath Tutorial
1. Pull off the original hat ribbon and throw away or let your 2 year old wear as a belt. Generously glue the hat to the place mat.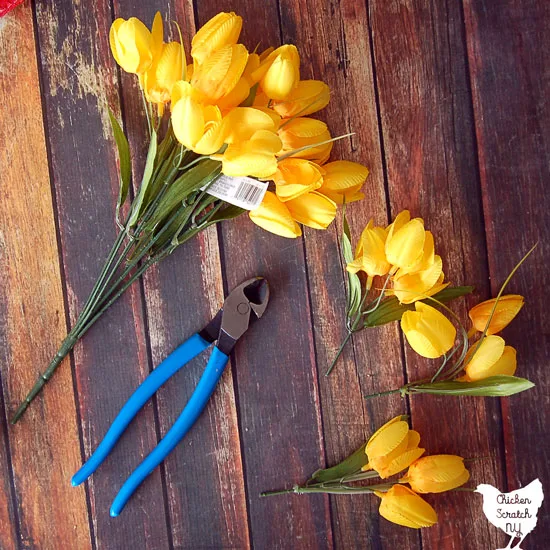
2. Use the wire cutters to separate the bunches of tulips into small groups. Push all the leaves up to the top and trim the stems short.
3. Glue a piece of ribbon around the crown of the hat. Start at the top. The hat is angled just enough that you can’t glue the ribbon straight down. Start at the top center, and you’ll need to put a little fold in the ribbon so it stays laying flat against the hat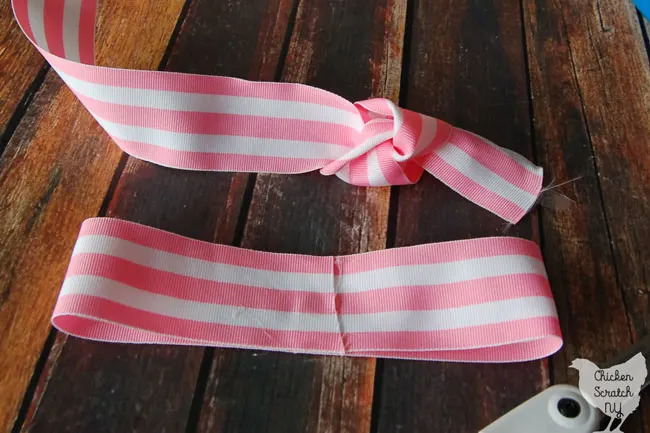
4. Cut a piece of ribbon for the bow, I aim for a piece about the width of the crown of the hat doubled. Use a tiny dot of glue to secure both ends to middle (This is so awkward to describe in words!)
5. Tie a knot in the end of the left over ribbon close to the end
6. Wrap that around the bow you made and tie it securely with the knot in the middle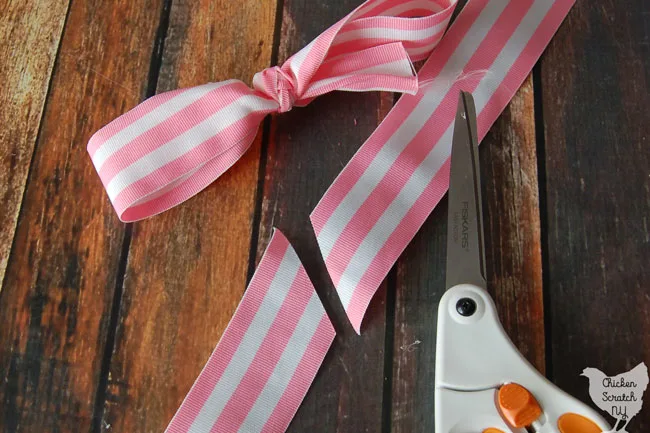
7. Fold the remaining ribbon in half and cut the at an angle so they don’t fray. Glue to the normal ends to the bottom of the hat crown in a /\ shape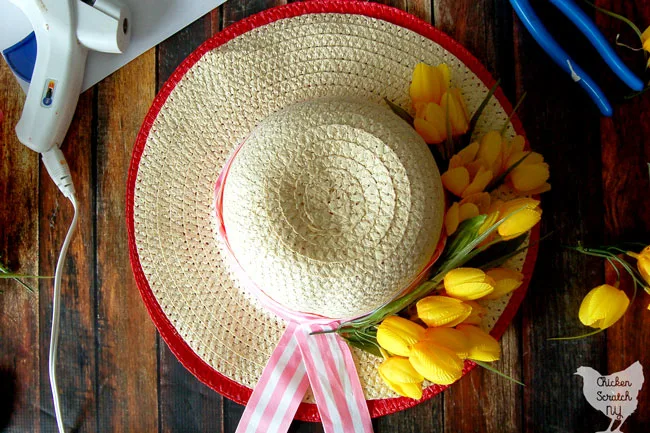
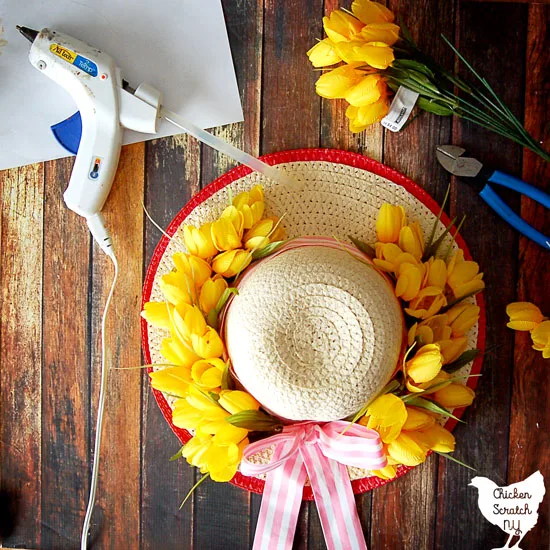
8. Glue the tulips around the hat, overlapping the pieces so the flowers cover the ends. Leave a few inches at the top empty then start at the top and work your way down.
Don’t stick your fingers in the hot glue, it hurts… Use the scissors to push the flowers into the glue if you have to
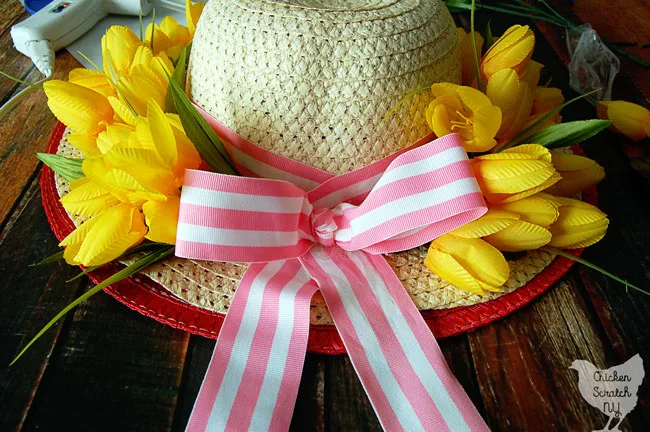
9. Make a bow from the ribbon and glue to the hat covering the ends of the tulips. By the way, that is indeed a cheese stick wrapper in the upper right of this picture. Kat was ‘helping’
10. Glue a piece of ribbon to the back of the hat to act as a hanger OR remove some stitches in the place mat so you can hang the wreath on a metal wreath hanger
I hope you enjoy my latest DIY wreath tutorial. If you aren’t up for crafting at the moment make sure you PIN it to your DIY or Spring board right now! I would love to take a picture of it on my door but it’s been snowing all day and it’s so cold out! Also, I haven’t taken down my Christmas garland yet…
You can find more on my Wreath page or start with these:



Scarlet
Saturday 7th of April 2018
What a fun play on a wreath. I love this idea. So springy!
Janella Panchamsingh
Wednesday 14th of March 2018
I love this wreath idea I am also looking for something easy to ake for y door as well that doesn't cost too much to ake and looks cute as well.
Rebecca Bryant
Wednesday 14th of March 2018
That is too cute. I like that you used a hat to bring it to life. Such a great idea to bring spring into your home.
Jacqui Odell
Wednesday 14th of March 2018
This is so cute! I really love the idea of using a hat. Very unique and creative.
Milena
Wednesday 14th of March 2018
This is perfect! I was just thinking I had nothing for our doors after Easter. Plus- it's easy and affordable!