
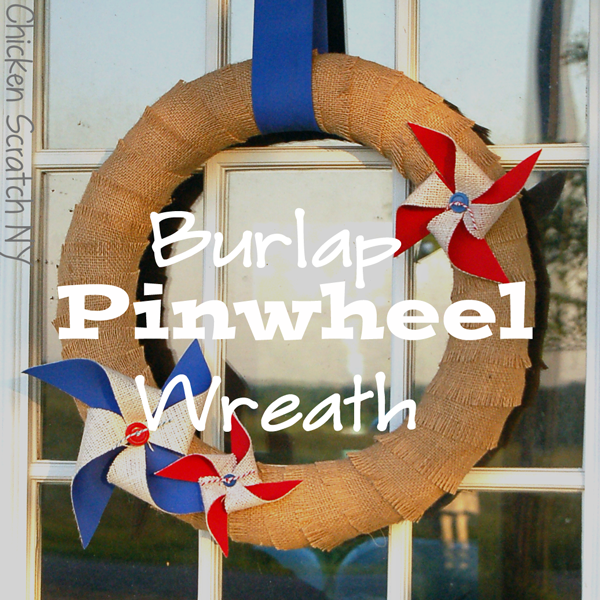
It’s time to dress up your front door just in time for Flag Day! It takes almost no time to cover the wreath form and add a few decorations for a festive burlap pinwheel wreath.
Supplies:
- 1 Straw Wreath Form (If you’re not familiar you can pick them up at Hobby Lobby or Micheal’s (bring a coupon!) for a couple dollars)
- Natural Colored Burlap
- Red and Blue Cotton (the thicker the better)
- White Burlap
- Fusible Web
- Buttons
- Bakers Twine
- Square Ruler/Ruler
- Scissors
- Iron
- Glue Gun
- Needle and Thread
**Safety Warning!!**
Burlap and hot glue are a dangerous combo, be very careful! I recommend the “scissor slap”. Use the blades of your scissors (closed) to push the two layers together, the hot glue probably won’t stick to the metal and if it does it peels right off.
Instructions:
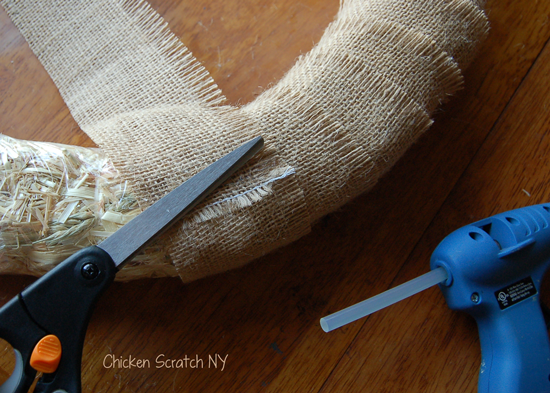
As pretty as it is, you want to start by covering with everyone’s favorite plastic wrapped straw wreath form with pretty fringe-y burlap. Leave the plastic on! Cut your natural burlap into 3 inch wide strips, carefully shred about 1/2 an inch on ONE side. Secure the strip to the wreath and carefully wrap around the wreath form so the frayed side overlaps the row above.
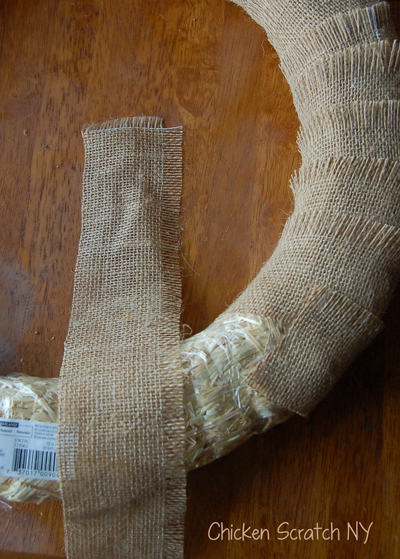
I used 7 strips, it will look nicest is you add the new strips on the back. When you’re all done set the wreath aside and get ready for the fun part.
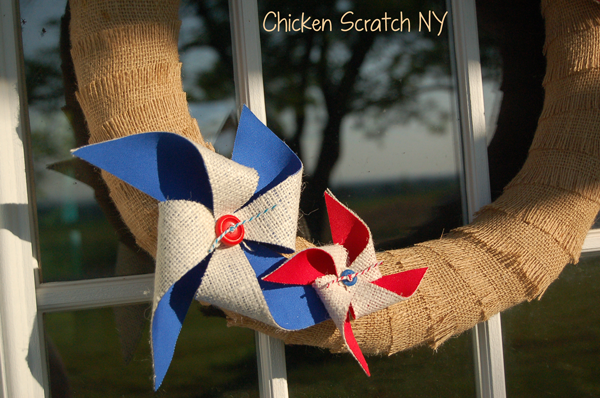
Square measurements: (1) 7 inch – Blue, (1) 5 inch – Red, (1) 3 inch – Red
Trace your squares on the paper side of the fusible interfacing. Roughly cut them out, leave at least a 1/4 inch around the outsides. If it’s creased or wrinkly iron the white burlap and colored cotton, you want it smooth. Place the cotton, wrong side up on your ironing board. Following the fusible directions apply it to your cotton fabric. Cut out the squares following the lines you made on the paper.
Now you can peel of the paper and get ready for the burlap. Lay your fabric squares on the burlap, carefully fuse them together. Do this over some junk fabric, the burlap should be thick enough that you don’t get any oozing from the fusible but you never know. Carefully cut the burlap following the outline of the cotton square.

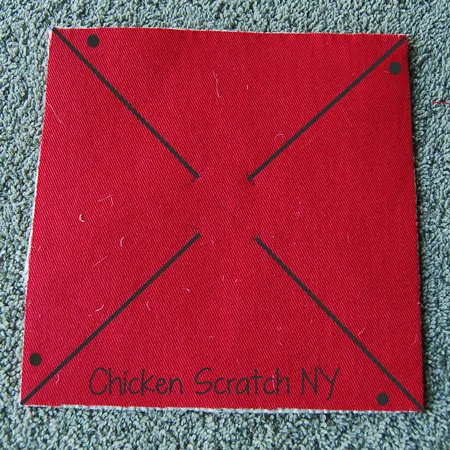
Now get your ruler back out, lightly draw an X on the cotton side of each square. Leaving 1 inch in the center intact cut along the lines.

Fold every other point in, making your pinwheels. I use the burlap as the ‘back’ and the red and blue as the ‘front’. Do a few quick stitches to hold the centers together, you could use hot glue but it’s messy and more floppy. Tie a piece of twine through the button holes and glue it to the center of your pinwheel.
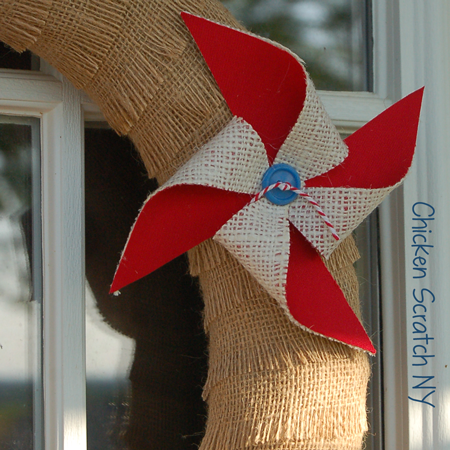
Figure out your placements, glue on your pinwheels, add and hang ‘er up!
If you’re looking for some more patriotic flair check out my Firecracker Centerpiece, the Americows and 15 Minute Patriotic Embroidery.
Crystal
Saturday 22nd of June 2013
Love this! Would love to have you share your post at our Ladies Only Blog Share link party. Our theme this week is summer! Visiting from What's Shakin' hop!
Melanie
Thursday 20th of June 2013
Lovely! Very festive!
bonnie@uncommon designs
Sunday 16th of June 2013
This turned out so cute! Love the layered pinwheels! Thanks for sharing! Bonnie @ Uncommon Designs
JoAnn @ SweetPepperRose
Saturday 15th of June 2013
Hey Alicia! this turned out really cute! I have a burlap wreath that I put seasonal items on, and love your pinwheel idea! thanks for sharing! JoAnn
Linda@Coastal Charm
Friday 14th of June 2013
This is such a darling wreath...you had one wonderful idea!
Blessings, Linda